I have a fiberglass body bus. I have been fighting a leak around the emergency exit in the roof. Last year I tried raptor liner and it’s pealing this year. I used the self etching primer and the adhesion promotor. It’s adheard to the fiber glass but not the material surrounding the hatch. And and all advice is appreciated.
You really have to get all old sealers, tapes, liners, etc., peeled and scraped clean, it can even make sense to sand the surfaces. You’ll also want to make sure the leak isn’t from a defect in the materials or the hatch itself. You may have voids that need sealing or you may need to repair cracks or holes in the hatch, housing, or the body itself.
If you feel you applied the raptor liner correctly and the adhesives have failed it’s likely that this area of your bus body is experiencing some sort of pulling or twisting stress, which might cause adhesives and cement bondings to fail. In this case, you can attempt to resolve the structure or stress issue. Easier method might be to chose a self-leveling adhesive roof sealant that remains flexible but has to be scraped off/replaced every few years - common on a lot of cheaply made motorhomes.
Or you might consider using an incredibly aggressive adhesive like flextape - it’ll stop the leak, but if you ever have to repair/replace anything it touches good luck.
You need to identify the real reason it’s leaking. Fix that and the leak will be gone, or at least as gone as the factory made it. Next rather than just covering up the area that the water is coming in, add a gutter to divert the water away from the area. Do you have a photo of the area it’s leaking?
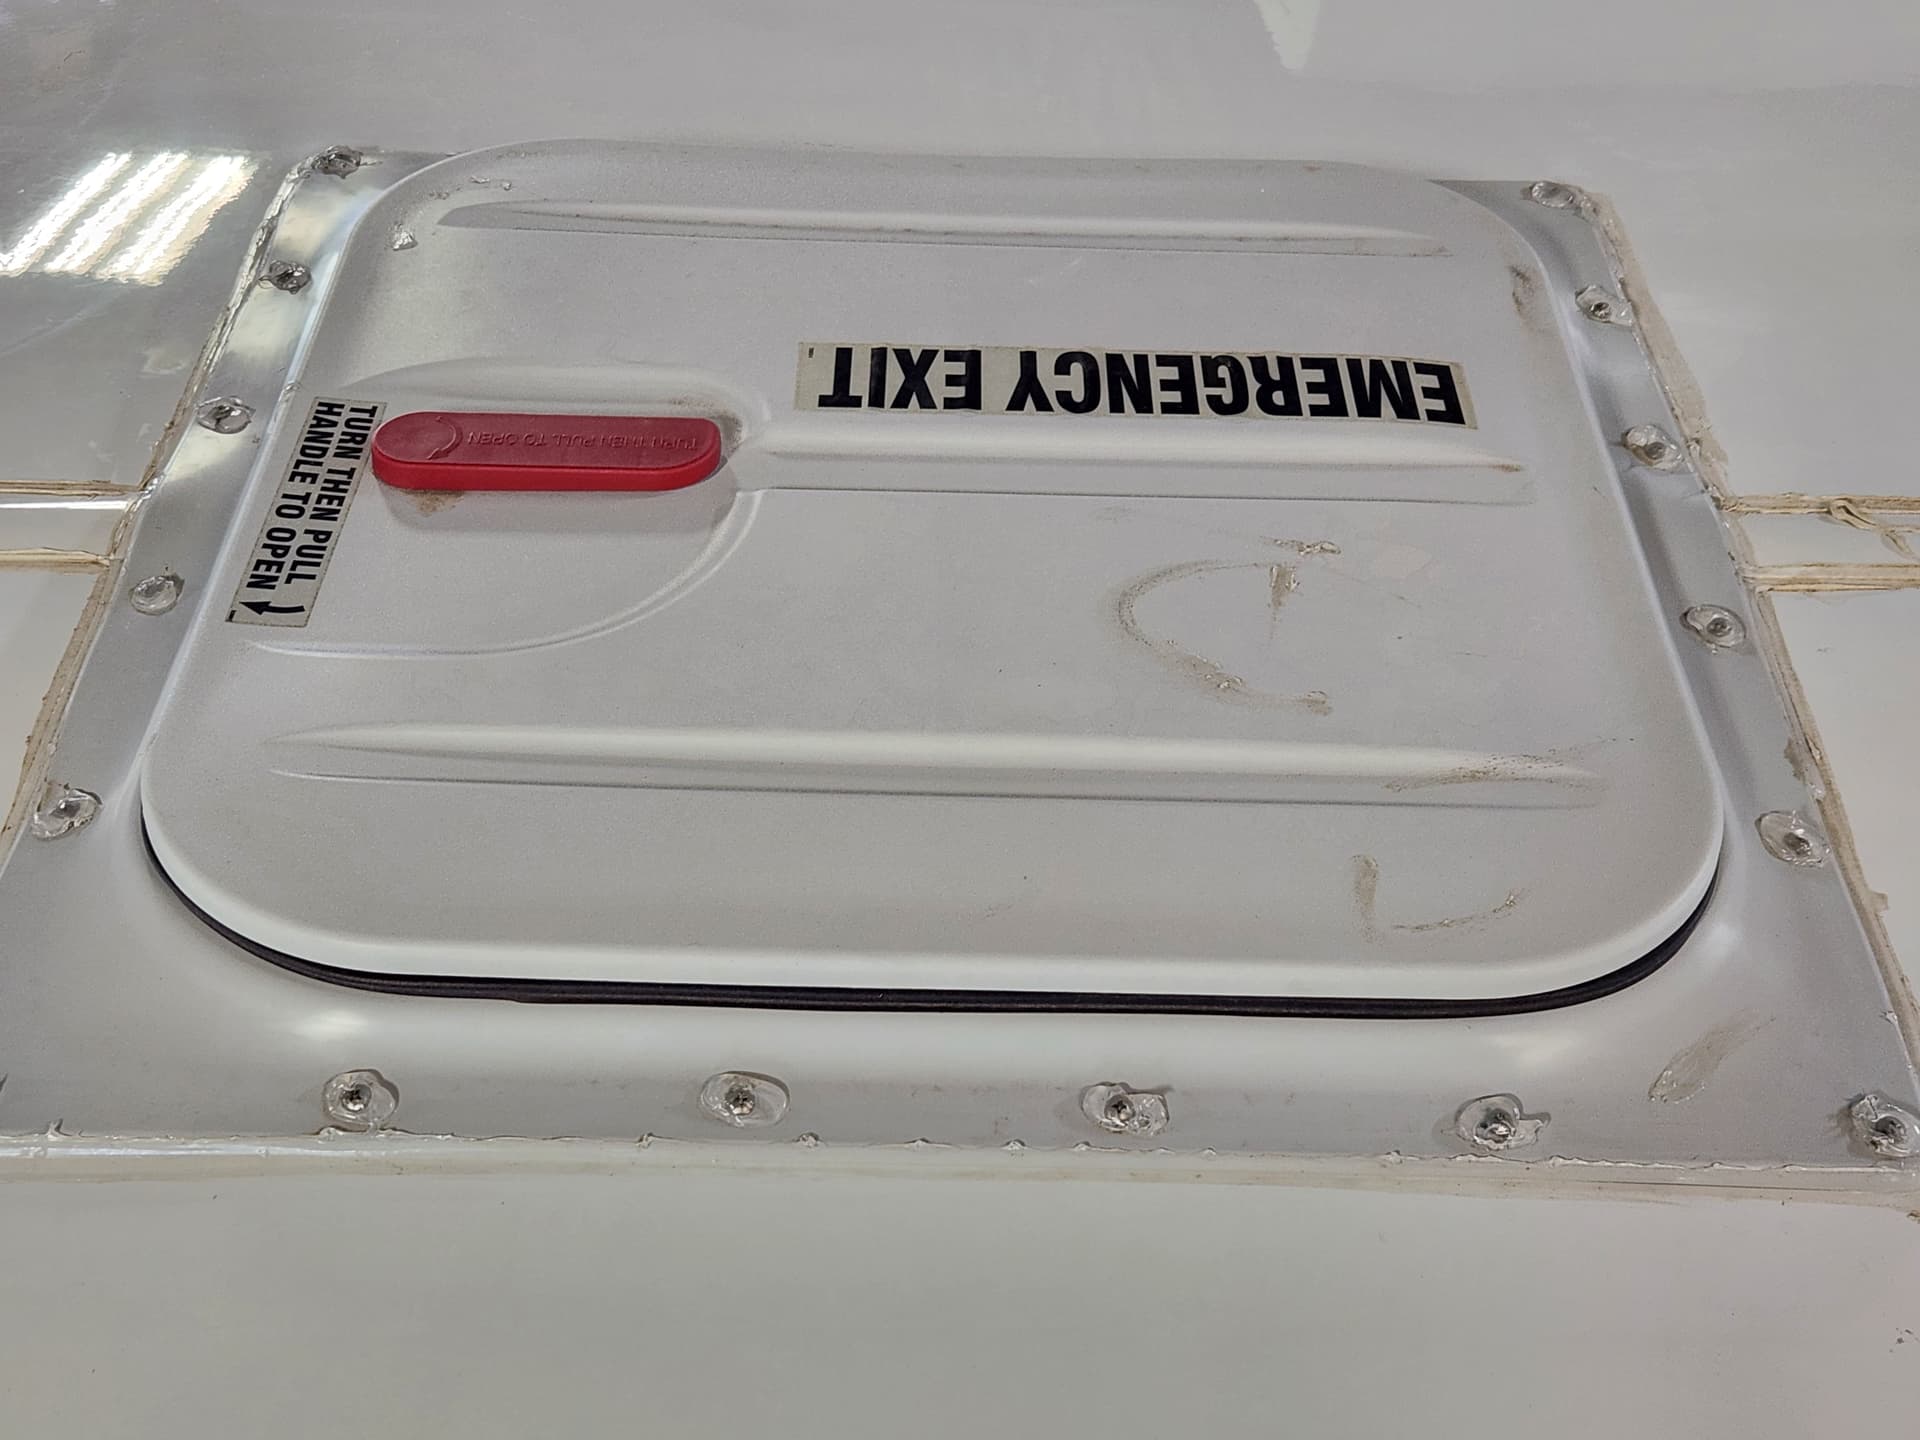
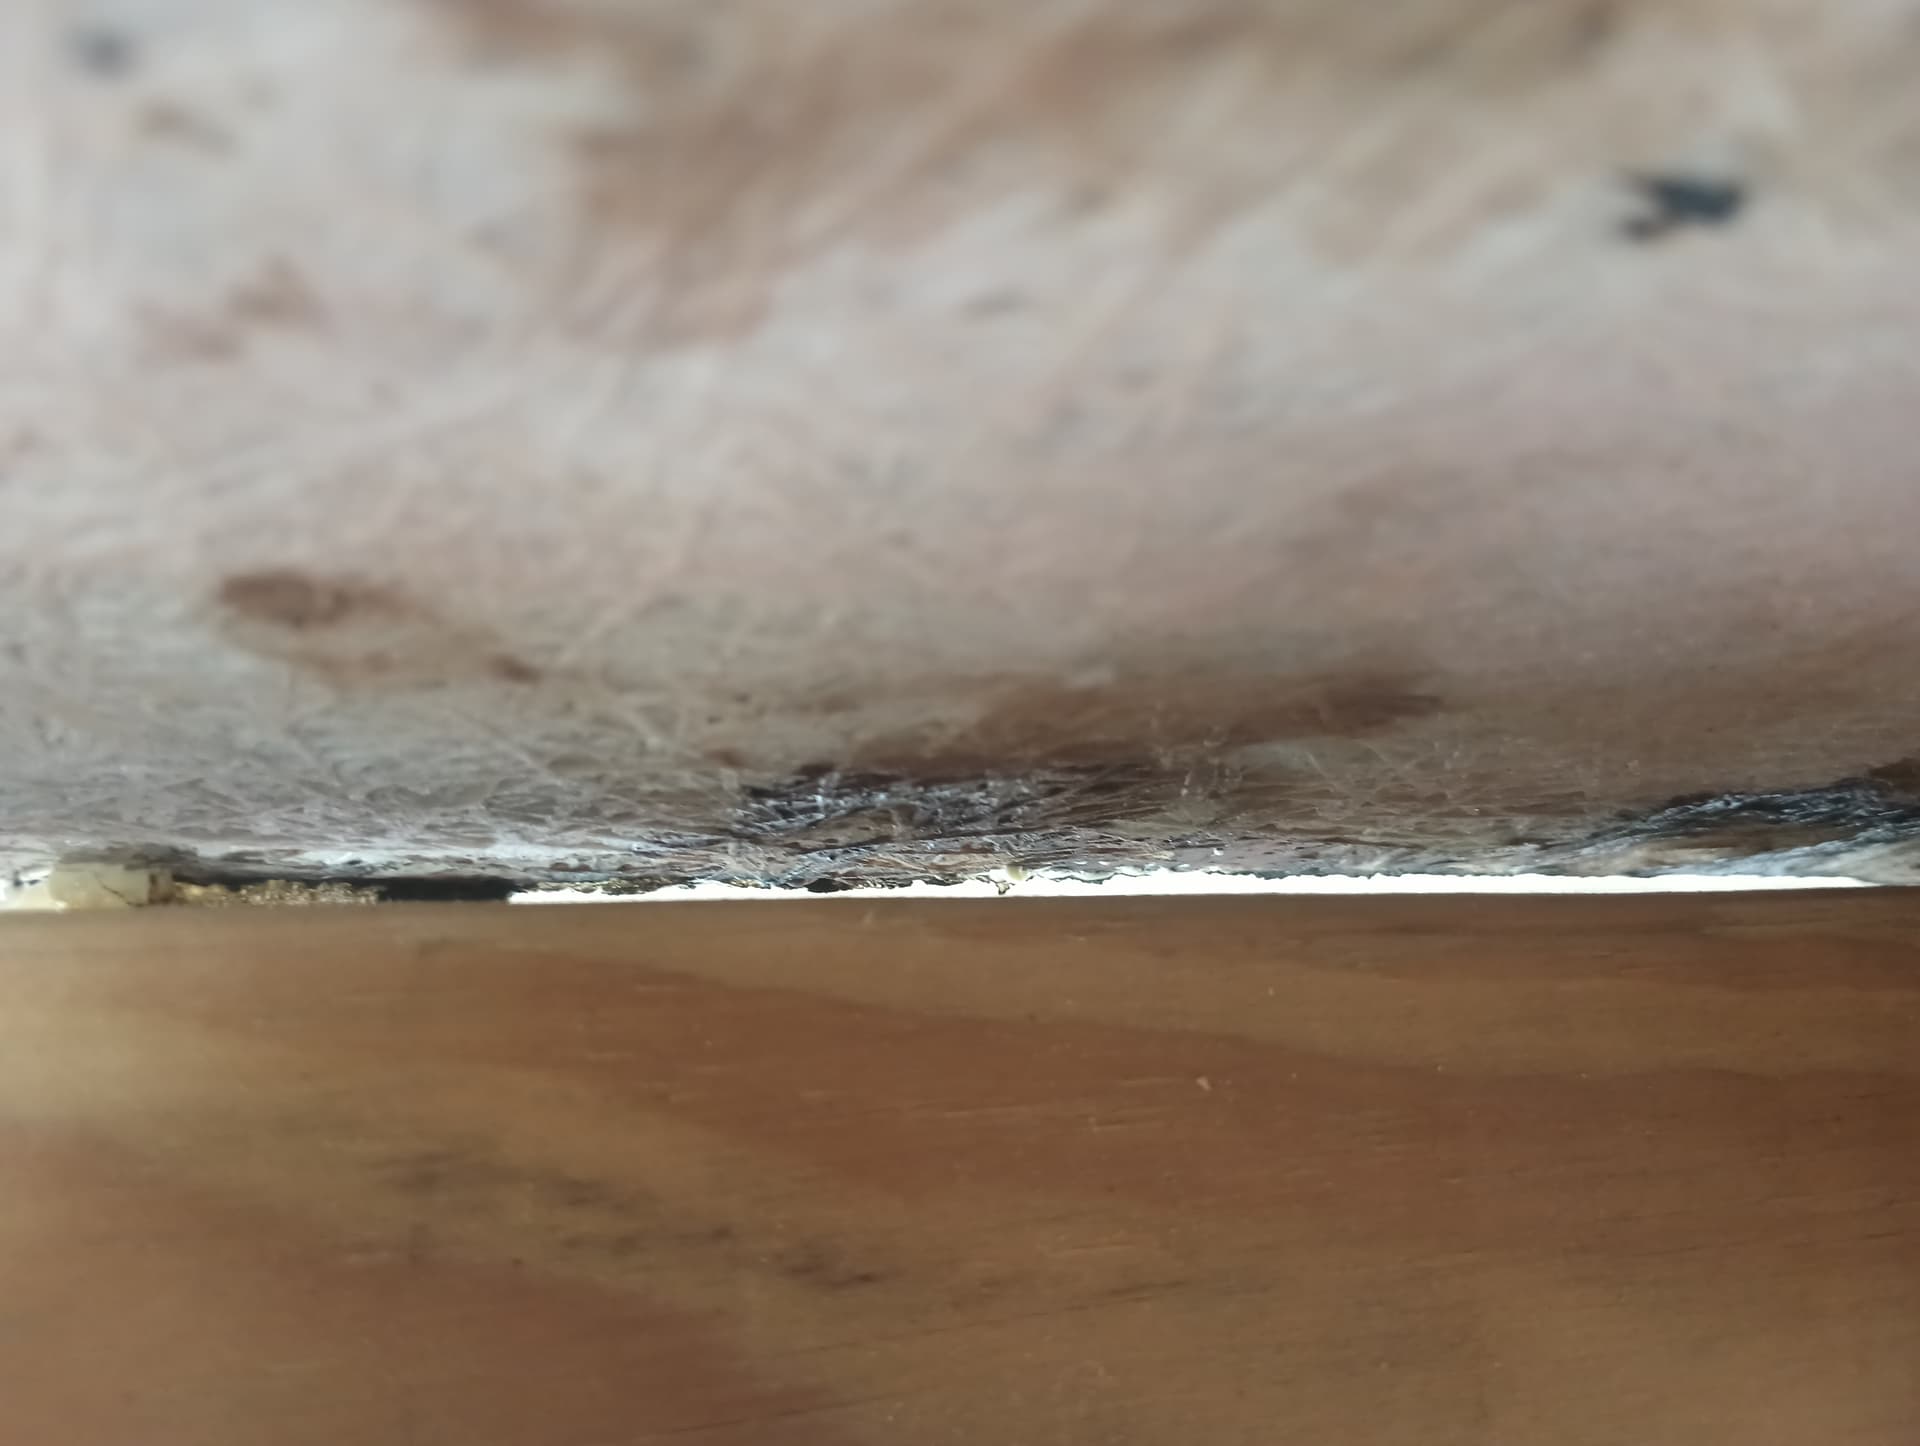
The fiberglass has lost its jell coat. So a urethane coating is supposed to seal up the micro fractures that form. The spot that is causing the leak has sunk in and holds water. It’s adjacent to the emergency exit. I ordered some self leveling urethane to try there next. ![]()
Forgive me as I ask seemingly dumb questions but I promise its for a good reason.
Do you have an actual bus (35ft+ long) or do you have a ford econoline cutaway with a full fiberglass passenger shell?
Does the roof hatch mount top-only or does it sandwich the roof?
The depression in the roof, is it visible in the passenger cabin as well or just exterior?
Do you have a garden sprayer and food dye?
In my years of working on buses/cutaways for Transit I’ve had to chase several leaks on cabins. Often times the spot that looks like the obvious location for the leak isn’t, especially with roof hatches or roof mounted AC units. Capillary effect on cutaways is an absolute menace and usually takes a couple of full sprayers of multiple dye colors and a lot of methodical hunting to find the section that actually has the breach.
Like Dave said, if you can take some pictures and post them might be able to help more.
That is a lot of good info. It’s a cutaway the depression is only exterior. I have been trying to seal all the way around the exit. It sandwiches the shell.
Ok so rtv silicone or marine silicone are going to be your best friend.
If the silicone bead around the hatch looks like its been there forever its probably time to take a razor and cut the old stuff off and run a new bead around the entire outside hatch frame. Give each of the screw heads a little tightness check then cap them with a gob of silicone too. (Torque spec is 22in-lbs for the frame screws)
Then i would check the seam of the roof cap where the front and rear meet and probably run a bead there just for fun.
If there is a drip rail running along the sides check the screws holding it on and if needed tighten or replace. These are notorious to lose a screw and let water run up and back to the rear.
If there is a rear AC mounted on the roof double check that the area where the lines come inside are well sealed.
If you do all that and the water still is getting in itll be time for some plumbers putty or play dough and colored water. Section off the roof sections with putty then fill with colored water. The color that comes through is the section where your headache is.
For refrence this is what a new install looks like:
What is the difference between rtv and marine silicone?
Rtv comes in compressed can or caulk canister or squeeze tube. Its your basic silicone you can get for making gaskets at automotive suppliers.
Marine silicone is a two-part mix that requires a specific gun to use, BUT once put down and allowed to set is pretty much bulletproof.
In the above picture the screws are capped with rtv, the bigger seams to the left and right of the hatch are ran with marine.
Rtv is also easier to remove later if needed, marine is a nightmare.
Oh is that the green two part body shops use?
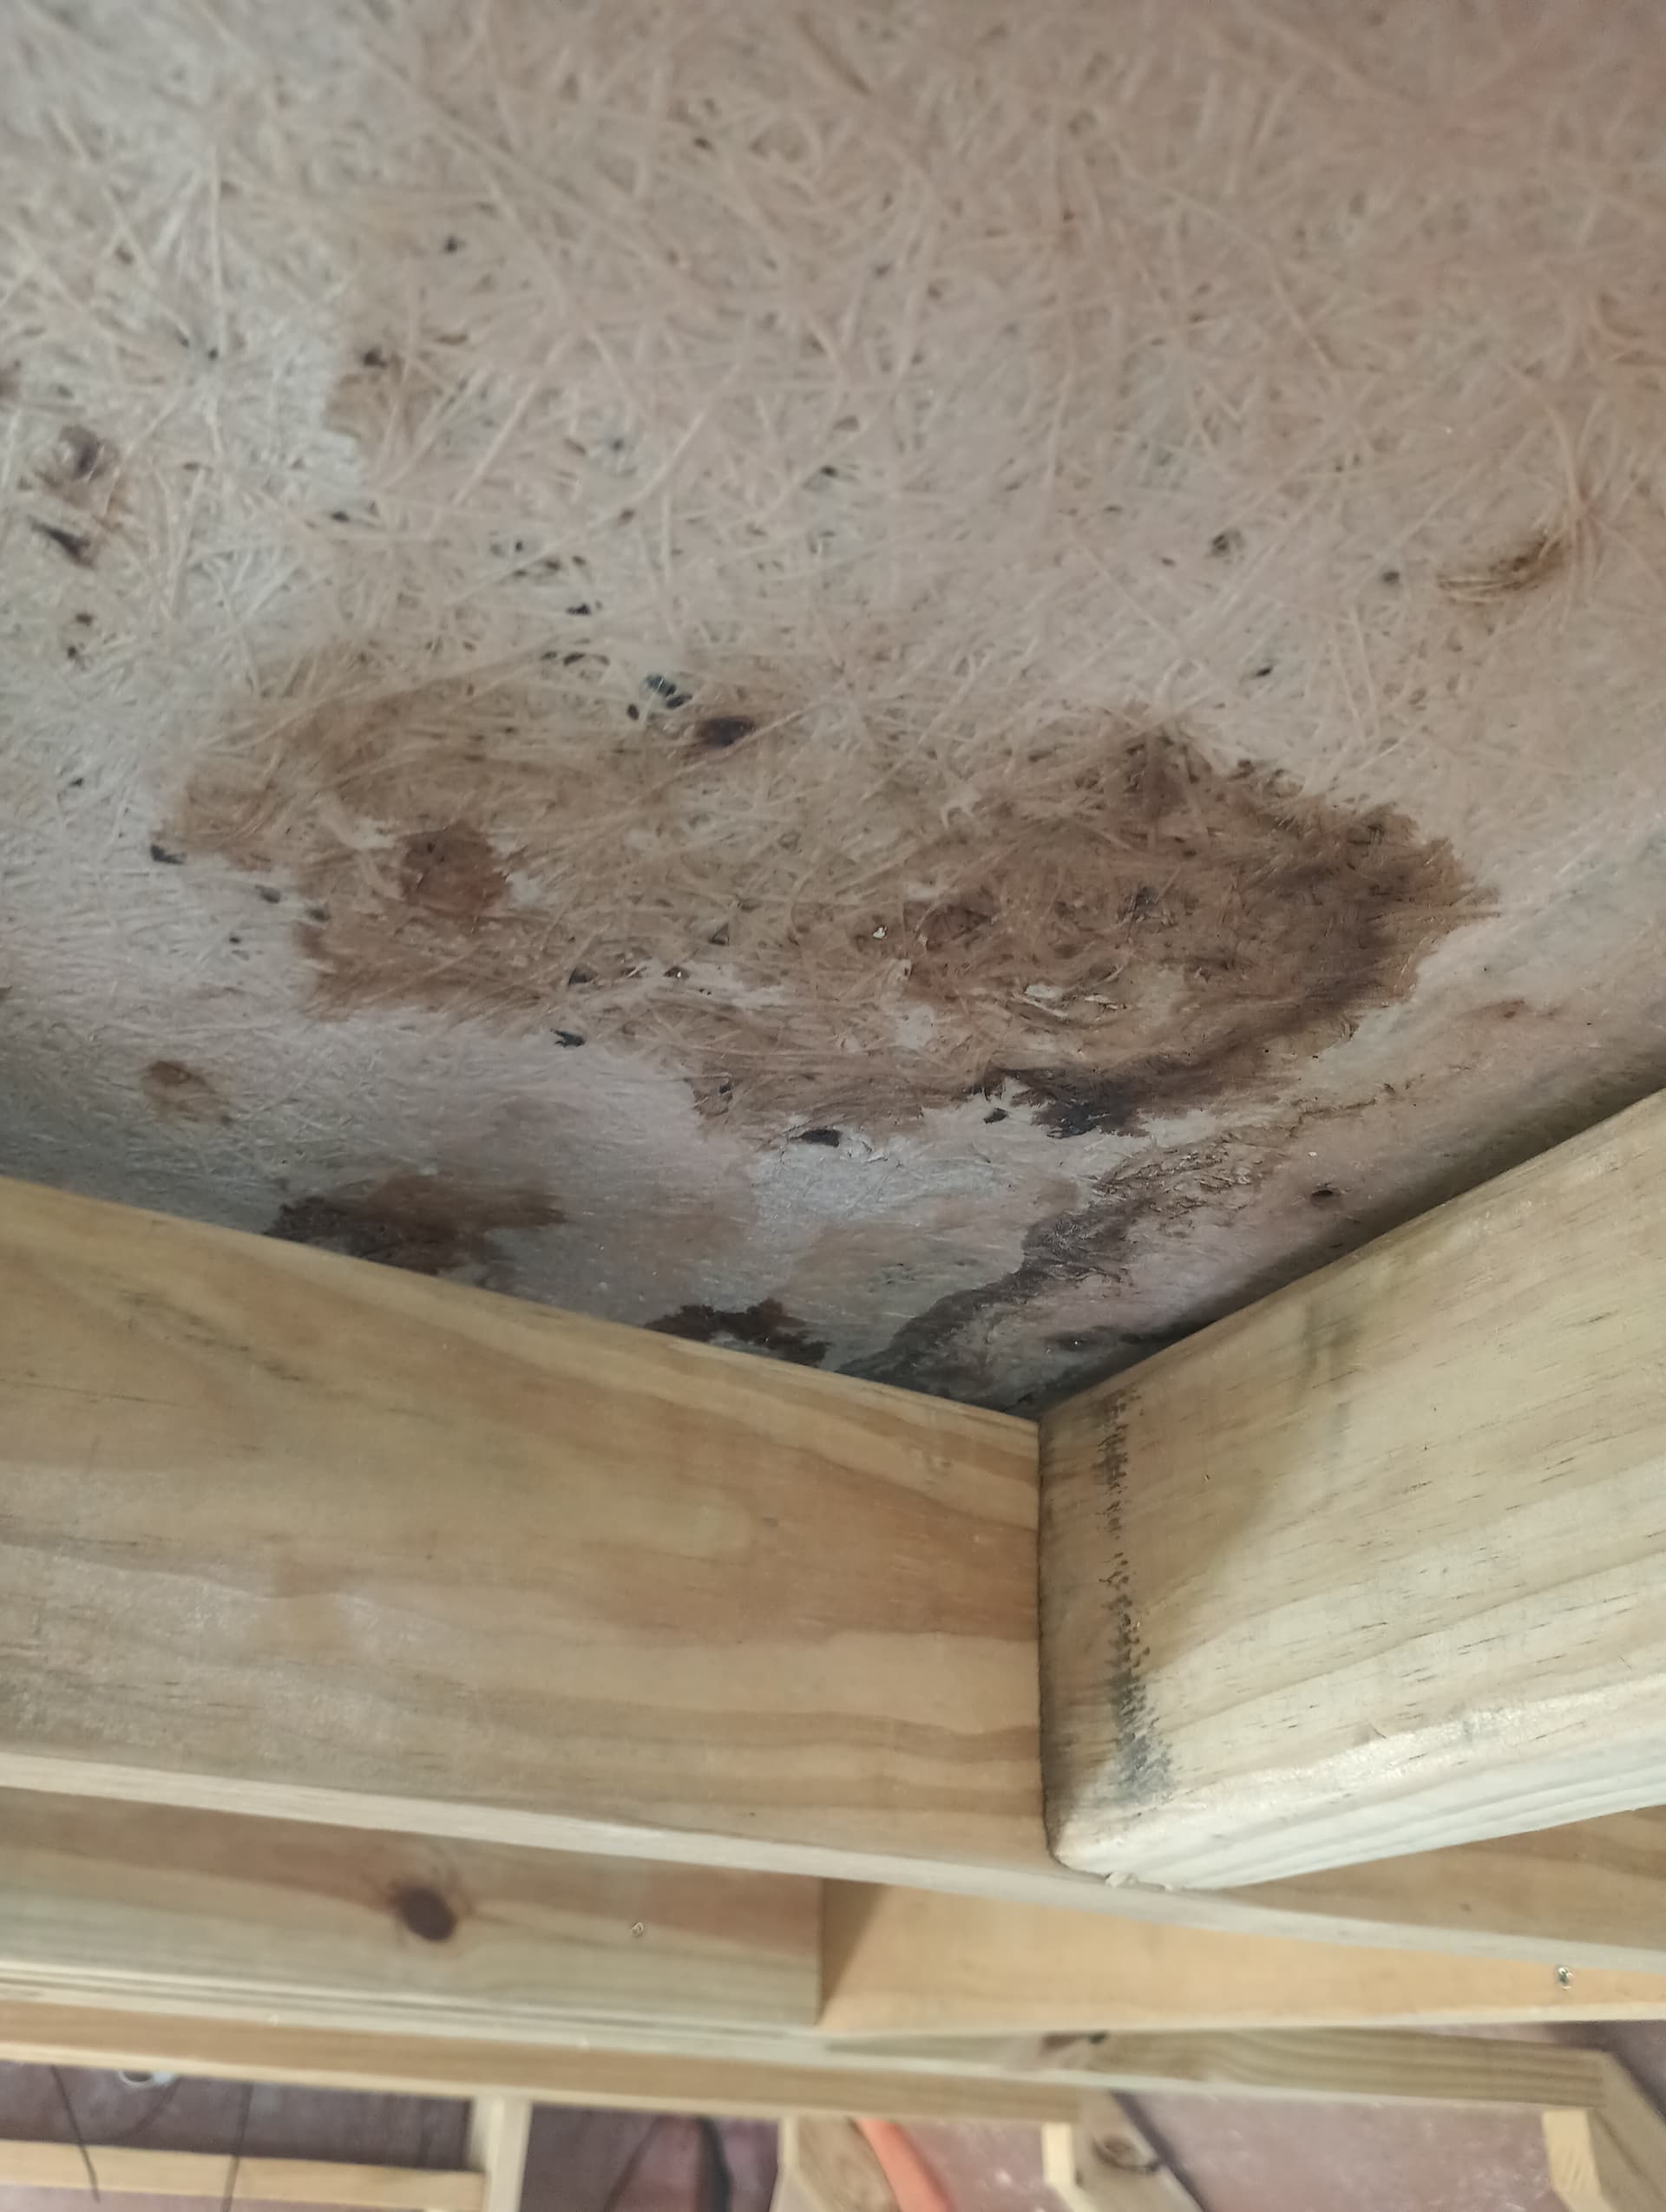
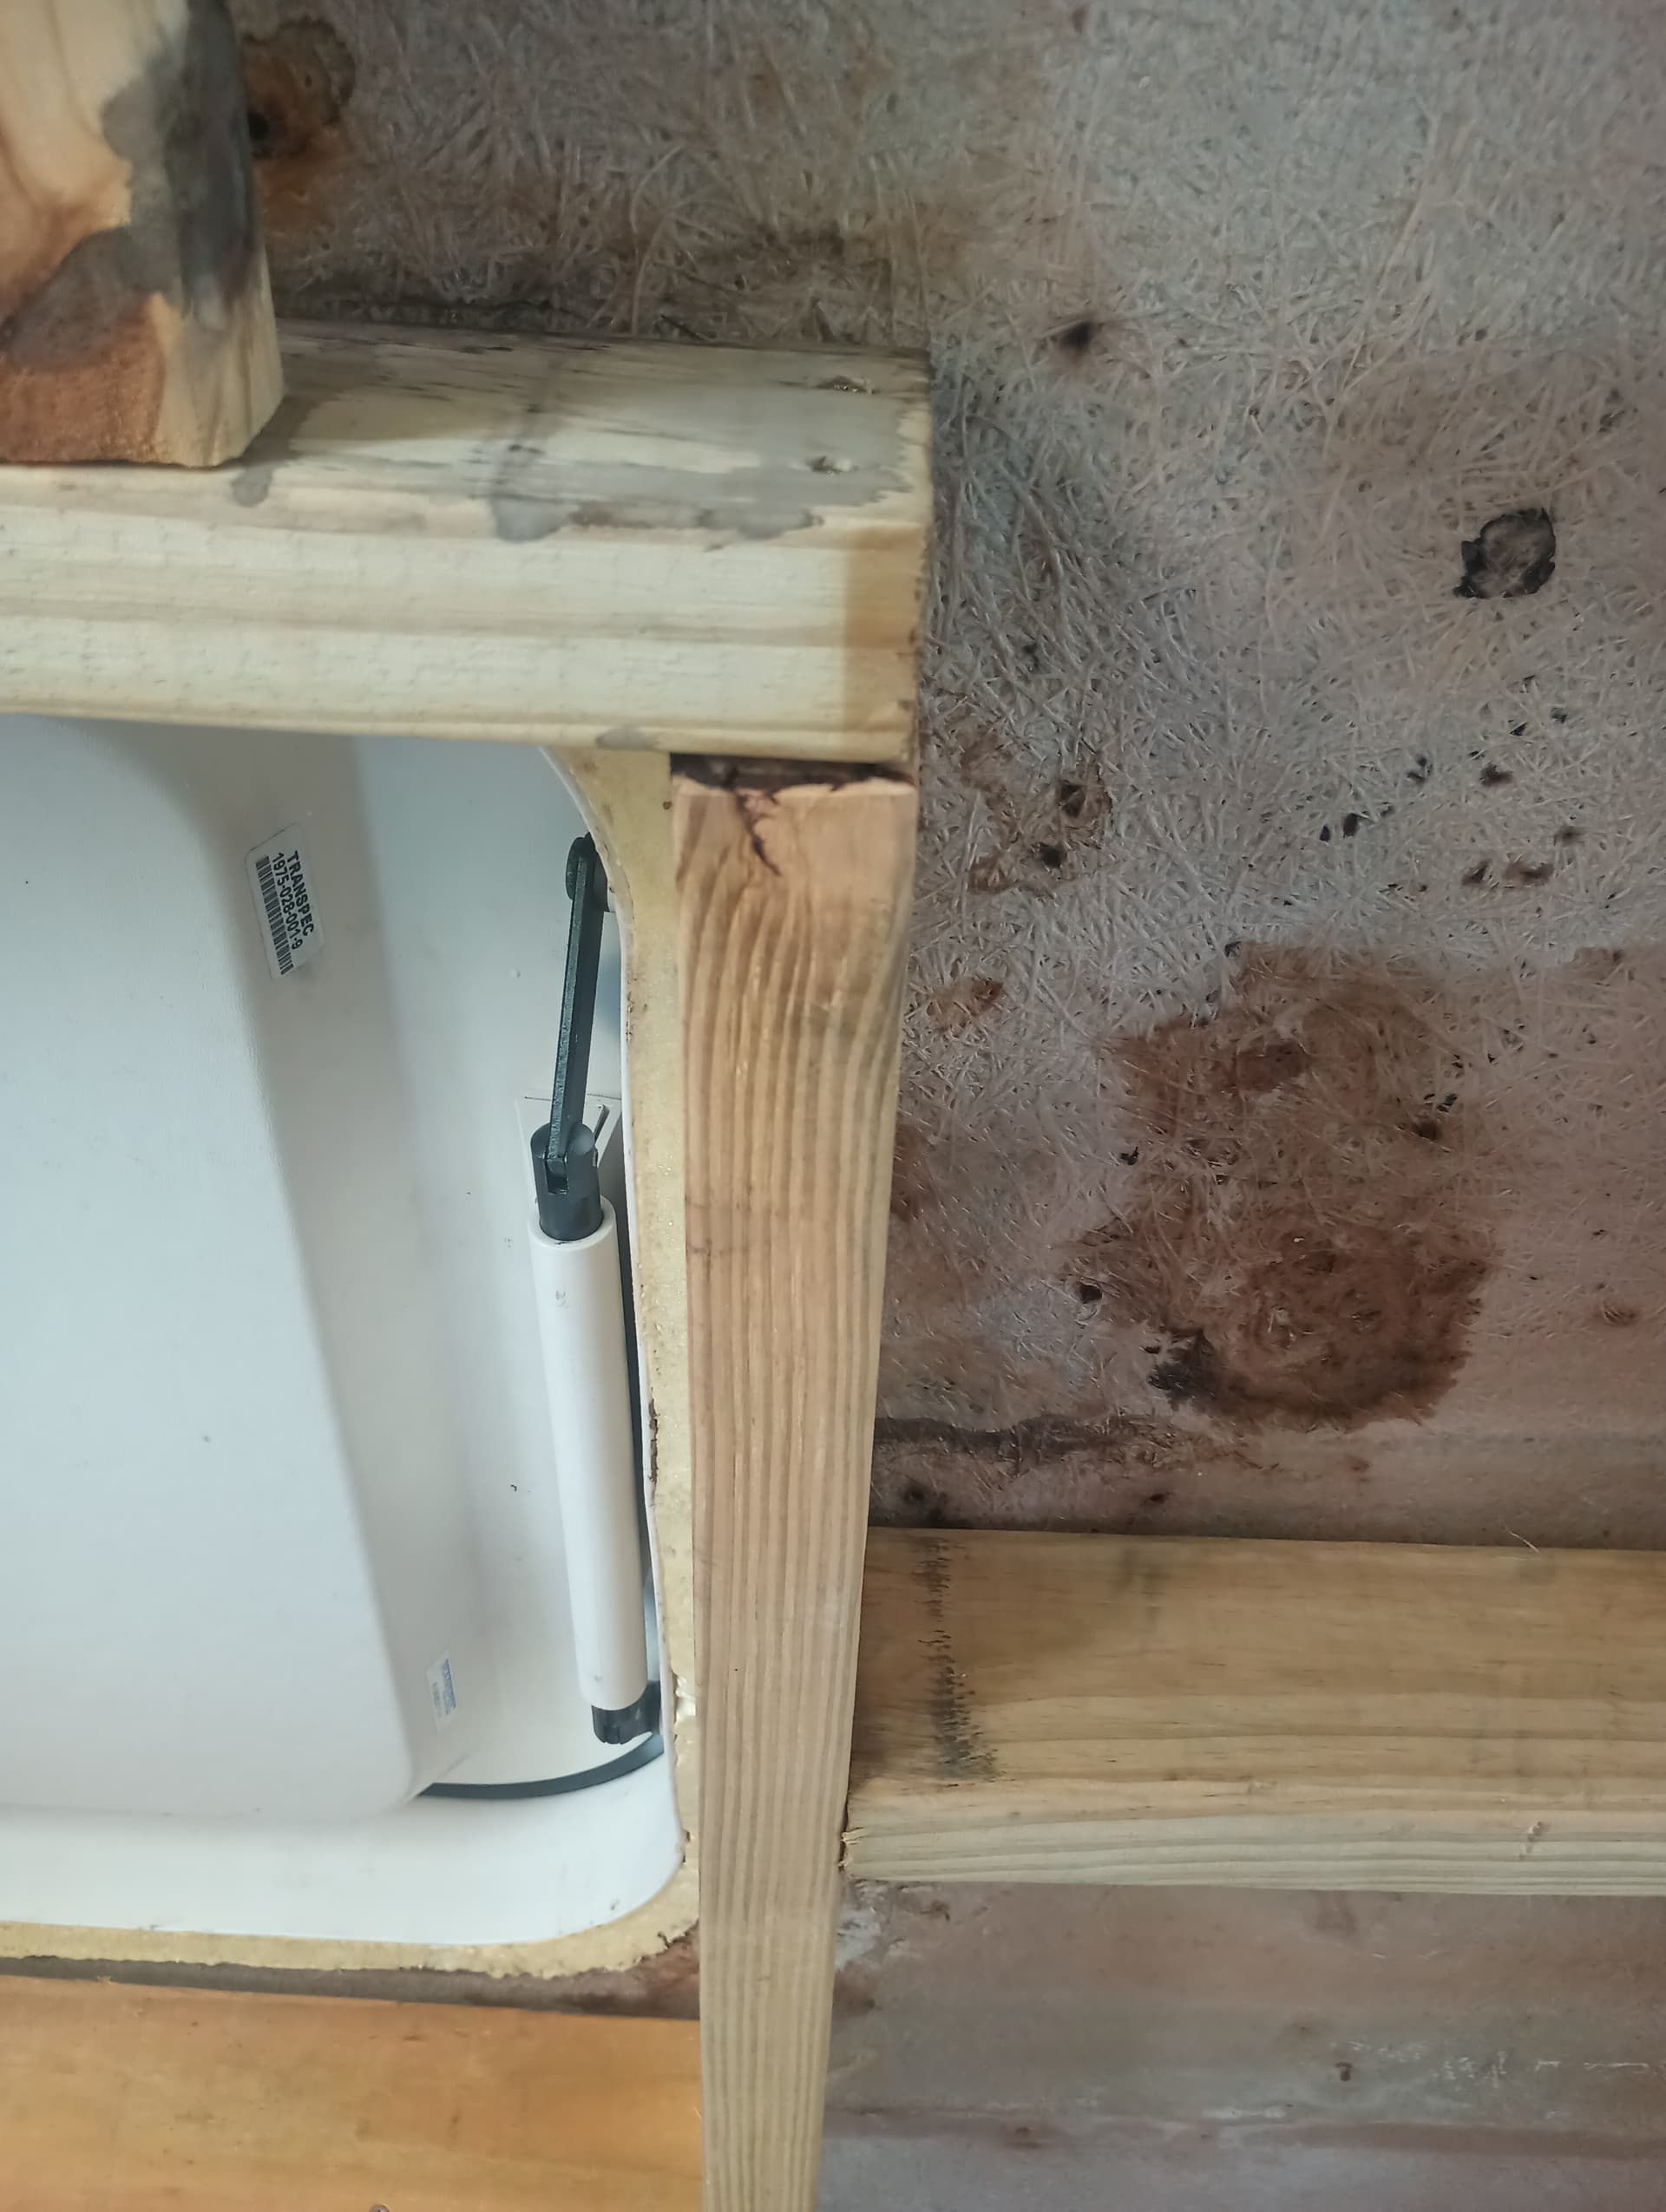
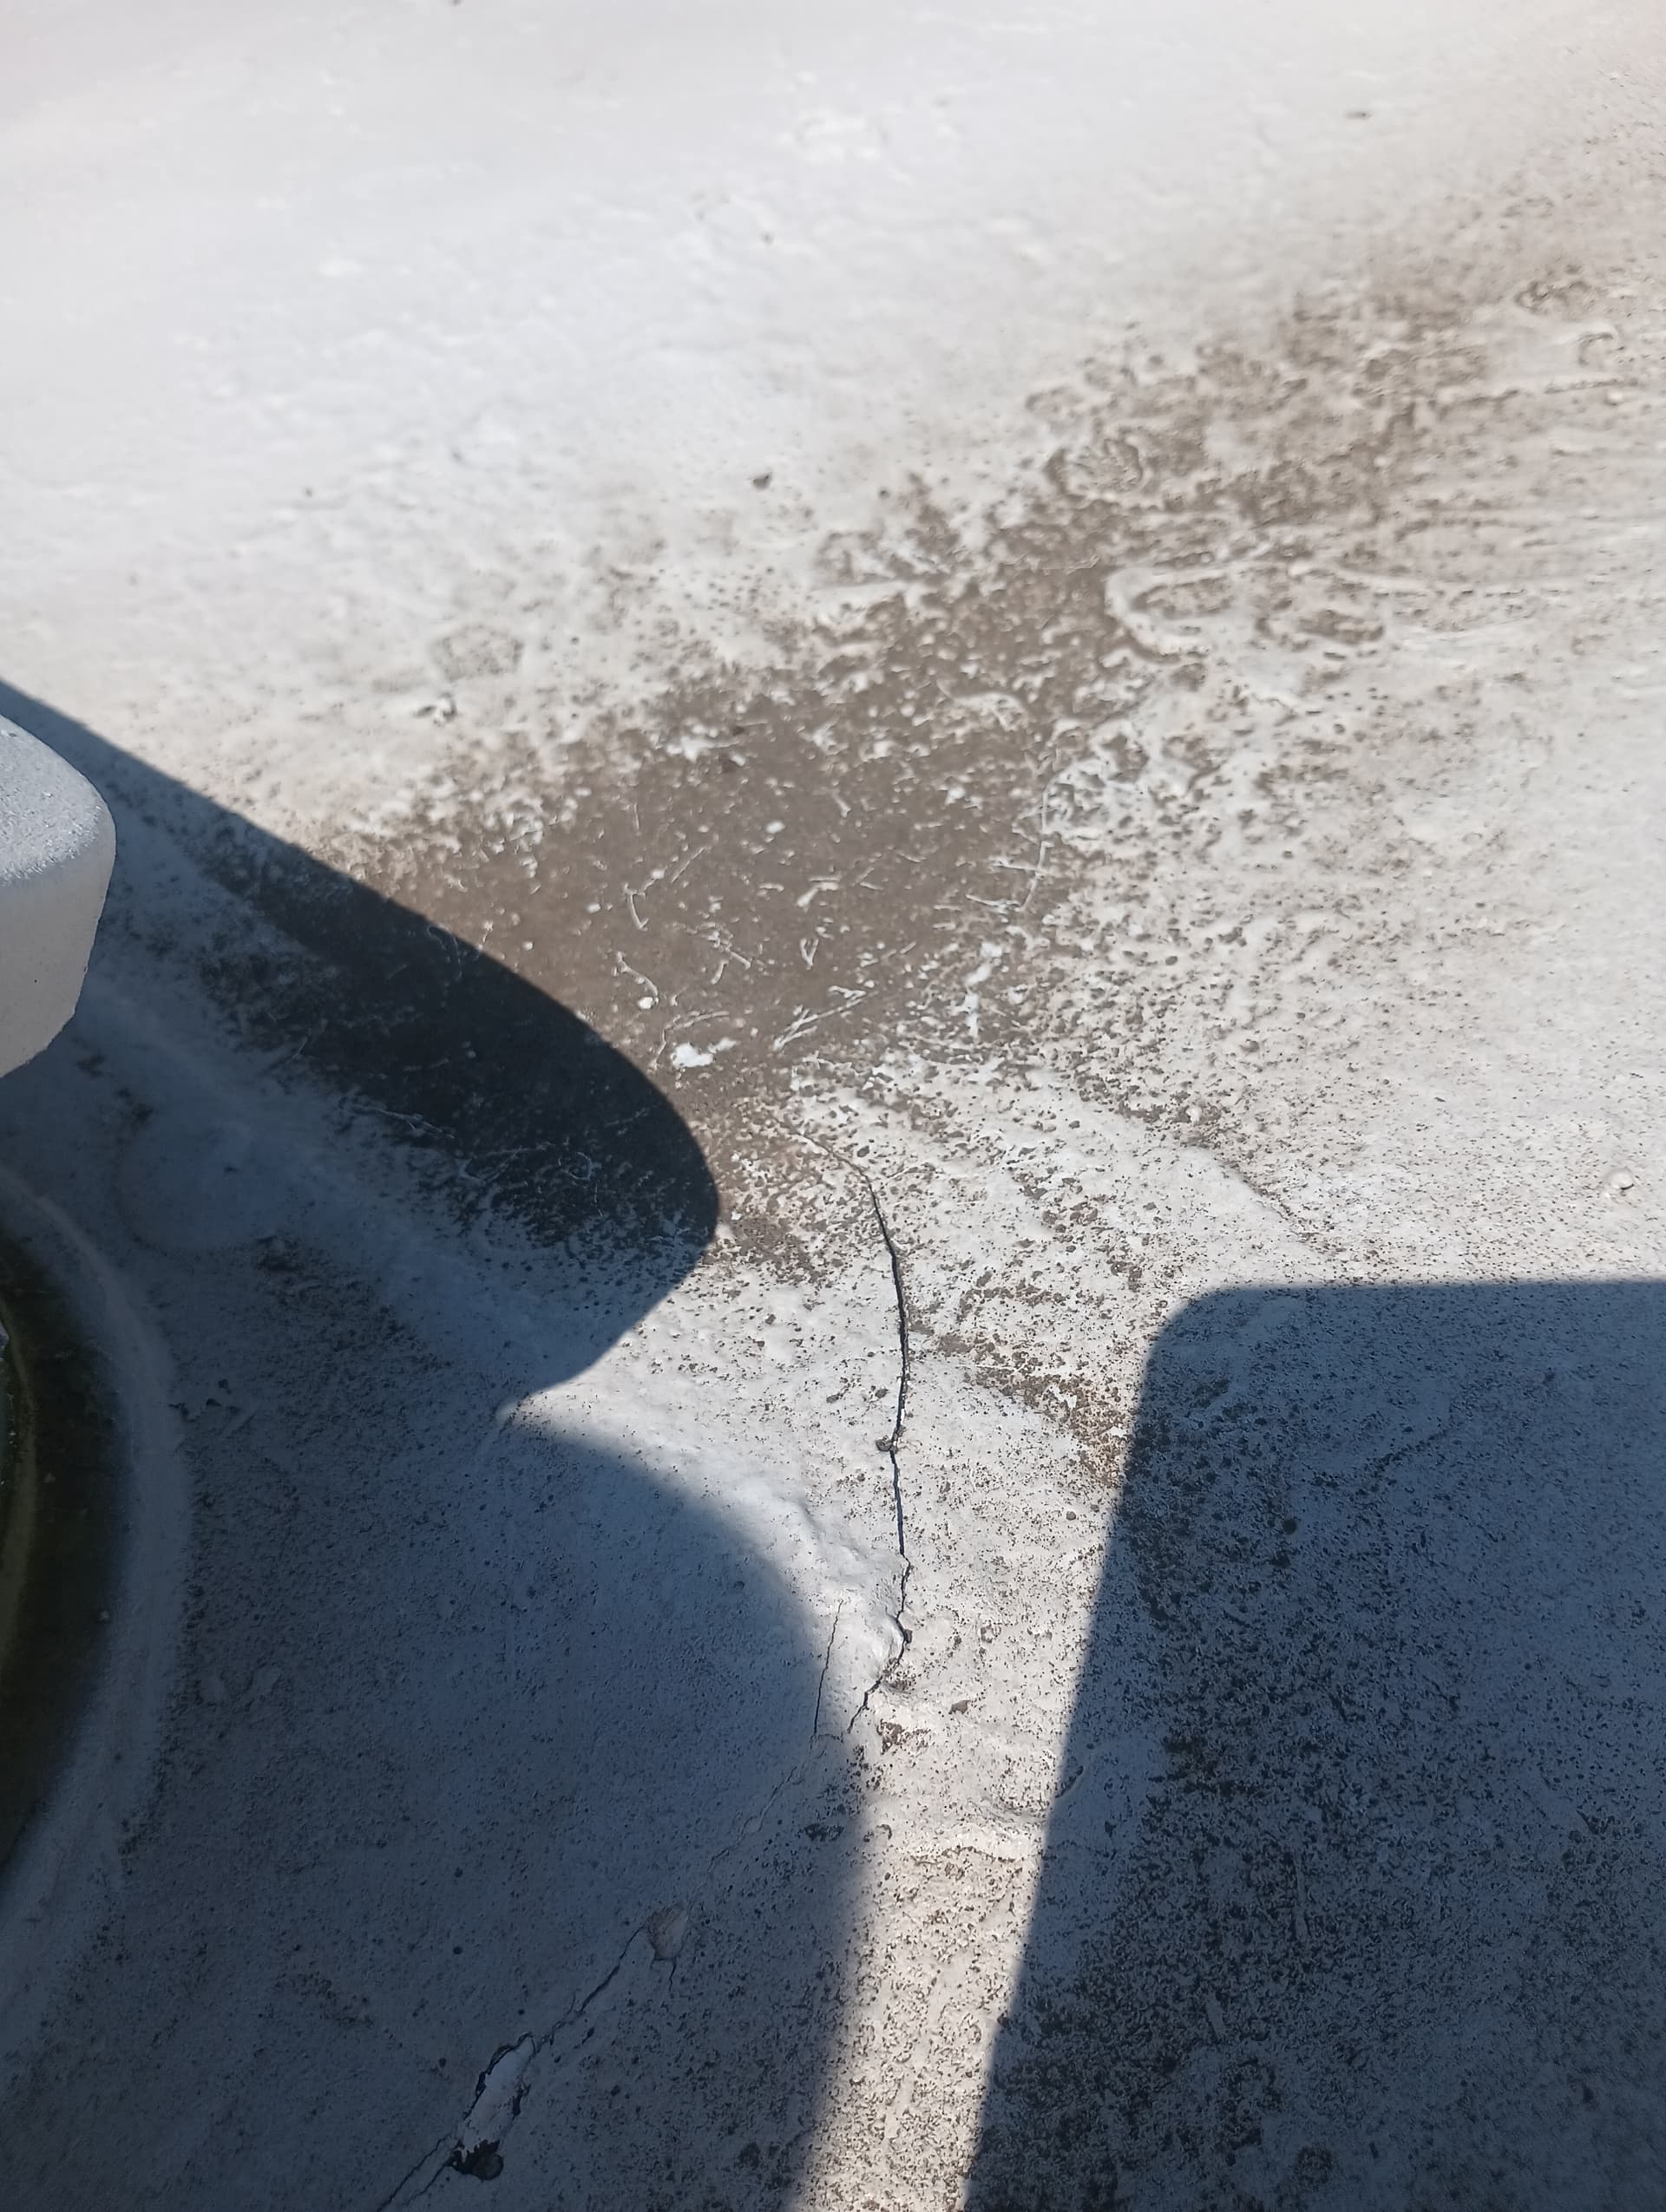
Oof thats nasty. How old is that shell??? That is definitely not helping, almost looks like the fiberglass is just trying to unbond or something. Either way that big crack is definitely part of the problem if not the whole problem.
You might be able to make a patch plate with some aluminum sheet and some machine screws then seal with rtv. I don’t really know on this one, usually something that big we patch it or build the fiberglass back up.
That crack is the raptor liner coming off. The shell is unbinding. It’s the whole reason I put in a frame inside. To mount everything else to.
Ps I am a tractor trailer mechanic
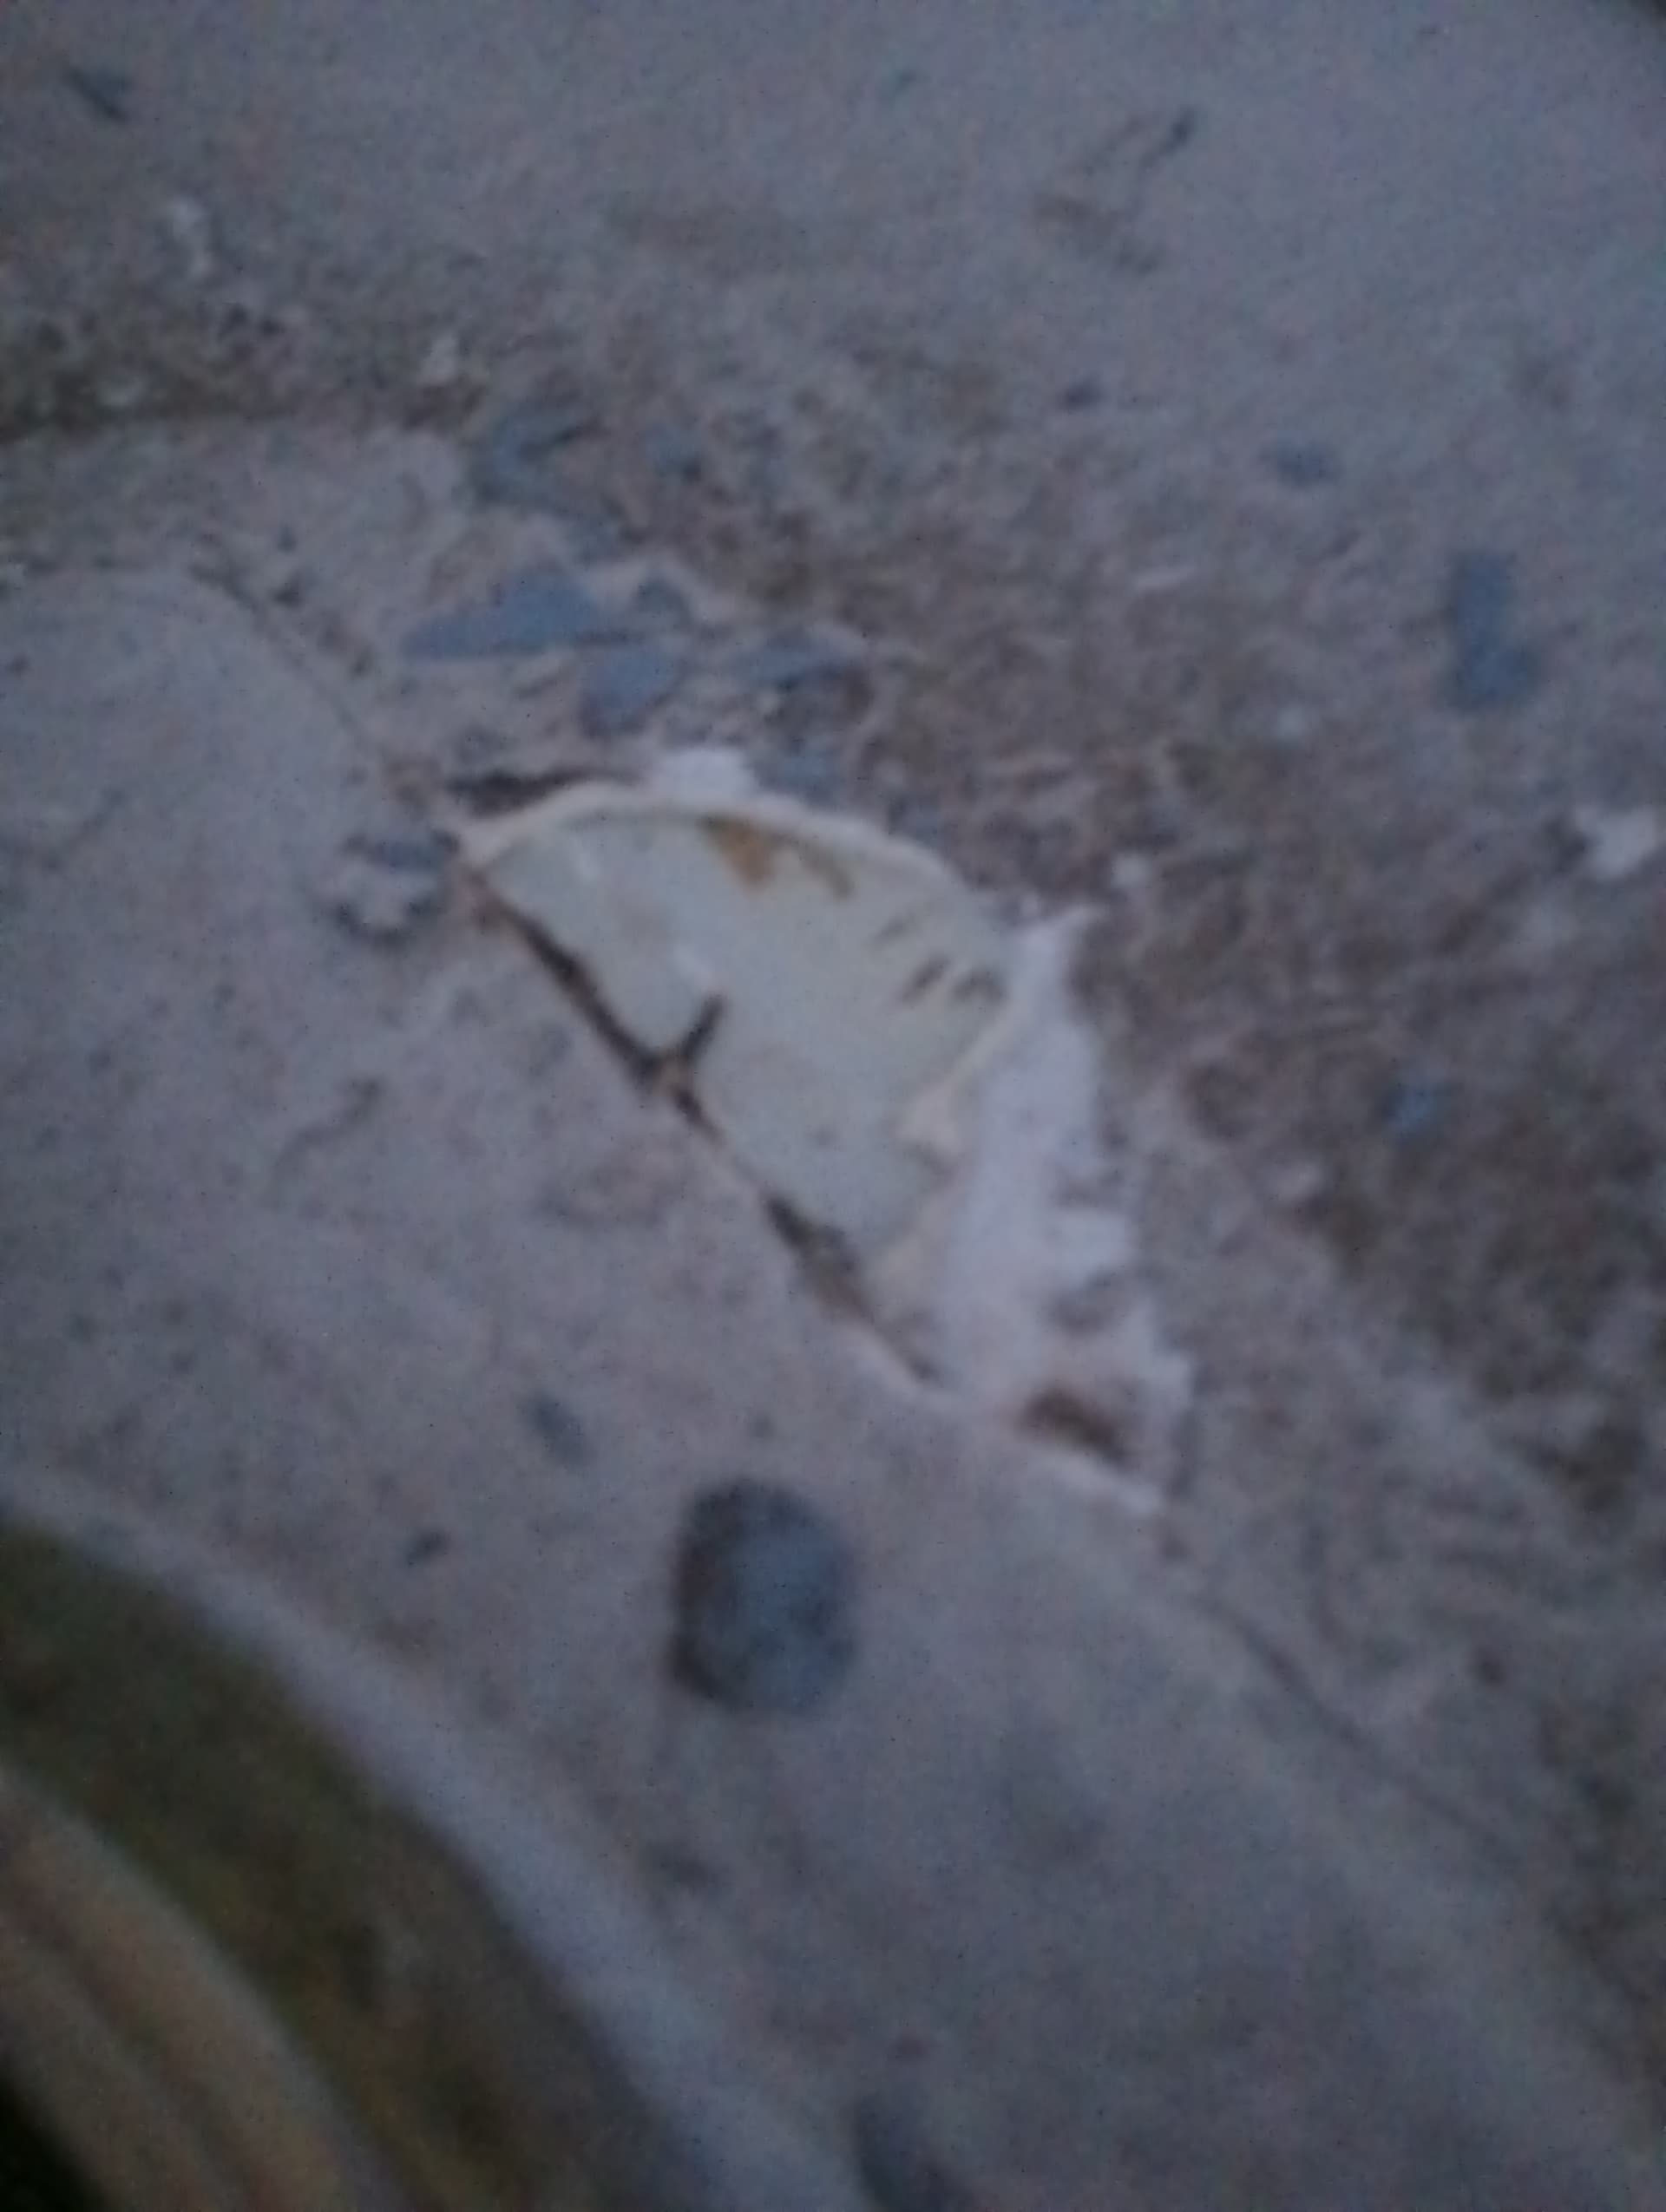
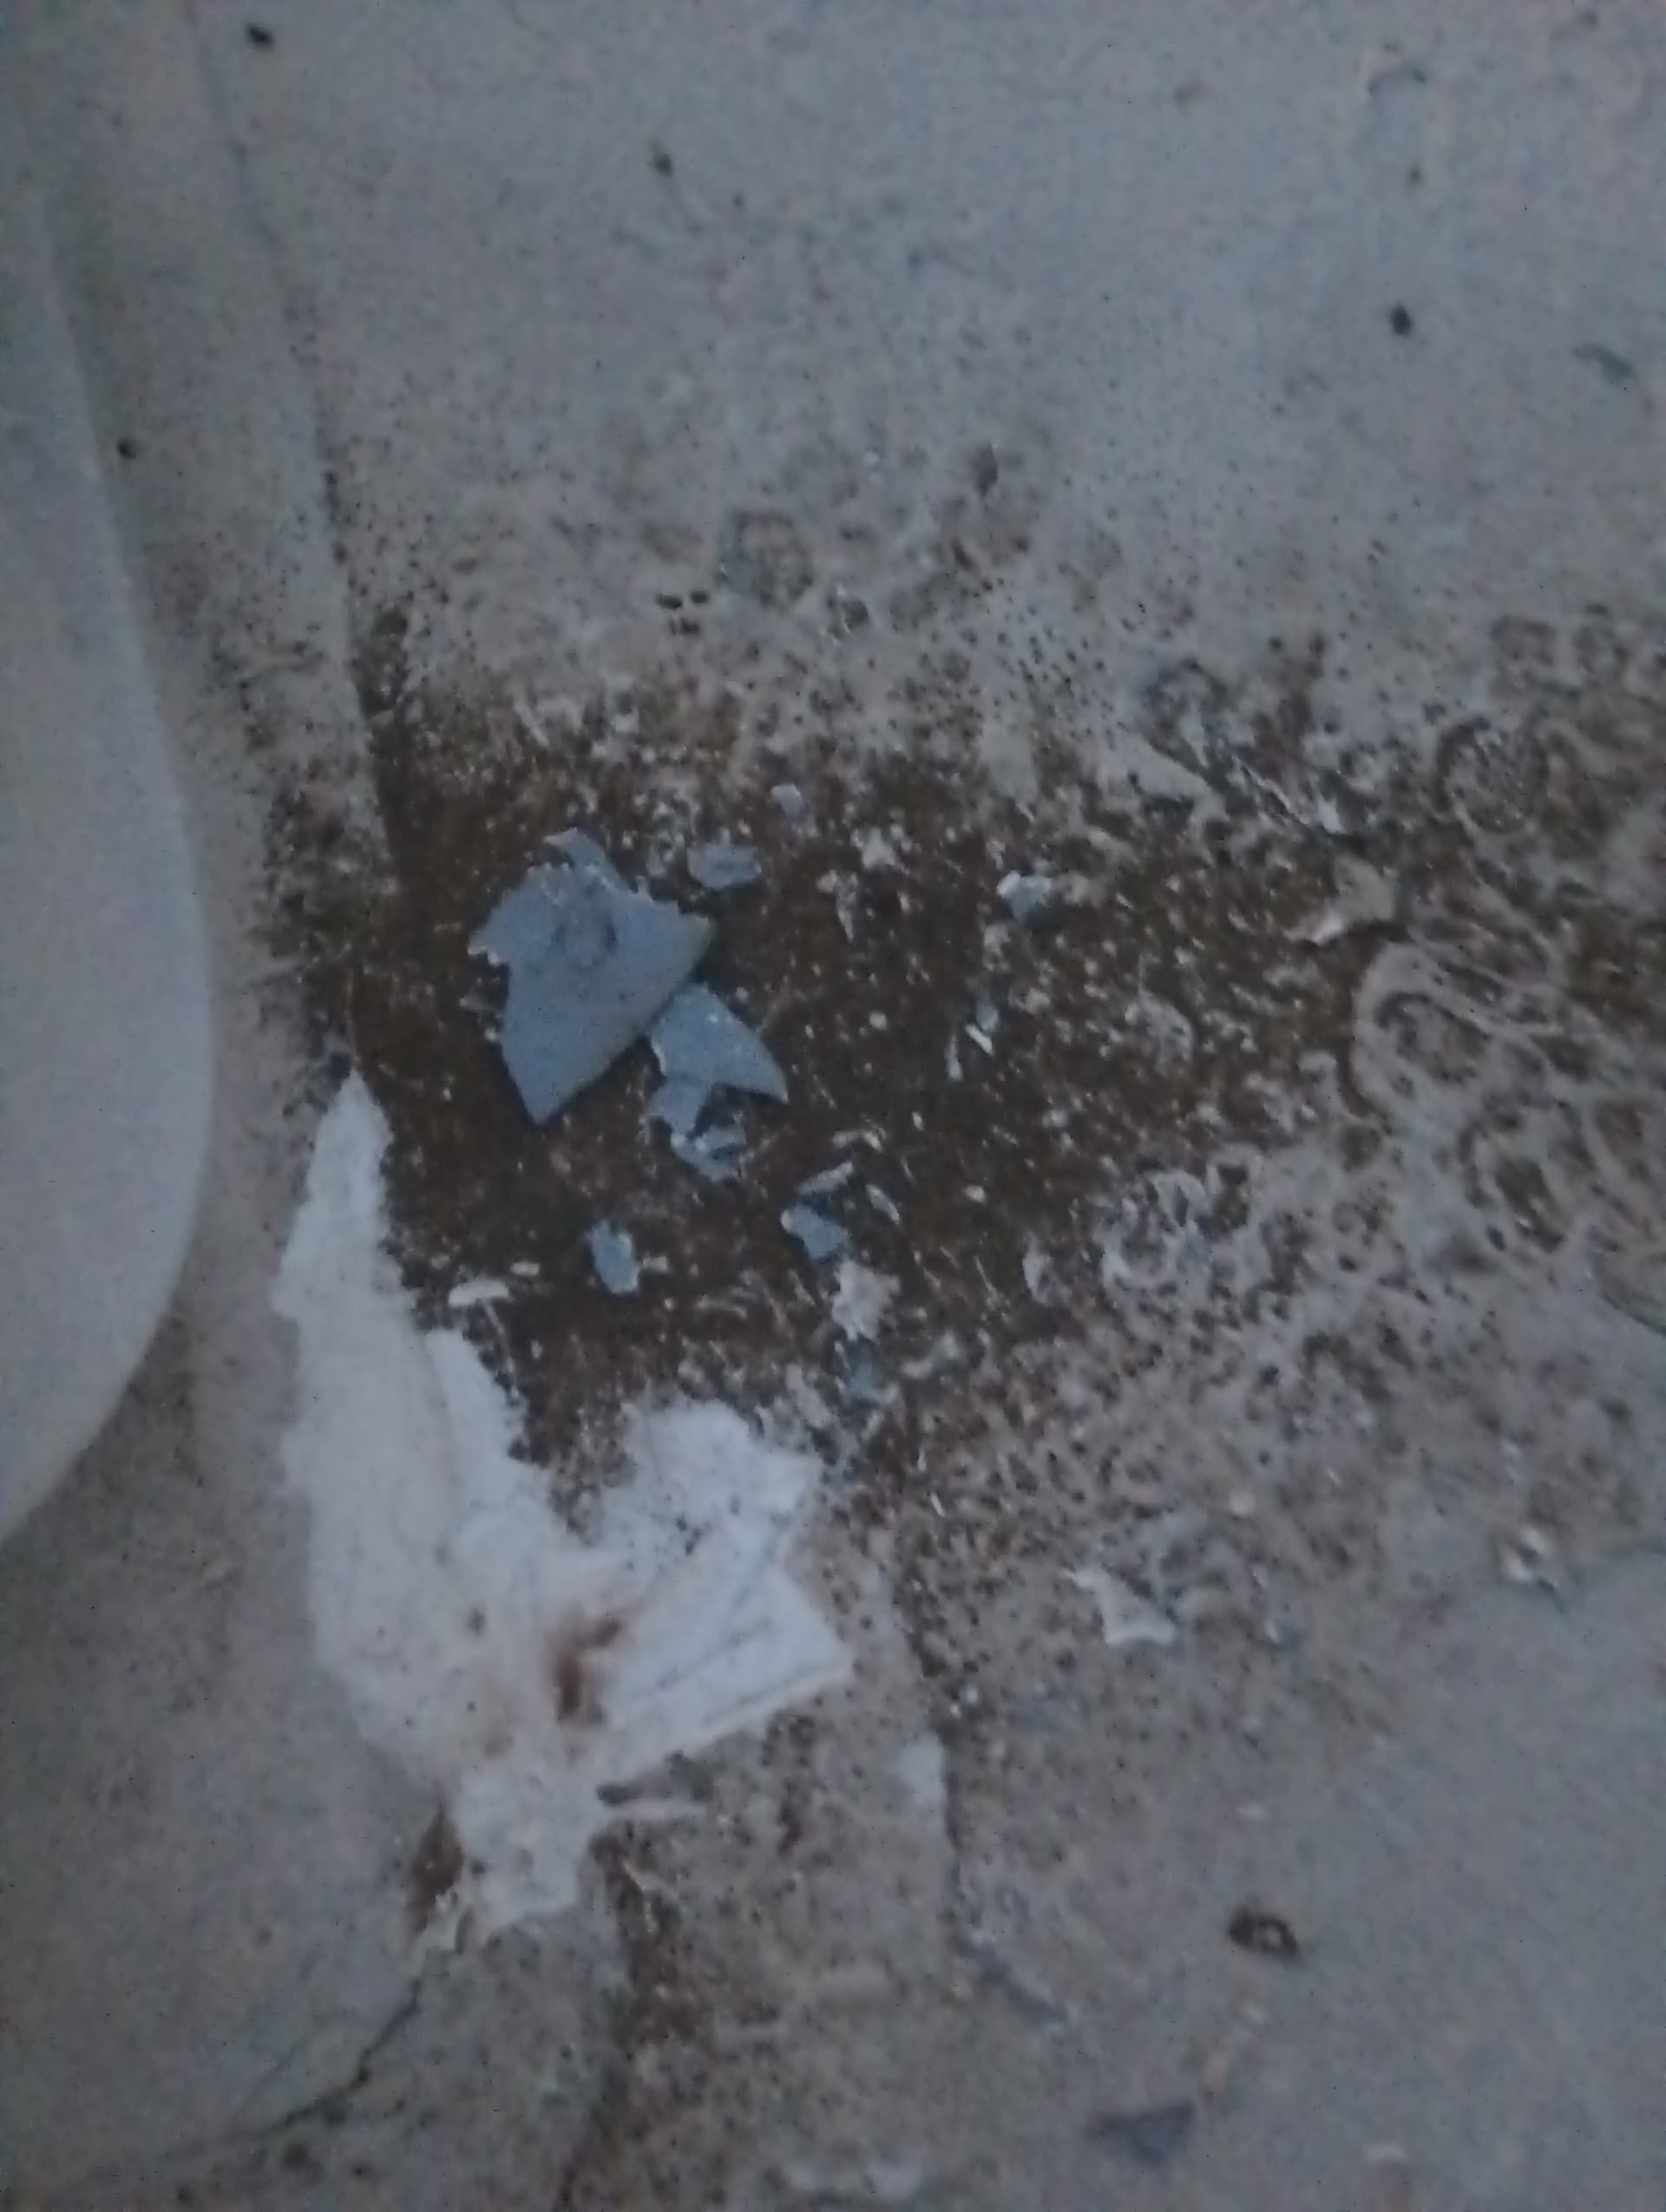
Scraped the sealant away this morning found a gap between the hatch and roof. It’s been filled in with gorilla brand rtv
Youv gotten a lot of good advice.
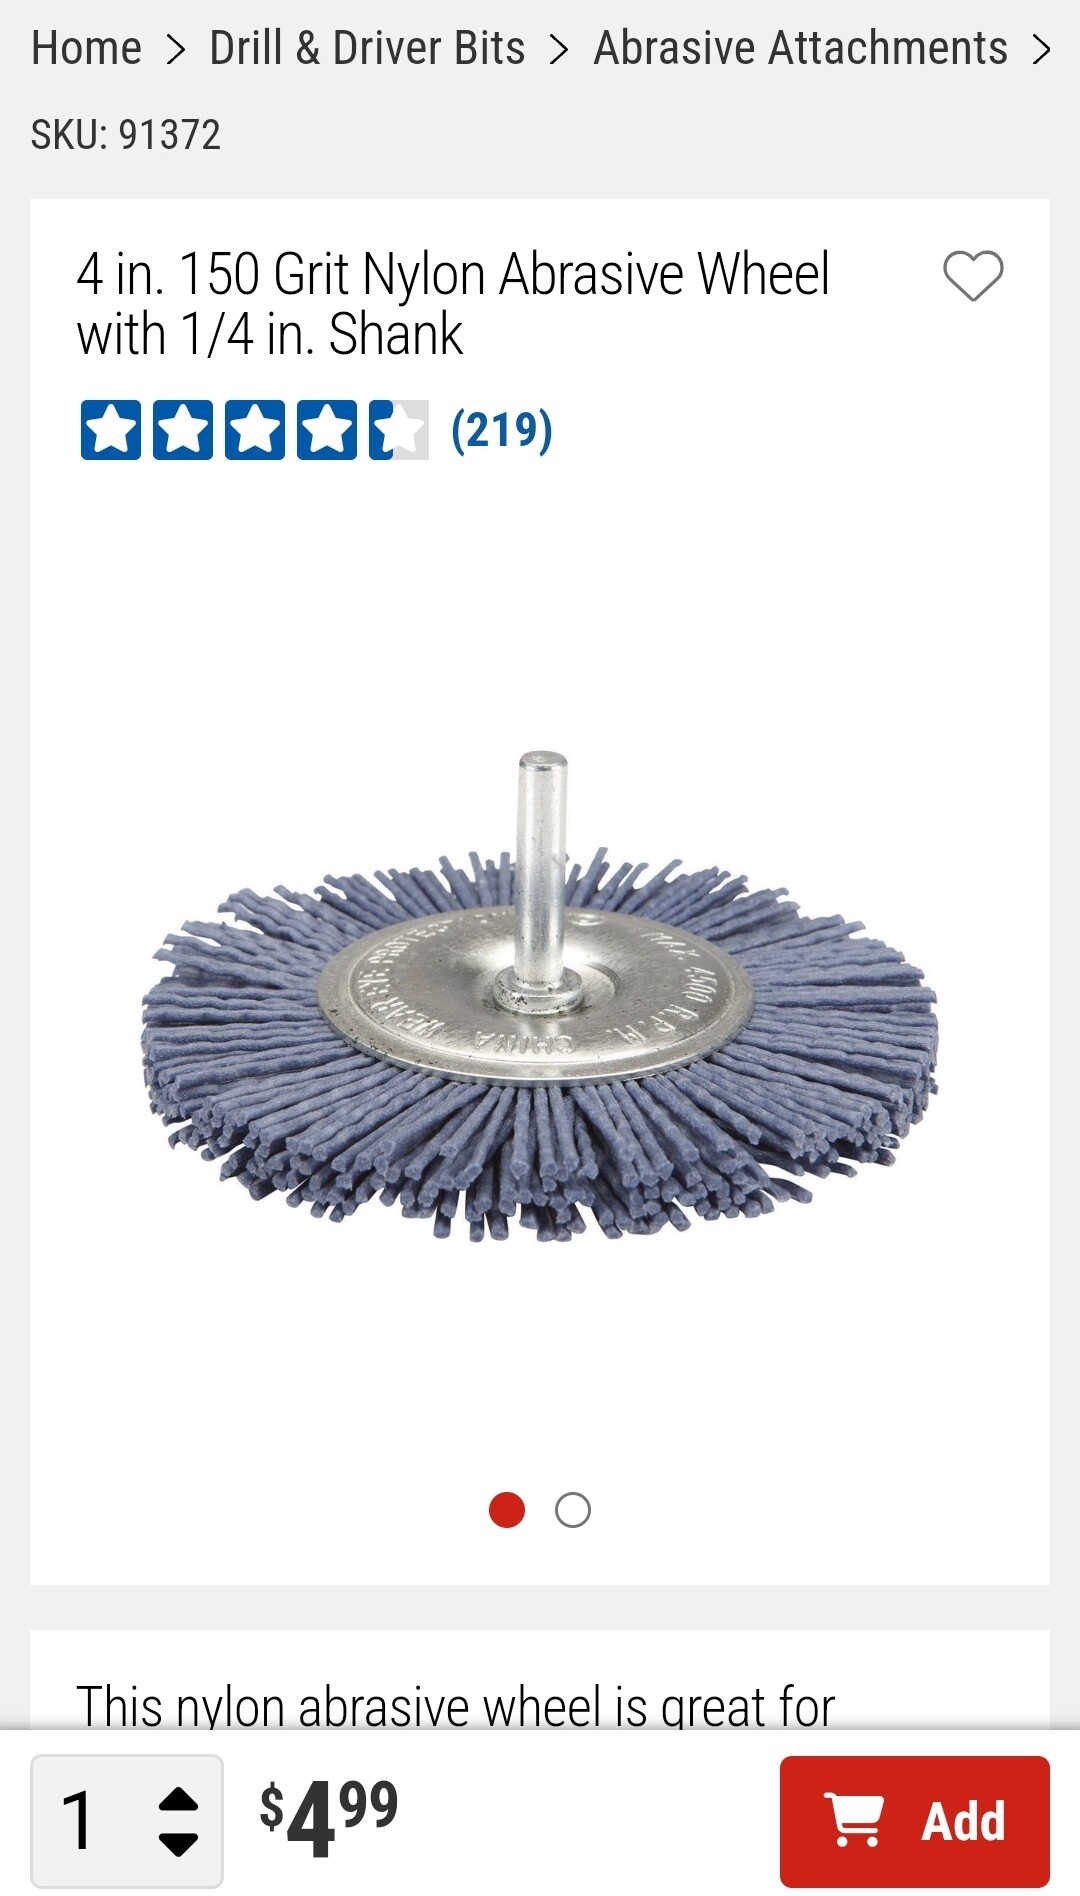
One thing i havent seen is the advise to sand and clean using the rotating bristle brushes. They really do knock loose the oxides and dry-rotted FG.
Just be advised that nylon abrader brushes leave a molecularly thick layer of nylon burnished on. A good solvent triple-wipe with VM&P naptha is recommended.
RTV is a fairly reactive type of silicone. A good solid choice, medium strong among silicones, once cured.
Marine or pool type silicone is more expensive … and notably stronger once it sets up. Yes its harder to remove. So I own a number of the rotating fiber brushes. They really do speed up cleaning up for bond prep.
Just be advised that silicone contaminated abrasion wheels should be stored and used seperately. Lest you carry faint silicone residue to the next job.
I hope this advice helps.
Im watching /learning too, coz my 2011 Chevy fan has a leaky sun roof that has bedeviled body shop guys. It leaks just as much after pretty effective exterior taping. Now what?
Good luck. I hope we get to see your success in the parking lot.
I looked for one for my angle grinder. Had hell finding one. Used a wire cup instead.