I may still have some PETG left from an experiment. My only beef with petg is that it gets soft when it heats up. So in the cold PETG does great, but I don’t know how petg in a garage in the middle of summer would fair.
Is this something we could plasma cut from 1/2in steal plate and then tap a hole to bolt them on to the arms?
The glass transition temperature of PETG is 80C (176F). The hottest temperature ever recorded in Oklahoma it 120F, so i I think that would probably be safe in a garage unless there is something actively increasing the temperature.
My thoughts are that PETG or ABS would be less brittle than PLA, so it might be less prone to cracking if over tightened. I would rather find something that someone else has made that we could buy, but I did not have any luck googling short of $35 clamps from MC. Al or steel would be better, but I am not willing to do the work to fabricate them. If there is someone willing to whip up a set have at it. If someone can think of an easy way to fabricate something. I will upload the pictures I took last year.
Remember this needs to compress the foam arm rest and keep it from sliding. it will be held in place by gravity/friction and needs to keep it from sliding around. I did a quick test on a printed part i made to see what it would take.
If you would like to have a new board made with a smaller internal opening made please let me know, and I can cut a new board. Mon/Tues. is there wood at the space for this purpose?
I reattached some of the parts to the gauge panels and wiped off most of the dirt.
Is there wood for the new board? I did not see any around the parts in the show room.
I started a set of the petg clamps this afternoon on the Prusa. They should be done soon. If you choose to use them. They were printed at 50% infill and 5 perimeters.
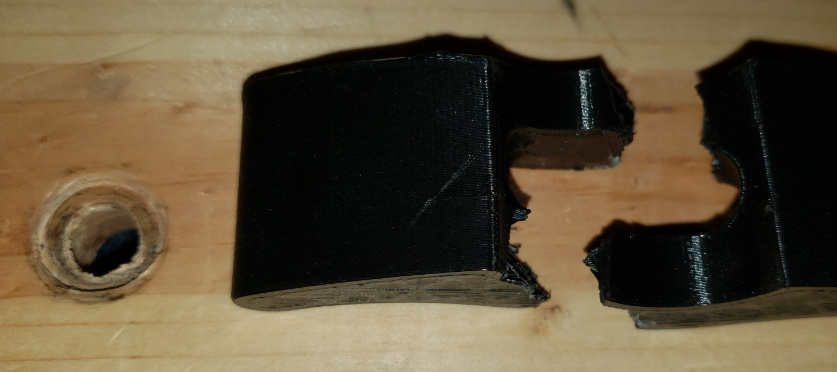
Here is the pla version tested to failure. It took quite a lot of effort to break it I could not find my torque wrench, so I have no numbers. The nut and washer were being pulled into the pine board I was using. I think that is well beyond hand tight with a plastic knob.
I think I have a roll of tolliman nylon if we need to go that extreme.
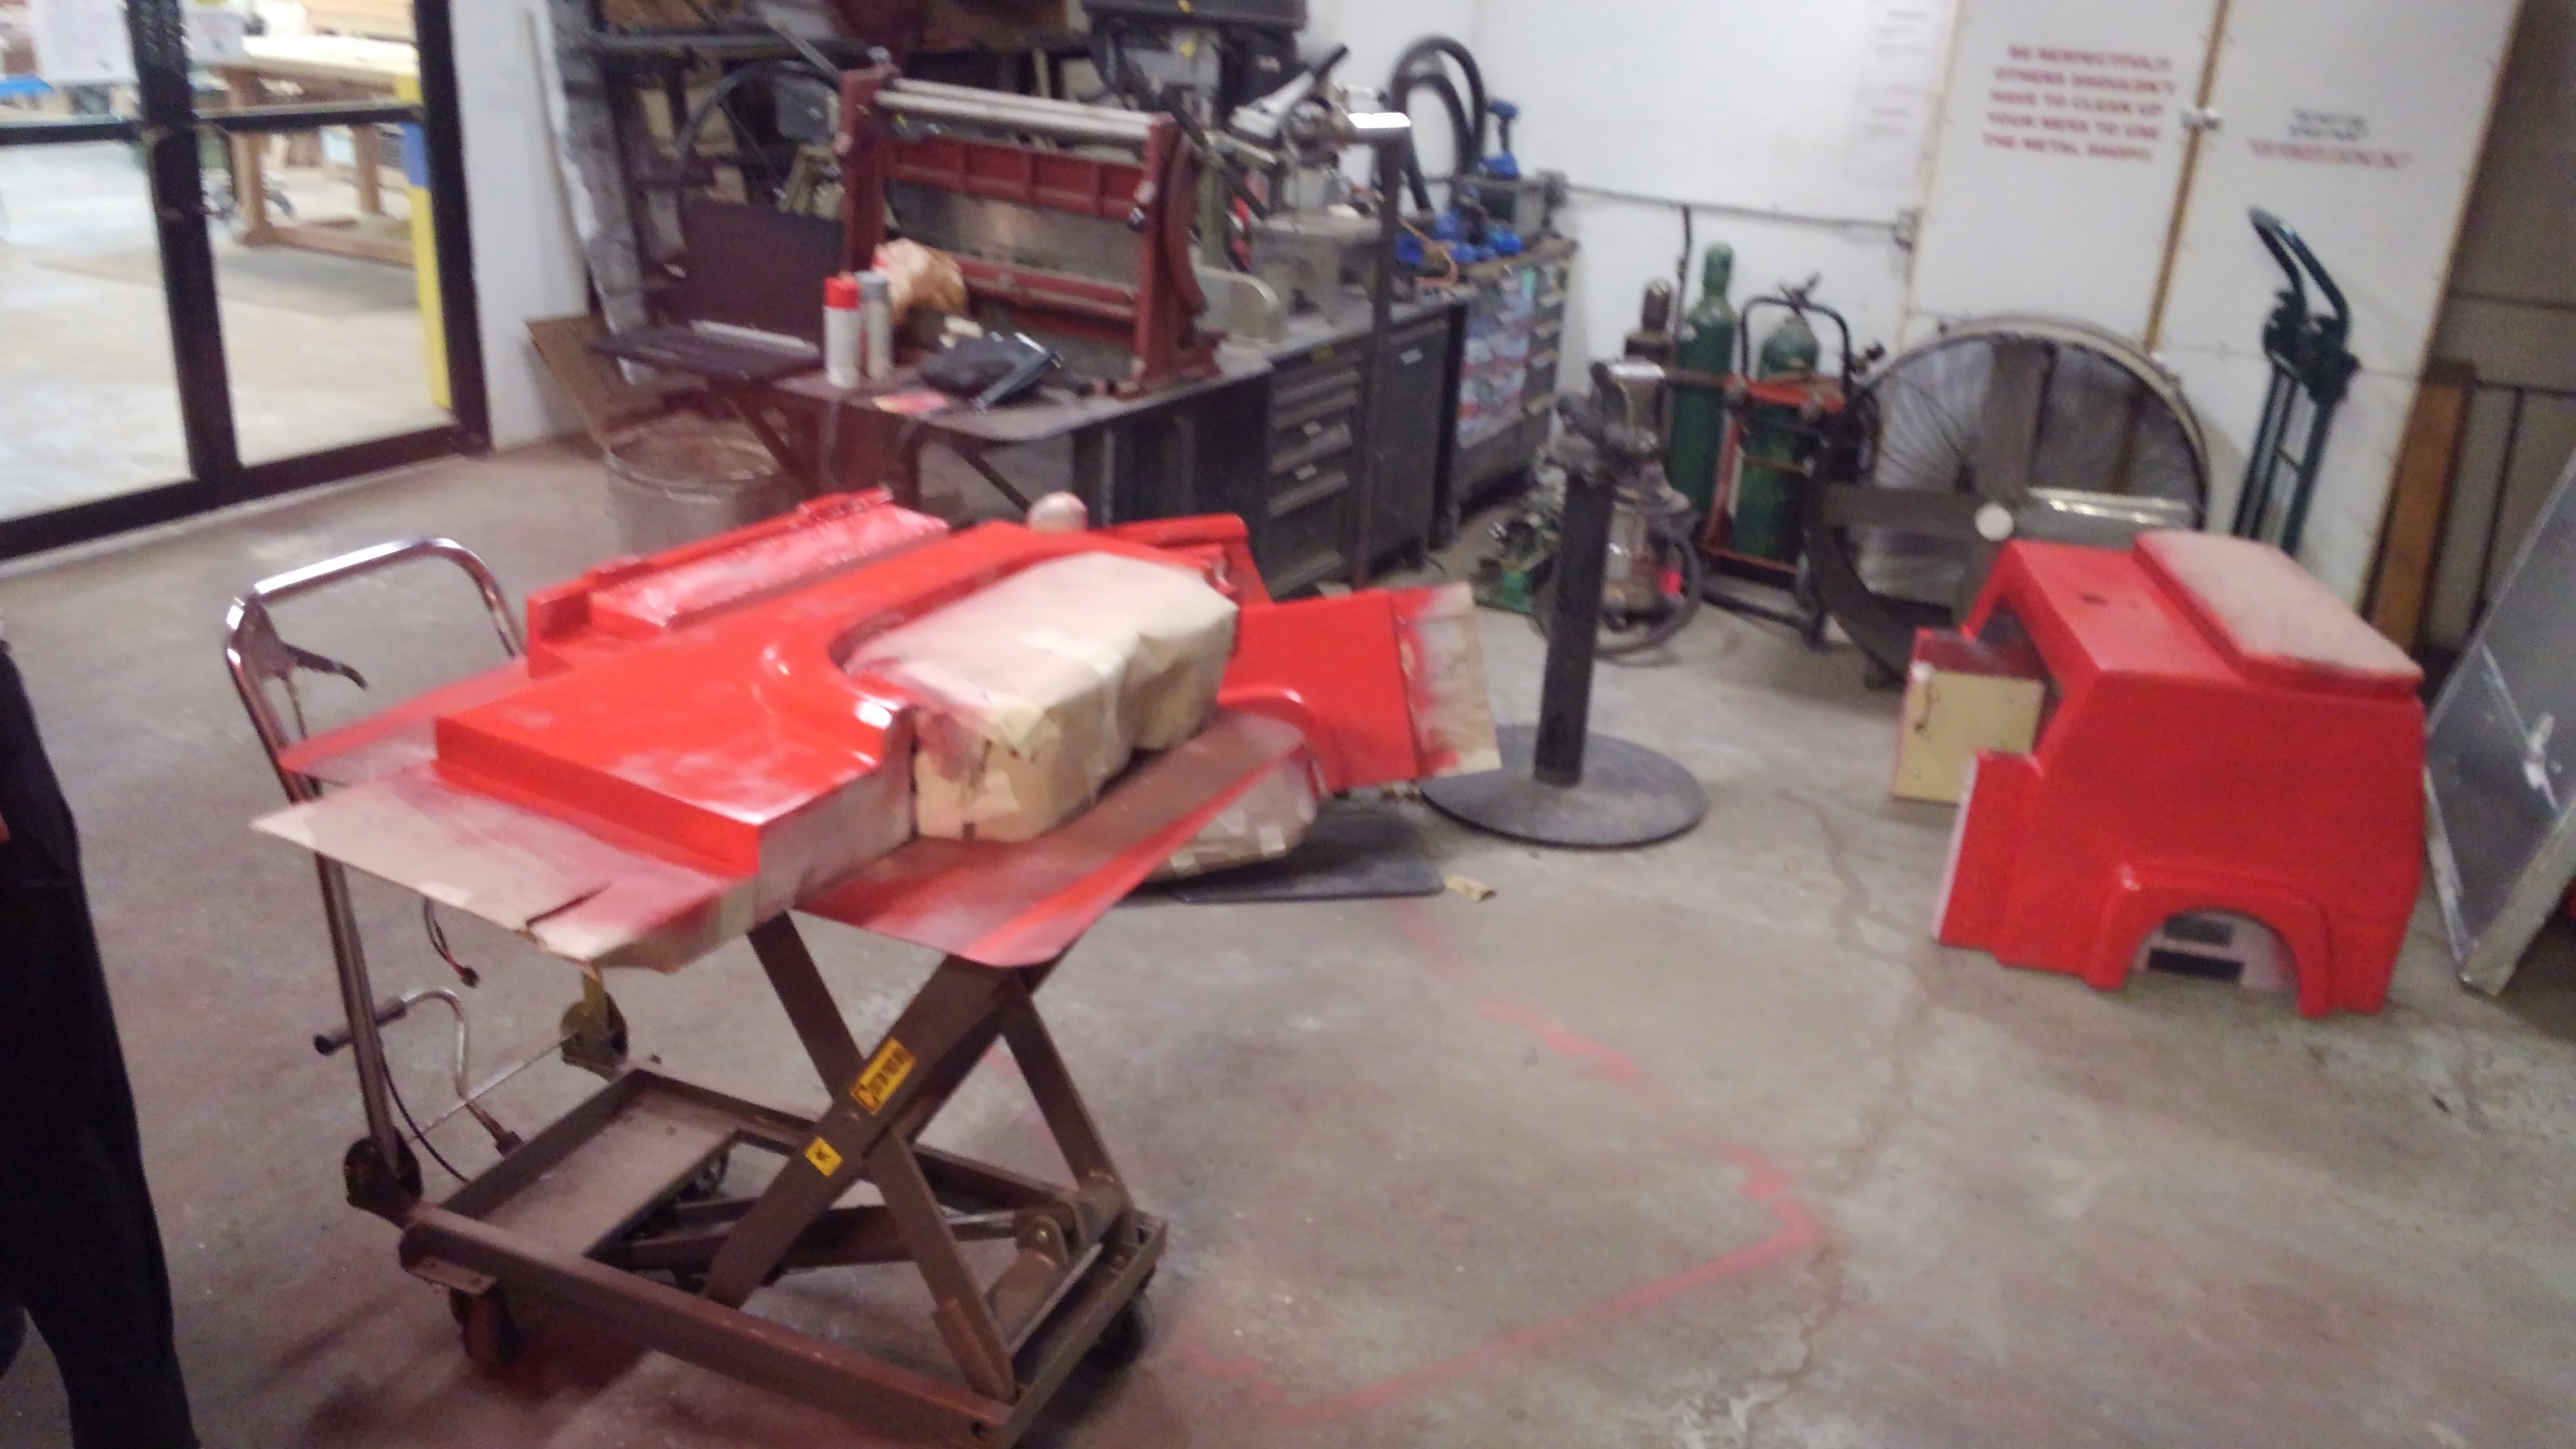
We have some red paint on the firetruck… It still looks decent while standing back 5 feet.
Side panels may be 10ft’ers…
But they’re painted red and unless we get a crew to do the body work, They’re about as good as we’re going to get.
We still need to get replacement decals made and repair the front bumper, as well as form new diamond plate pieces to wrap around the backside.
Thank you all for the help so far, the goal is to get this done for a ‘geek or treat’ event at hero complex (Woodlawn and 21st) on Friday, and then to Oklahoma Saturday morning for a Halloween parade that Logan is participating in.
We still have a lot to do, but at least the list is getting shorter.
I think we still need to get a nice piece of wood for the new table top, as well as some thin diamond plate from hobby lobby to replace the back pieces.
Unfortunately, I’m down sick today, so I’m not going to be up there this evening.
But here’s the hit list I can think of:
1.repair the front bumper and attach it (Emily is knocking out this one)
2. Get 2 diamond plate corner pieces made and glued one (we want them to wrap around the corners so that we can also attach the taillights to them
3. Paint the front window on the firetruck (probably want to come up with some kind of trim to go around that)
4. Take a die and clean the bolt threads on the side panels that were painted over
5. Finish/attach bubble blower (Christian is on top of this one)
6. Make a new wooden top (Tom is willing to get this made once we get him the material for it)
7. Reattach headlights and double check the wiring
8. Test fit everything and make sure if works
9. Because I like odd numbered bullets: have fun
I’ll swing by and get the diamond plate for you tomorrow; it’s on my todo list. I’ll drop it by in the afternoon, and will leave it near the fire truck.
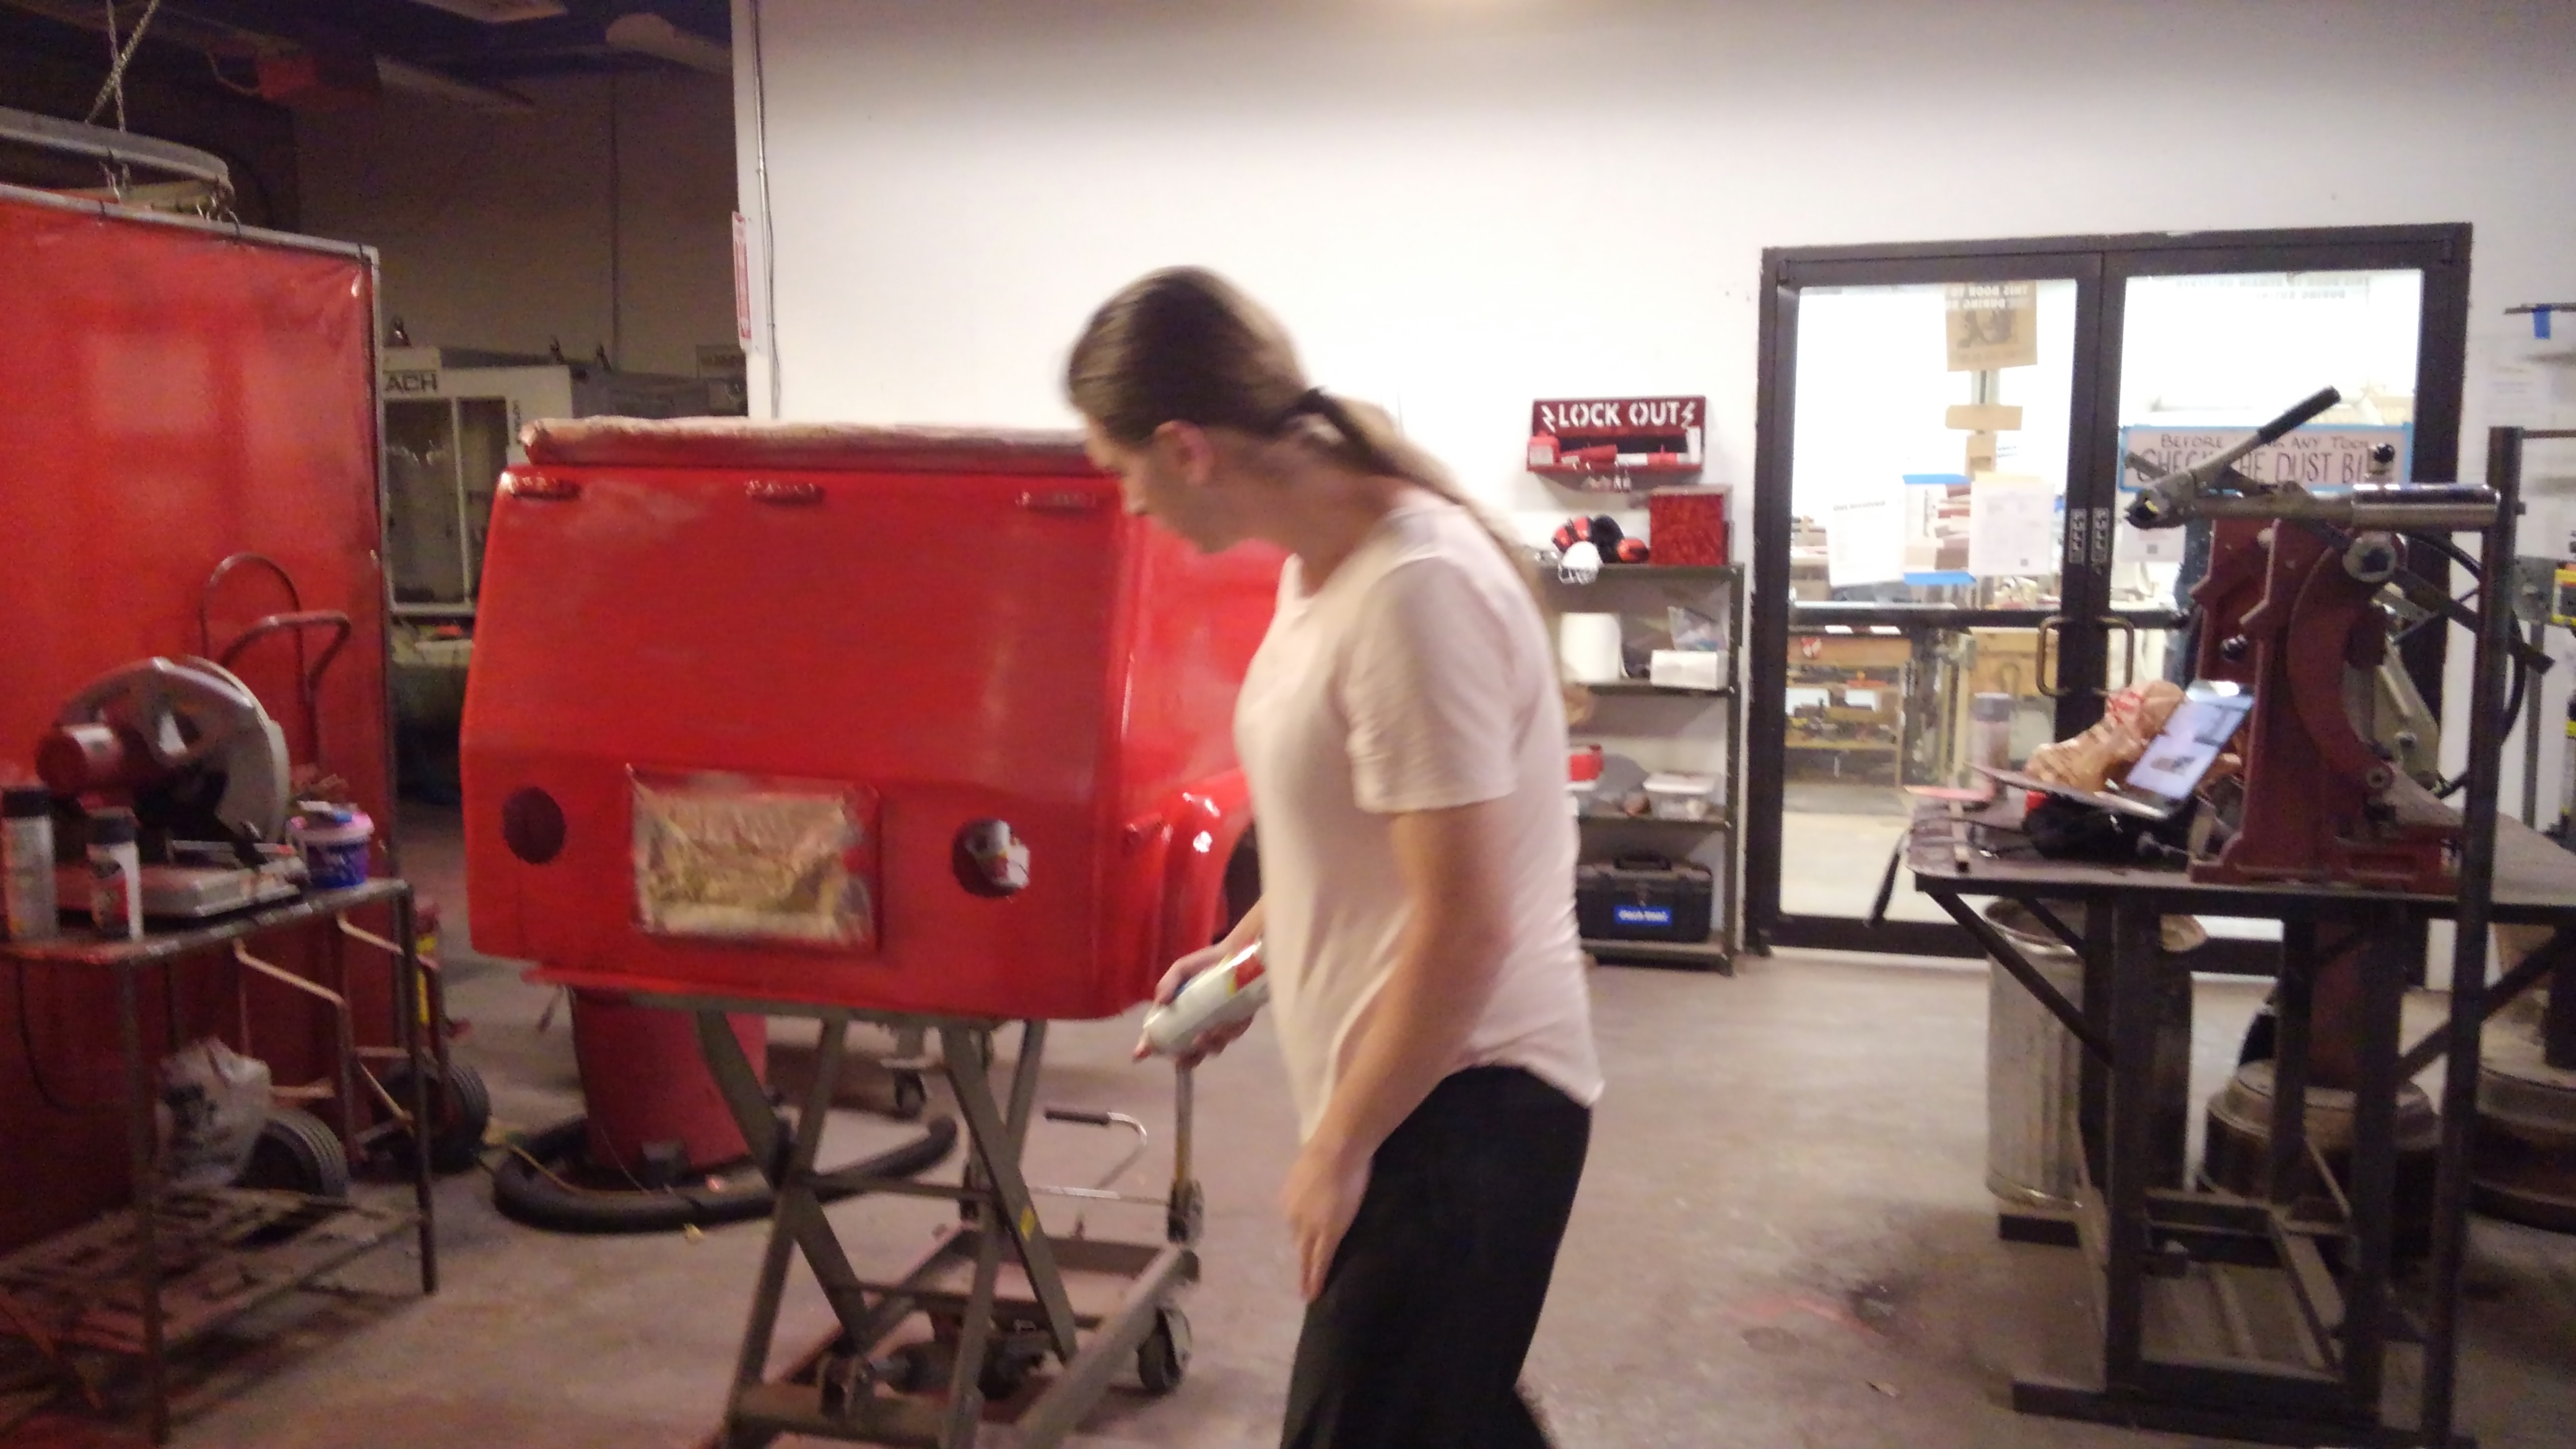
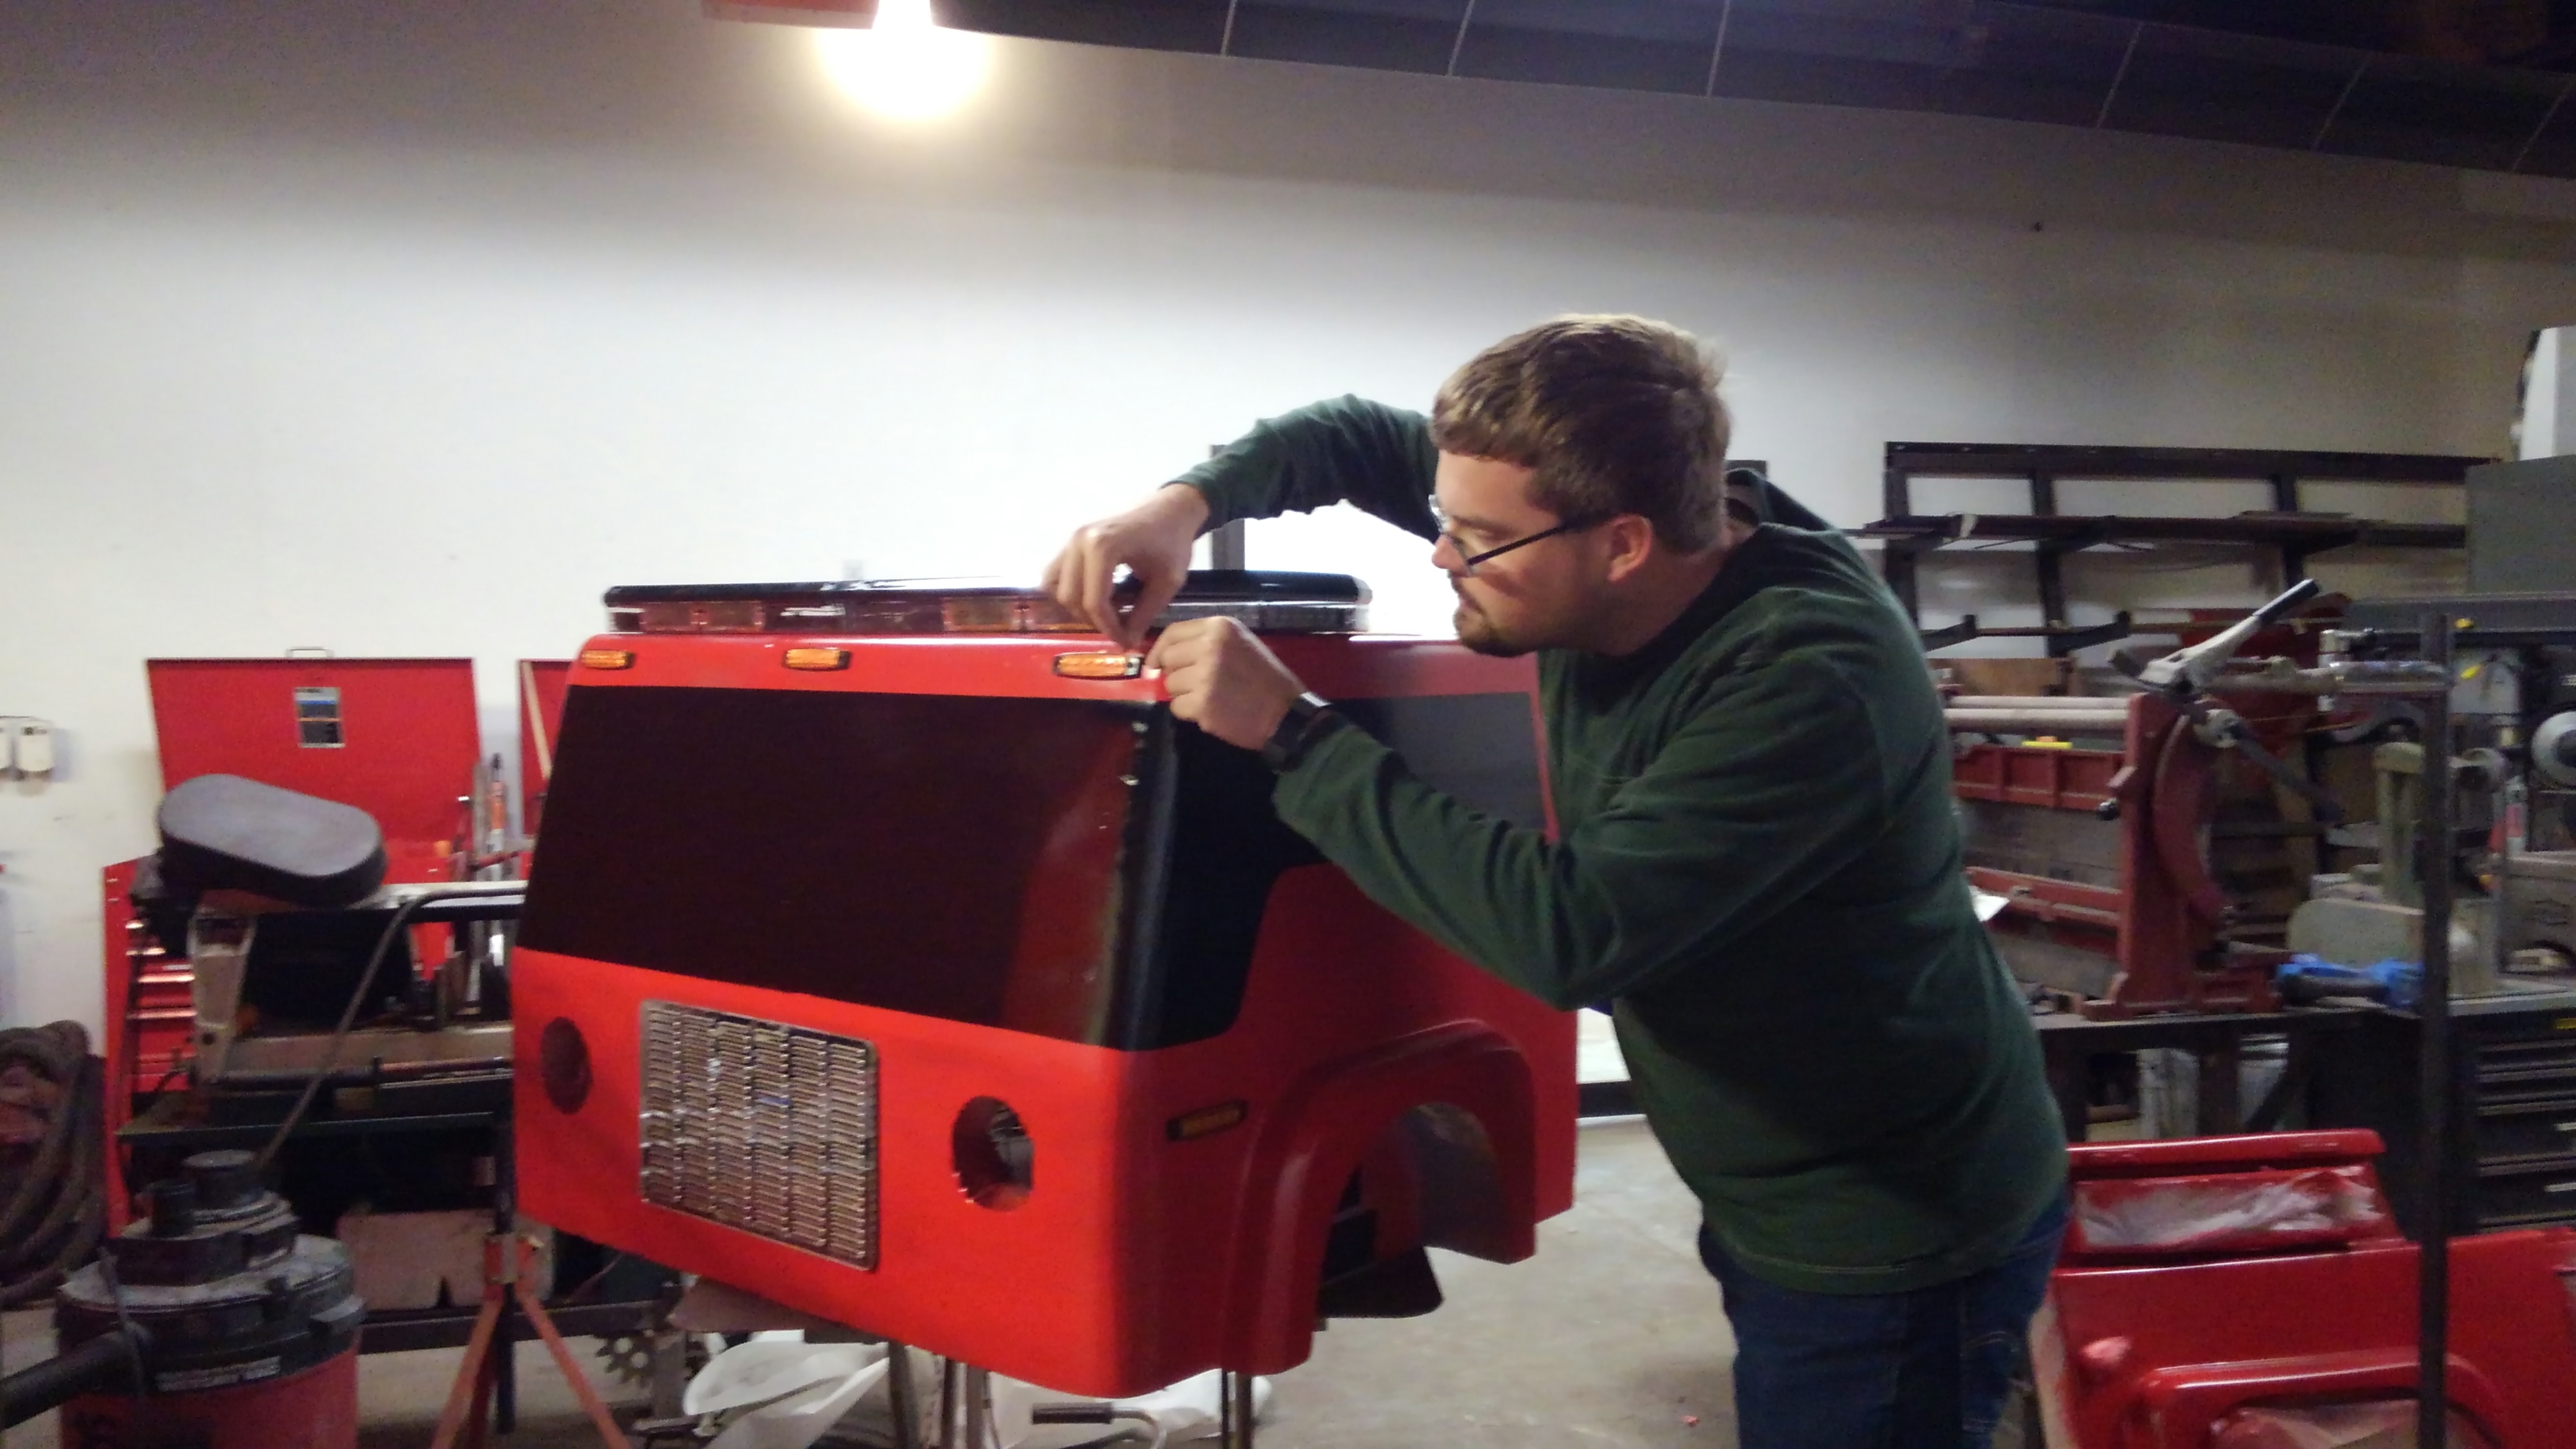
I’d also love it if you guys would take lots of photos, including of work in progress and workers working on the work. Just send them to @david or david@makeict.org.
Not a criticism, just an observation. I was in the metalshop and I was looking at the side panels. I see what you @rustin.atkeisson were pointing out. It seems to be in the spot where the decals came off. It is a bit bumpy, and yes it is a bit of body work that would be needed to make them flat, and I am not sure there is enough time.
I think the decals cover most of the problems area. If we can’t get decals to cover the area above the back wheel wells, what do you think about covering that area with something shiny. Diamond plate or polished metal. I don’t have accurate measurements, only the original 3d mockups. I think the 36x36 sheet might cover the sides. https://www.homedepot.com/p/M-D-Building-Products-36-in-x-36-in-x-0-025-in-Diamond-Tread-Aluminum-Sheet-in-Silver-57307/203930831 I can go down tomorrow and take some measurements to be sure.
(Will Post pictures later if i remember, Feel free to bug me)
Got the bumper being glued together with wood slats for strength. I am also going to work on getting a second bumper made as a backup as im not confident enough that its A. gonna hold and B. be presentable.
I don’t have the original files either. Im really sorry guys. Ive looked and searched every drive ive got.
The printer is acting weird. The colors are all off. Blues are pink, greys are pink. Mostly everything is coming out pink. And this is a 7 color printer C, lc, M, lm, Y, ly, K, lk.