There is engine turned metallic vinyl. That would be better than the original ones.
I can probably crank out a design that could be cut. You’ll have to scale the decals to fit.
Do you want to use 1 color or 2? If you do it my way, 2 colors or more requires registration marks to be cut at each corner. Then you mask only the top color, peel it off the backing paper and use the registration marks to install over the bottom color. This is done on a table, rather than the surface youre installing it onto.
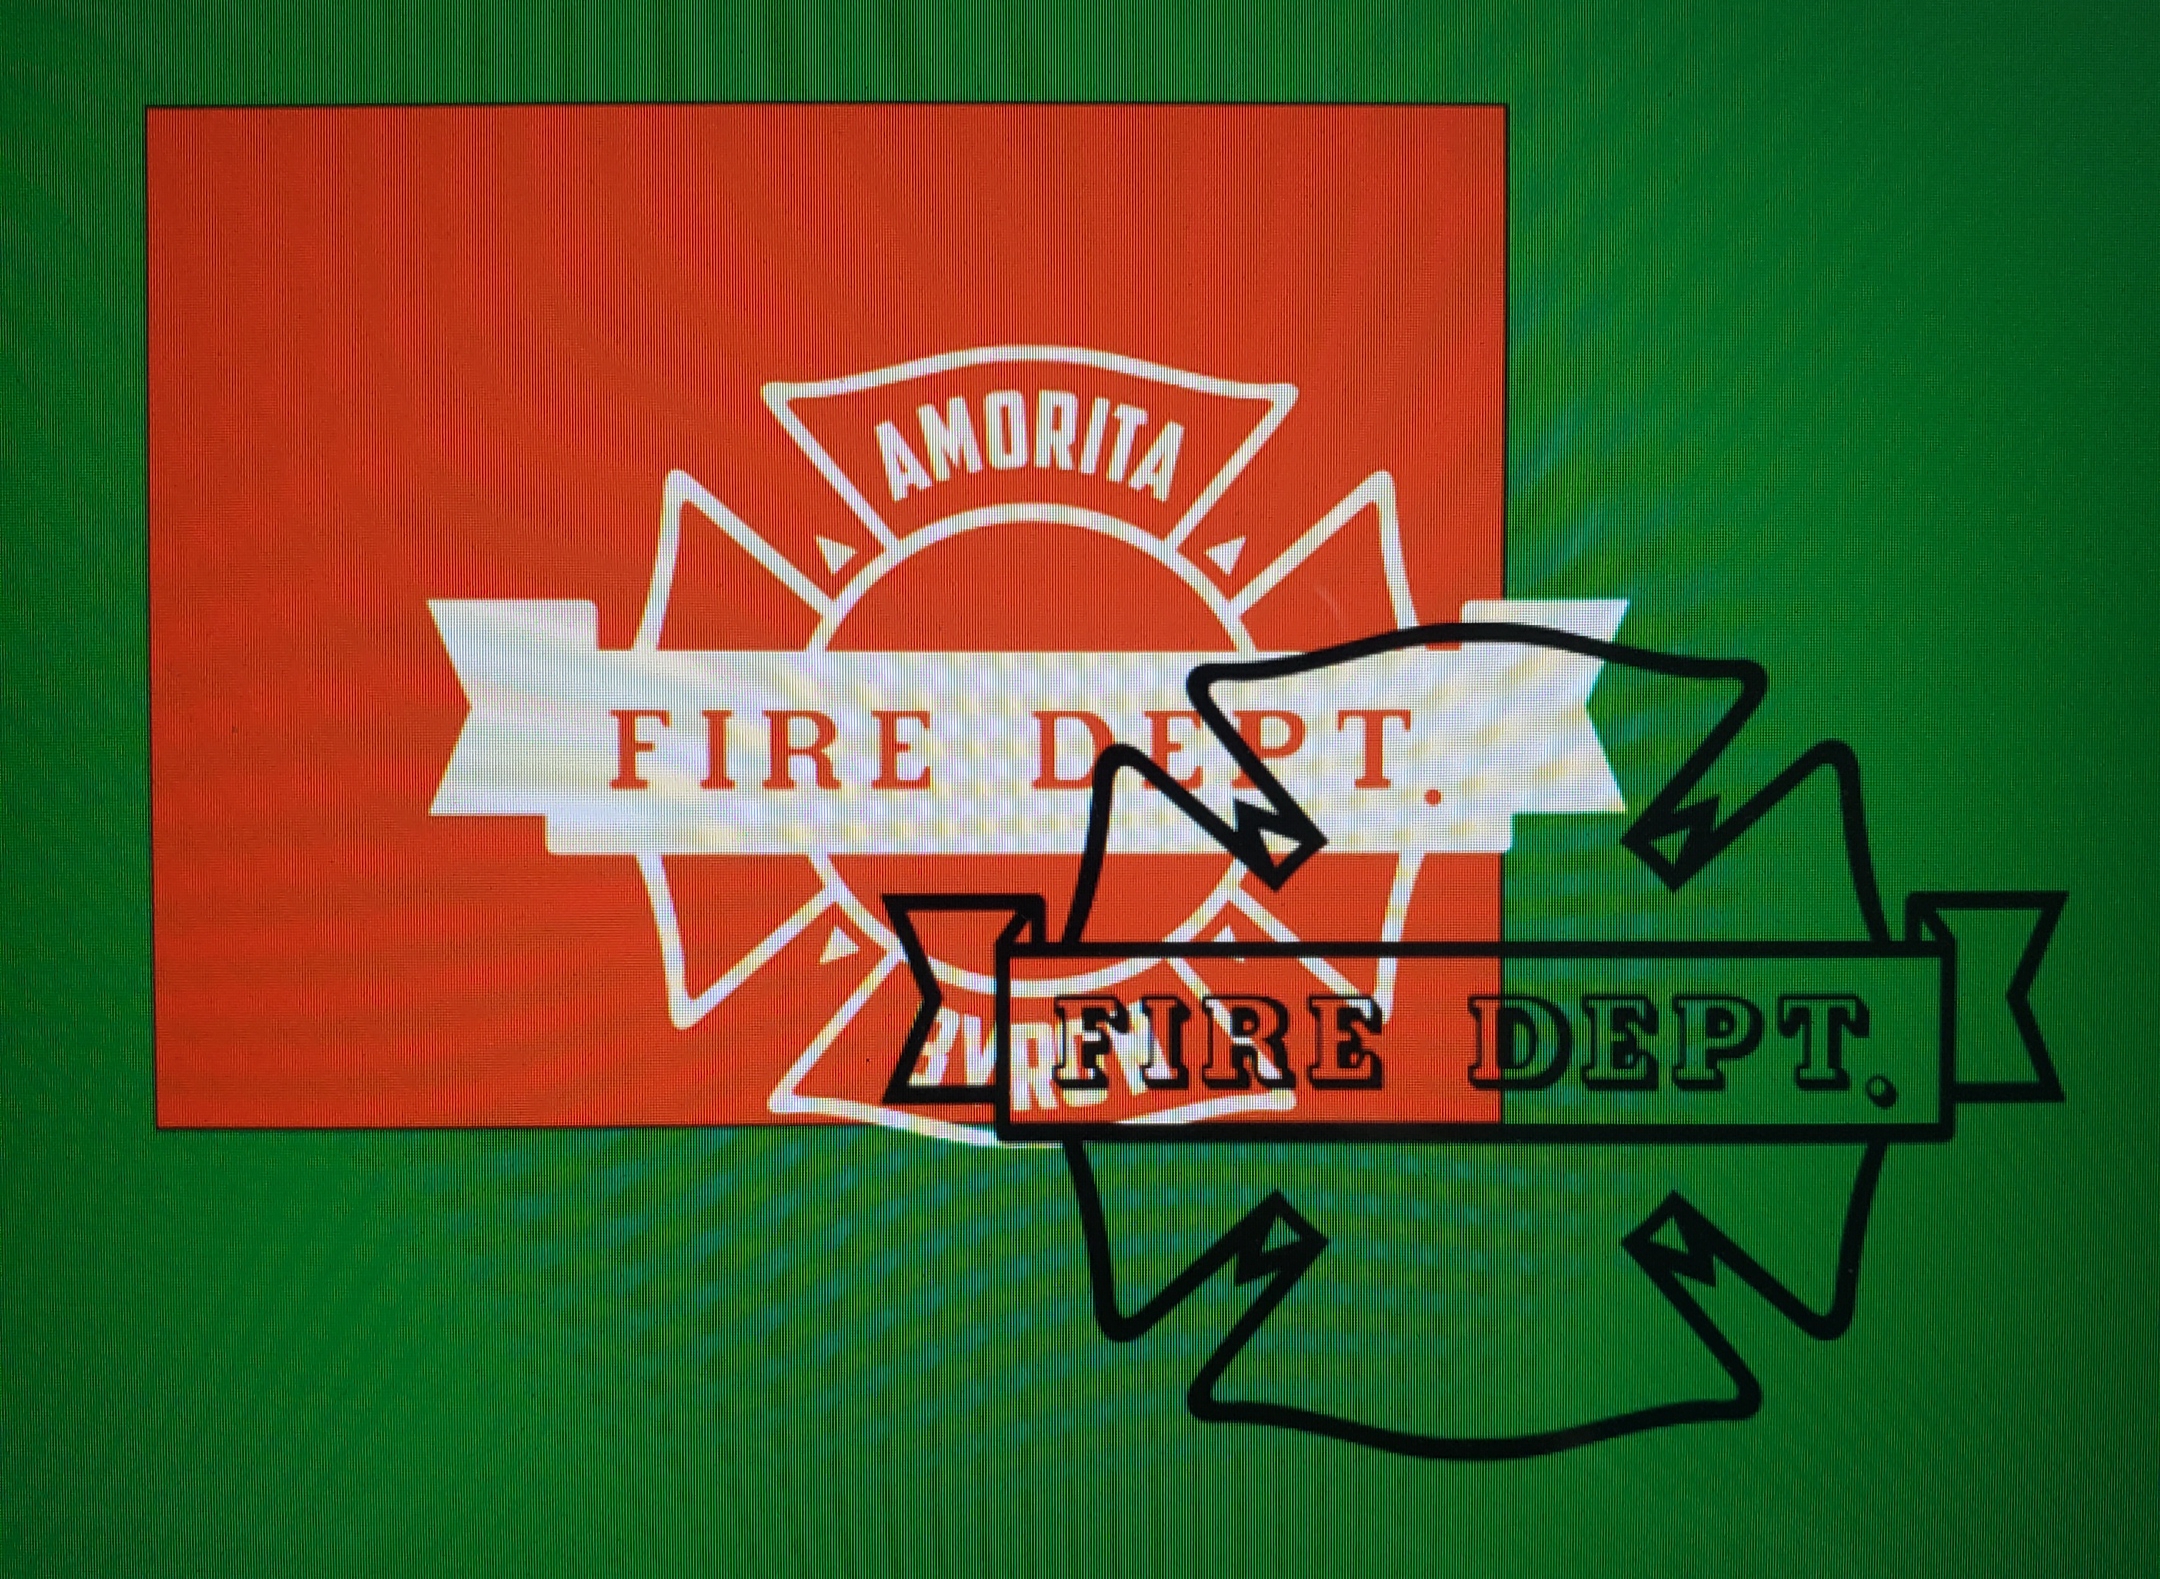
Here’s the files. This requires 2 colors. And some pics to explain just in case. The green will actually be the red paint of the fire truck showing through the decal. The white will be the base color with the black on top. So you’ll add some sort of registration mark to both the white and black jobs.
I didn’t make text for underneath the ladder. For this I would just use a font and measure the space it goes on to be sure it fits.
To install bigger vinyl decals (such as the text under the ladder) use the hinge method. This requires mask but makes a perfect install.
First hold the decals up to the truck with backing and mask still attached. Tape each corner. MAKE SURE IT’S POSITIONED EXACTLY WHERE YOU WANT IT.
Next take a longer piece of masking tape and apply it directly in the center of the decal vertically. The tape needs to be long enough to extend onto the truck by at least 3 or 4 inches. This tape will be your “hinge”.
Then pick one side of the decal and remove the corner tape from that side. Doesn’t matter which side.
Pull the mask and decal away from the backing paper from the side until you get to the center “hinge” tape. The paper should remain on the surface of the truck while the mask and decal get pulled away.
Cut the backing paper near the hinge and throw it on the floor.
Now your ready to squeegee the decal and mask onto the truck. Do this by holding the masked part loosely just off the surface. You don’t want to pull it tight. Use the squeegee to make contact with the truck. Make sure you hold it it loose. The mask will ensure it lays down directly where you had taped it up before.
Next remove the tape fron the other side and remove the “hinge”. Pull the entire side that is still uninstalled all the way back to the hinge. Remove the backing starting from where the hinge was and start installing exactly as you did the other side.
This was longer than I thought it would be. Sorry.
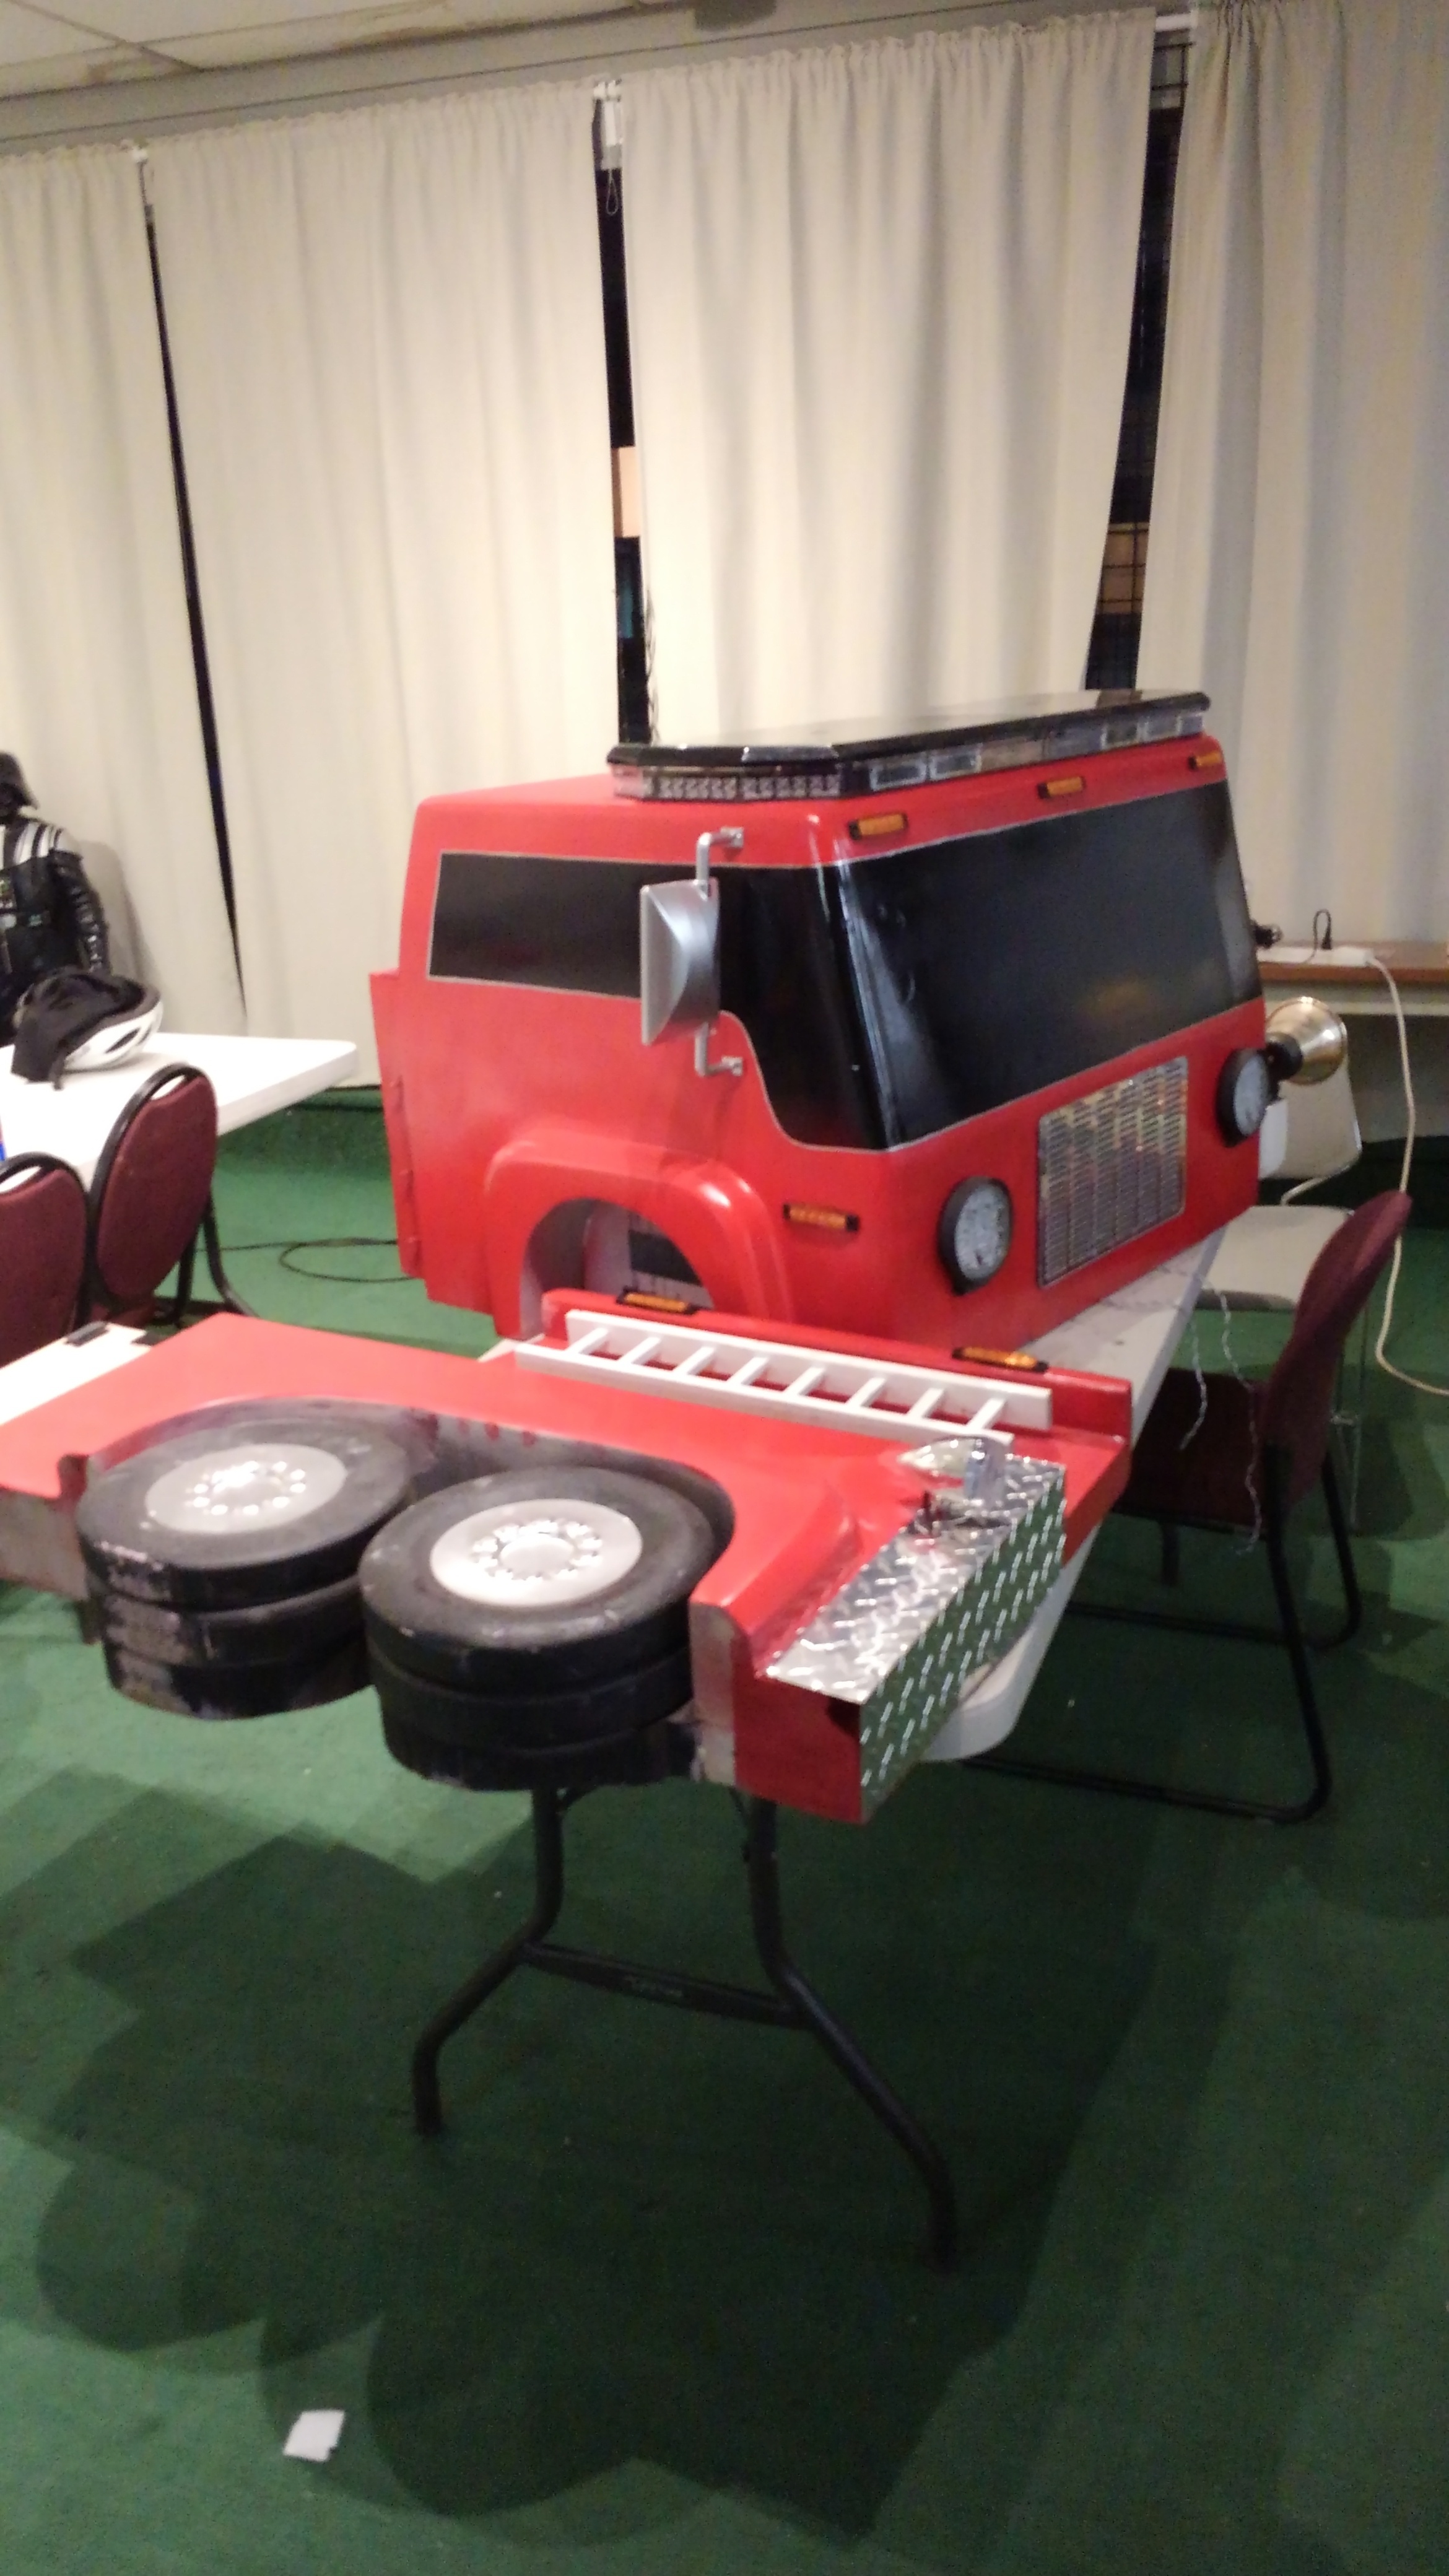
Well, we still have a couple things to knock out for tomorrow, but at this point, it is presentable.
We just need to:
-drill a few holes in the table top (Tom has this covered)
-finish the front bumper (Emily has it covered)
-finish the bubble turret and wiring (Christian is making progress - one last part to print)
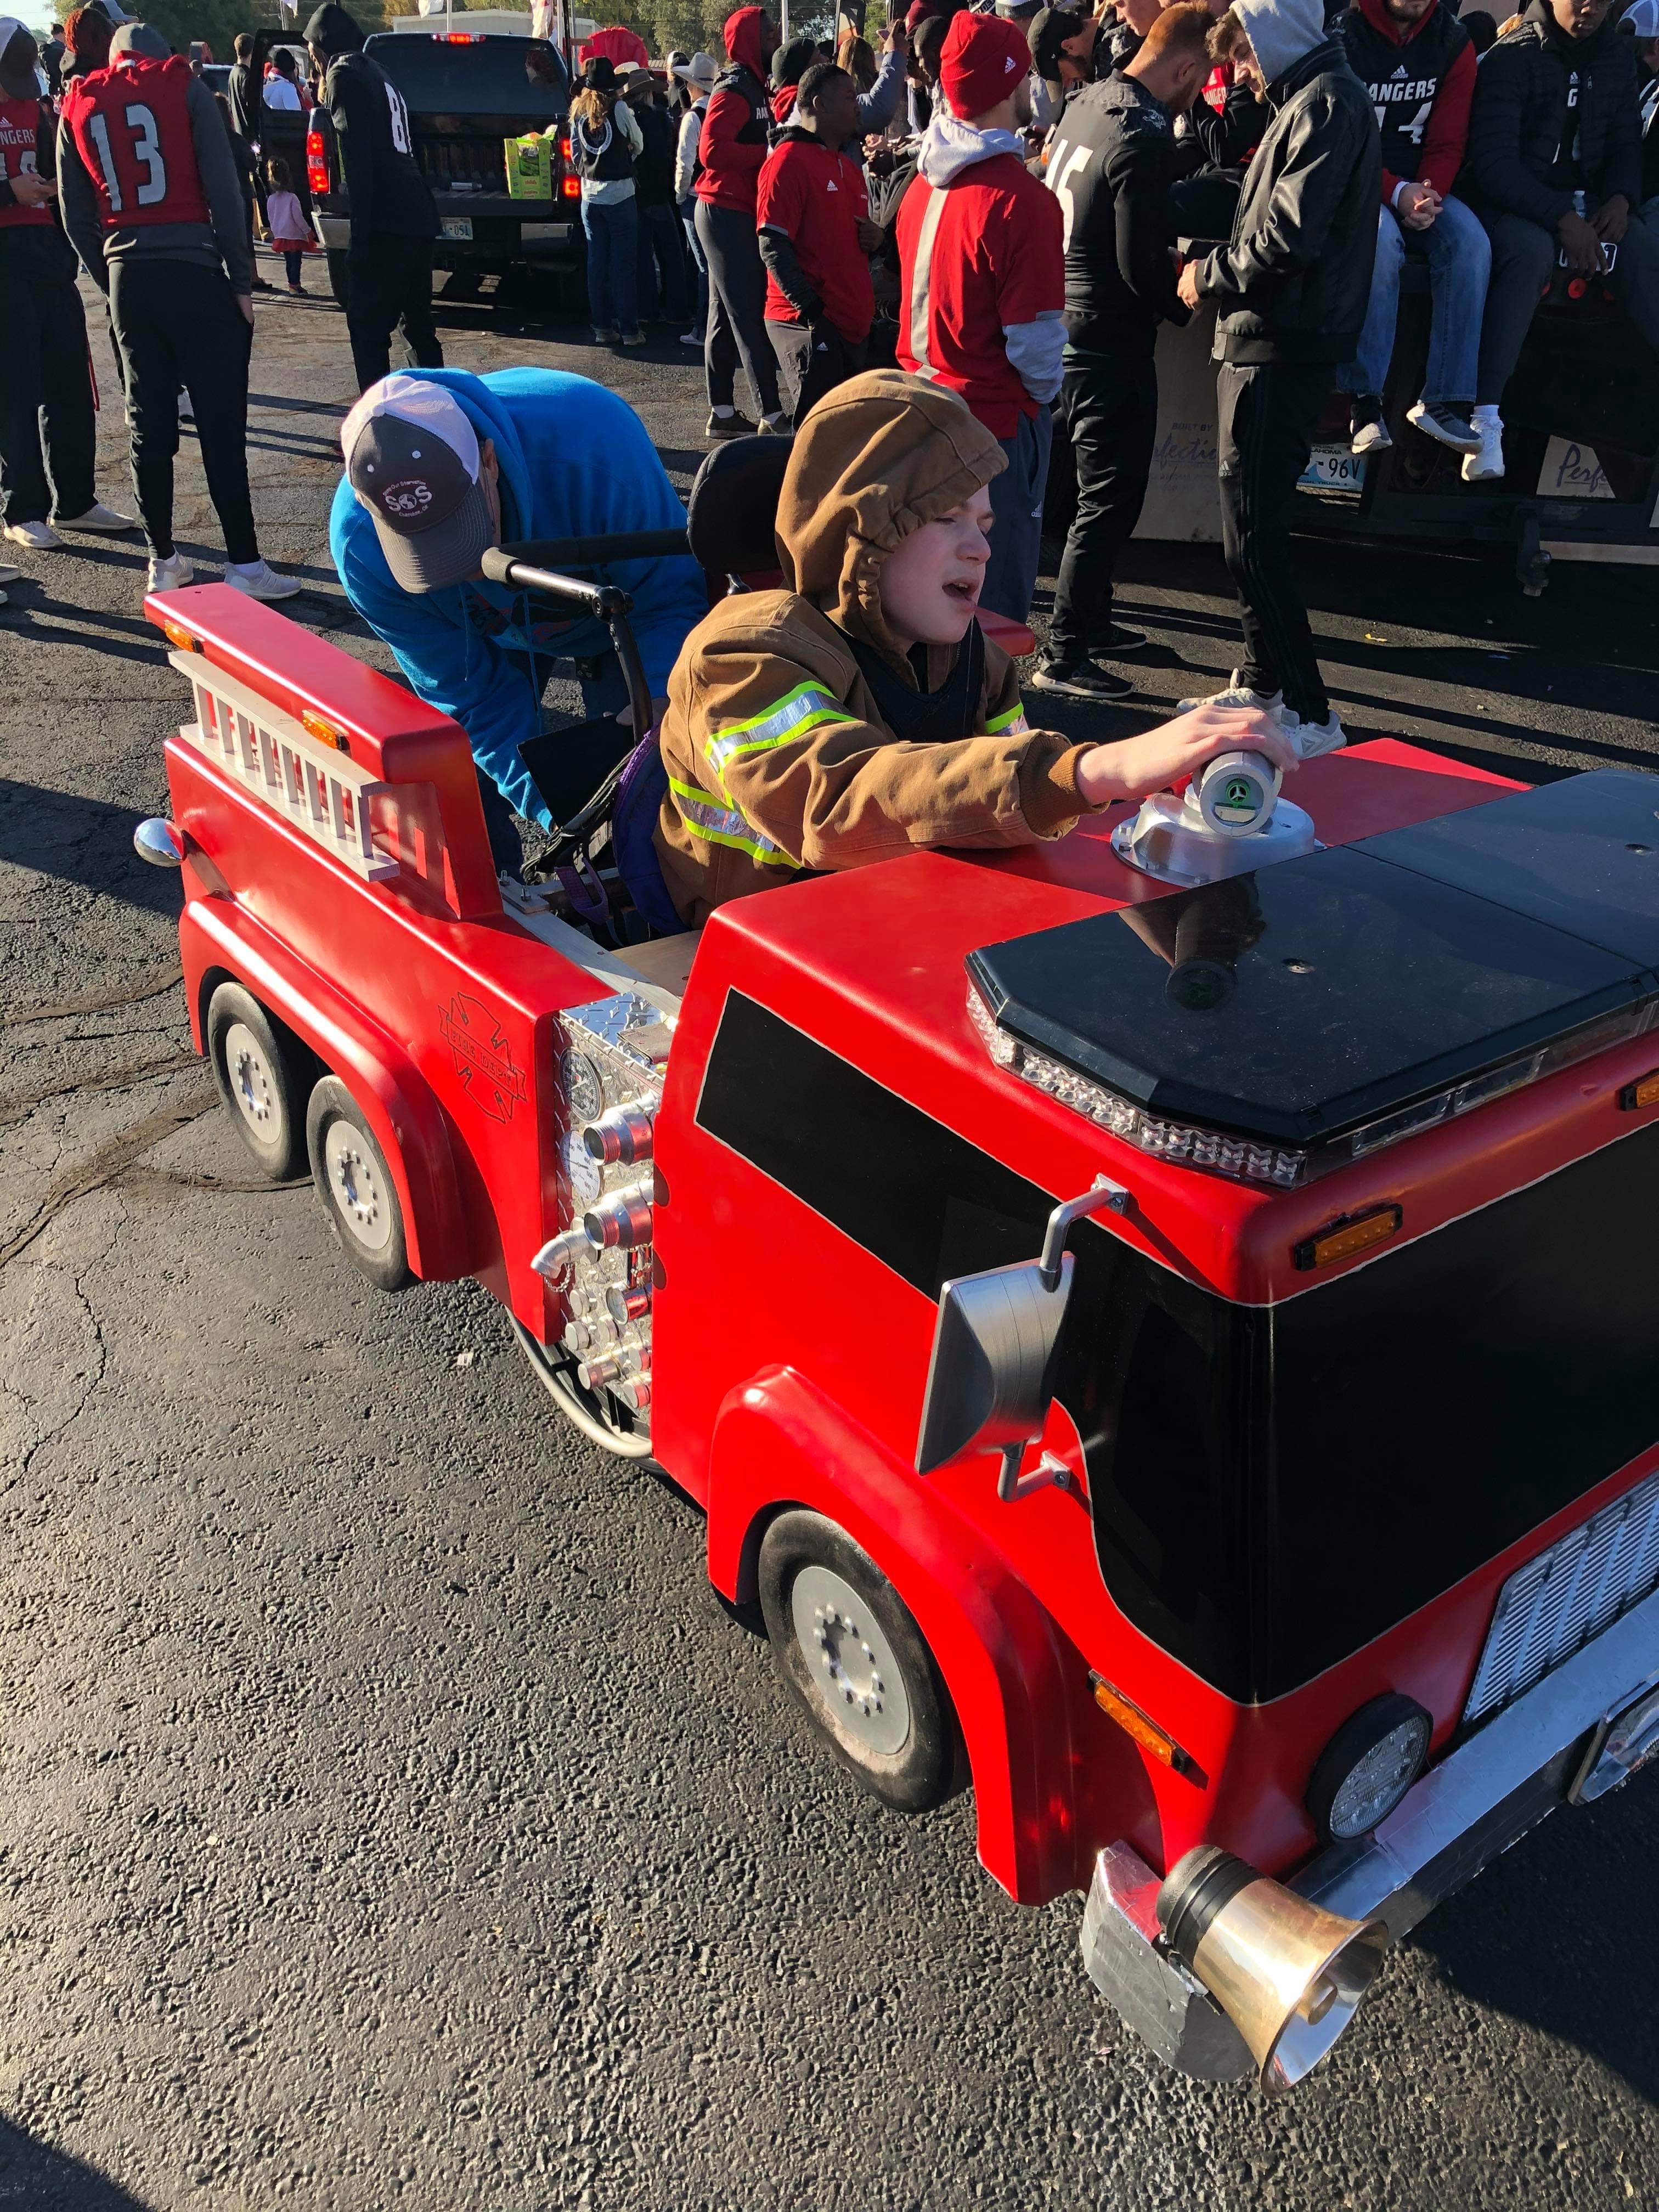
We still need to crank out the decals, but at least we do have the vinyl on hand for that.