@Christian
Ender 5 is working fine! I’m starting to feel protective of it. The issue was in PrusaSlicer. Someone modified the Ender 5 user preset in some fashion. I deleted it and pointed the physical printer to the unchanged system preset.

3 Likes
I wondered if that was in the Slicer preset causing that. I glanced at it after I cleaned up the bed and verified the leveling on the Ender 5 itself and tried a test print and had the same gap.
I did the same and also had it print in mid-air. I regret deleting the User Preset because I would like to know what setting was changed. I SHOULD have just made a new Physical Printer pointing to System Preset and reviewed the User Preset. So much to learn, so little to learn it with!
Glad it was taken care of though. I know I have a part I was wanting to print on it because it’s too big for my Ender 3 here at home
1 Like
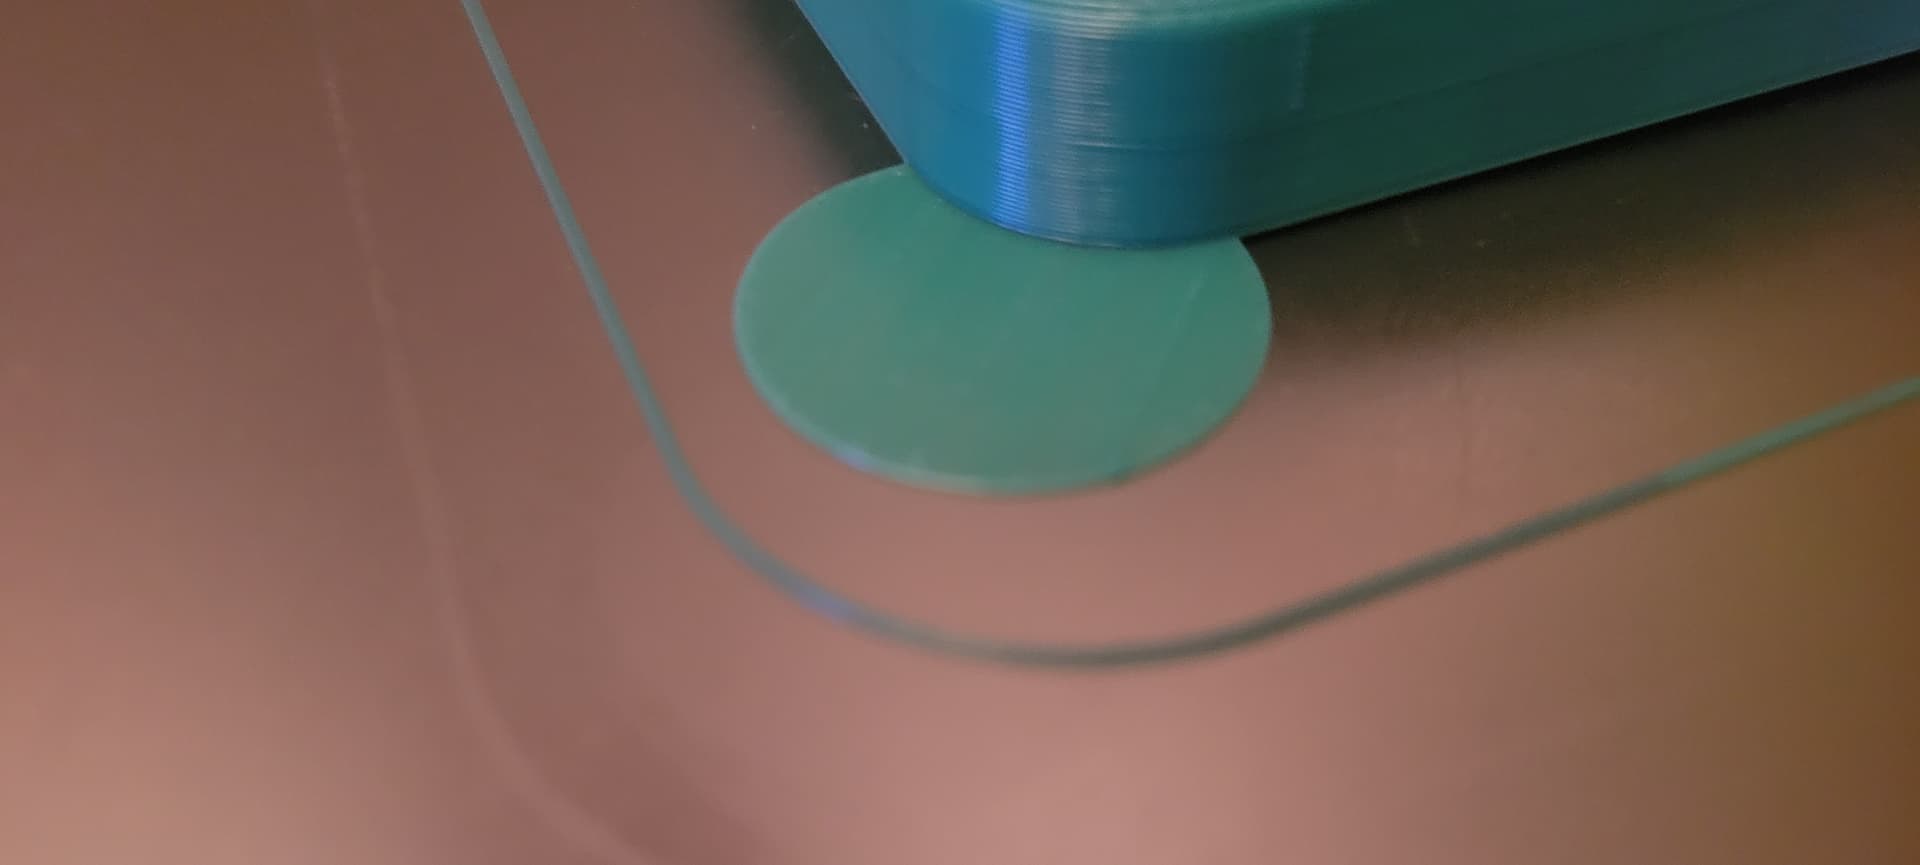
Well update was that I tested a print on it today… still failed prints with separation and started to create a birds’ nest.
I JUST printed a BB8 piece with no issue! Hmm…
EDIT: I SAY “no issue” but I haven’t actually seen it finished yet.
1 Like
If I remember correctly there is only one Ender 5 profile in the Slicer now right? I’m wondering what the differences were now
I’d offer my user preset for my 5+ but it has been modified due to volcano hotend and direct drive upgrades
I’m not convinced that was the issue. We had this problem even before we had modified the profile to tweak a couple things. I’ve checked the G-code output when it was printing in the air and didn’t see anything that should have caused an issue. This has also been intermittent, so unless someone is changing things back and forth or people are using different profiles I’m not sure how the issue would be with the slicer.
@bradcozine did you also remove the customized profile for the Ultimaker? The multi-material settings have been removed and it’s now using a stock profile, which is not correct for our machine.
Would I do something like that?! ![]()
You may be right… but all I know is that I attempted to print a known good G-Code file and it printed in the air, then I killed the Ender 5 User Preset and it printed fine. You’re privy to more info than I am, so I’ll defer!
If you reprinted an already sliced g-code file and it didn’t work the second time, wouldn’t that indicate that the issue was definitely NOT in the slicer?
Yes, it certainly would… and that’s why I’m about to change my story since it no longer fits my narrative.
1 Like
If you ran the same print twice and got the same results, how would it prove it was not the slicer? I would be more convinced if you ran the same program twice and got different results! But I’m usually wrong.
When I print sometimes I will in the slicer cut off a sliver of the print to give it a new flat surface to attach to bed incase there is ghost code stuff not allowing it to lay flat on bed. Not sure this applies but something to consider
Brad said that he printed the same G-code file twice with different results. Since it was not re-sliced between the prints, any changes to slicer settings would have no effect on the outcome.
1 Like
![]() …a kindred spirit.
…a kindred spirit.
1 Like
I’ve been having the same issues after a print dislodge. (And it was printing so good before this ![]() ) I think it must have hit the BLTouch and altered my z-offset. So far I have tried a ton of fixes to reset the offset calibrations but still had trouble getting it to adjust properly using ponterface (since I don’t have a pi yet
) I think it must have hit the BLTouch and altered my z-offset. So far I have tried a ton of fixes to reset the offset calibrations but still had trouble getting it to adjust properly using ponterface (since I don’t have a pi yet ![]() ). I eventually just turned off my auto leveling and adjusted the z-offset directly from the machine while printing from an SD card. One thing I found I was doing wrong was not hitting the z home button again after adjusting the z on the leveling page to save the adjustments before going into AUX leveling. Since I would like to use the auto leveling in the future I am going to try the fix in the video below today. Whatever I find works I will do to the one as the space.
). I eventually just turned off my auto leveling and adjusted the z-offset directly from the machine while printing from an SD card. One thing I found I was doing wrong was not hitting the z home button again after adjusting the z on the leveling page to save the adjustments before going into AUX leveling. Since I would like to use the auto leveling in the future I am going to try the fix in the video below today. Whatever I find works I will do to the one as the space.

Just a few tips you may have already tried
Wash your glass sheet thoroughly the yuck from factory haunted me originally till I figured out there was a film of yuck. I used good old soap and water then alcohol.
Next cheap aquanet hairspray coat the sheet every 5 or so prints
As mentioned above In lieu of bltouch be sure to store your settings after you spent all that time dialing it in I think it goes to default after next print.
Bed should be 60
Filament 200 +/- 10
If it’s curling you can add mouse ears
.01 thick the gap is a radius on bottom. And the ears break off clean
Hope these help!
2 Likes