That is starting to look pretty dang slick!
I’ve always been a fan of this build.
Well, I thought I was going to be taking the roadster out for a spin over the weekend but ended up having some technical difficulties…
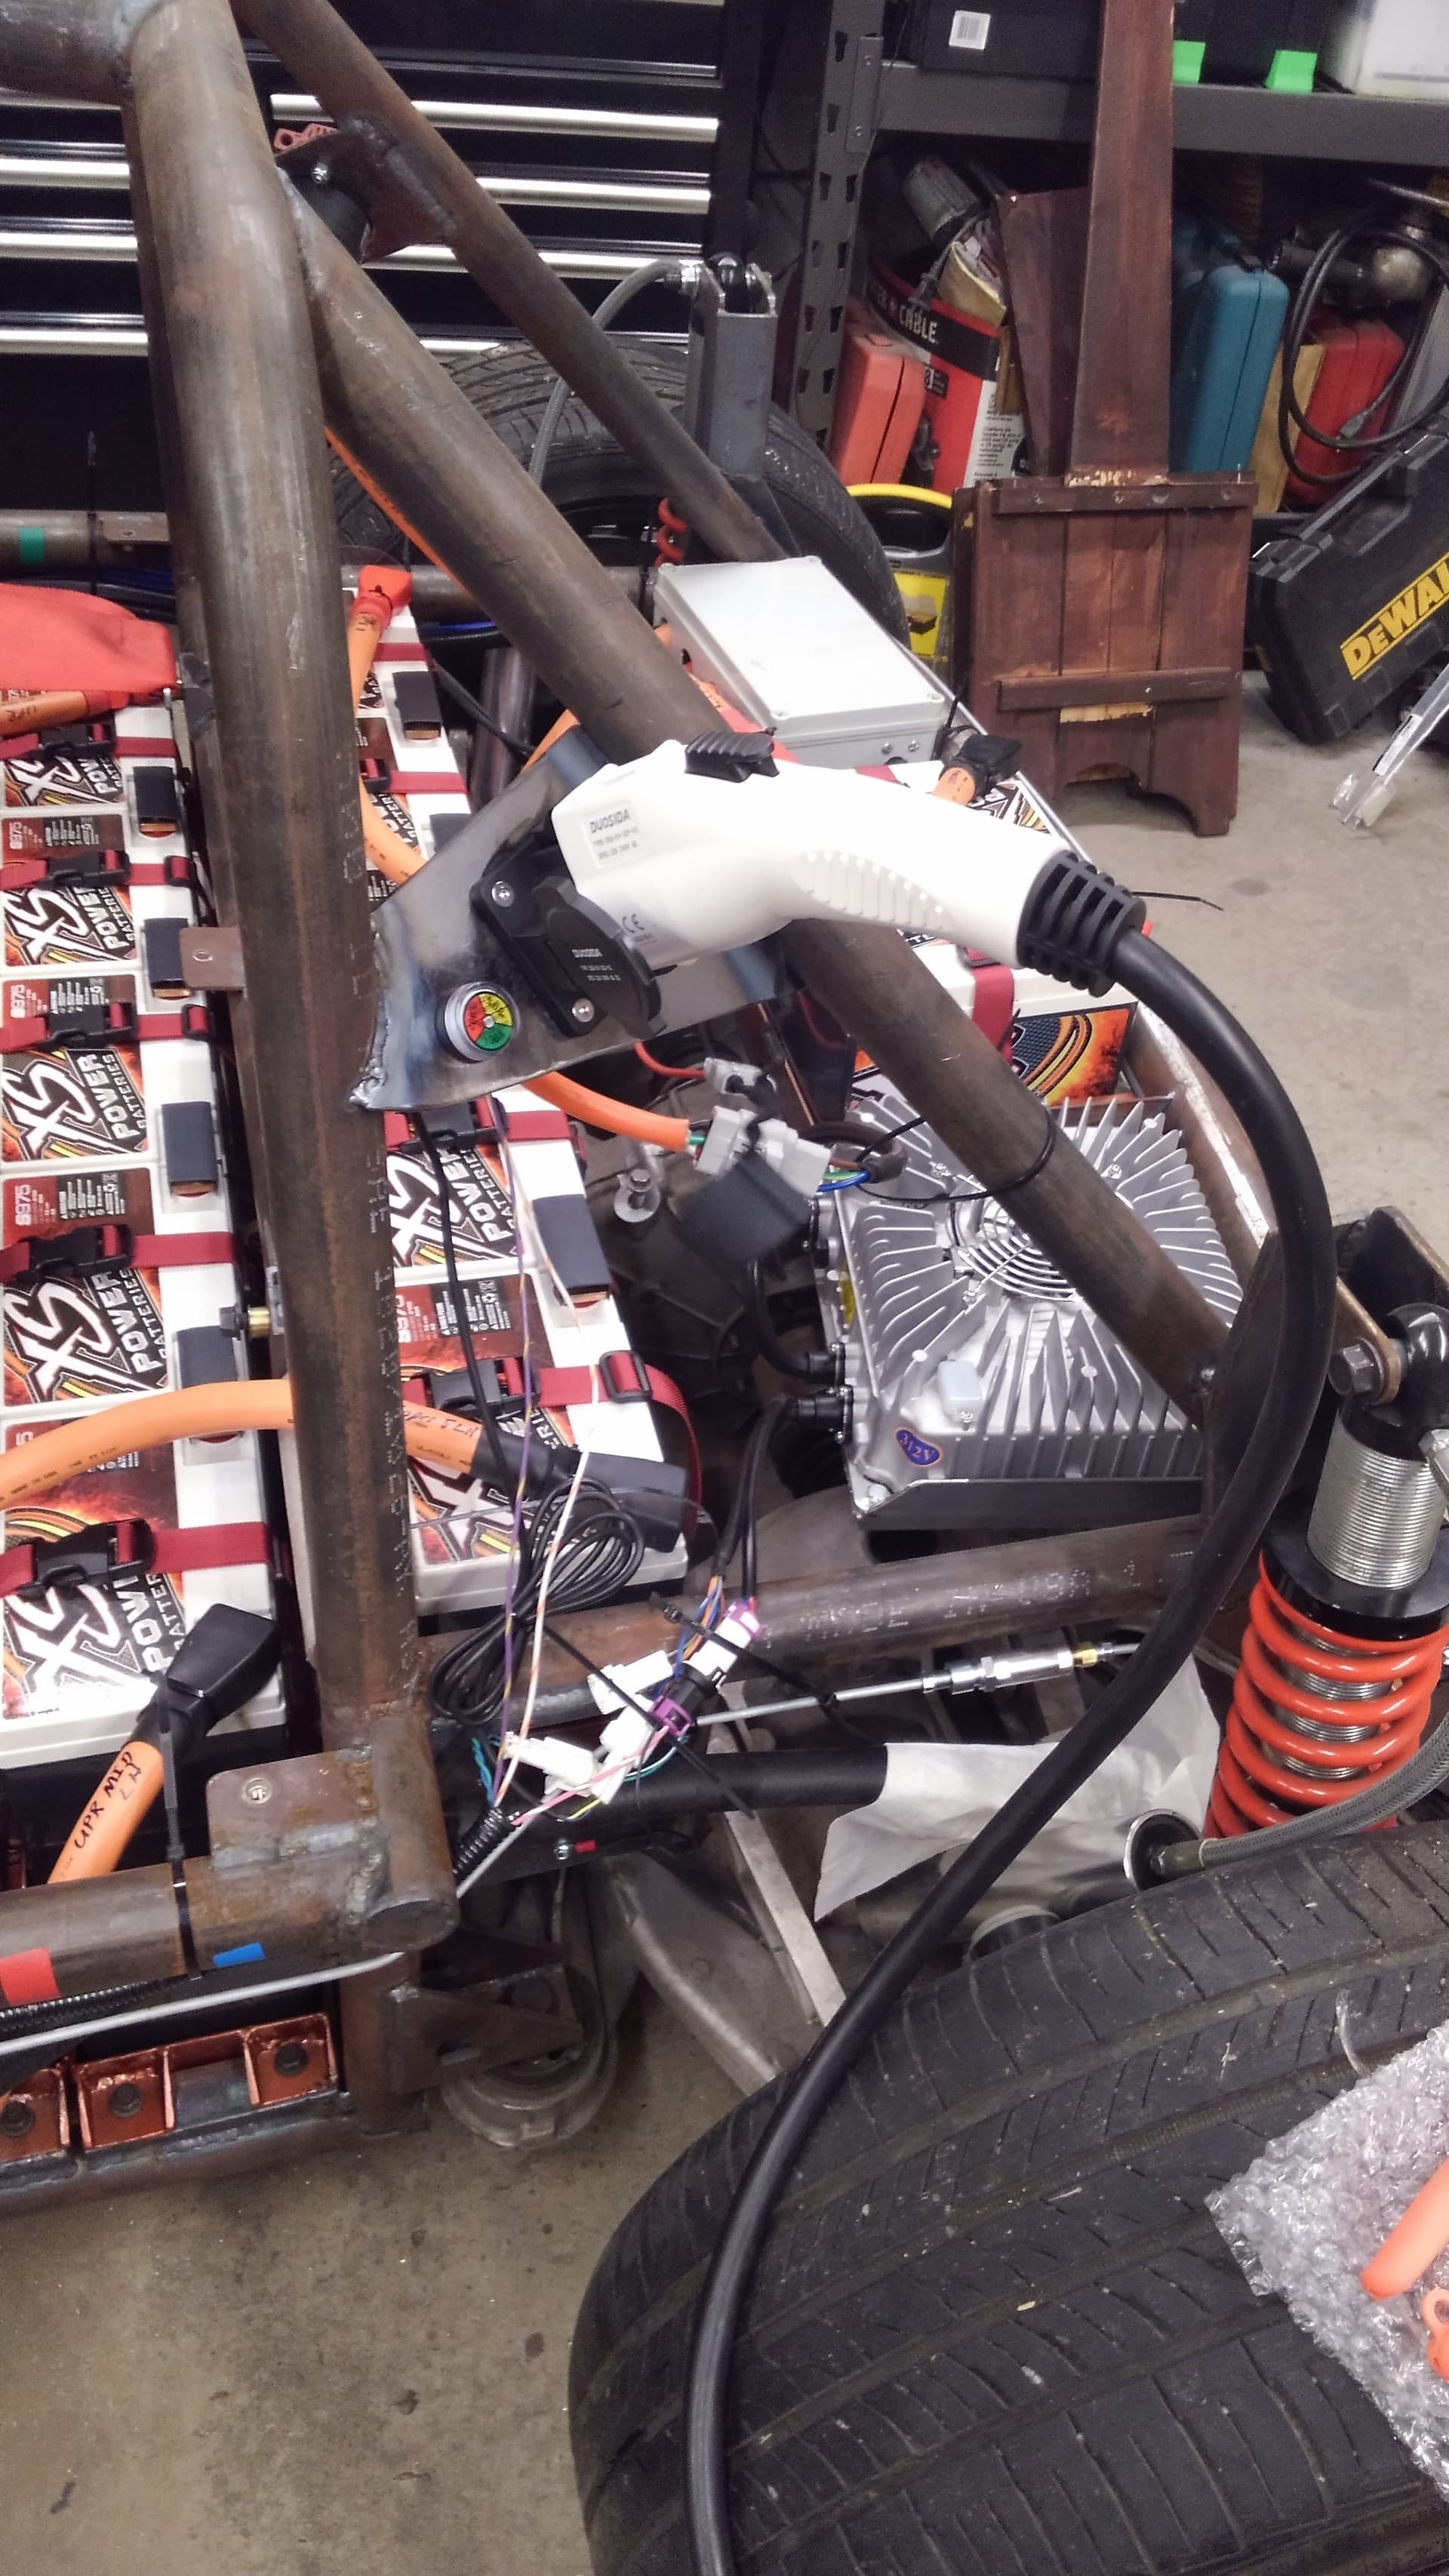
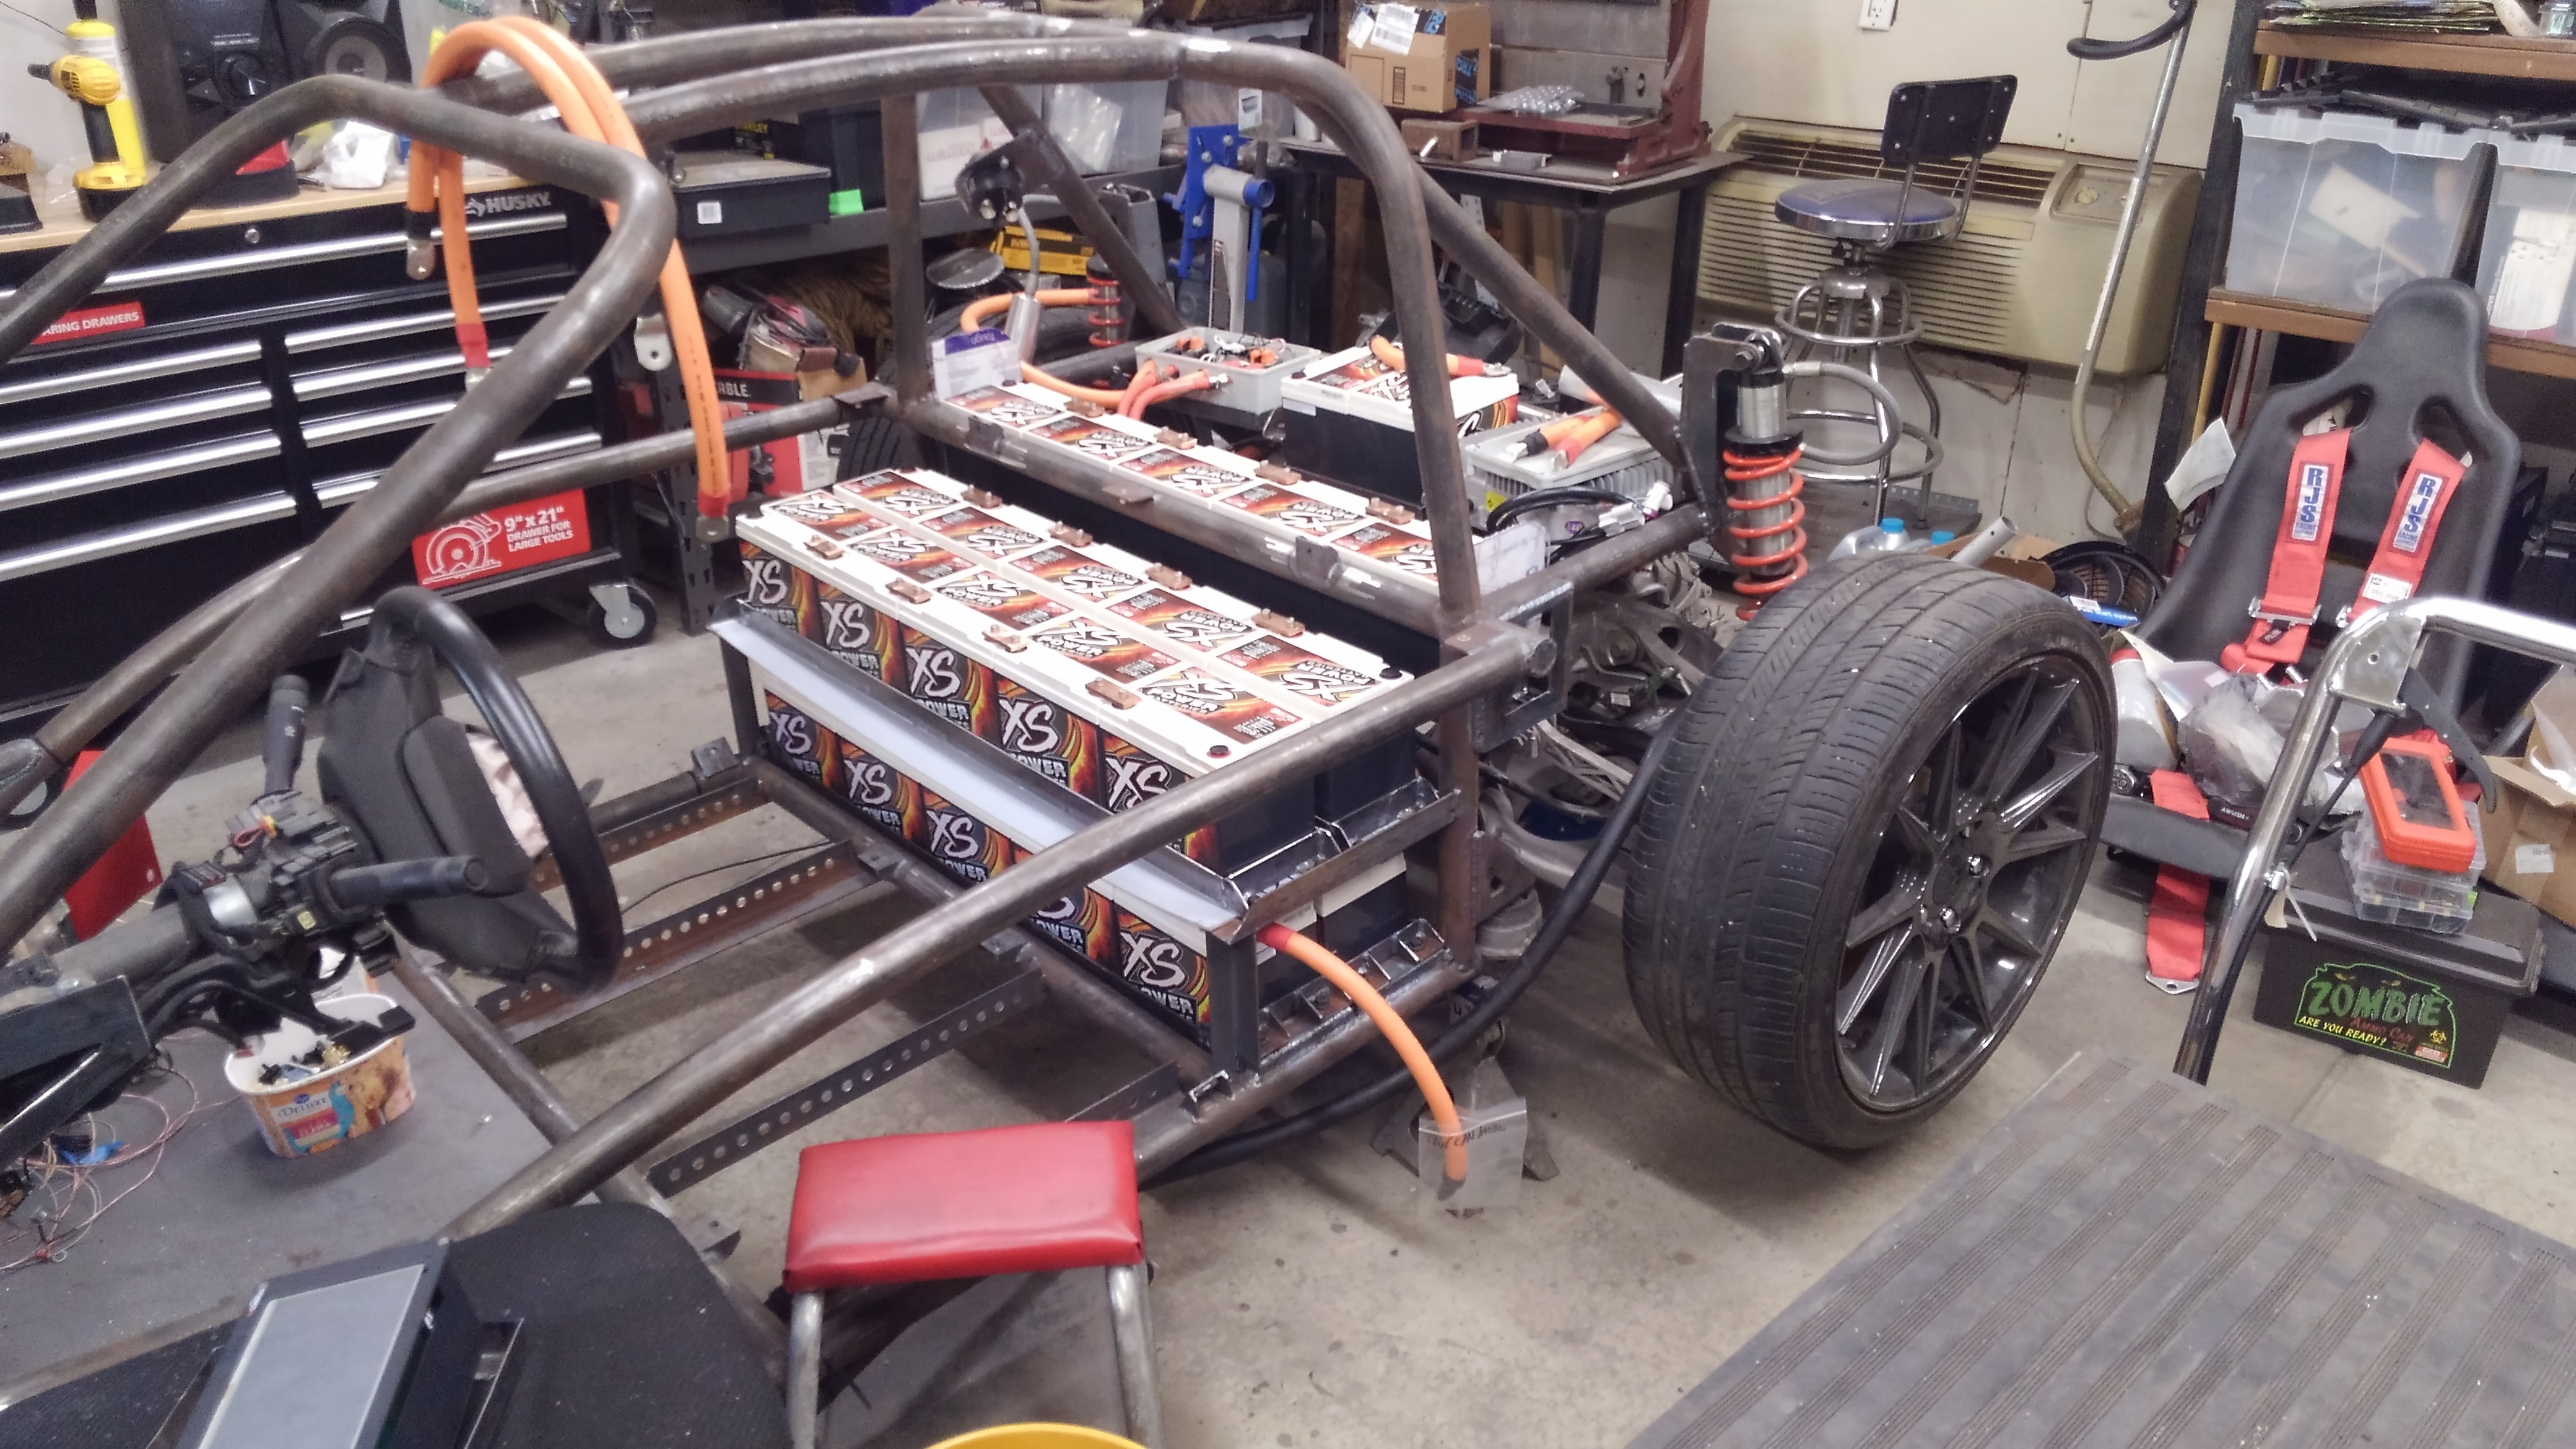
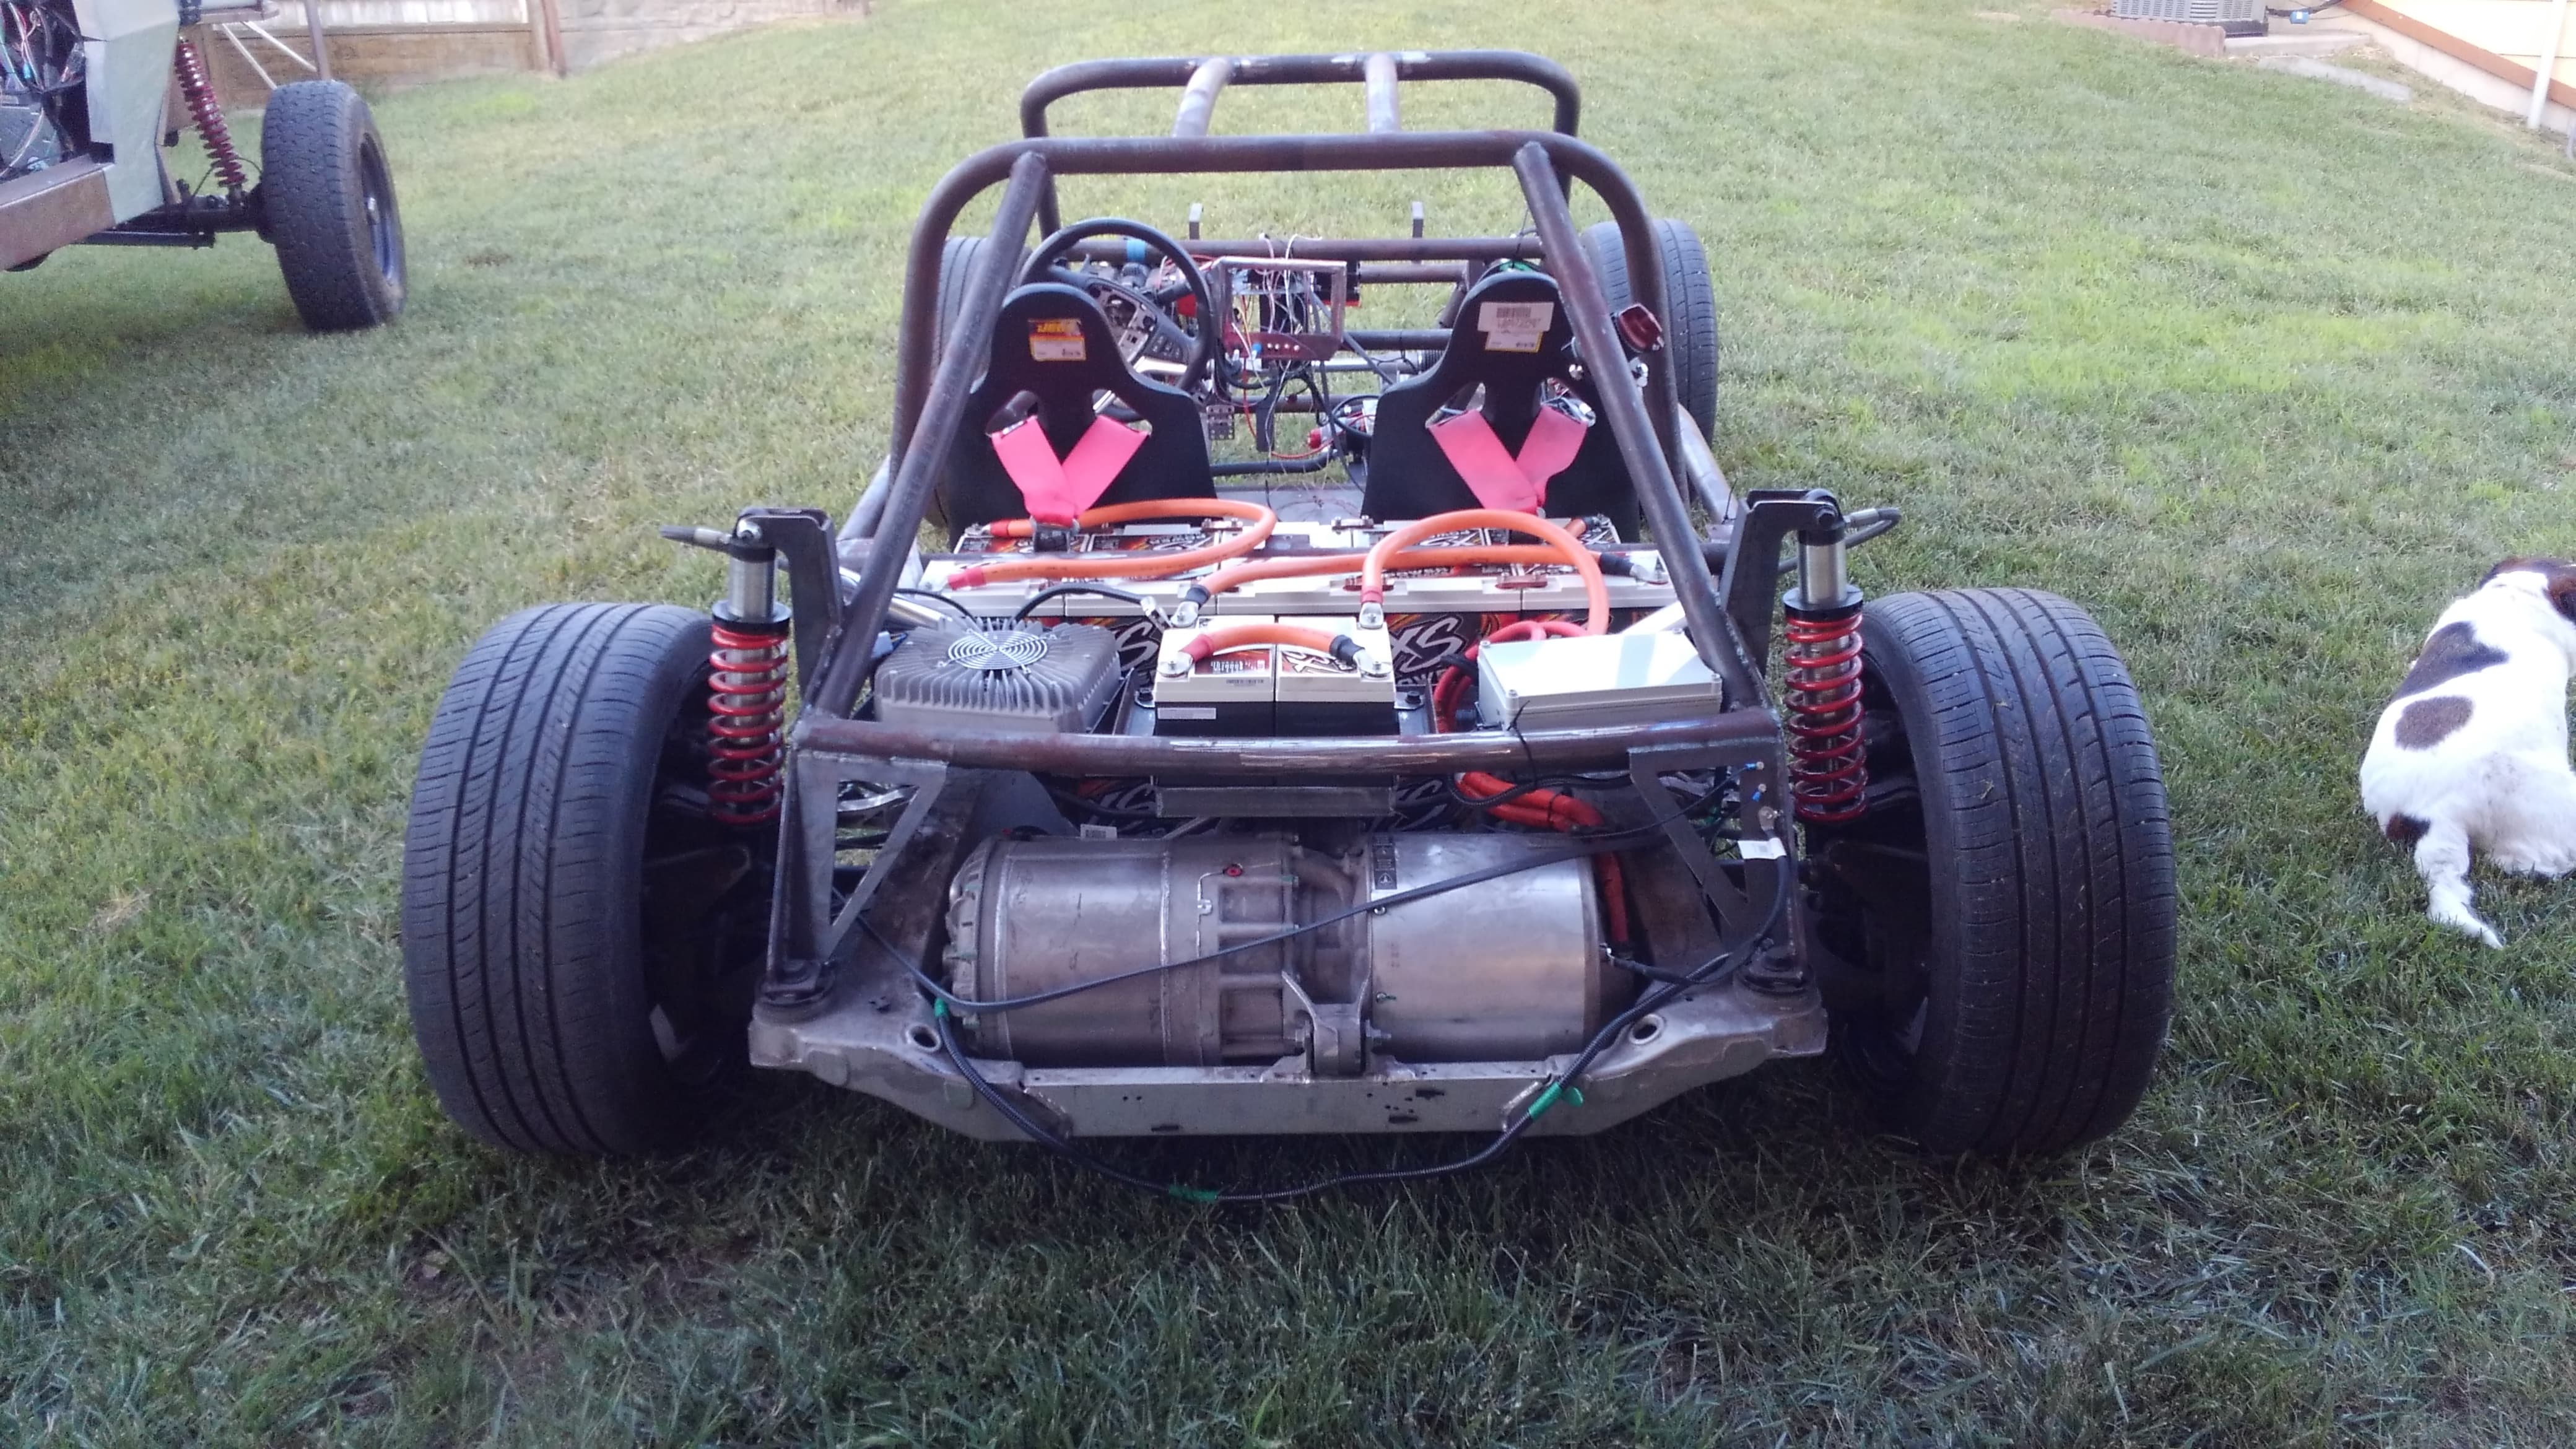
All 385v and 2100a of battery is mounted at least…
The bad news is that now I may be on the hunt for a teeny tiny little 6 pin double pull switch… I’m not sure if the manufacturer of the controller would just ship me a replacement but for some odd reason I’m not super hopefully that the derby radiradio shack will have one. 


If you have more detail, I might be able to come up with one. I still have hundreds of switches I got from the Lloyd’s Electronics auction.
That switch may be pretty close to a MSS-22D18 DPDT 6 Pin Toggle
I probably have one…I’ll go out in the morning and check.
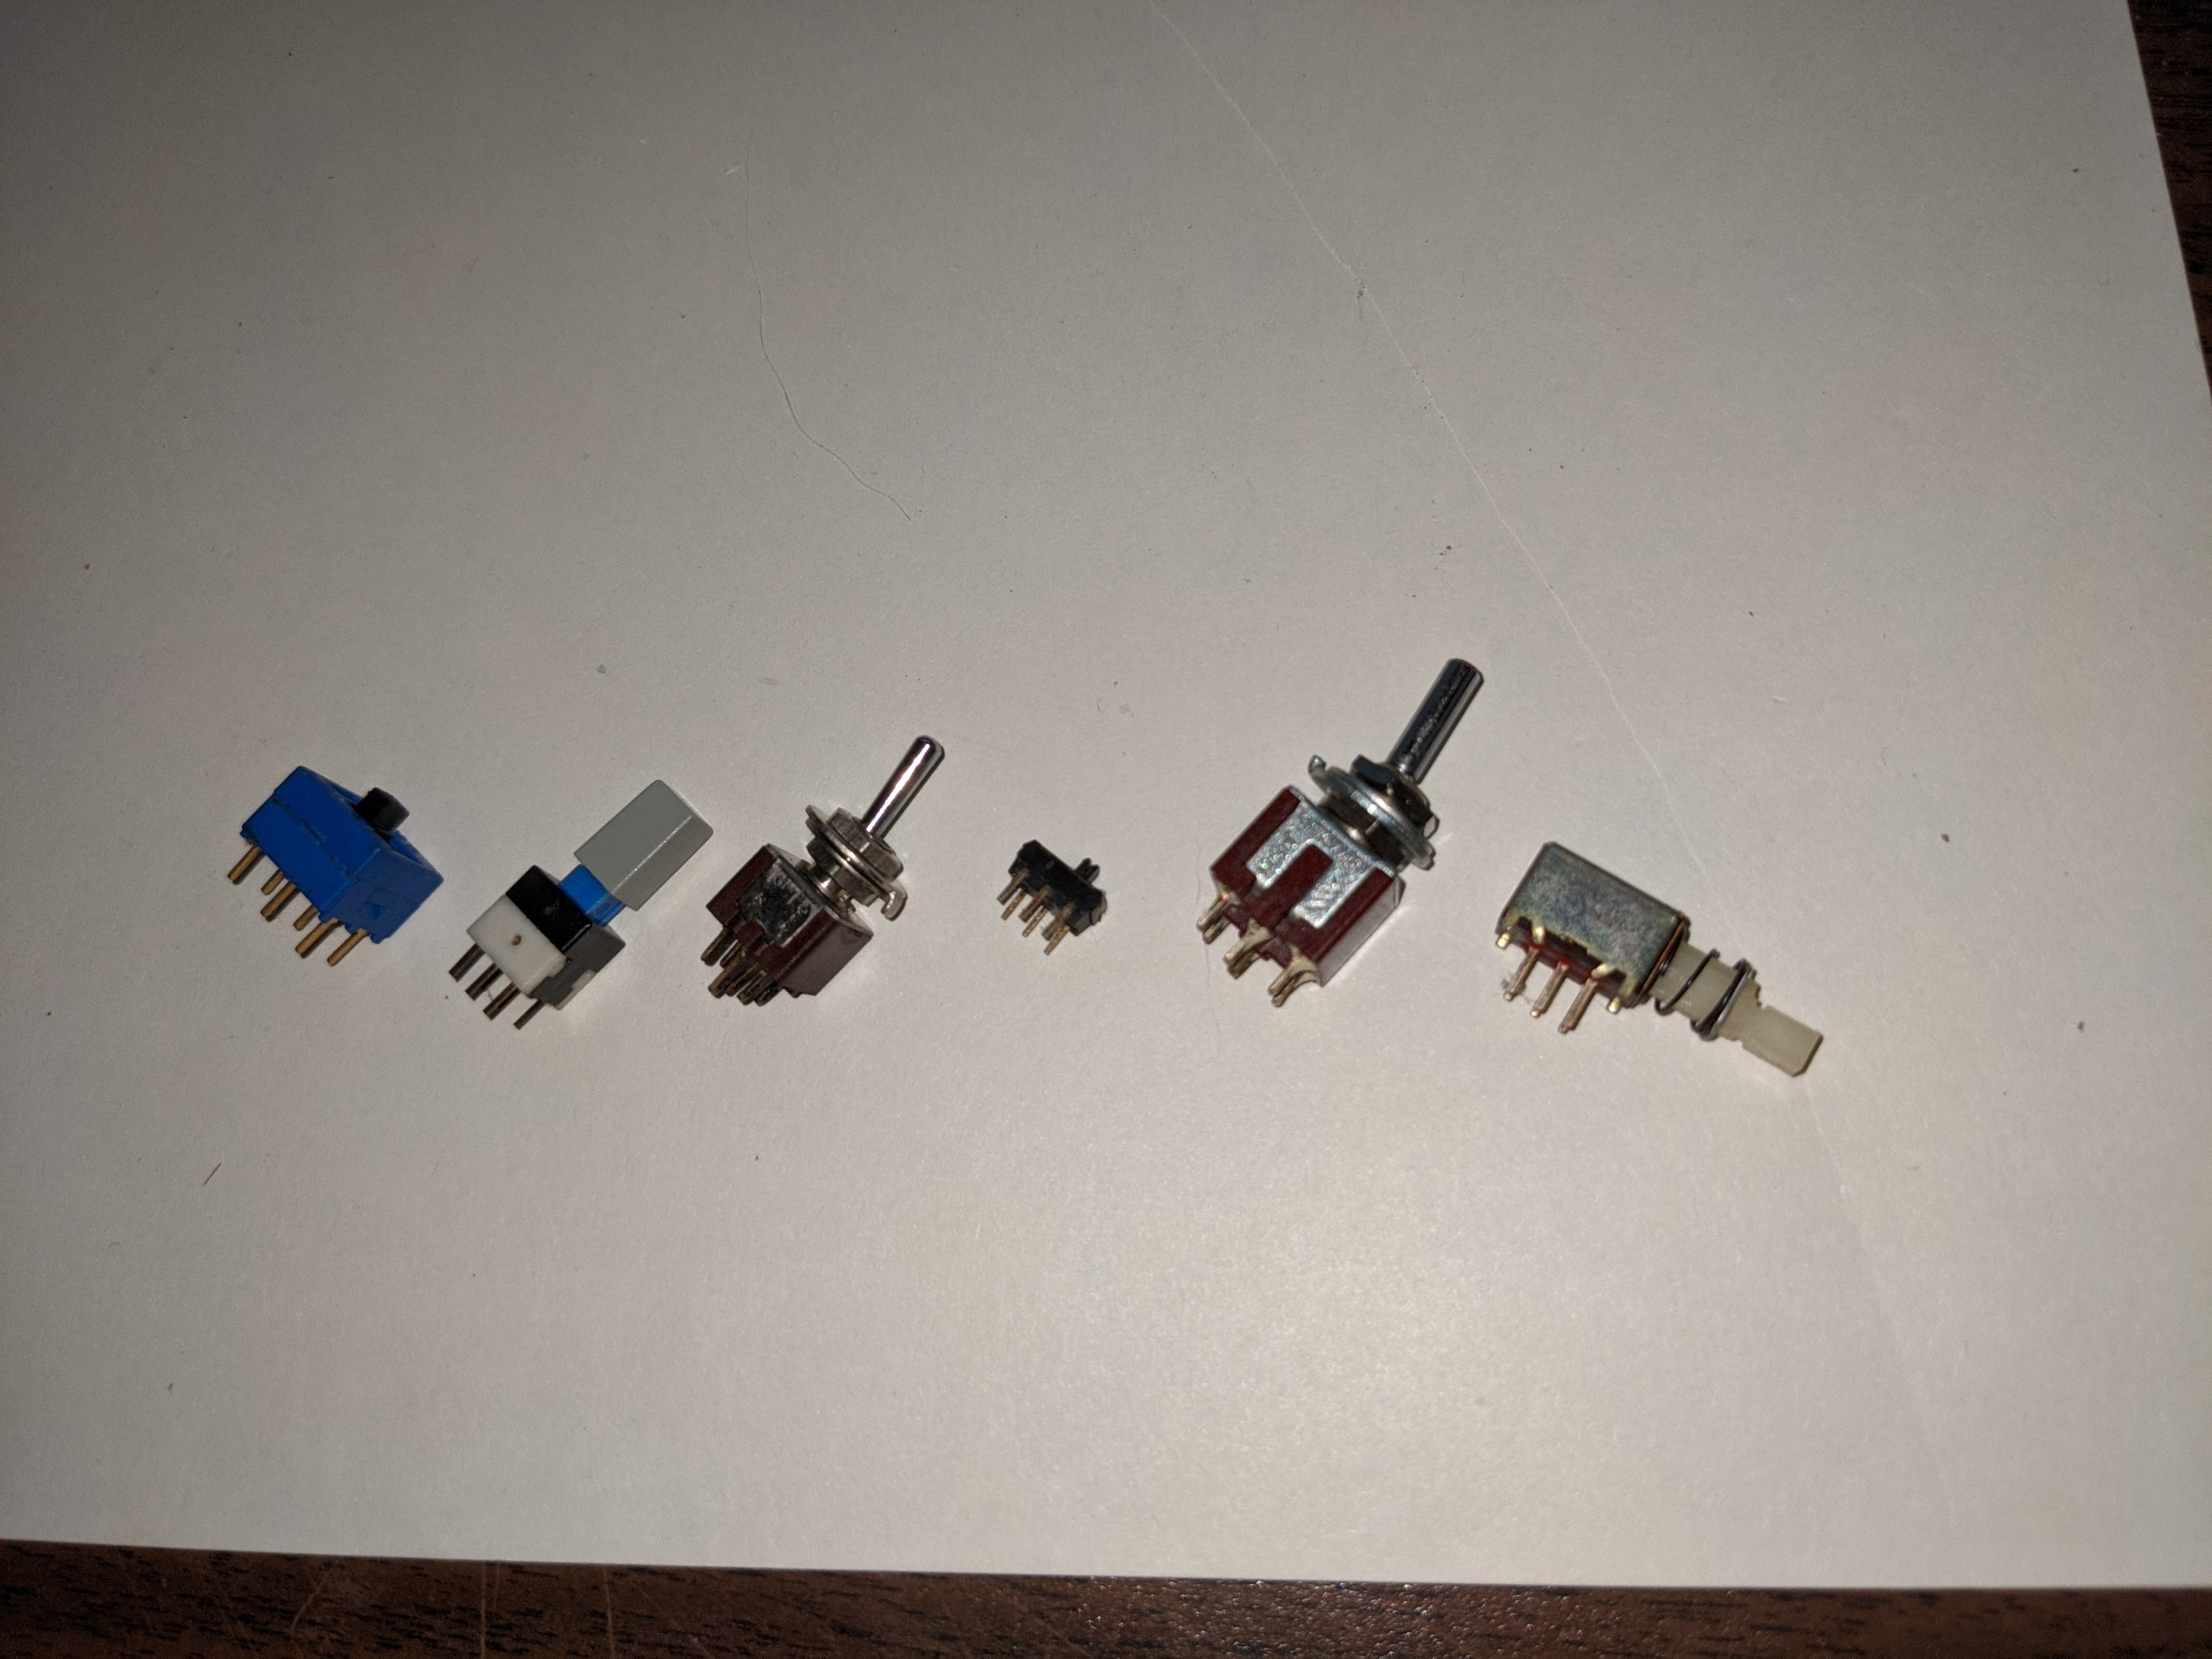
man, that 3rd from the right looks really close.
…and I might have to eat my words on RadioShack not having the exact switch. Just had a search pop up that came up with one that looks exactly like I was thinking.
You’re welcome to all of these. I’ll probably be over at the space tomorrow…I can leave them for you if you like.
RadioShack ended up having a half dozen of the 12v switches I needed.
Got the new switch soldered in, and the controller now powers up just fine.

Also… The D button now works on the screen. 
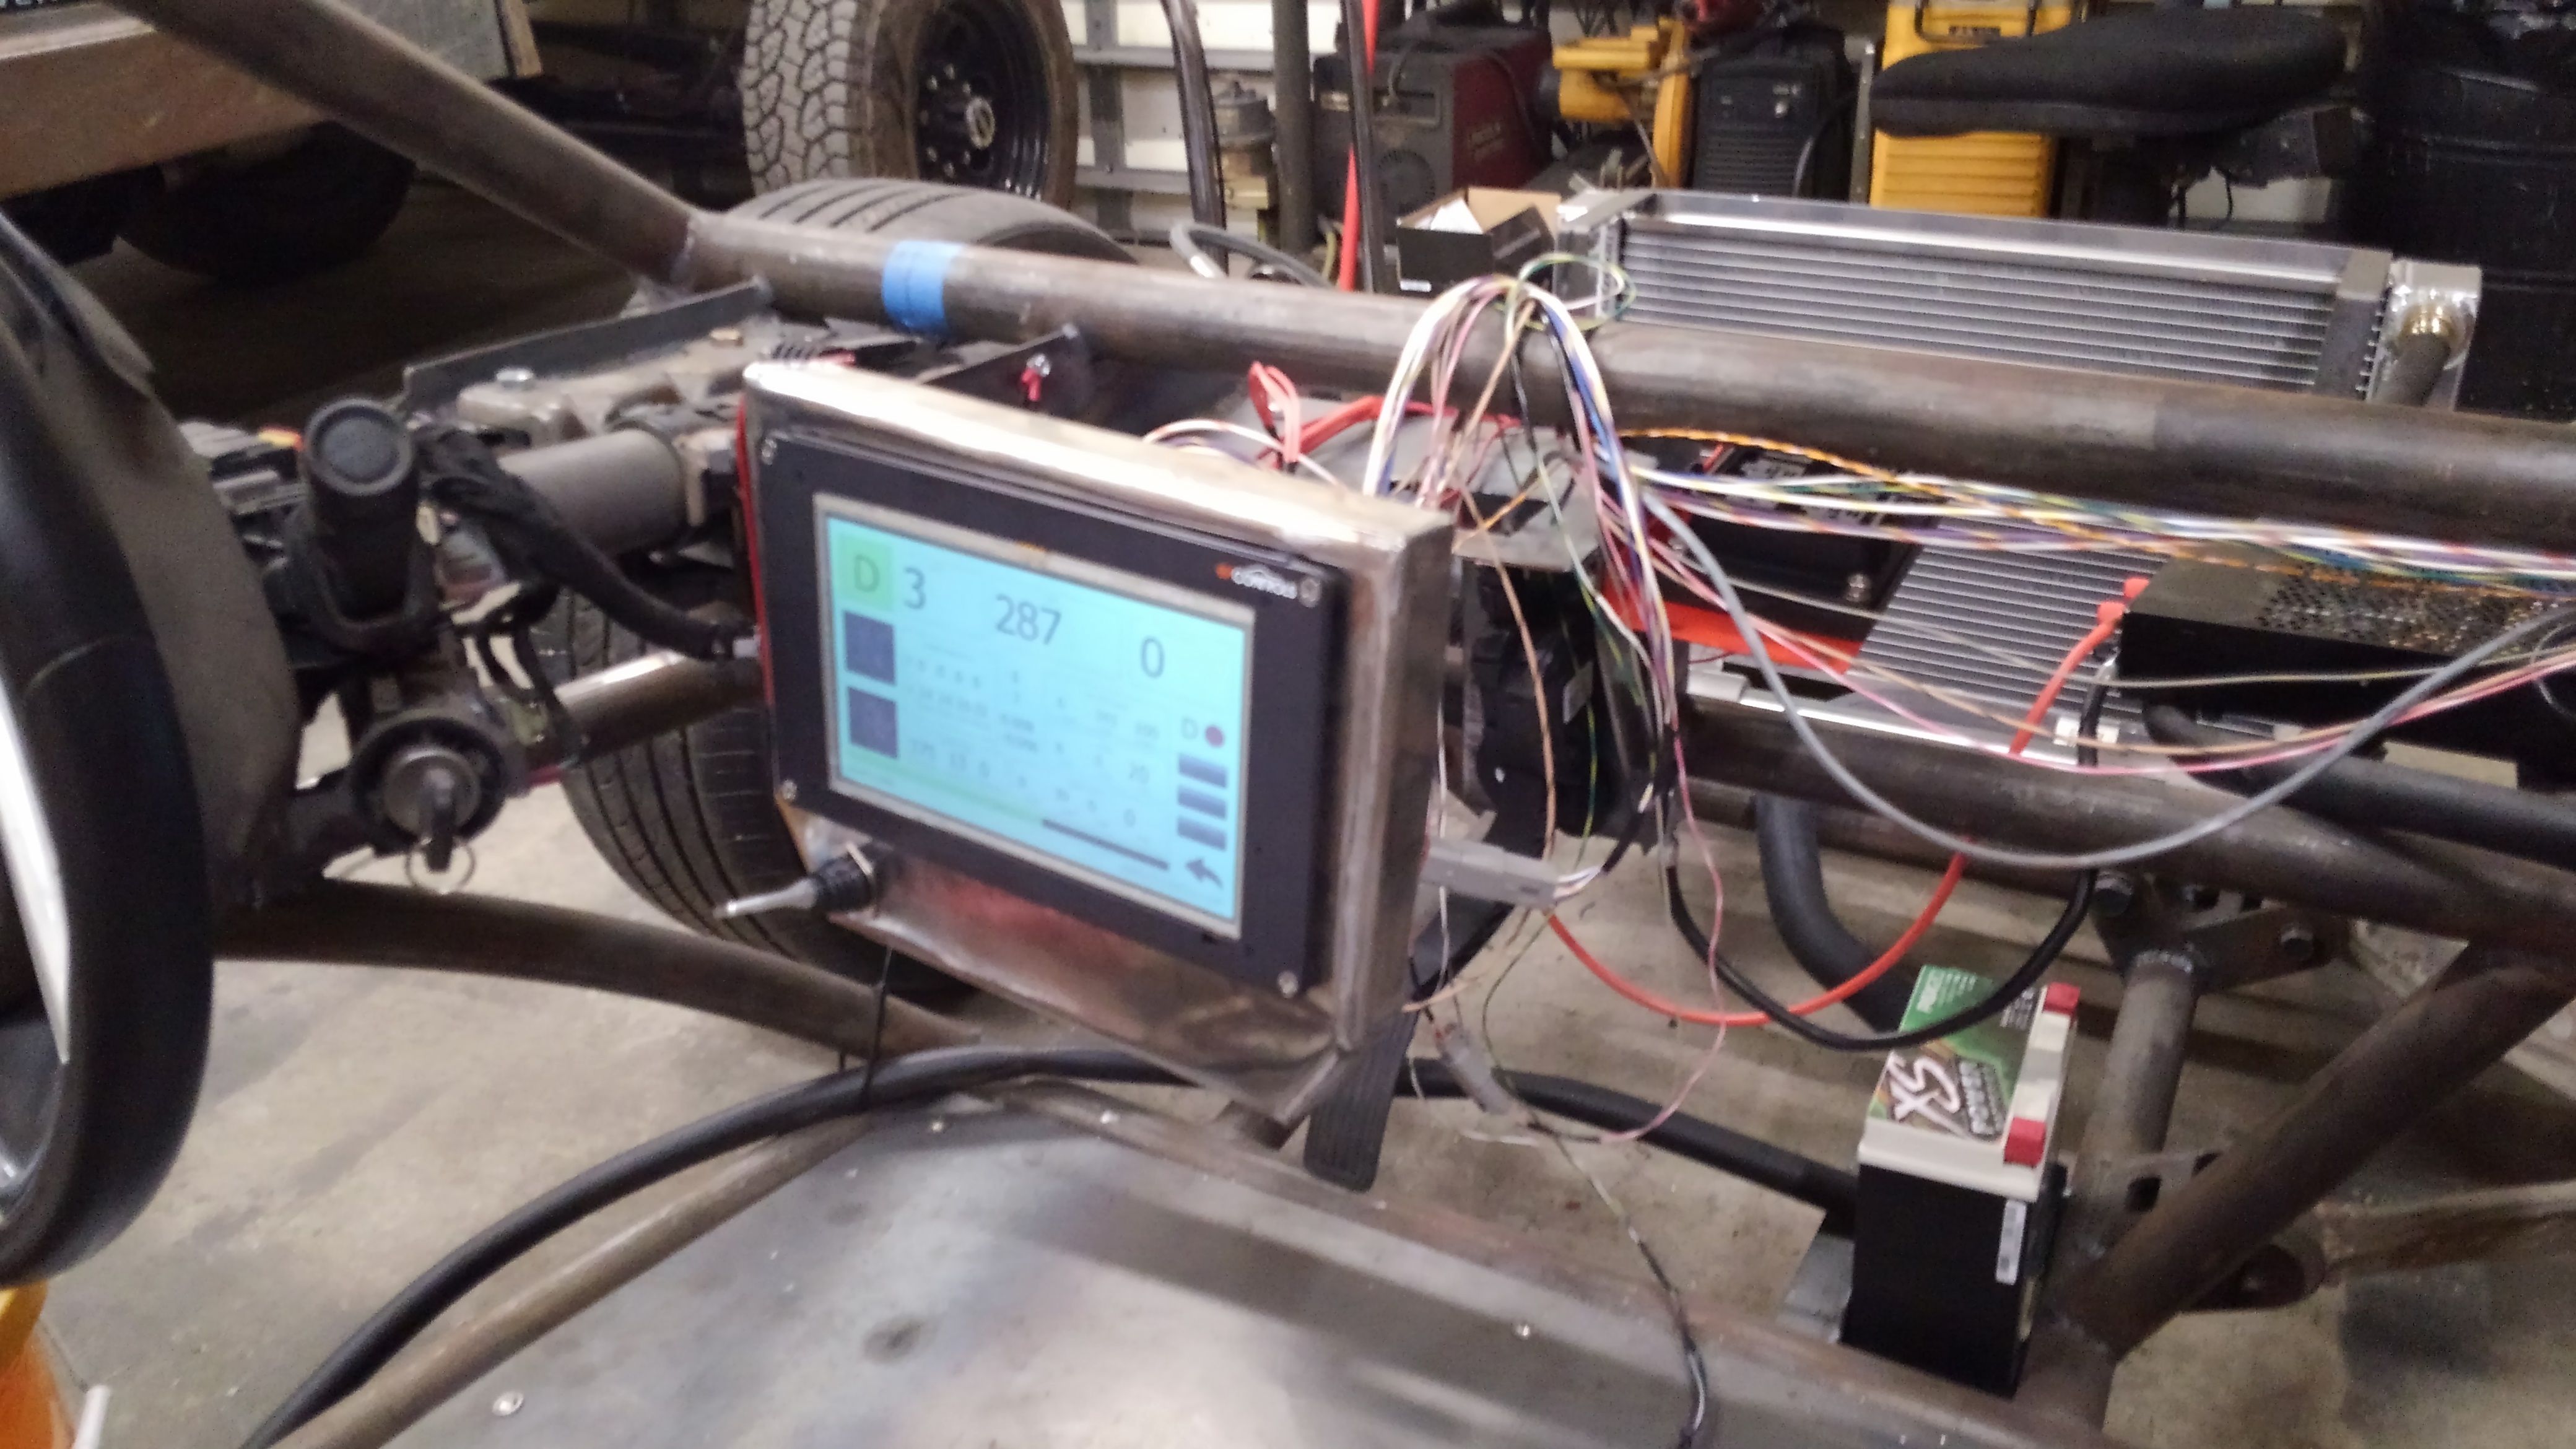
I am now creeped out to drive this thing though… I don’t even think I blipped the throttle to half way and the motor instantly hit 5000rpm, without even hitting 5% power draw…
Well…
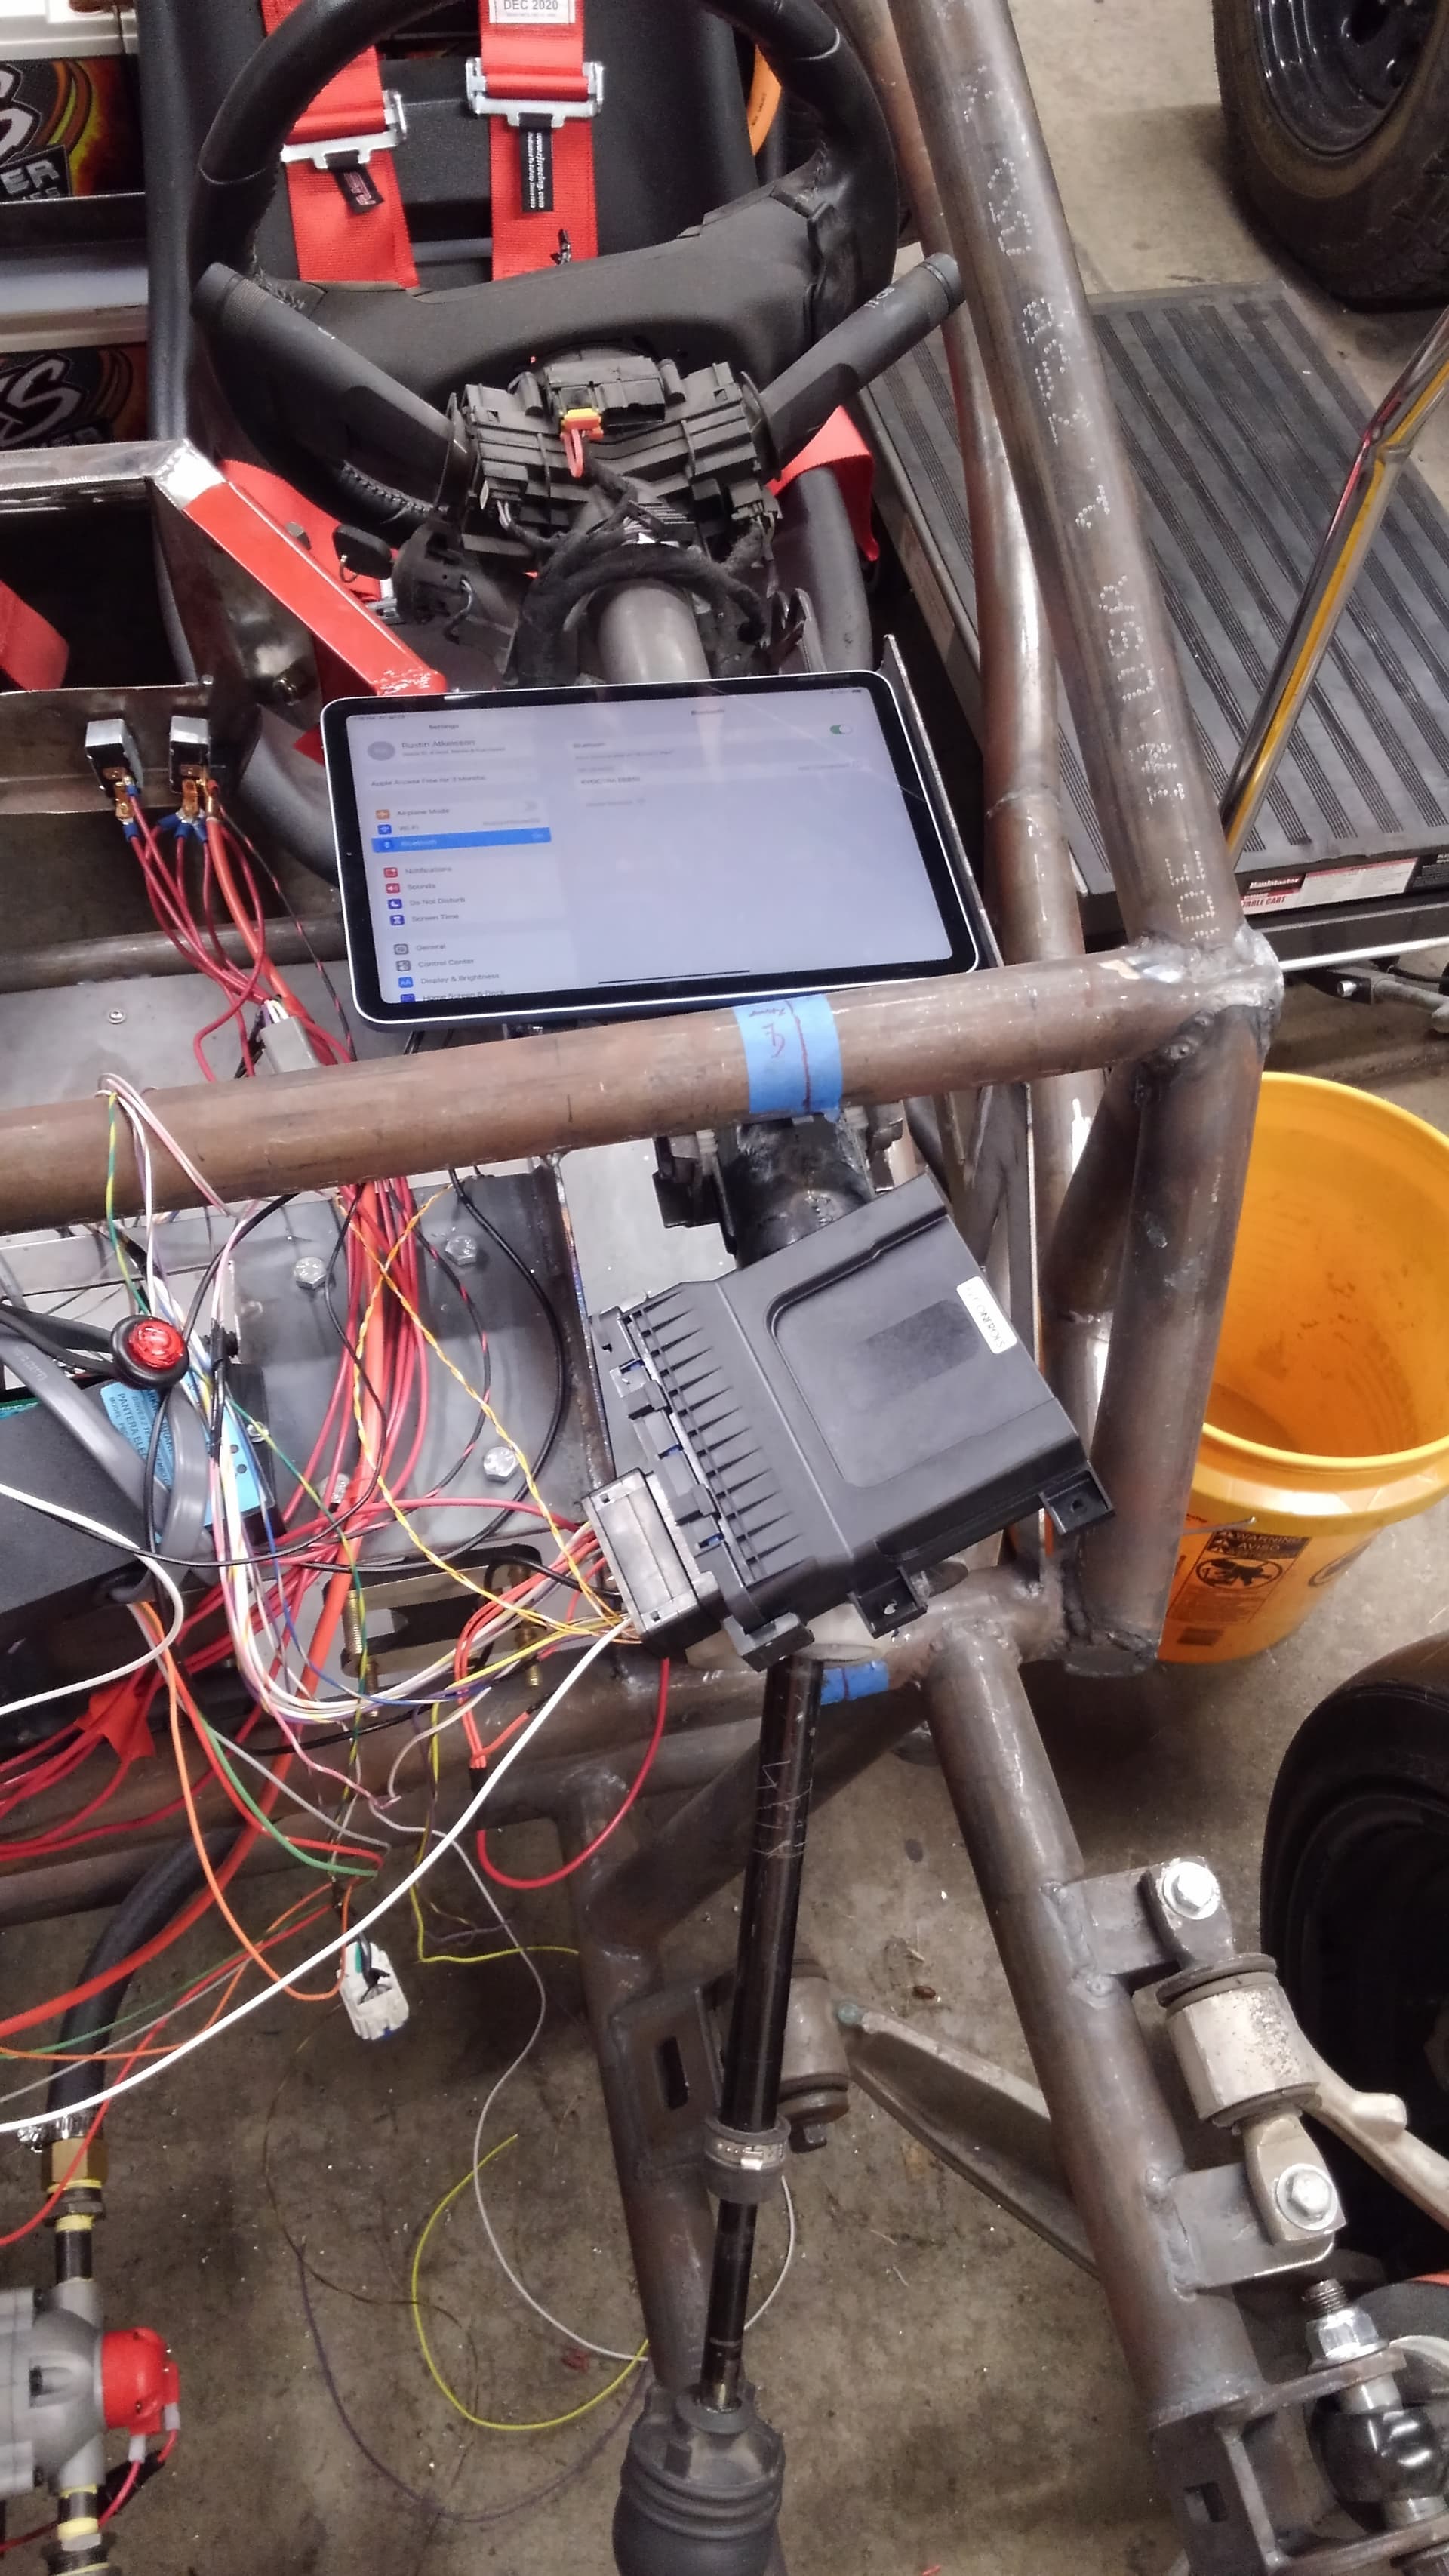
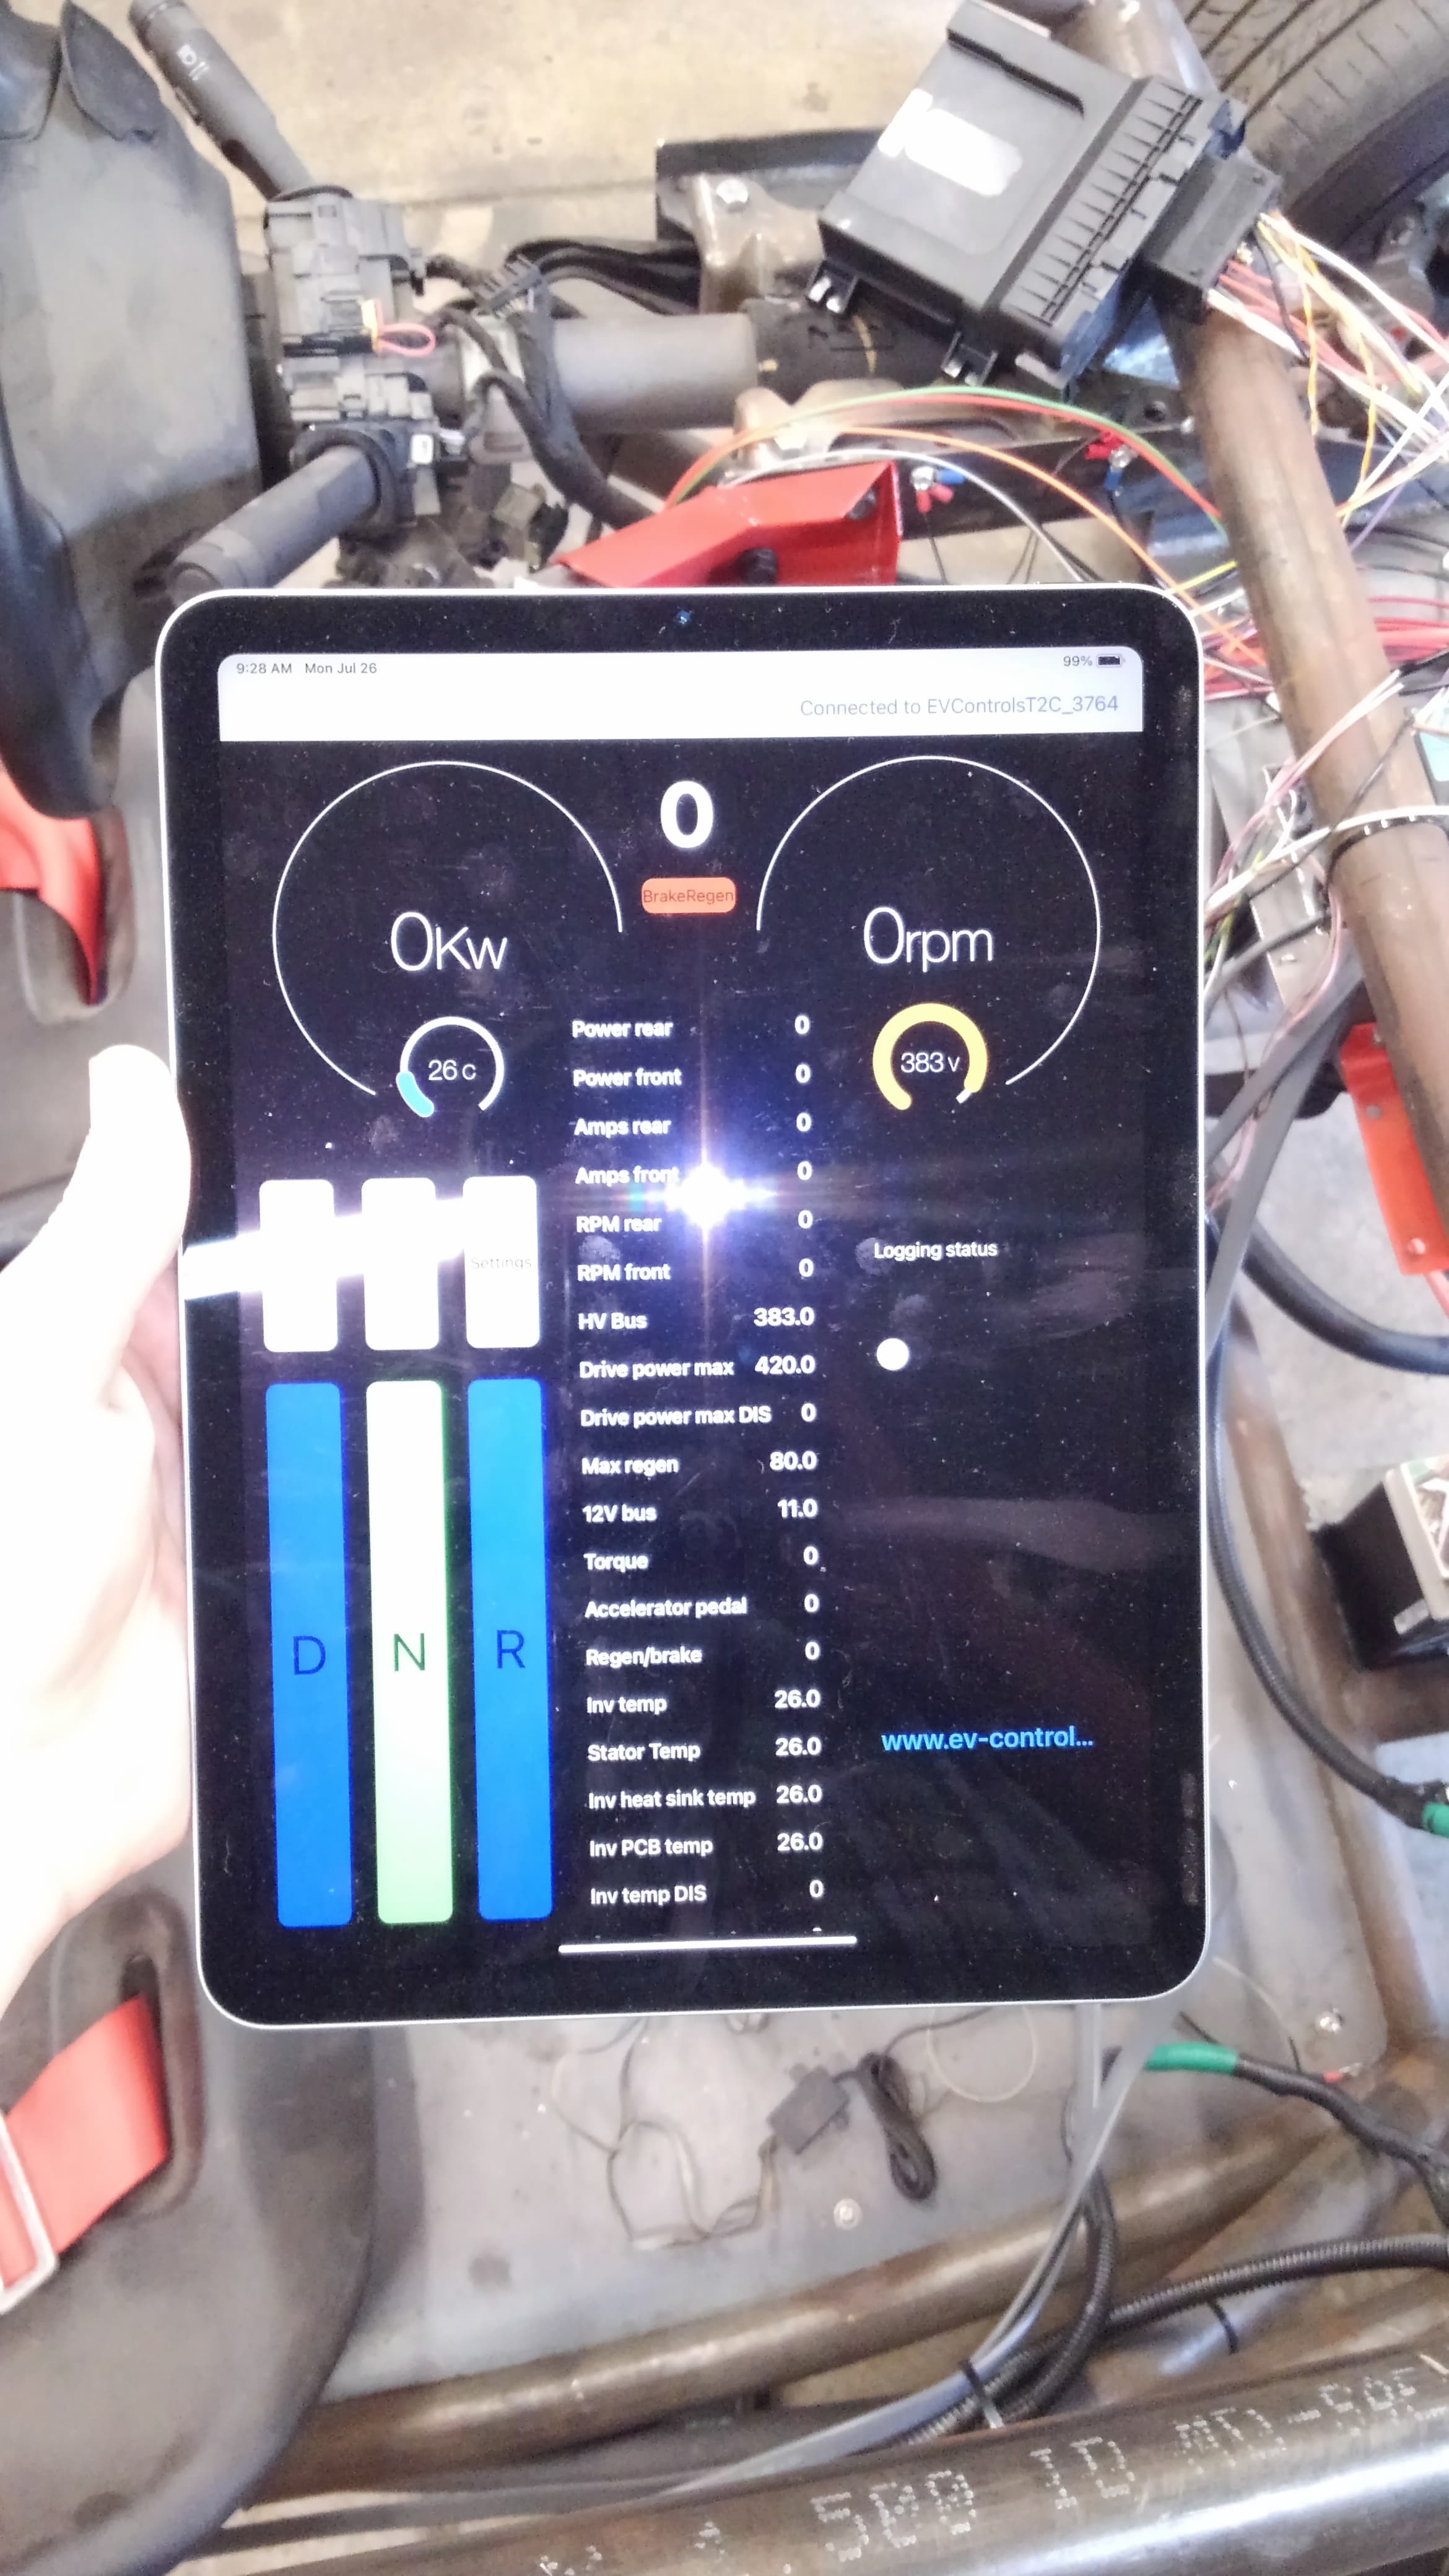
Ended up sending in my T1-SC controller to have them look at the touch screen… And unfortunately they were not going to be able to replace the screen easily so they offered to swap out for their newer t2-sc controller… All I had to do was come up with an ipad to run their app…
I have it all wired up and running again (definitely like how robust the new connector is), but unfortunately, I am not the most well-versed in apple products so I may need some help in trying to get the iPad to recognize their controller…
I’ve also been having some fun with the wheels… Not sure what all is going on inside the tire, but after finally having enough courage to peg the throttle, both tire pressure sensors have now come lose in the rear tires. I’ve had one removed, but I may have to wait until next week for the first drive if I cannot find a place that is open tomorrow to remove the busted sensor. 
So, Discount Tire came to my rescue today and removed the busted TPS module at no charge… With the one request that I bring the roadster by their shop sometime.
The roadster finally got to see the light of day today. 

I’m a bit surprised how well it steers without any powered assistance. It was a thrill to finally get in and do some quick testing. Everything that is hooked up seems to be working pretty well… And thankfully there was a bit of a steep hill in front of me before having a lapse of good judgement and for the briefest of moments and stomped on the throttle…
…and now to take care of some brakes and cooling before a real shakedown run.
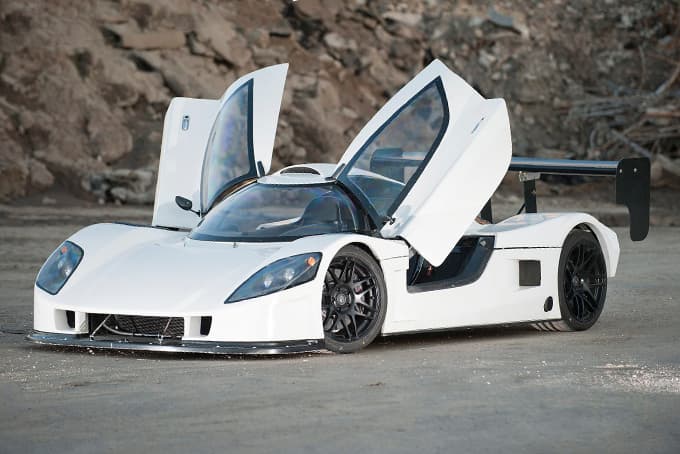
I do like a nice gull wing…
Managed to get the app working… Turns out it uses some weird apple subnet for the Bluetooth connectivity. So instead of using setting to directly pair with the controller, the app ‘marries’ immediately to the controller.
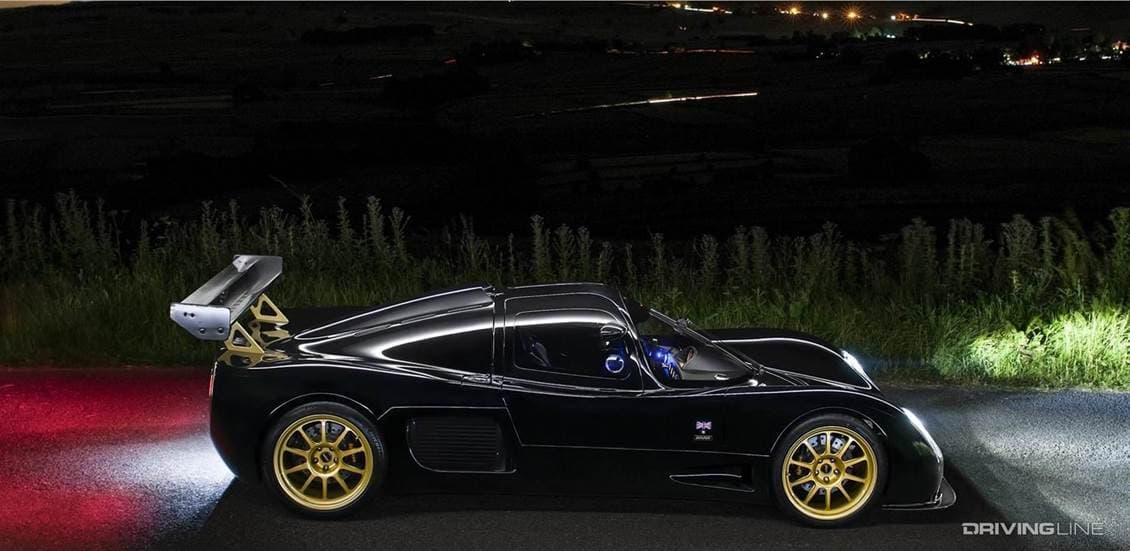
As far as gullwings go, I’m a bit more of a fan of butterfly doors. Lol
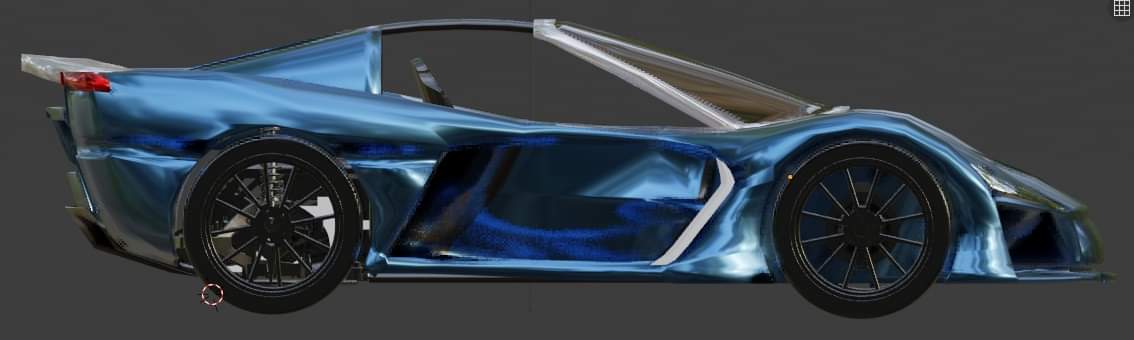
I’m still refining the design, but I think i’m getting close to a really solid design.
Been making a little bit of progress here and there and even managed to get the roadster running (with Michael Atherton’s help on the coolant system) and up on a trailer for drive electric week before somehow shorting out and having to be pushed off for the show…
Best I could figure is that during loading, one of the battery cables contacted the frame, sending 200v through the controller… Surprisingly, the controller survived, it just fried the voltage regulator, but thankfully there was a backup way to get power to the board via a mini USB connection on the board.
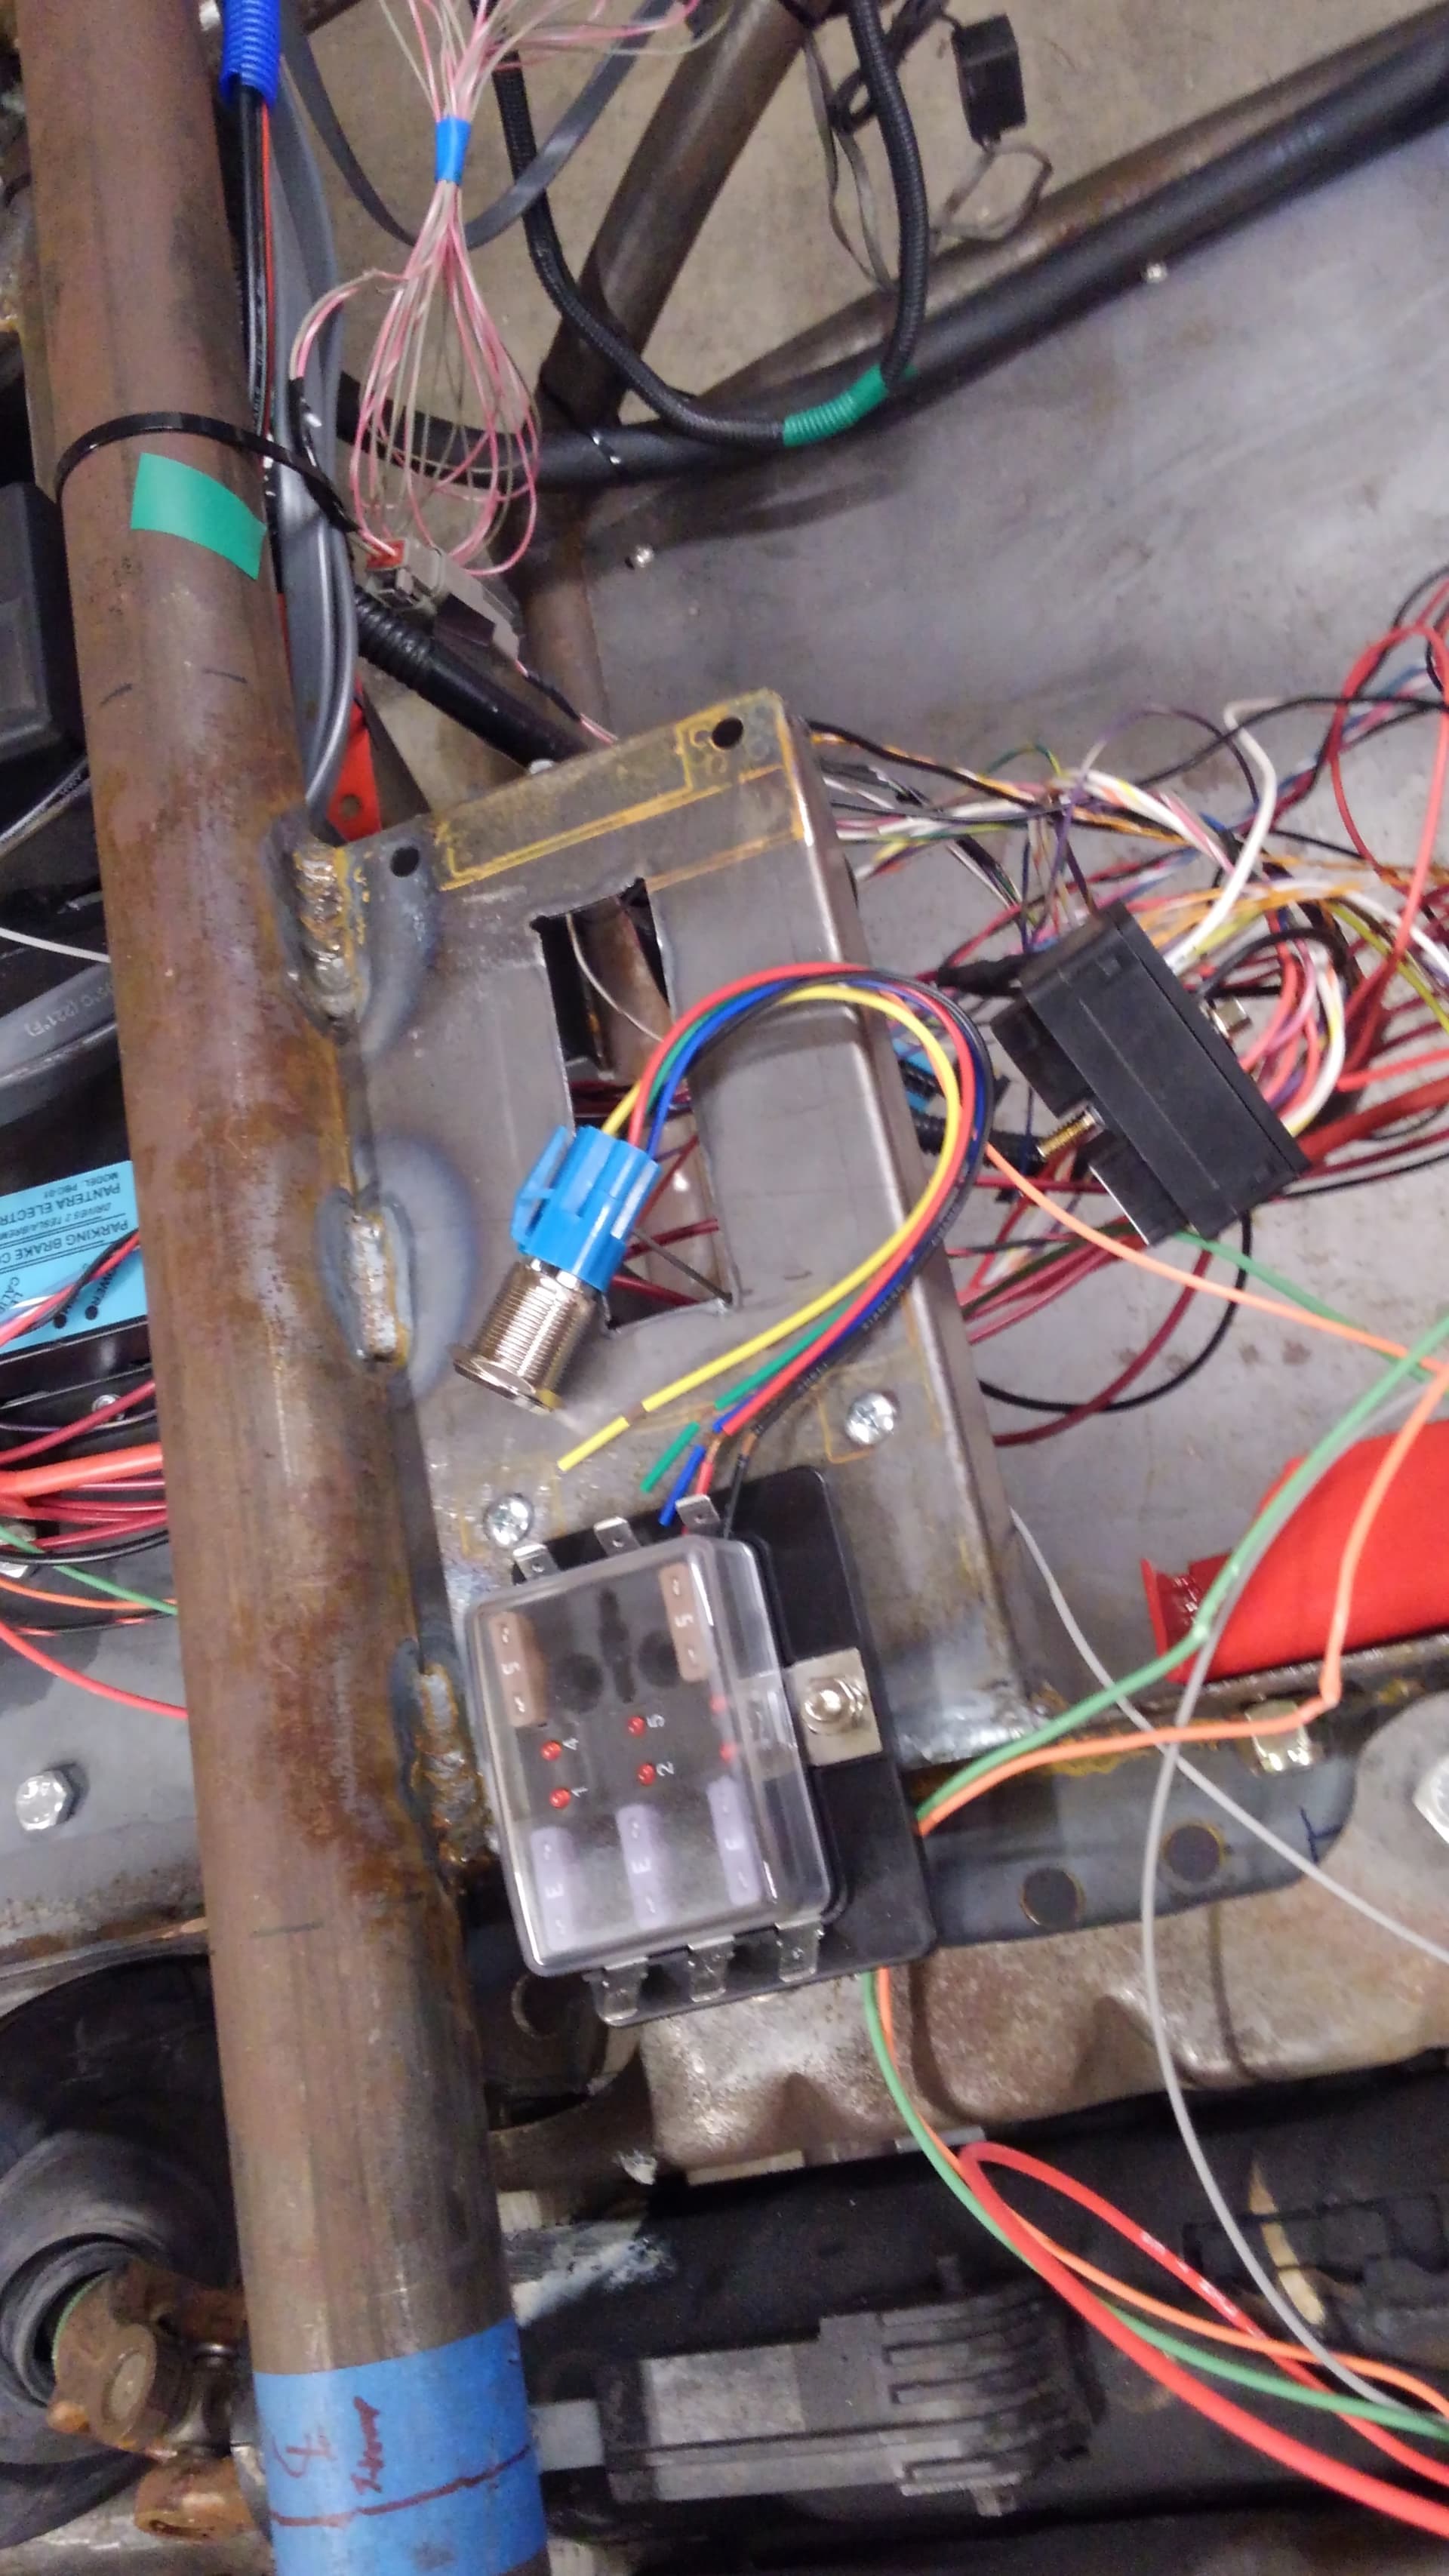
The manufacturer has replaced the board, but in the mean time, I’m taking some extra measures to protect the controller and myself from a 400v shock…
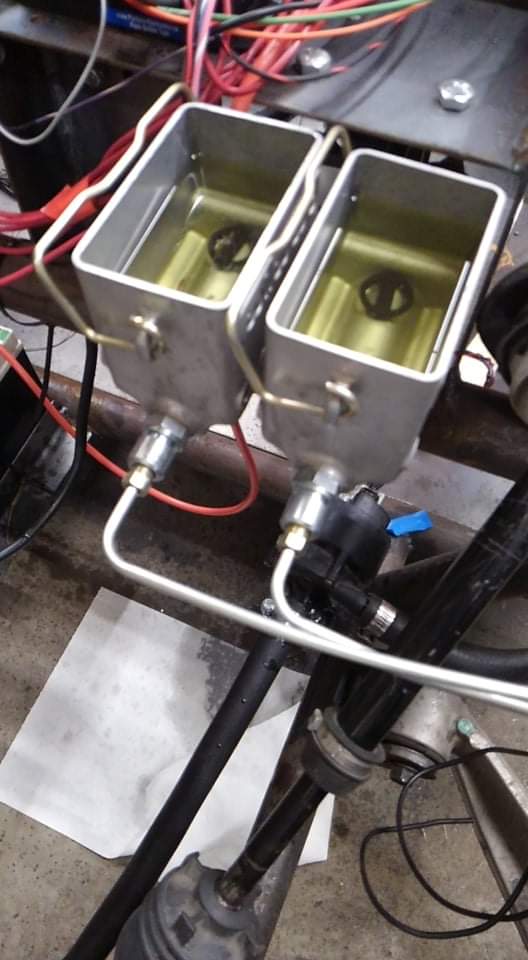
So for the controller, I’m adding a 2nd fuse block between the power switch and the controller.
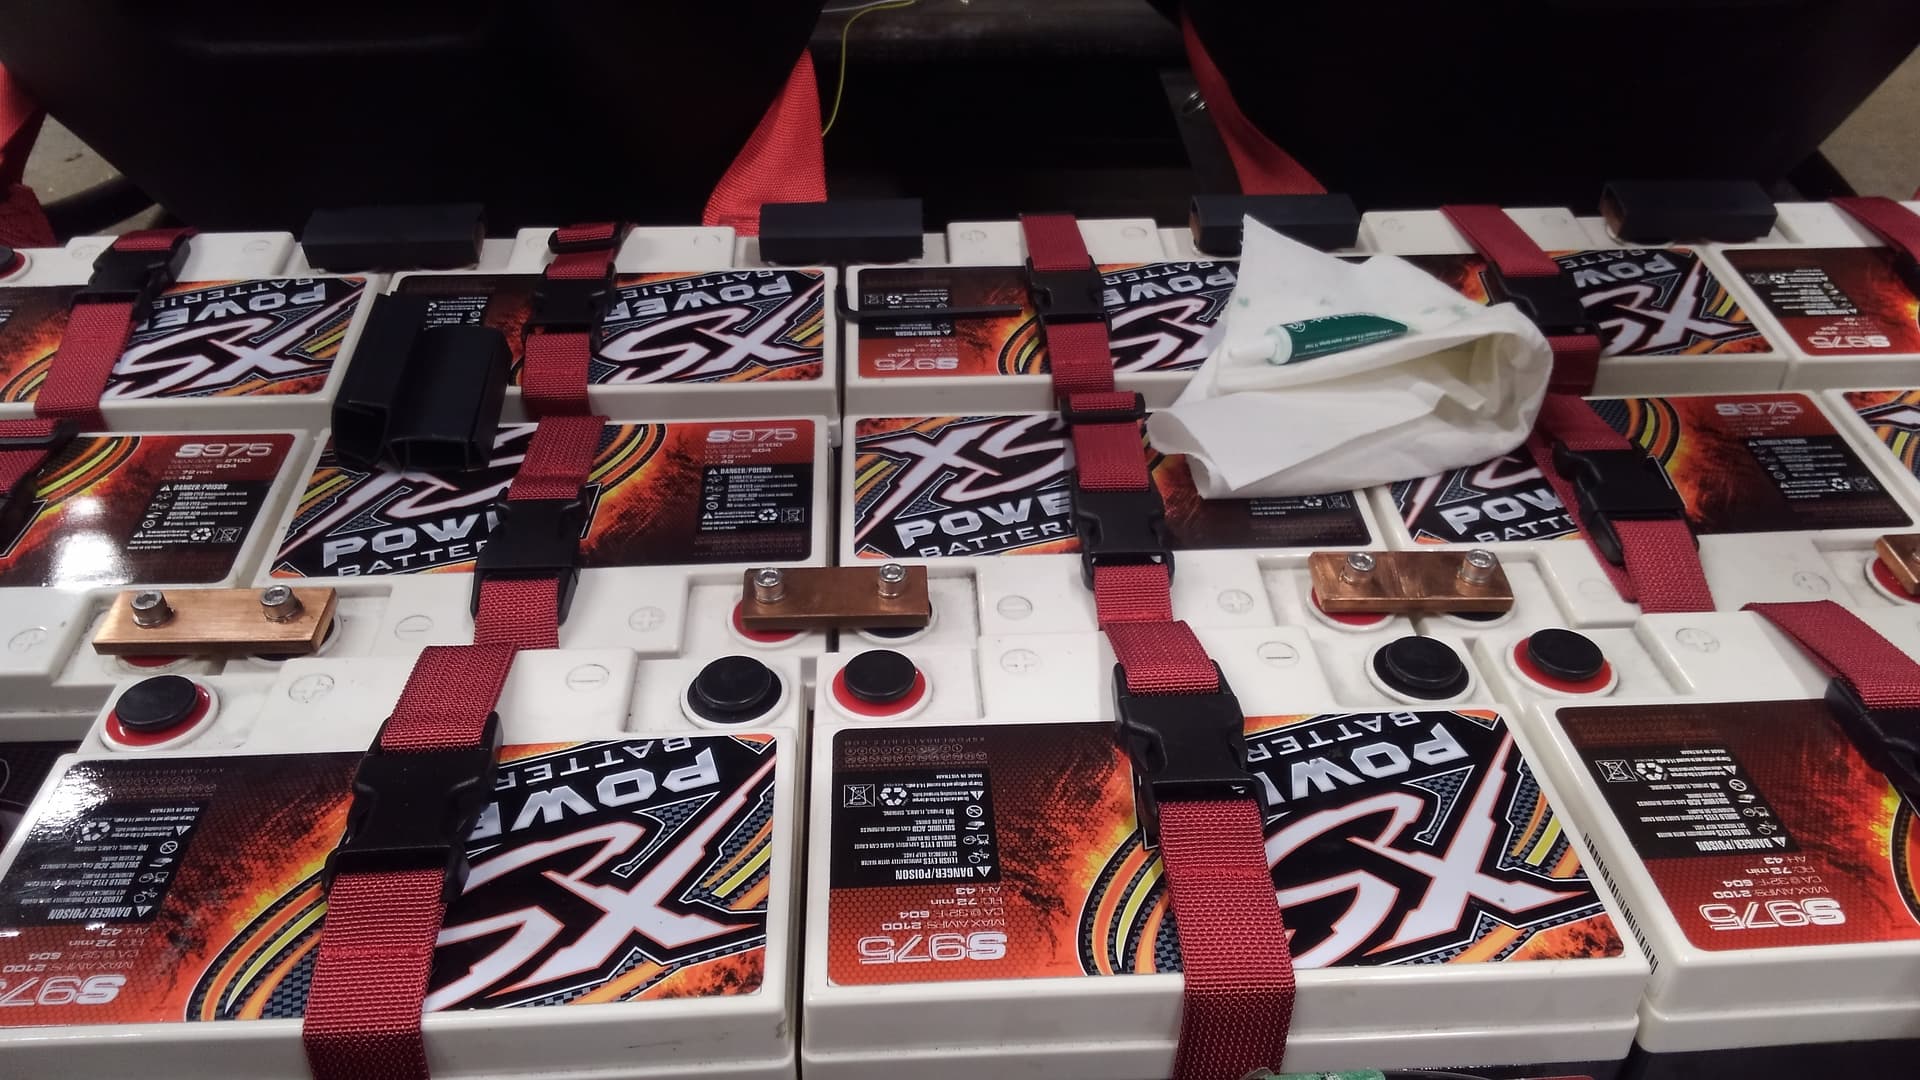
For the battery pack, it’s a bit more involved. I’ve moved the bolt the possibly connected to the battery pack (painting the battery frames in the process with a prismatic powder coating system - changes from orange to red depending on how you look at them), ordered in better terminal covers, and seat belted each battery down like a 60 lb furless child.

I finally have the roadster back to running status.
I decreased my chances of being on electrocuted by putting caps on any exposed battery terminal and also put 1/4in lexan between those terminals and any piece of metal within 2in of the lexan. It’s turned into a bit of a less shocking situation. Less exciting, but hopefully more reliable down the way.

I still need to button up some wiring and mounting, but I still need to work on the breaking before a test run… Instead of using doorman or wildwood this time for my brake line connections, I went with the speedway’s house brand… At first I thought I had too much strain on the connections or had overtightened them, but after replacing the first two that failed with Wildwood parts, the rest began to fail as well as I bled the brake lines. There are a couple connectors I still need to replace but it is definitely weirding me out that the doorman parts I used on another build are an almost identical design, and I haven’t had any issues with those parts.
Yeah… Those brass parts going to the master cylinders had massive cracks…
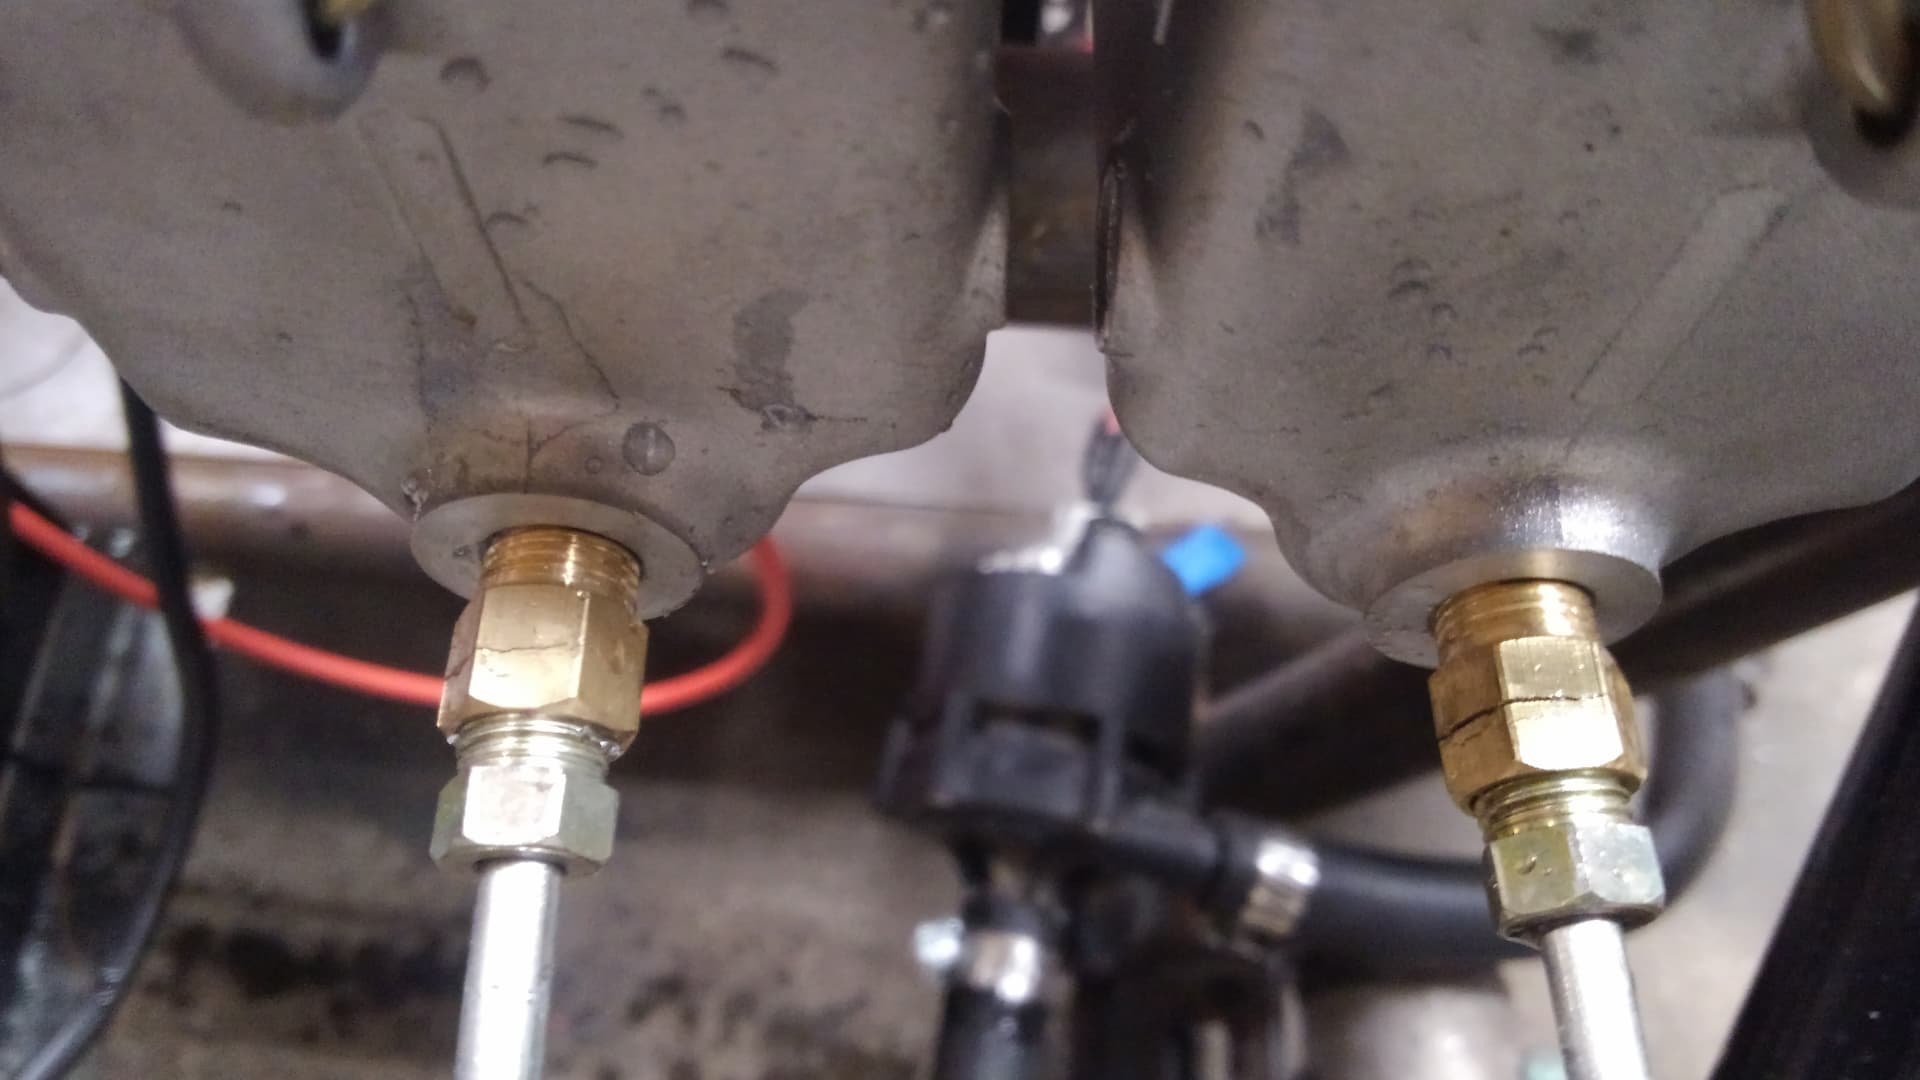
The fancy Willwood replacement parts!
This build is so badass