Electric Roadster Build

Thought I would post a personal project on here and see how things go.

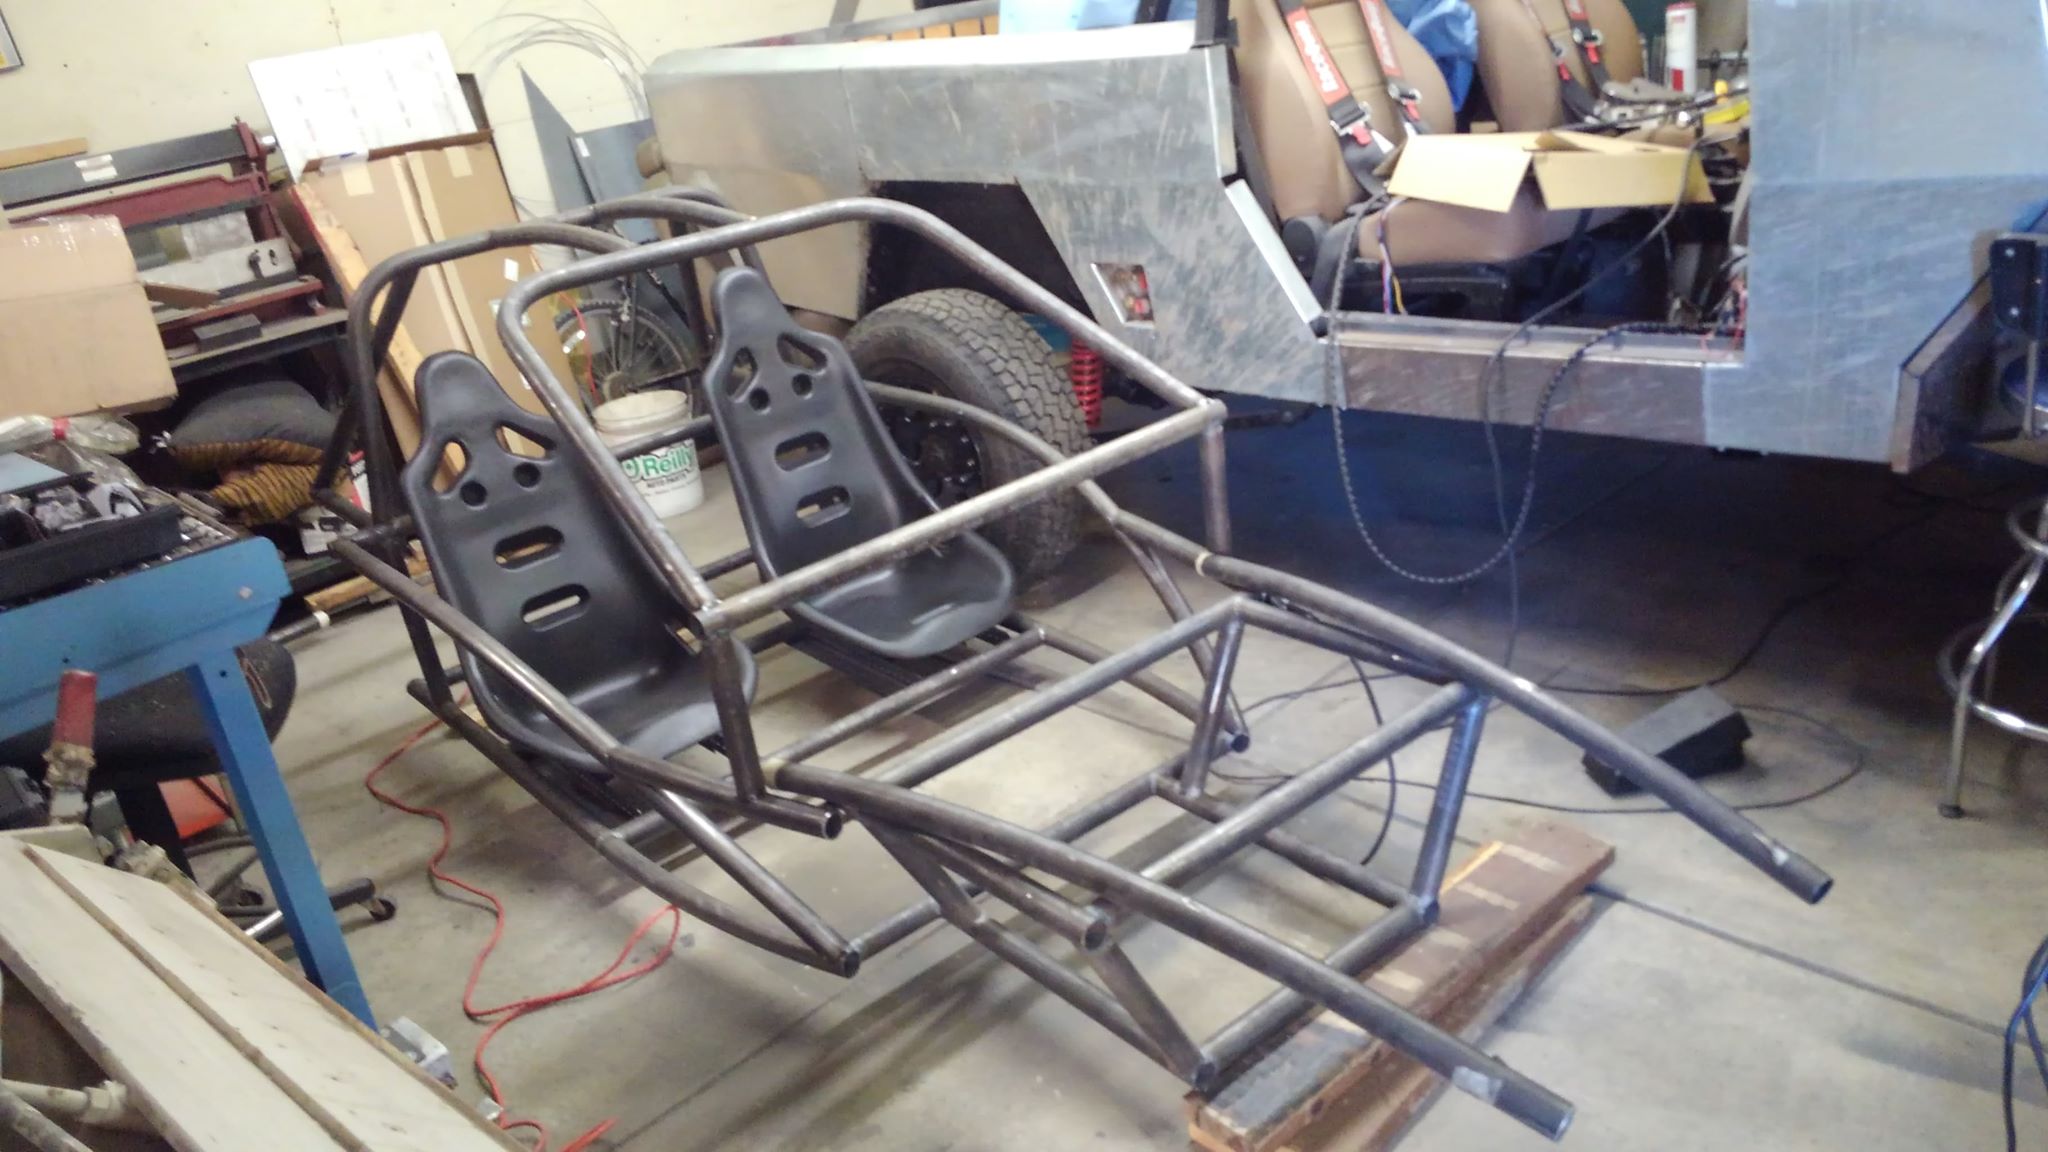
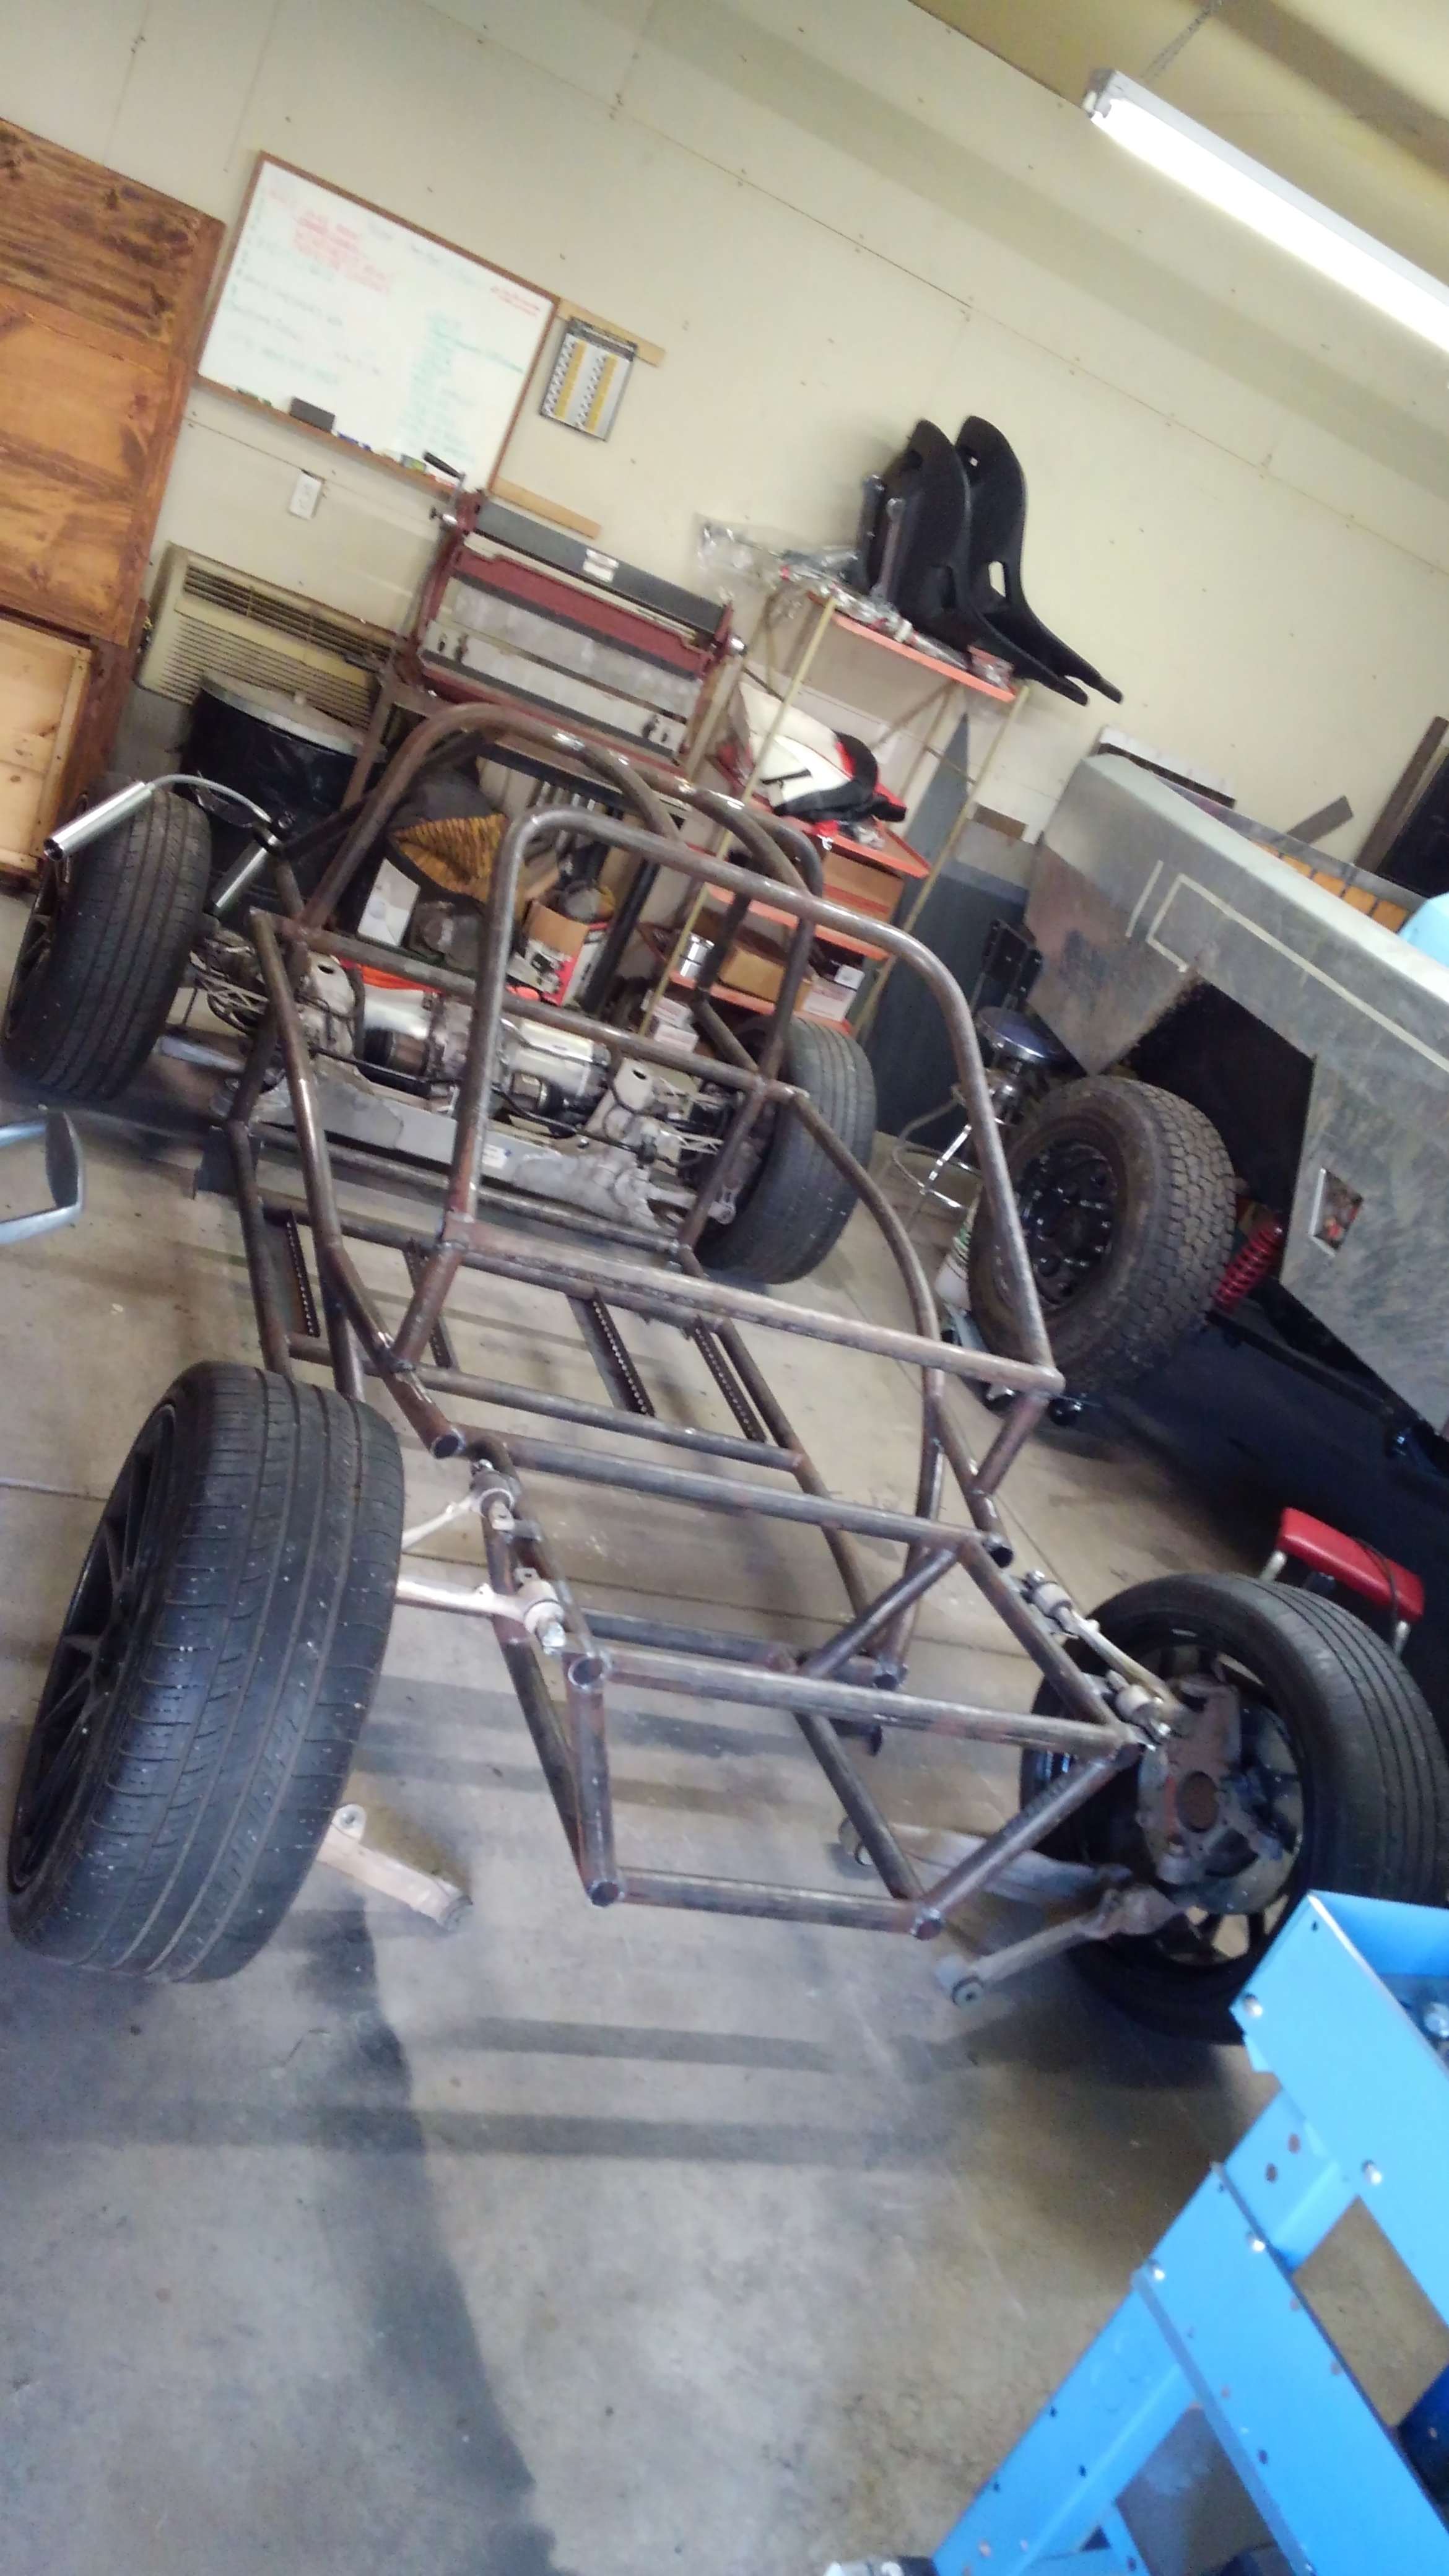
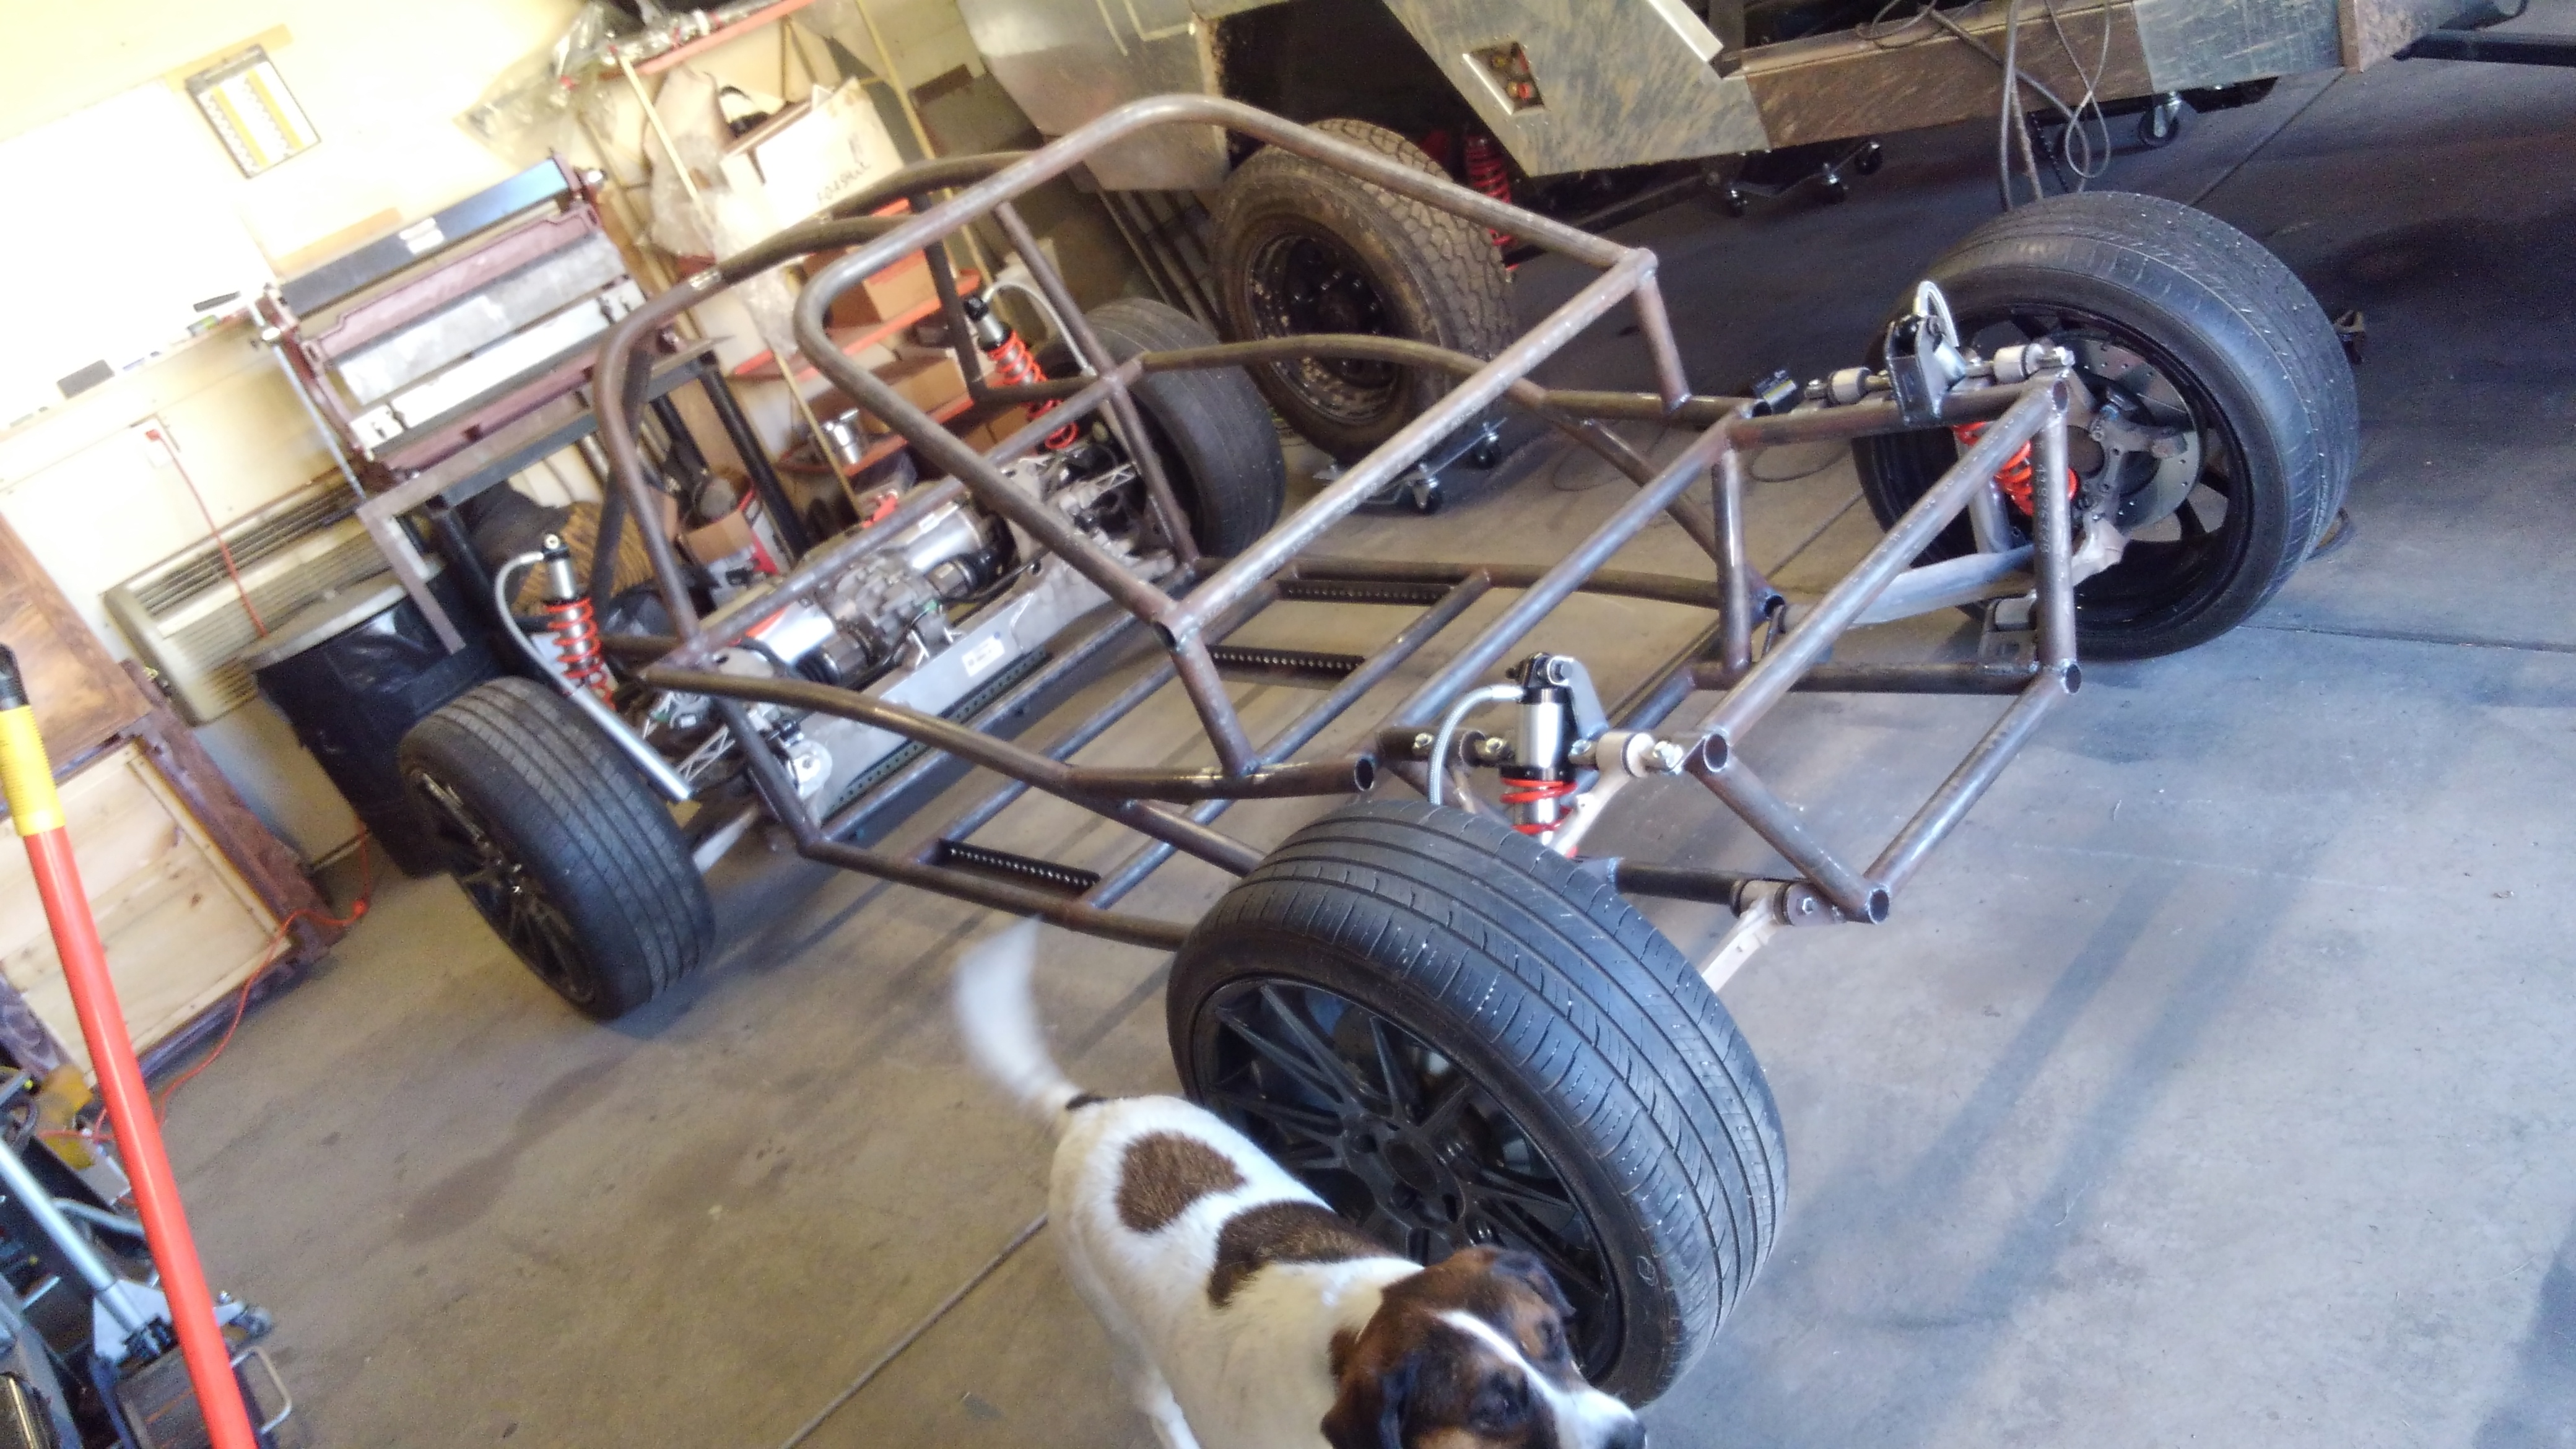
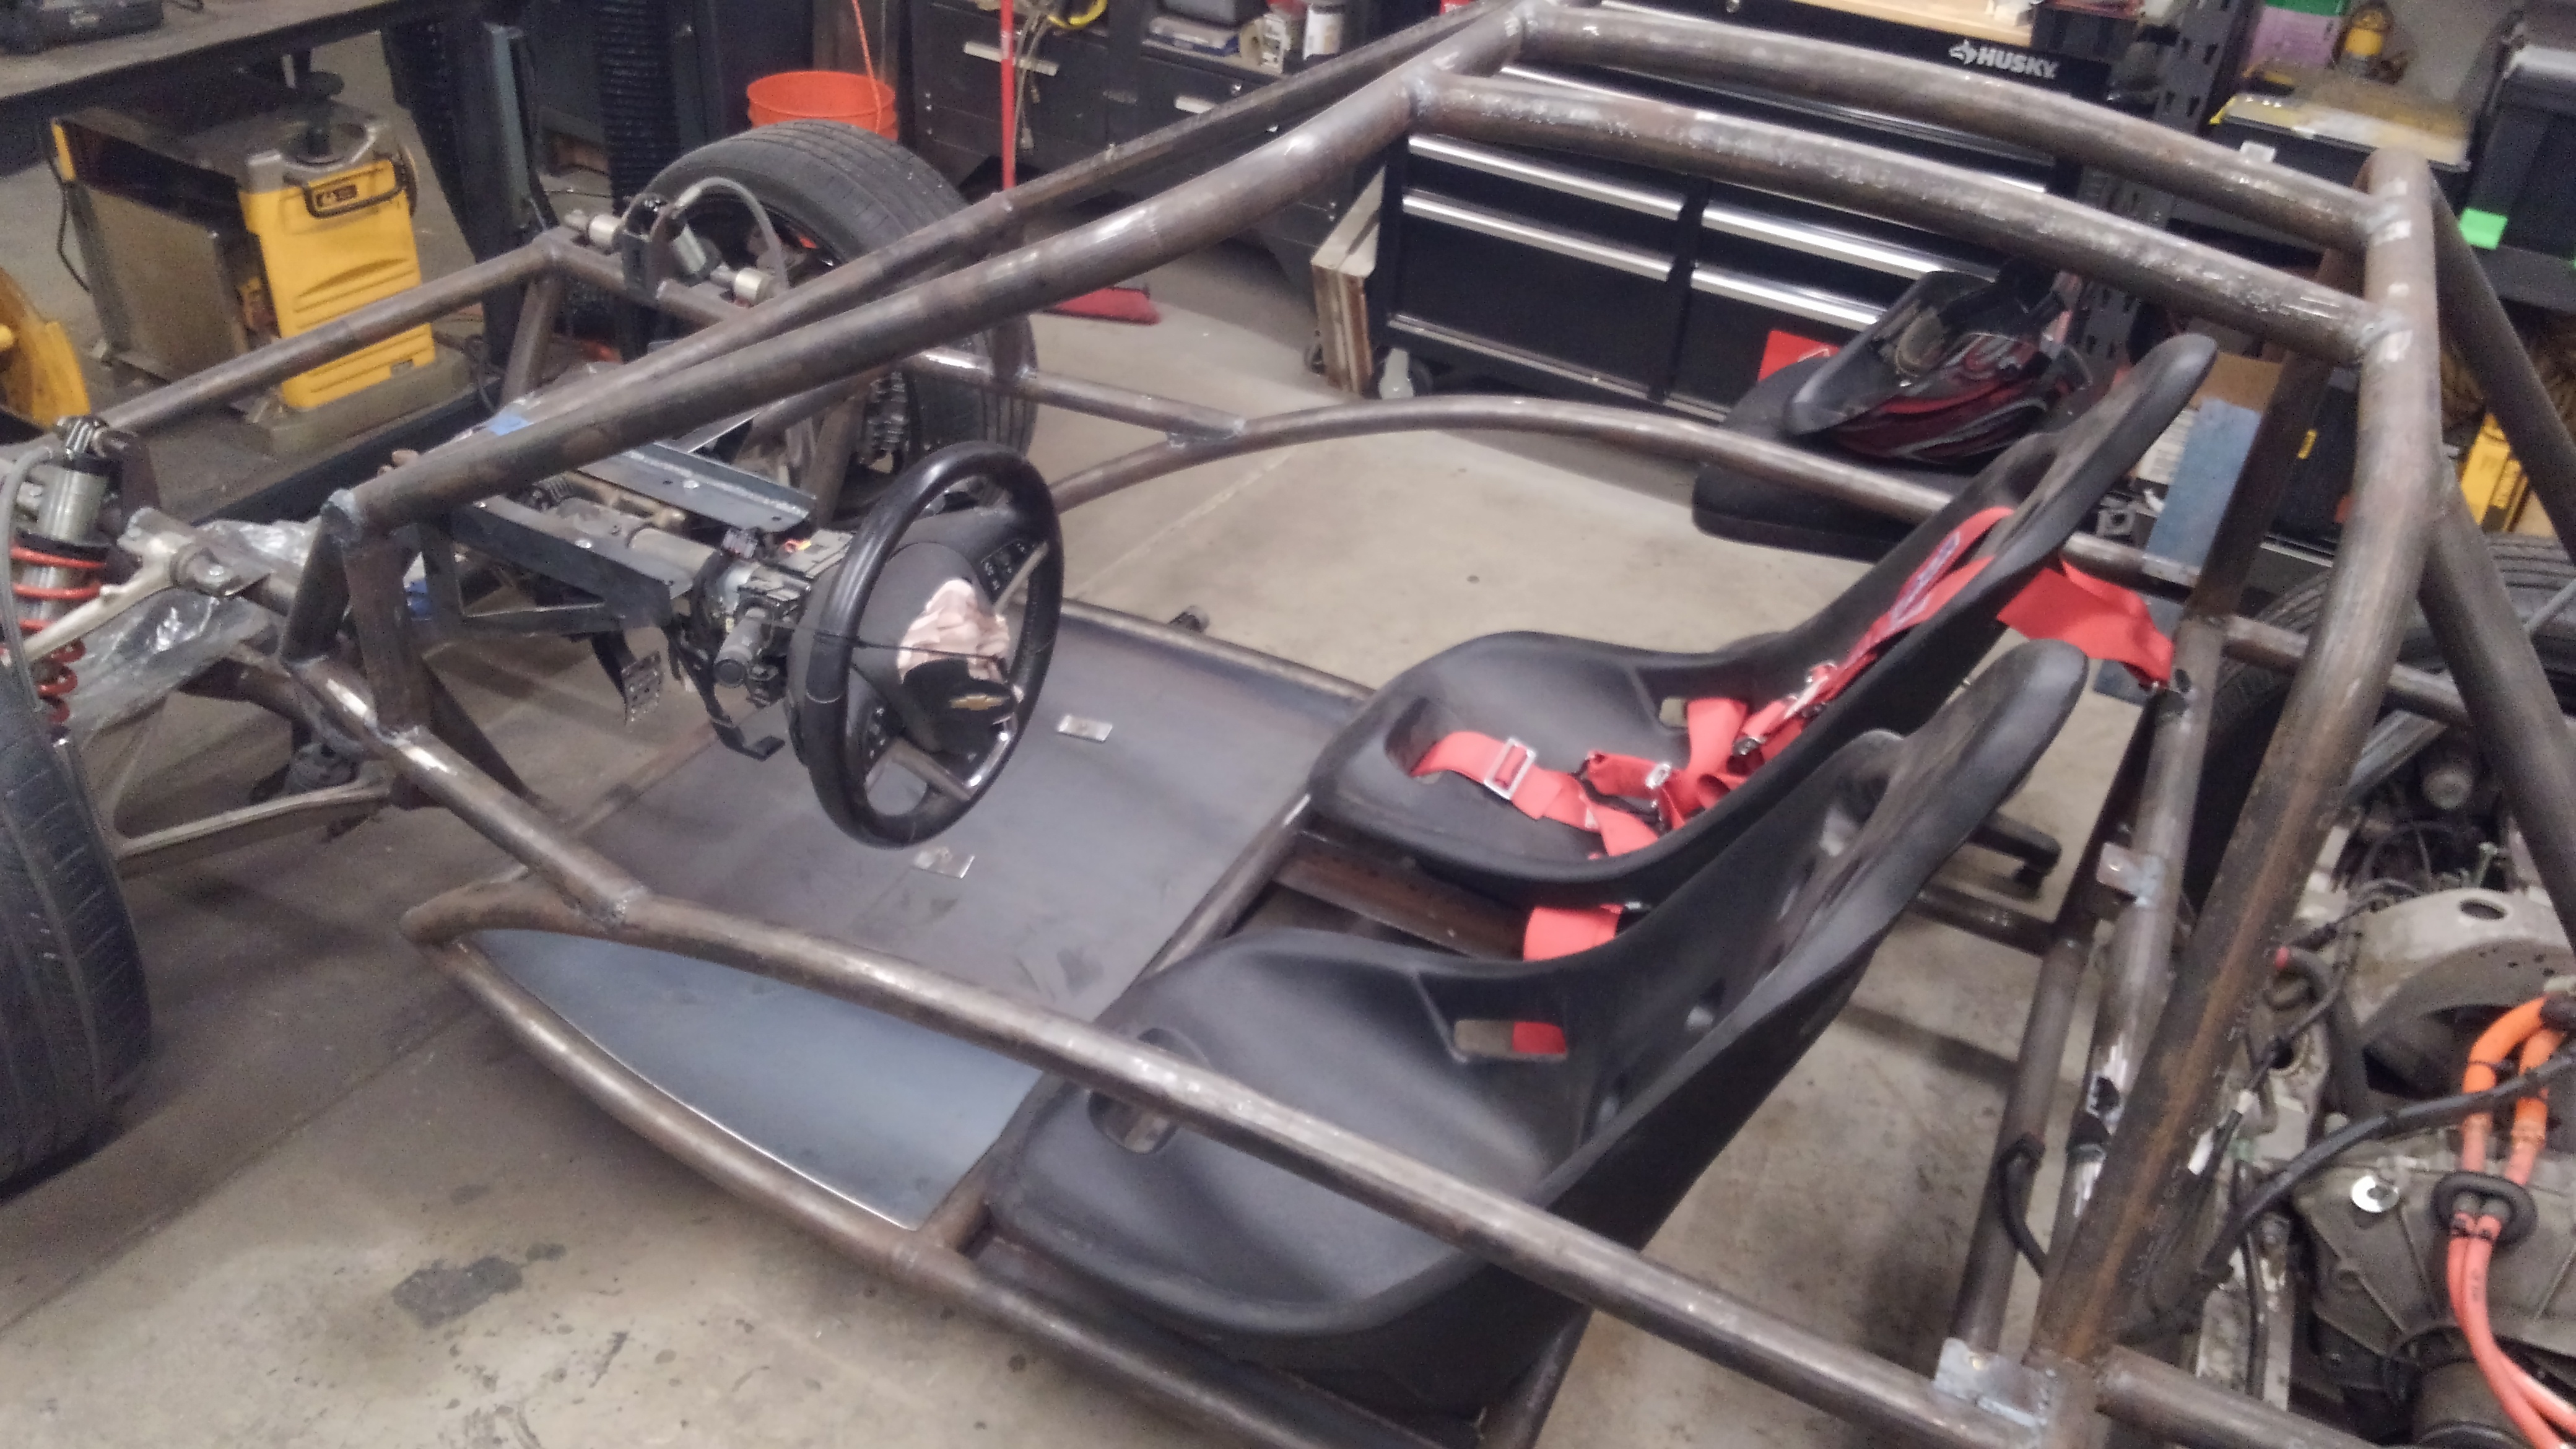
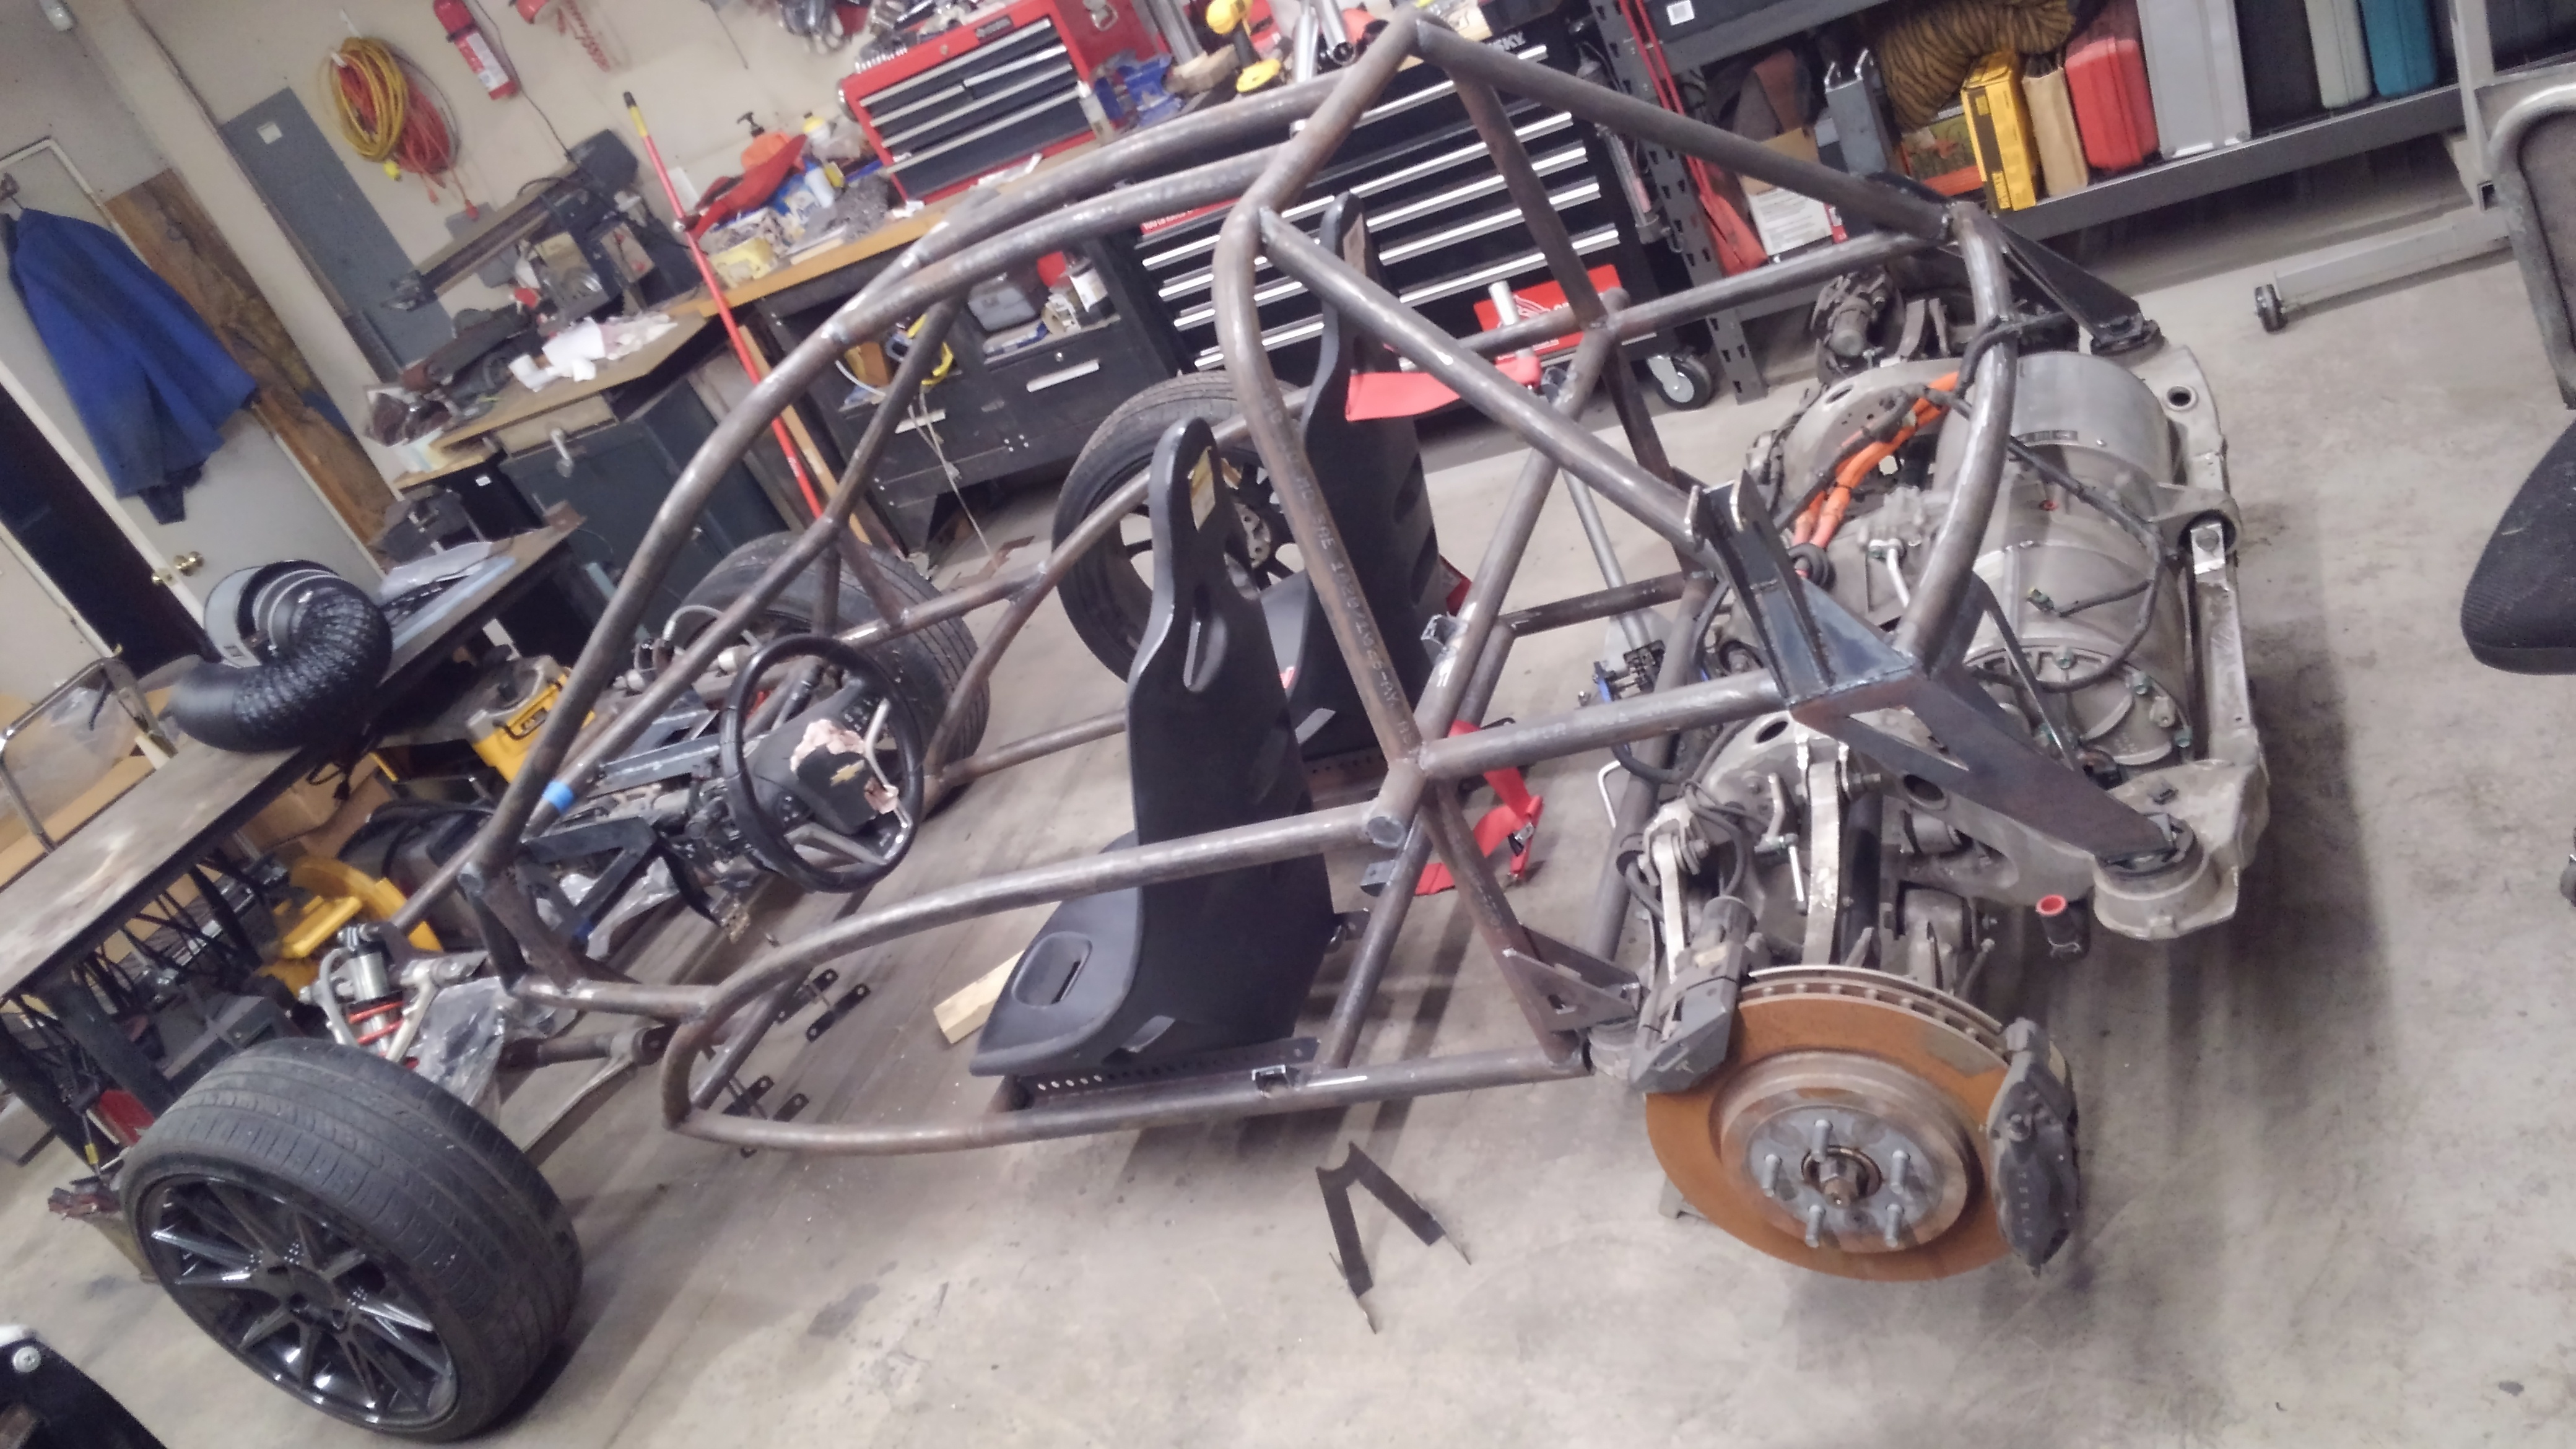
Well, I’ve taken the plunge into building an electric roadster. I’m not sure how quick my progress will be on this one, but it sounds like there are a lot of people interested in how this build progresses, so I’ll try to post as I make some major milestones. I had a time line of getting this rolling under it’s own power by mid April of 2019, but at this point it would be healthier for me to work on this as my spare time permits.

There’s been a lot of research into everything for this project, and well, there’s still a lot to research, but it looks like there is a growing community out there that has figured out how to drop the drivetrain from a tesla into pretty much anything.

So… let’s see if I can shove the drive train from a Tesla Model S P85+ into a home brew roadster.

As it turns out, the motor is the smallest headache in an electric car build… battery packs, controllers, and battery management systems have been a bit daunting to research. There are options out there, but you have to read into each one to see which one will really work out best.

The Motor
I looked at the motors used in golf carts for a while. There are some pretty beefy ones out there designed for 1000 lb golf carts (plus the weight of occupants plus golf clubs). Those motors are ridiculously fast for go-kart builds, but the max RPMs top out pretty low and are not designed to handle thousands of miles of abuse. So then I started looking at just buying a new setup for a Nissan Leaf (they have some decent performance numbers) from a dealership… the only problem is that the inverter is only available thru the service desk (so you need a wrecked Leaf to get one). There are other companies that make inverters and controllers for them, but then I stumbled into an interesting issue.

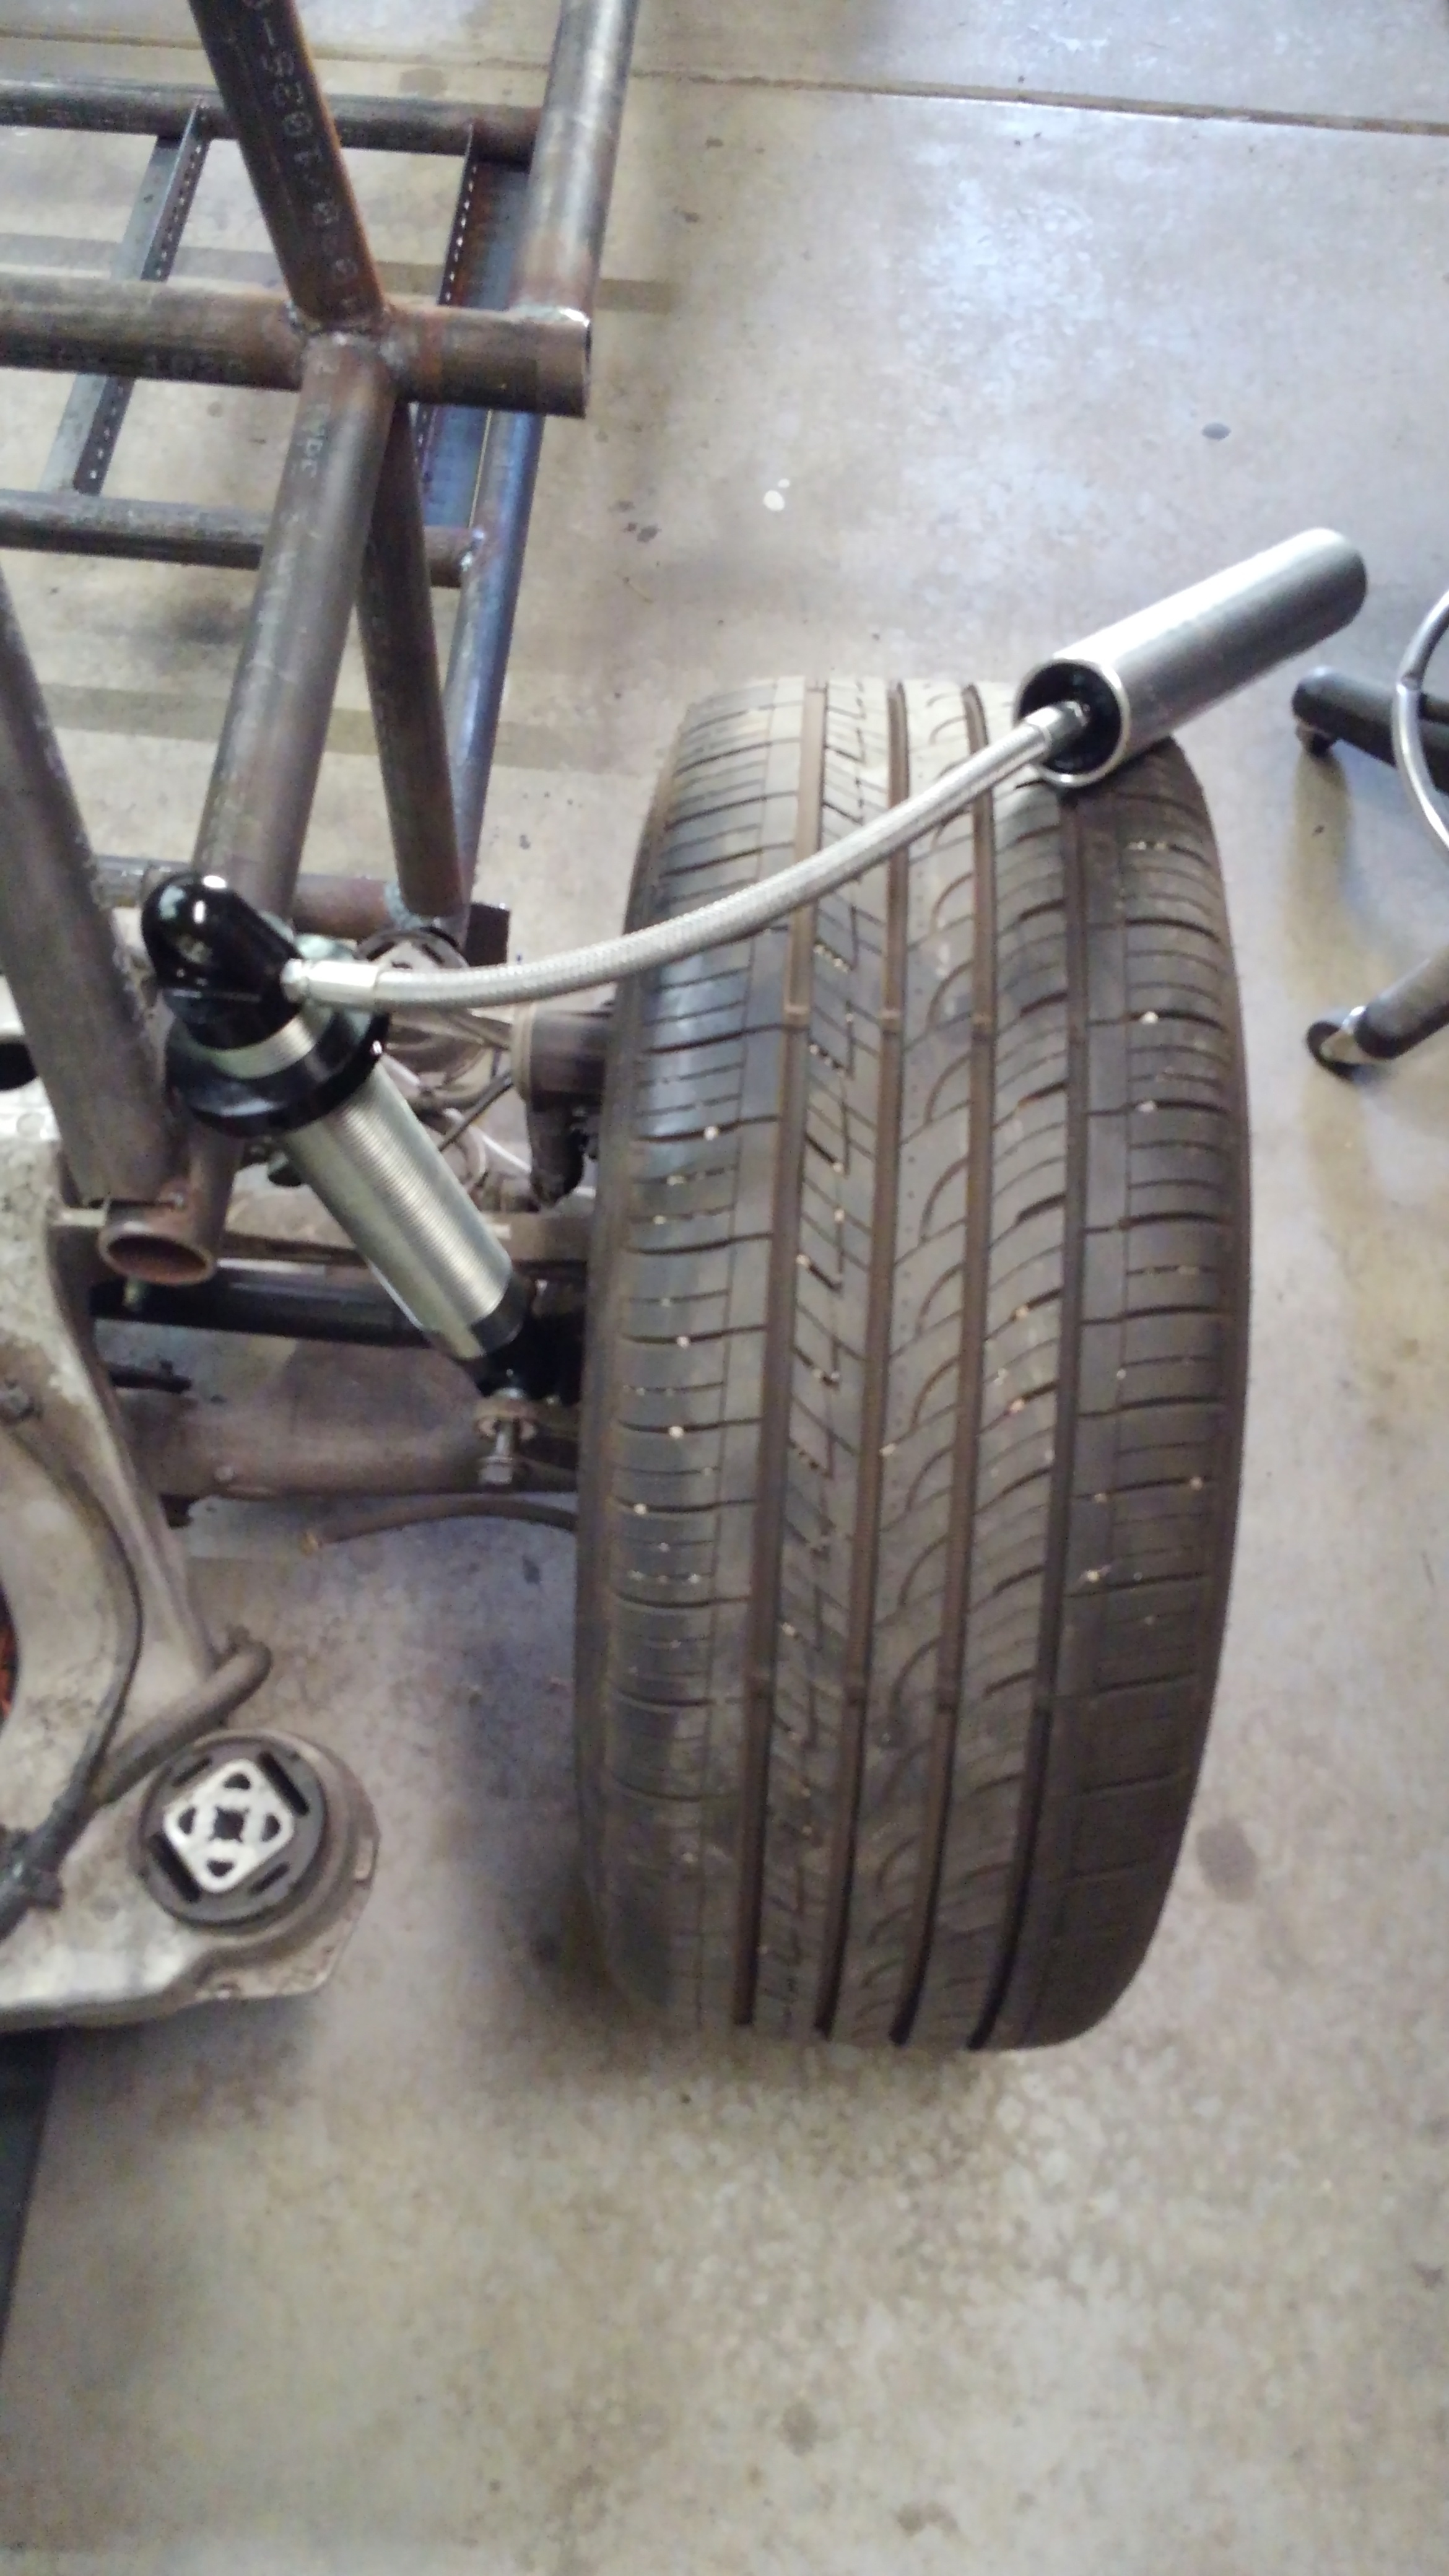
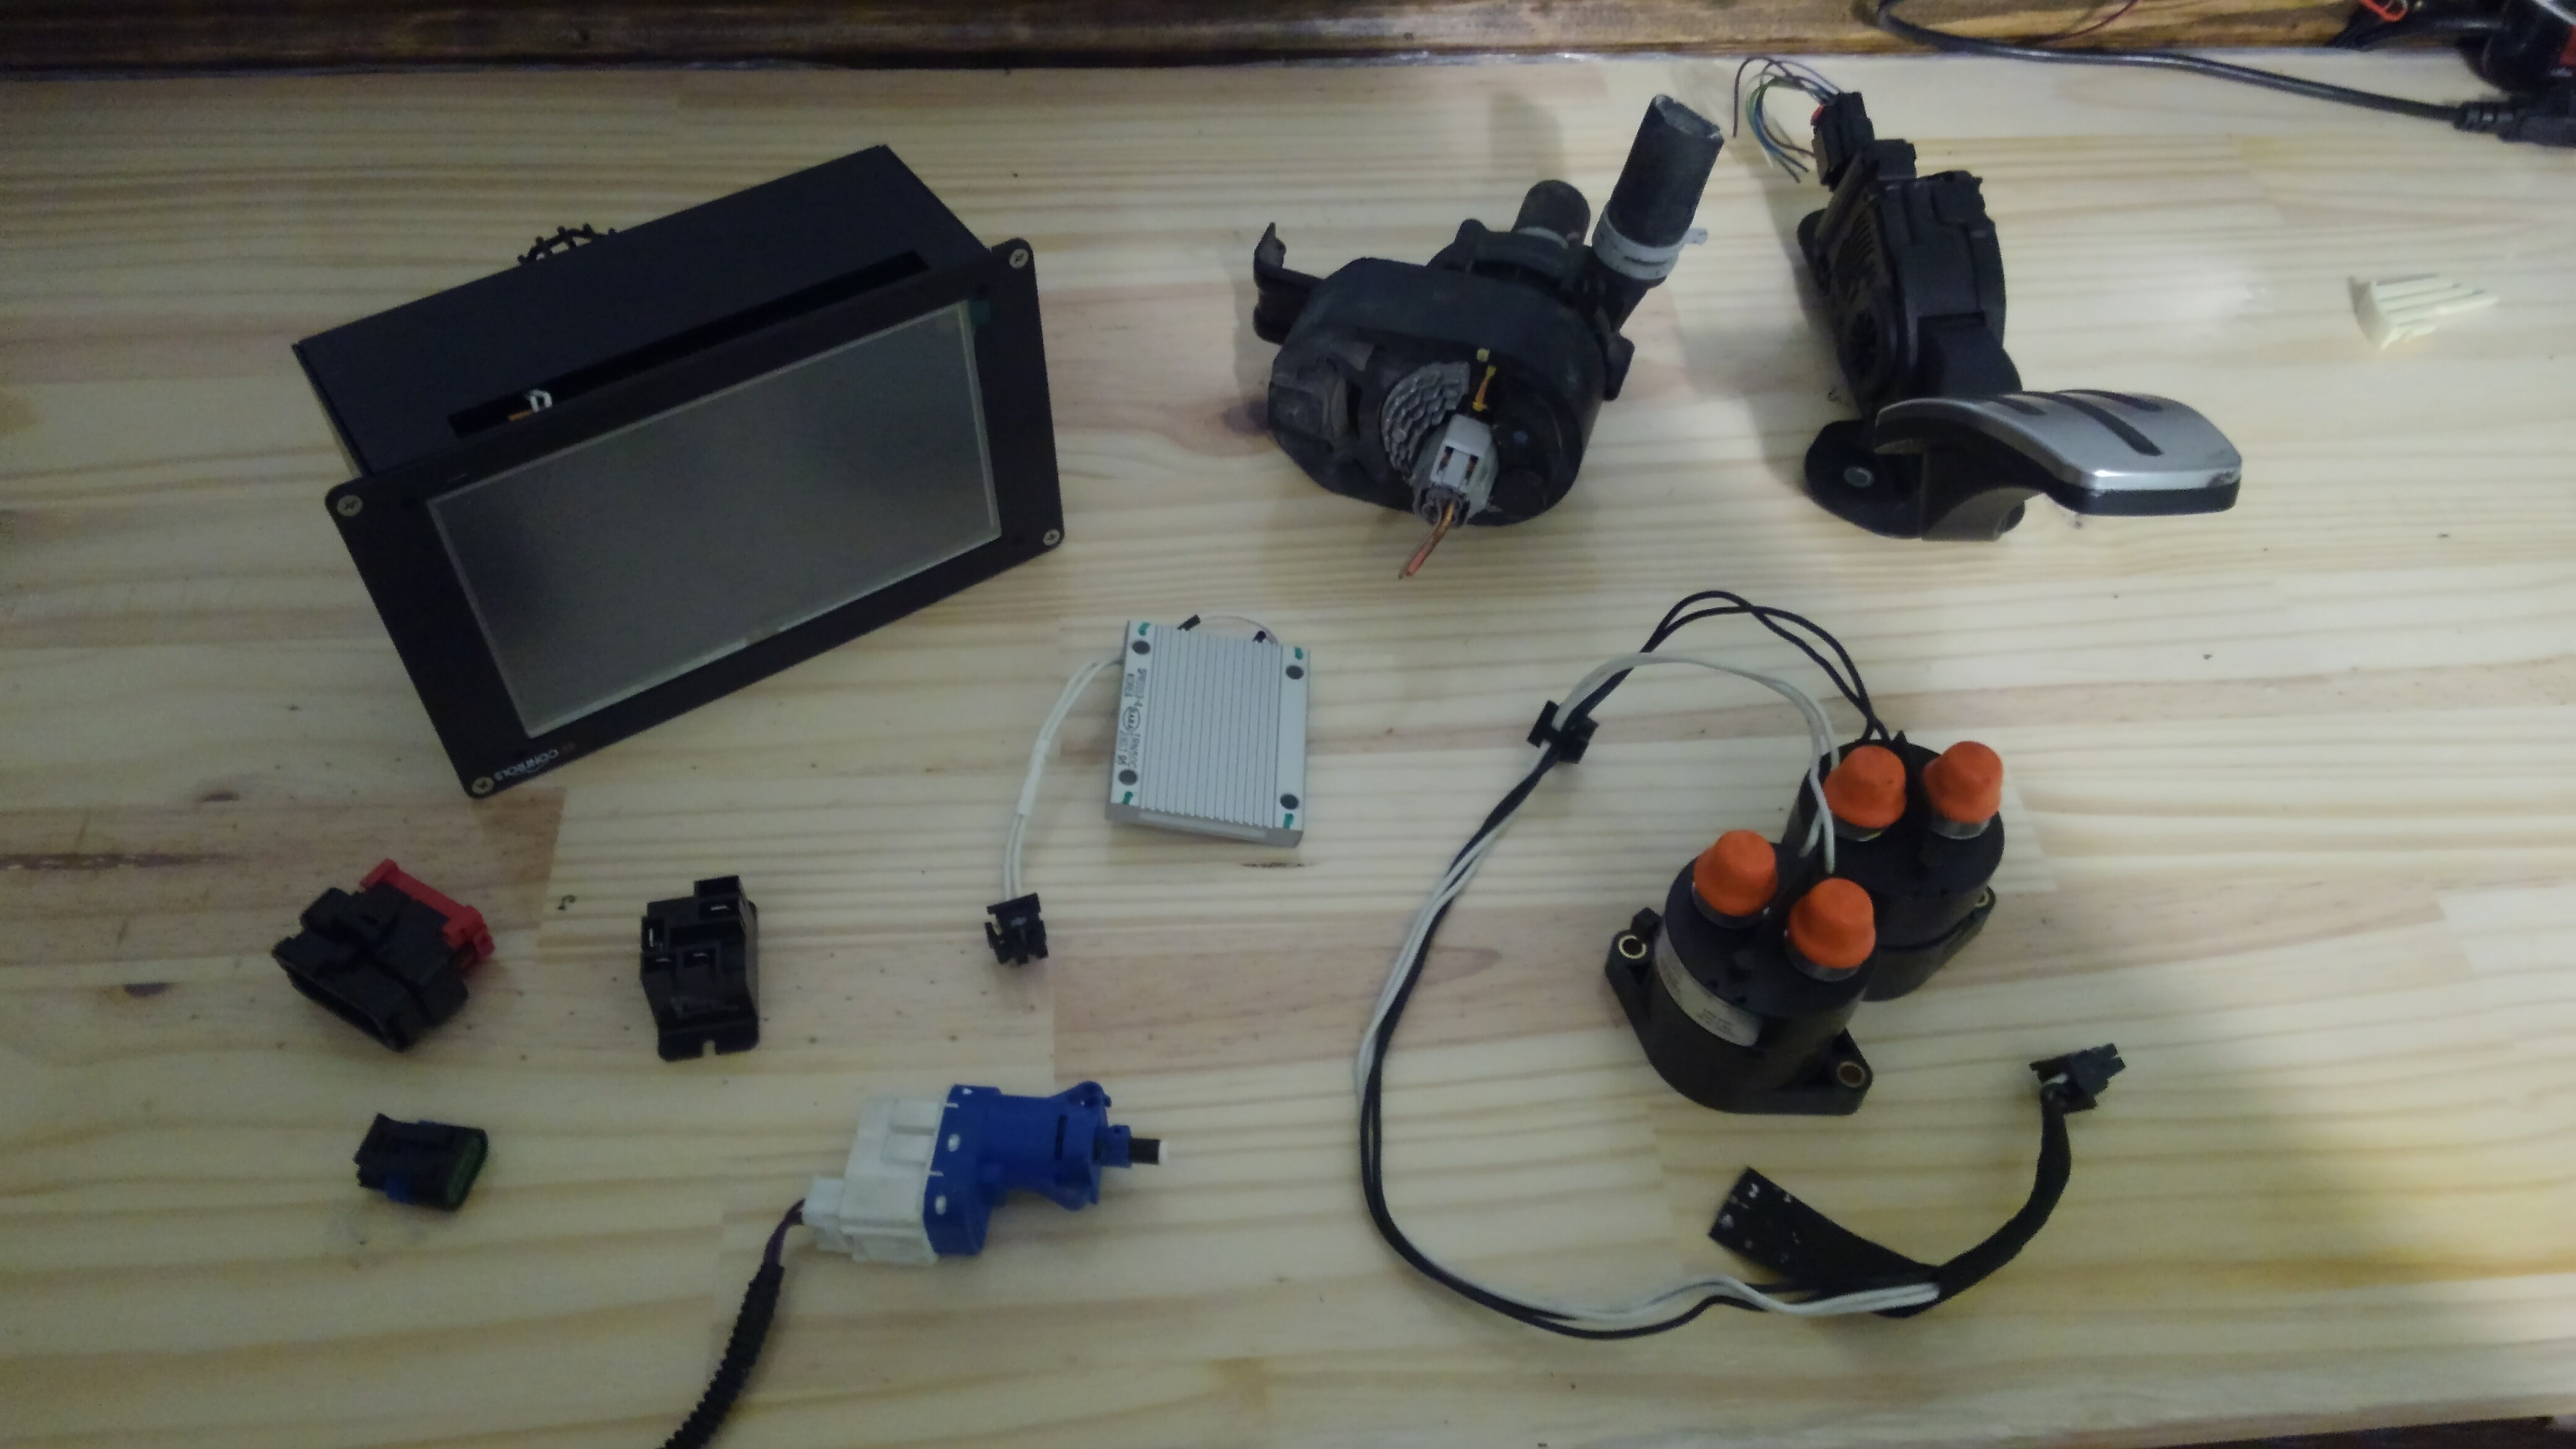
When you do a search for Nissan Leaf motors and for Tesla motors, they end up coming out to about the same price used, but the Tesla motors have an advantage. The tesla drive unit comes with the inverter attached to the motor assembly! The Tesla also took care of another issue - the transmission - which is something I would have had to jimmy rig together if I had gone the golf cart route. So, after a few nights of searching, I managed to find a deal on ebay for a Tesla P85+ drive train. At this point, I was tired of trying to figure out how to bodge things together, and well, ended up talking the guy into sending the rest of the rear suspension with the motor… CV joints, upper and lower control arms, wheel hubs, wiring… and the P85+'s 15in rotors with dual brake callipers.

Controller
That’s something I’m still researching but I’ve got a couple options I’m looking at.
Opt. 1 - a ready to run system from EV-Controls.com - it takes care of all the computing to handle that Tesla motor and puts all the read outs on a nice little touchscreen. Their staff is very helpful and easy to get a hold of… the only problem is the controller would cost about the same amount as the motor.
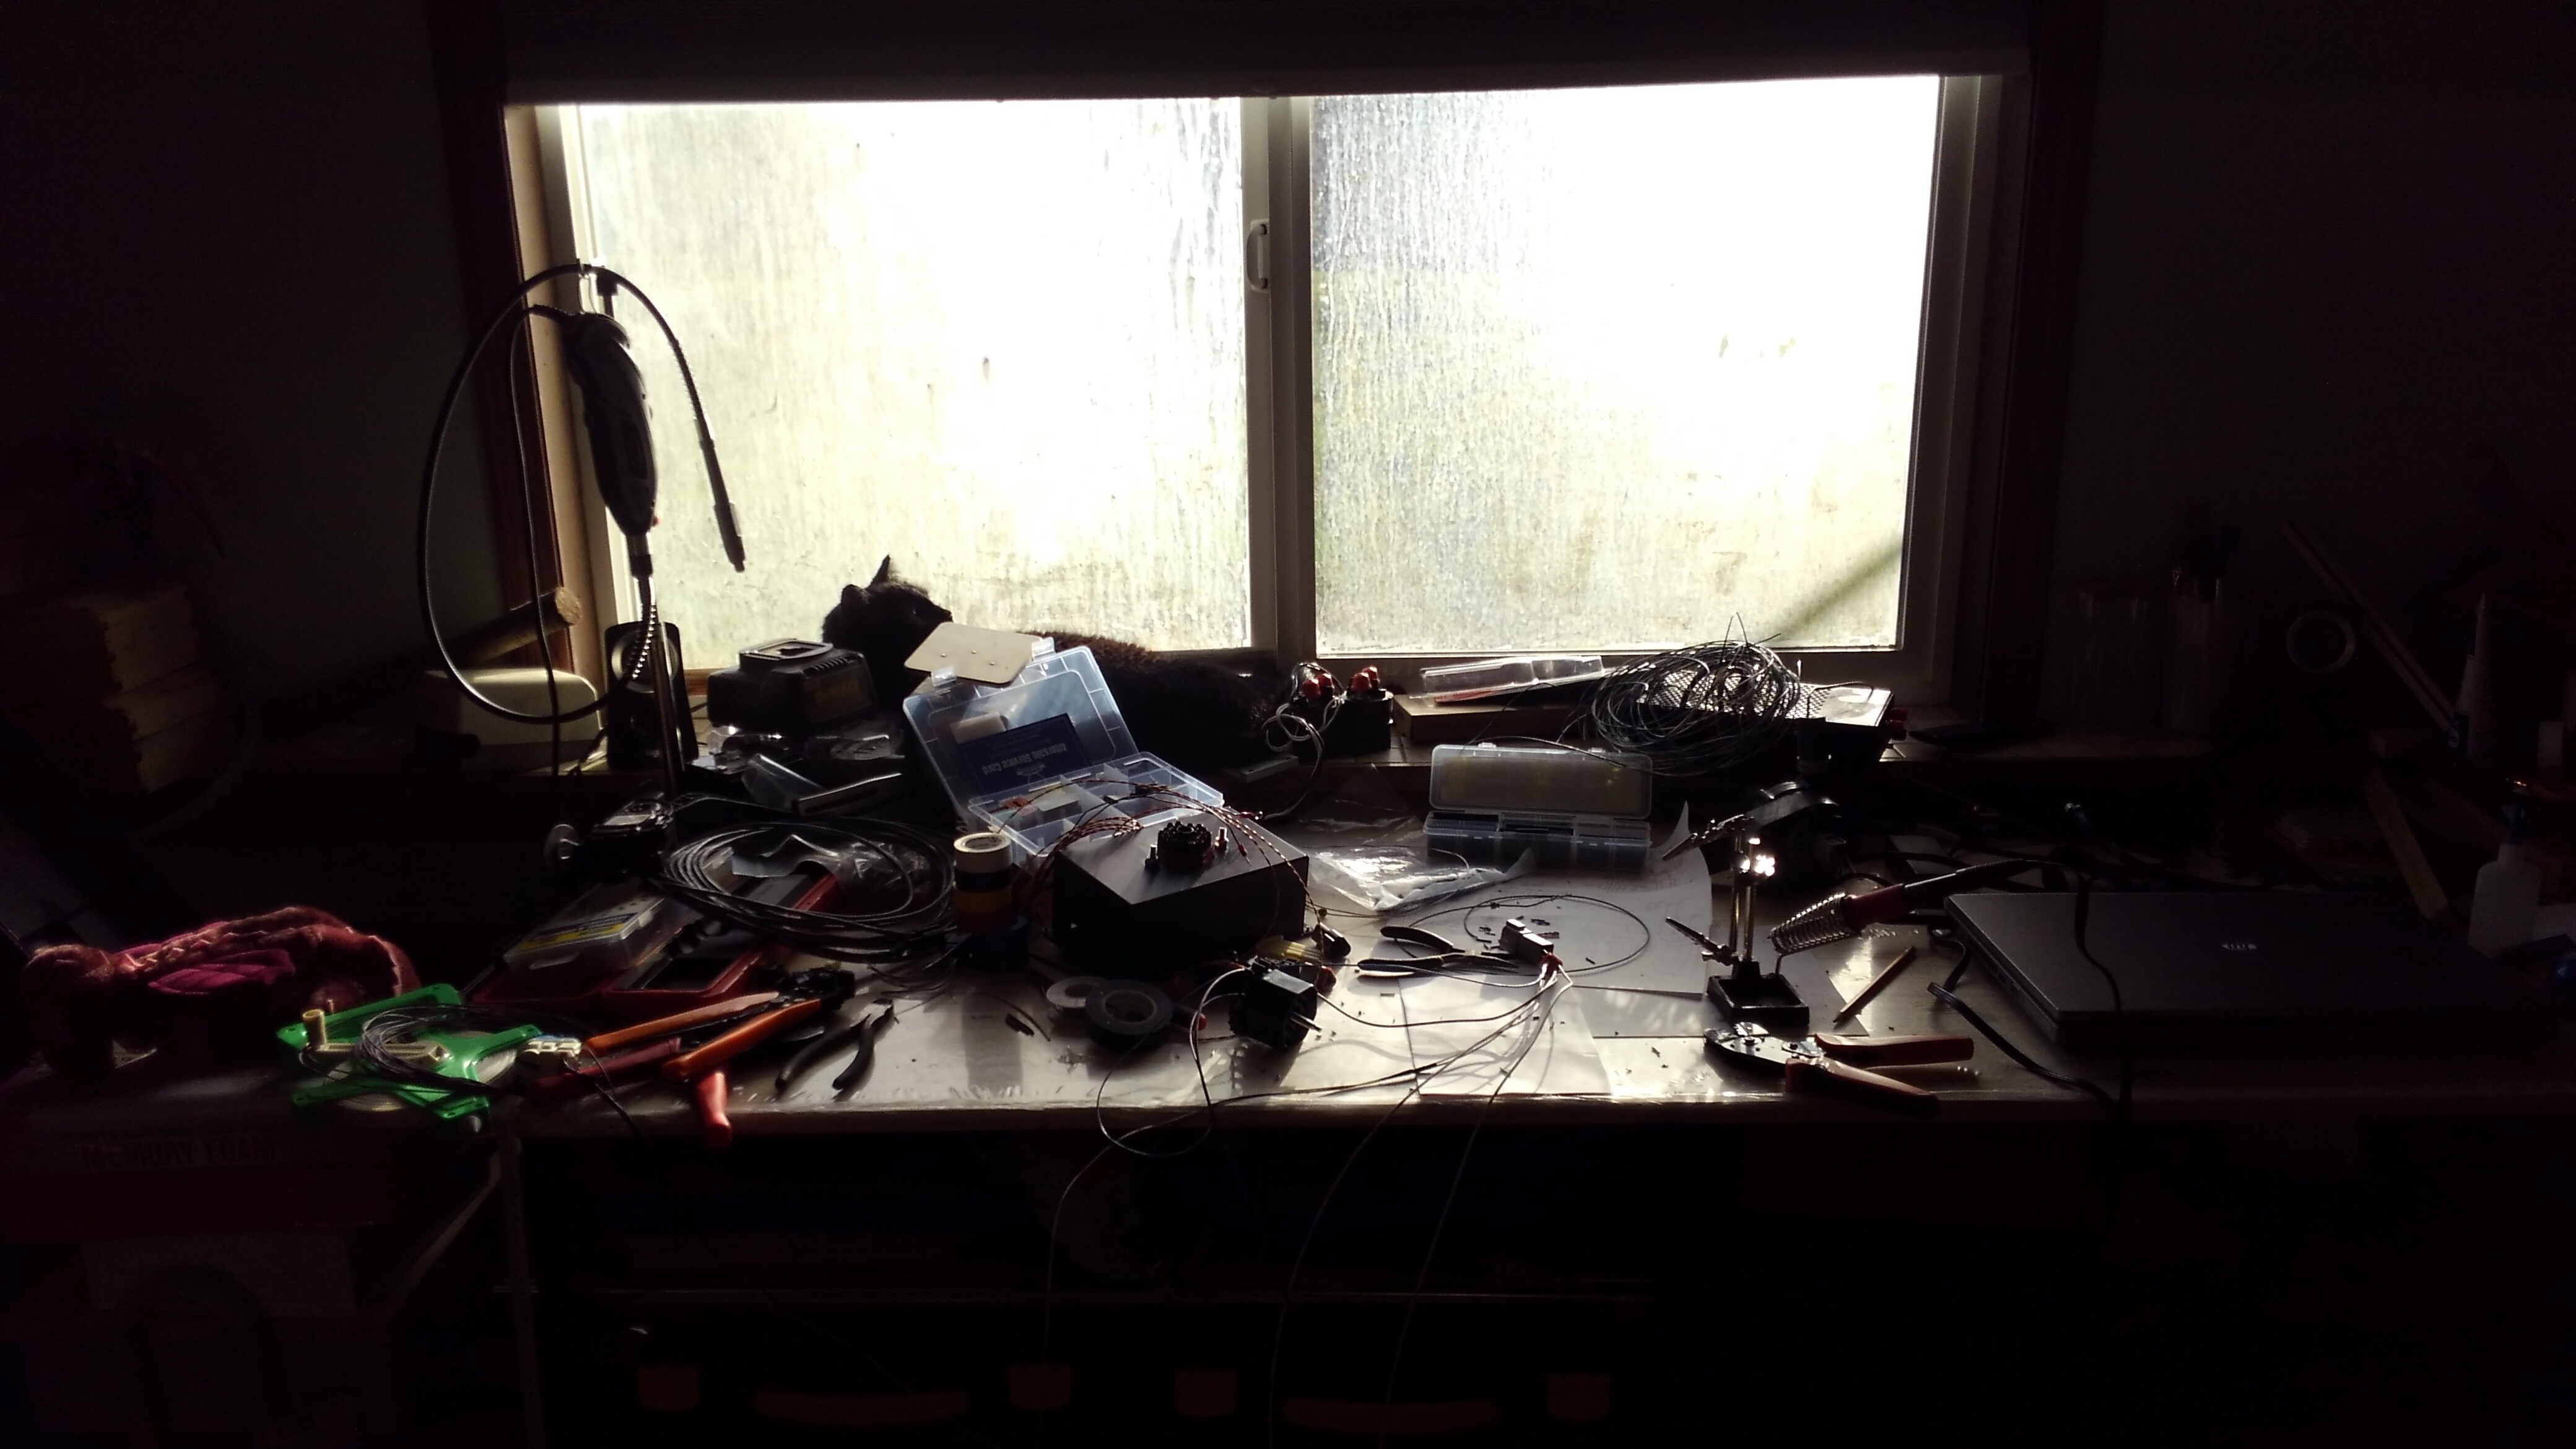
Opt. 2 - a DIY controller board from EVBMW.com - it works, it’s about the same price as the controller for a 3D printer, it’s not as fancy, and doesn’t come with a display, but it can be plugged into a laptop for a real time readout, it’s OPEN SOURCE, but I would have to solder a lot of SMD components myself. …also, the guy charges for each question you ask him…

I haven’t figured out which way I’ll go yet, but I’m leaning towards Opt. 2 and learning how to solder SMD components. This tech is at the early adopter stage of development (kind of like the rep rap movement in the late '00s) - both companies have boards that work, but once a large enough group gets a hold of the boards, I can see the technology advancing by leaps and bounds.
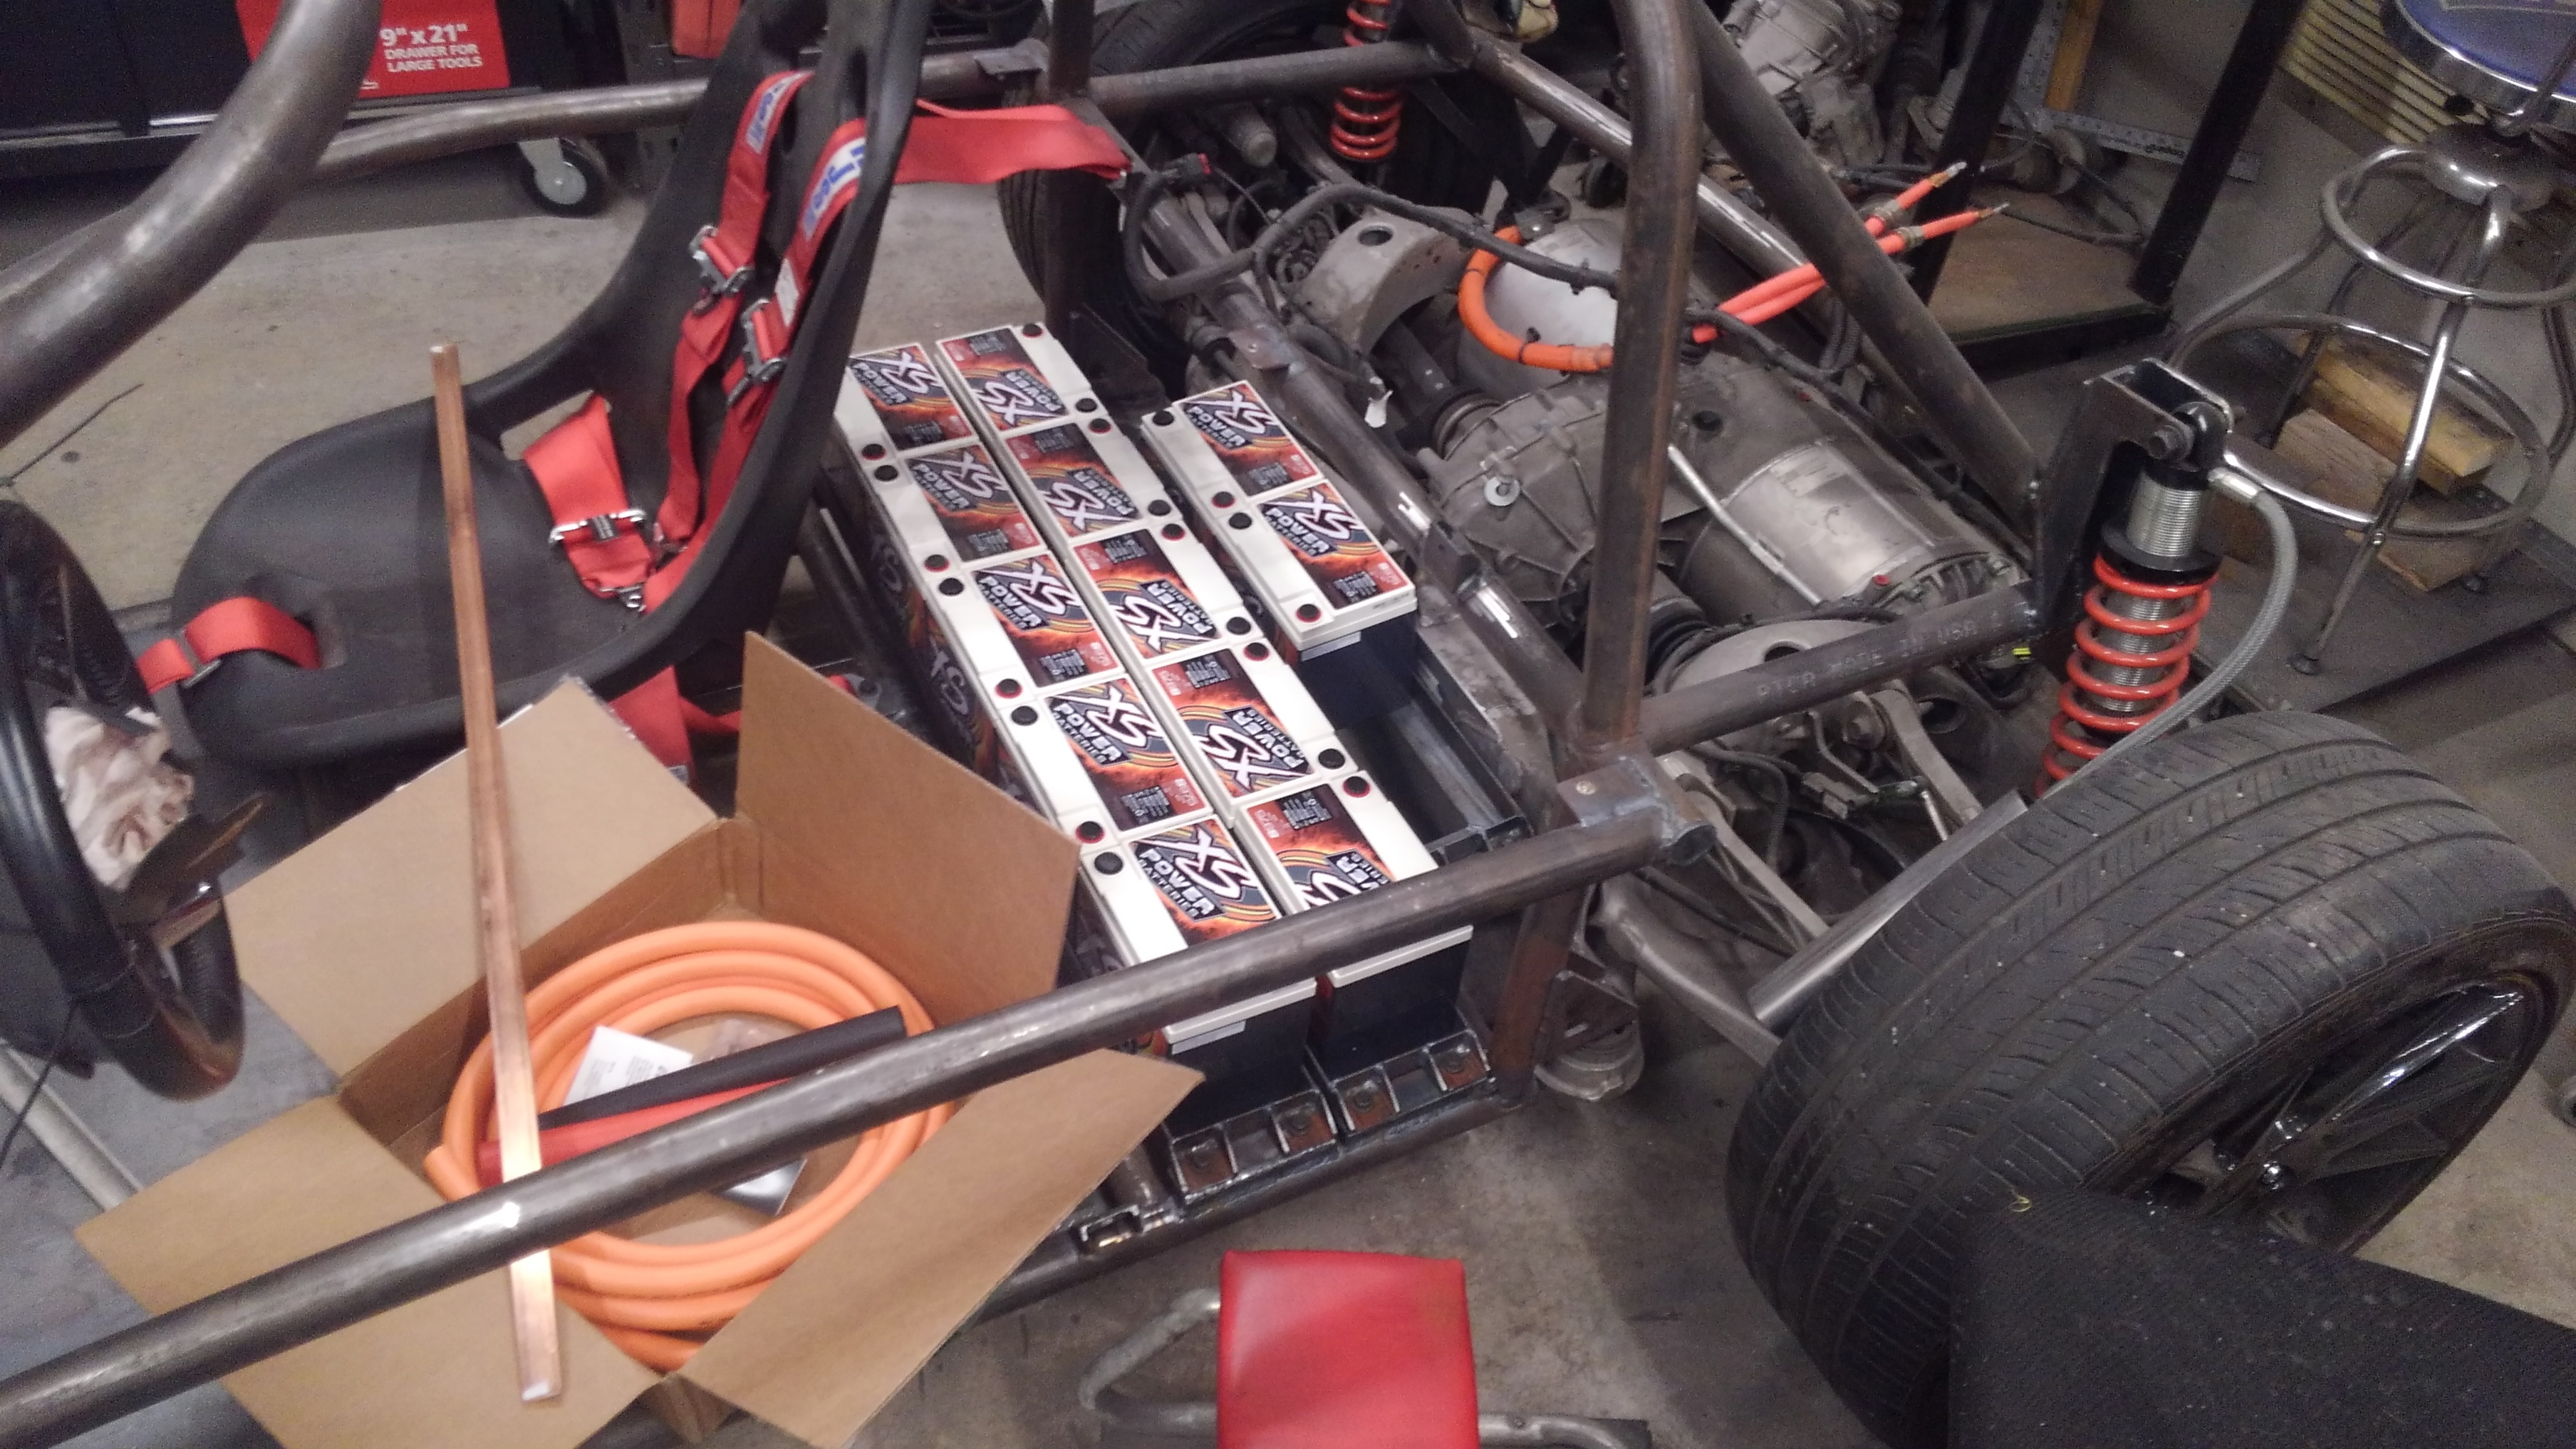
Batteries
-ugh- This is the real headache of electric cars and I still haven’t picked one out.

So why not just use car batteries? - they aren’t very power dense. a 44 lb D34 Yellow Top Optima battery (a pretty high end lead acid battery) can provide 0.66 kwh at 12v, meanwhile a 70 lb Tesla cell can 6 kwh at 24v… if my math is right, that means the Tesla cell has more than 10x the capacity of a high end lead acid battery.

Still, there is a mountain of options out there. Tesla has some amazing battery packs, but they’re expensive and I would need 16 for a 400v P85+ driveunit. Or I could use a Nissan Leaf battery system, but those are not as power dense and tend to lose capacity quicker. Or I could make my own battery, but that would mean knowing what I’m doing while trying not accidentally stick a fork in the proverbial socket. OR I could drop in a liquid cooled battery out of a Chevy Volt which is a popular choice for conversions AND I can get the Volt sells brand new but they’re not as easy to tuck in where ever you want on a small car. Then there is LG Chem with a 64v pack that matches the power density of the Chevy Volt and is a bit more modular, but the only way to get them is in used condition from a powerwall… There is a lot to consider when building a huge battery pack and it seems like each one has it’s pros and cons, but I think I’m getting close to a point where I can sit down with ye olde decision matrix and weigh the options.

I’m open to advice if anyone else has dealt with this stuff before.

Until next time, happy making!

14 Likes

Just stumbled across this…Rustin this is awesome, can’t wait to see the progress!

1 Like

You definitely have to keep this thread alive and post progress!

1 Like

I’ve got a really, really long extension cord…

1 Like

The plan at this point is to hop back on this maybe about a month from after Maker Faire. There’s a few other projects I would like to take care of first, but hopefully by then I’ll also get the chance to see more home grown electric cars with a tesla drive train.

I haven’t seen too many other builds on random forums around a tesla (beyond what is on the sites for the guys building the controllers) but they exist.
http://www.evalbum.com/
https://teslamotorsclub.com/

1 Like

We’ve got this really cool electric bus for sale. I’m sure it would have lots of useful parts :smiling_imp:

1 Like

Bus parts no longer useful.
:cry:
(If you are on Admin mailing list):https://groups.google.com/a/makeict.org/d/msg/administration/8wEkT2W4oto/5ET7QAmNAgAJ

1 Like

tried to go to link, but it says i can’t. is this special access?

If you mean the link I posted, ONLY people on the admin mailing list have permission.

how does one join this so they can see what was posted?

I am sure if you emailed it@makeict.org they could make it happen… you might just check again first as sometimes they will fix you up but not tell you…

okay, so I’m finally getting a chance to step into the shop again to play with the roadster. I haven’t made much progress, but at least some holes were drilled for the seat tracks last night.

Though, in doing some research this morning, I came across a couple helpful bits of information from EValbum. There is a guy who built an El Camino around the same battery pack I want to use, and he was curteous enough to share a brake down of all the major costs involved to get his setup running (even if running on warp 9 motors).

http://www.evalbum.com/5404

The tid bit gleamed from these guys is that the LG Chem packs I’ve been looking for don’t just come from LG’s battery walls, but also out of Chrysler’s Pacifica Hybrid. Knowing that, it makes it a bit easier to track down NEW batteries.

3 Likes

Been, a while. I’ve been making slow progress on the roadster, but at least it’s progress. The frame is now all welded up and I’m wrapping up an adventure in Nitrogen Reservoir Shocks.

I decided to use the same brand of shocks that I used on the War Weasel off road truck (F-O-A Shocks) since they worked pretty good in the past and now come in a smaller autocross style coil-over-shock with reservoirs. Why are the reservoirs important? Under intense driving situations, fluids that move tend to heat up, like transmission fluid, brake fluid, and the fluid in your shocks. I’ve managed to cook the standard DOT 3 brake fluid in the past while rounding Hallett (not a fun experience), and remedied that problem by replacing the fluid with DOT 4 rated brake fluid (it boils at a significantly higher temperature) but shocks are a bit more troublesome to improve without spending a rediculous amount of money. That’s where reservoirs come in.

Reservoir shocks do not add capacity to the shock but help keep pressure on the shock fluid to keep them from foaming and ultimately lose their damping effectiveness. In this case, it takes 170psi of Nitrogen in the reservoir to keep that from happening. In a pinch, the reservoir can be filled with air, but it is not recommended since the moisture in most air compressors would rust the internals of the reservoir over time.

So where do you go to fill a shock with Nitrogen? Turns out very few places around Wichita are able to fill nitrogen shocks. Most shops and even dealerships were not willing to put the minimum 170psi into a shock they knew nothing about. The other problem is that most shops have a Nitrogen tank and not a generator, so most shops can’t even hit 170psi unless they have a fresh tank of nitrogen sitting there. Still there was one racing shop (JSR Racing) that was able to point me to a place that could help). JSR pointed me to BSB Shocks out of Wellington, KS. BSB builds a lot of shocks for circle track racing and specialty applications including military vehicles. BSB turned out to be a very friendly family run business (they even had a puppy in the office) and didn’t have a problem filling the shocks to the manufacturer recommended 180psi and only charged $5/shock to fill them (+9.5% for taxes).

I’ve still got to make mounts to install the shocks but at least that’s one more hurdle taken care of for now.


7 Likes

Small update - got the front suspension done. Lower a-arms and the shock mounts were plasma cut out of 1/4in plate and kept as short as possible to reduce the forces reacting thru the frame.

Up front, I still need to mount the manual steering rack, and come up with a radiator. I can’t use a normal power steering setup since electric motors aren’t always spinning, but there are electric steering assists out there. The radiator will be used to cool the Tesla Motor and inverter though may need to size the radiator to help cool the battery pack as well.

I’ve stumbled across another battery pack that might work well for this use and be rather budget friendly. Between 2014 and 2016, Chevy made a full electric version of the Spark. It used the same motor and controller as the larger Volt but it had a tiny battery pack about half the size and range of the Volt, but still the same 400v. The Spark EV was mass produced, and well, it’s easy to come by the parts, especially when there’s a dealership in Wichita with 12 complete running cars sitting on their lot for less than a used Tesla battery pack.

Back to the suspension - I’m still figuring out how to mount the rear shocks and the rest of the Tesla Motor. I originally planned on using a jaguar independent rear axle, so the rear structure isn’t exactly in an optimum position to keep the shock mounts short (right now they would be about 8in tall). I may end up using some channel to reduce the amount of welding but it’s something I can think about while mounting the steering

But for meow, the roadster is off the frame stands, so I’m calling that a good milestone.

.

8 Likes

Didn’t realize how long it’s been since I’ve updated this… It looks a bit further along now.

Ended up going with AGM batteries for cost and simplicity. They’re only 43ah, but they can handle outputting a 10second pulse at 2,100 amps.

I’m using ev-controls ts-1c to talk to the tesla drive train. There’s a few more options out now with a kinds of documentation, but this seems to be the only one with a display already setup.

The charger is from thunderstruck ev. It’s setup to charge off of 220v and 40a. It’s cheap, but it can be reconfigured from 144v to 360v or daisy chained with other

I have a lot more wiring and welding to do, but at least the major parts are sitting there now.

144v, 6kWh, 302kw of battery:


Thunderstruck ev (setup to plug into a Tesla quick charge station)

It was a nightmare tracking down all the connectors to hook up the t1-sc to all of the peripherals (turns out Tesla uses a lot of ford parts)


It’s now sitting on all four wheels, and the steering is close to being done.


7 Likes

Slowly making progress.

Steering works and 12x AGM batteries are mounted. Just got a couple more boxes to mount and then it will be time to start wiring. :slight_smile:

The wire (good for 400v @ 1000amps, could probably run all of MakeICT off it, lol)

4 Likes

Is that 4 aught wire? I’ve got a nice set of Kline cutters if you need them.
DWH

Once it’s wired with all the batteries in series, I have read that you can check for voltage by licking the (-) and (+) wires at the same time. /s

2 Likes

The wire is larger than 4/0 from what I can tell. Somewhere in the 300kcmil range.

I need to cut 4 pieces, but it’s going to be entertaining trying to crimp the ends…

…and I think I’ll pass on licking the terminals with this setup.

1 Like

That’s funny I was going to guess 300 mcm then thought no one would know mcm was and i looked again and thought 300 was to big. I’ll bring the cutters down. I’ve cut 300 with them a few times.