we have a couple parts left to print for the cr10 to replace the extruder and hopefully fix the under extruaion. The prusa was busy. if someone wants to print them they are sliced and ready.
i waited and printed them. and forgot to mirror the parts and printed them again.
Are all the parts at the makerspace? I can look at putting it together tomorrow.
I was typing a message to you. Yes the parts are in your mailbox. The ptfe fitting will not work, but you can use the one from the CR10 hotend, but we will need to change the model and reprint the. It was made for a m6 hole/thread. I am trying to change the cad now. I will upload the stl and fusion export.
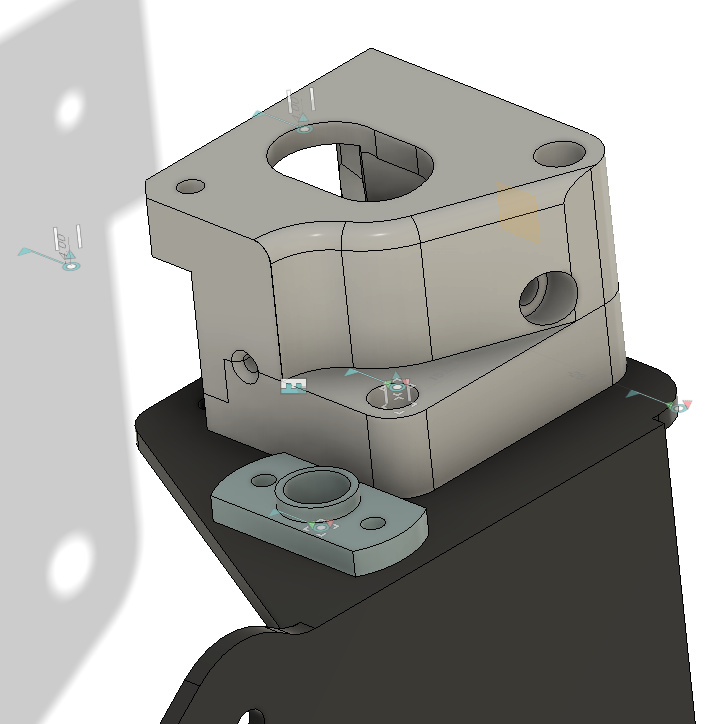
The top cover piece did not work. There is not enough clearance between the z lead screw. I am going to remove the prusa magnet/ball guts from the modle and just put a 4mm hole for a piece of ptfe tubing. If/when we decide to put an IR sensor on the extruder we can reprint one.
I swapped two of the holes, so I got rid of the extra screw and brass insert to keep the two halves together.
There is a pair of opposing screws holding the plate down to the motor, and another set holding the top.
The door that is there should work, and the screws I cut down should still be the correct size to hold the base plate down. I could not model a m10 0.9 in fusion. I am not saying there is no way. I made it a m10 1.0. It should work when I tested my die on the Creality fitting it went a few turns and started to get tight. I figure the metal fitting will keep going and dig into the plastic and be fine.
I uploaded the step file, so you can change the threads if you need to.
ender3_prusa_cover_v3.stl (488.3 KB) extruder-motor-plate v3.stl (195.3 KB) ender3_prusa_cover_v3.step (145.6 KB) extruder-motor-plate v3.step (75.6 KB)
Okay, I’ll take a look in a bit.
Parts are printing on the Ultimaker.
what color?
Blue.
i see the threads did not print on the Blue parts. the top is too loose with just 2 scews. i am going to make one with one screw through the bottim plate and 3 going through both plates.
I found a couple of black m10 couplers.
Did you set them to ‘modeled’ in Fusion?

Well, the threads weren’t in the previous model, so this one will probably work better. Though I don’t think I’ve ever tried printing threads horizontally.
I can’t say for sure I have either. If it does not work. there are a couple options.
We could cut a small aluminum part to embed and tap that. I have a M10 1.0 tap, but it does not match the cr10 extruder hotend threads. They seemed to be 0.9 pitch. I am not sure what the pitch of the black fittings I found tonight are. Maybe there is a M10 0.9 tap in the metalshop.
Take the extruder off of the rostock.
Convert the cr10 to direct drive.
buy the e3d grovemount. $7.99 plush shipping. I am sure we can make that work.
@Christian What would you suggest?
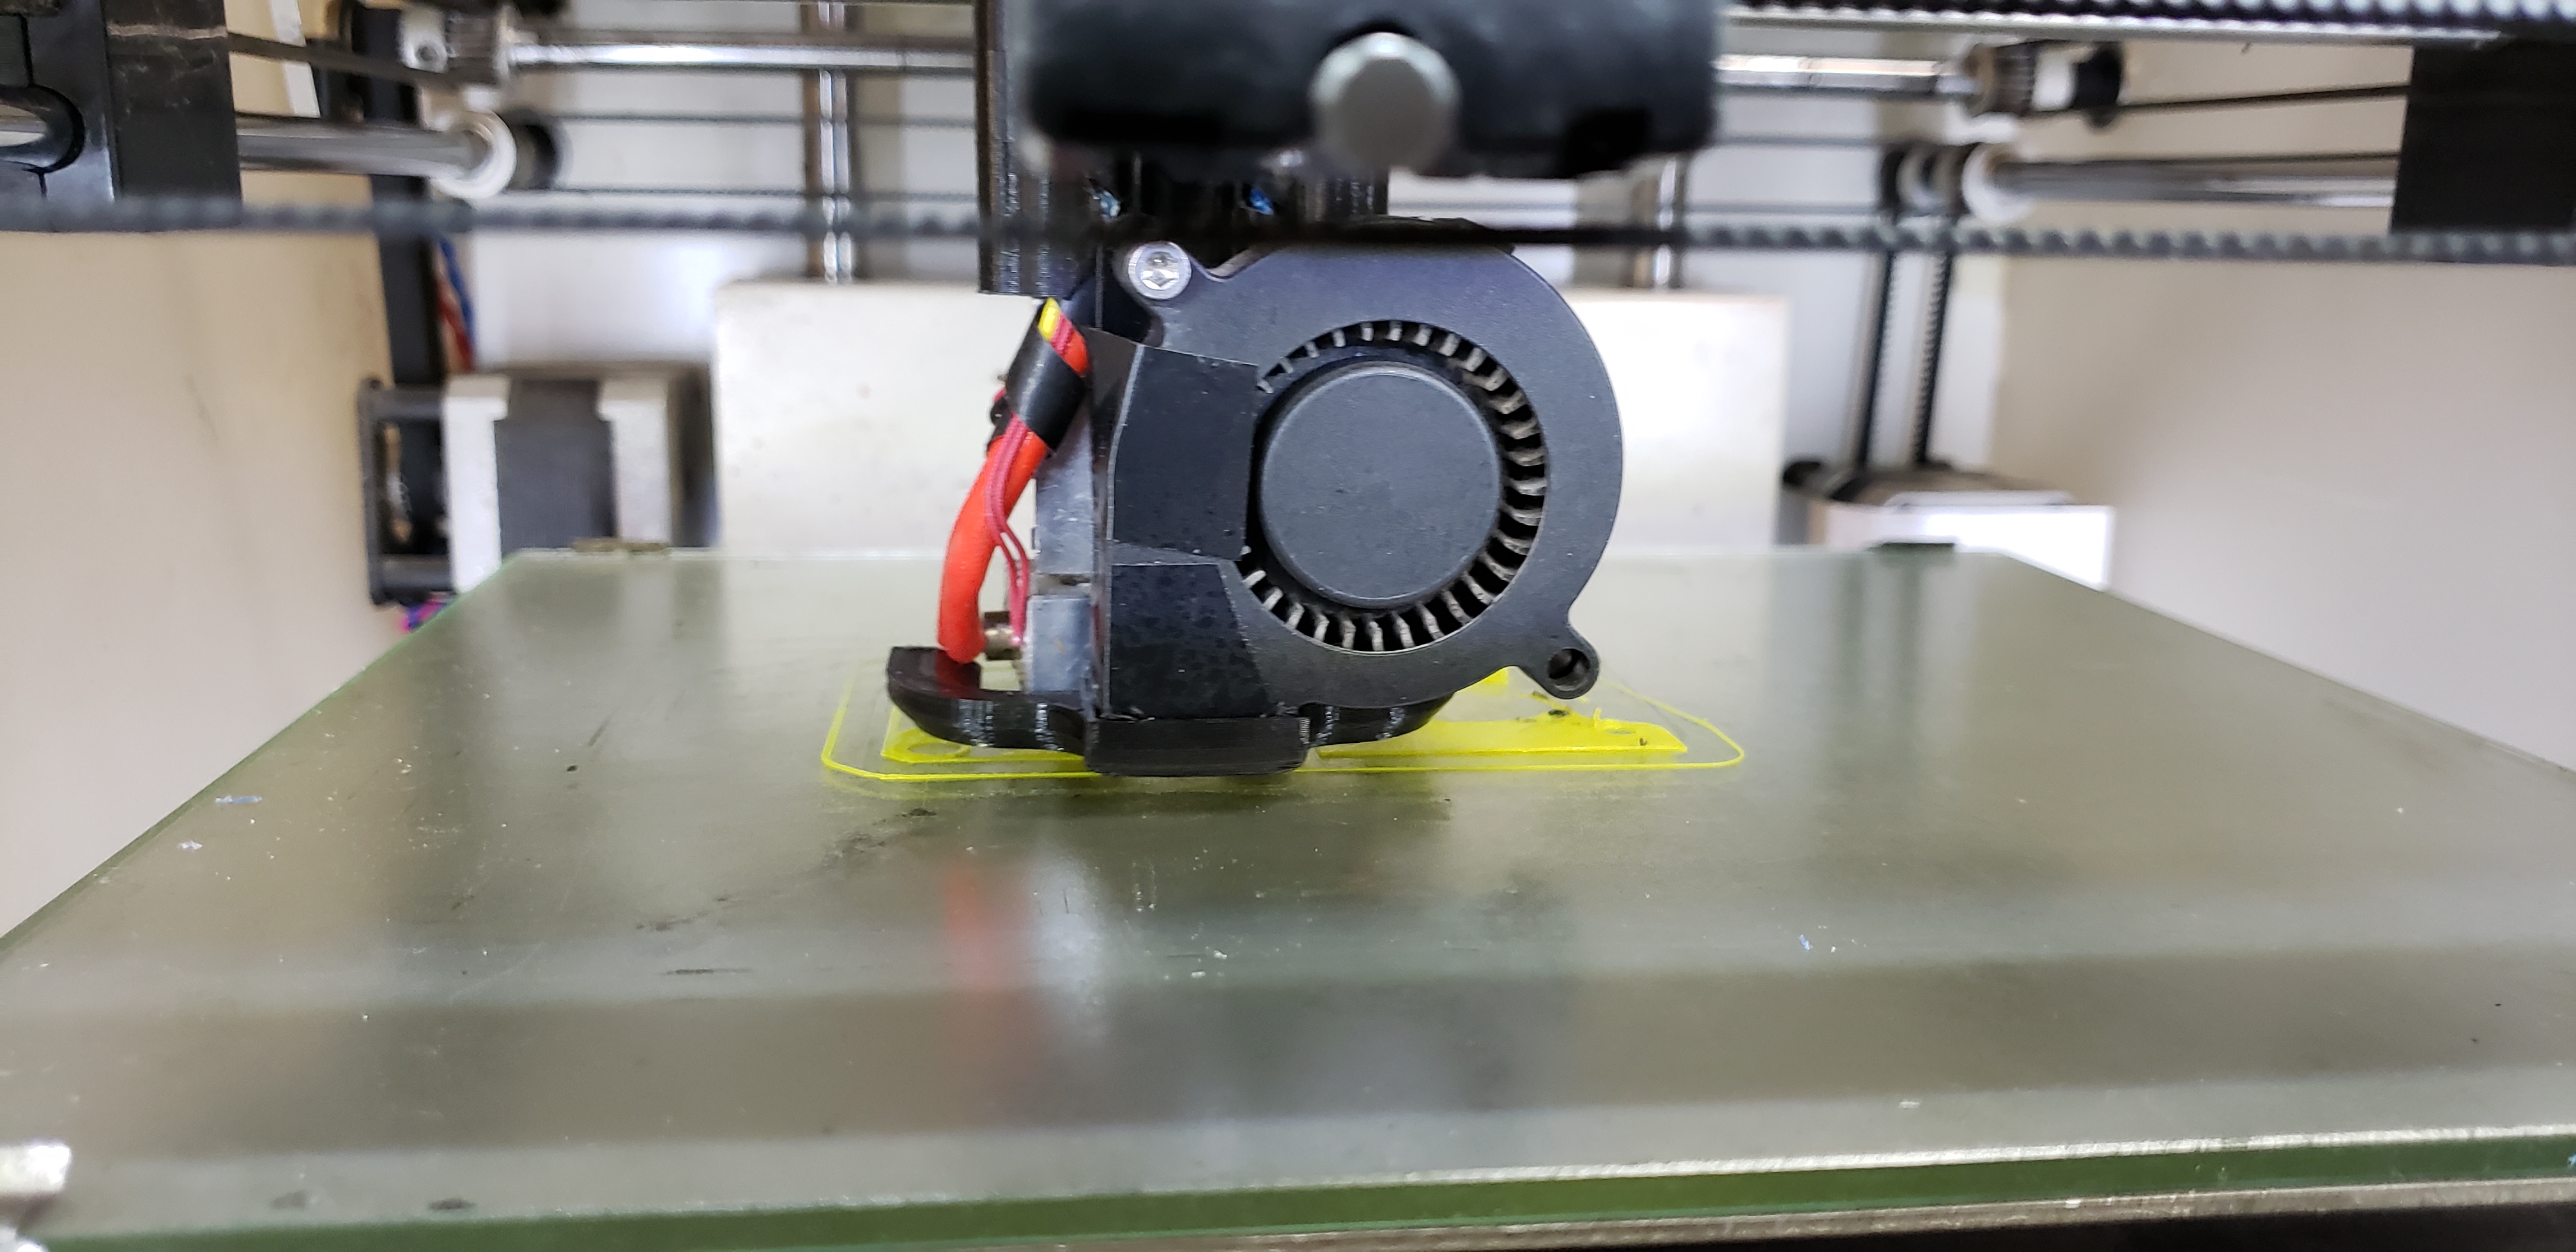
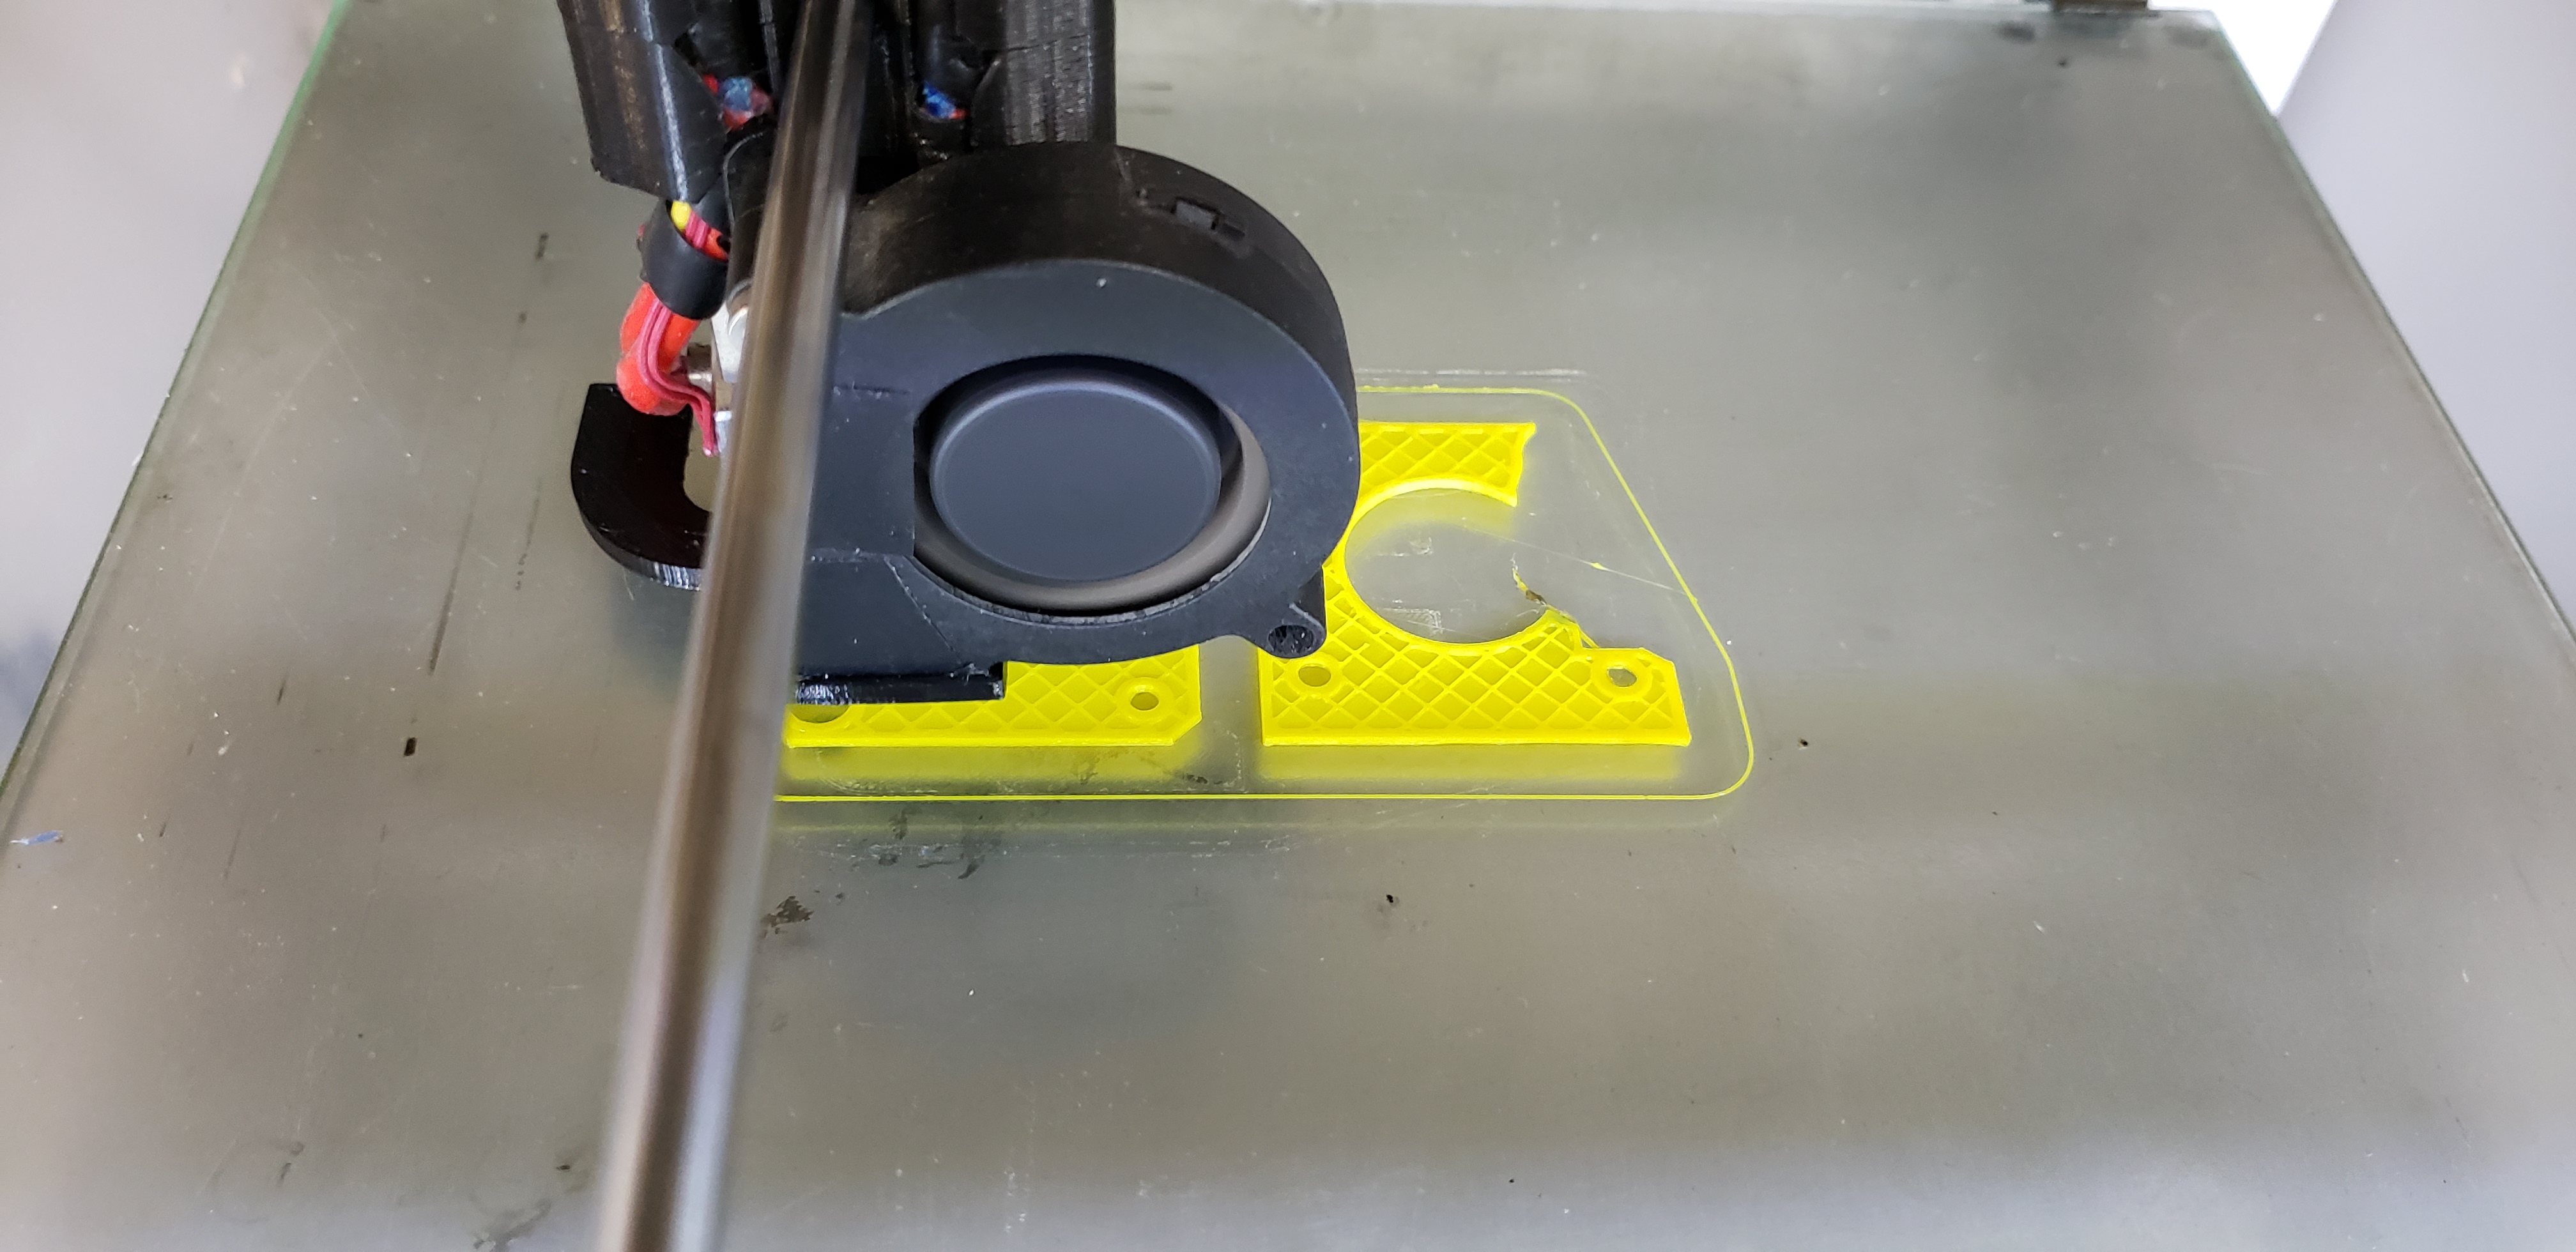
I installed the most recent set of parts and they seem to work pretty well. I did have to drill out the hole for the tension spring because it was way too short for some reason. The threads worked okay. I think we could get the Prusa filament sensor squeezed in there. We only need to shave a couple milimeters off, and I think there is enough extra room for that. The stock filament sensor does not quite line up right. It will work for now, but it puts unecessary friction on the filament.
I got the firmare update to reverse the motor direction and start setting up the filament load and unload settings. Those don’t seem to be working quite right yet. I quickly reset the extruder step setting, but it may not be perfect. The bed probably needs to be levelled better as well. The nozzle was way too low when I started my test print, and I just quickly adjusted it on the fly.
I did find that the layer cooling fan wires are broken and will need to be re-soldered.
I ran a test print and it worked pretty well. The extruder is definitely much stronger. I grabbed the filament and pulled on it while it was printing and couldn’t get it to skip.
any plans on upgrading the other printers?
Not currently. The e3d Titan extruders on the Ultimaker work fine. It might be a good idea just for the sake of consistency.
Okay, I finished setting up the filament load and unload sequences (may need a bit more tweaking), re-leveled the X rail and the bed, re-soldered the fan wires, re-ran the PID autotune (it got reset when I flashed the firmware), and did a number of test prints. At this point I’d say it is working as well as it ever has.
The main issue I see at the moment is that the stock filament sensor is very poorly designed. It uses a simple microswitch, and the lever prevents filament from feeding in from the extruder side. So whenever you run out of filament and the printer runs the unload sequence it can’t feed back through the sensor. It just jams against the lever and spools out the side. It still gets the job done, but eventually the lever will probably break. It does work fine for regular filament changes.