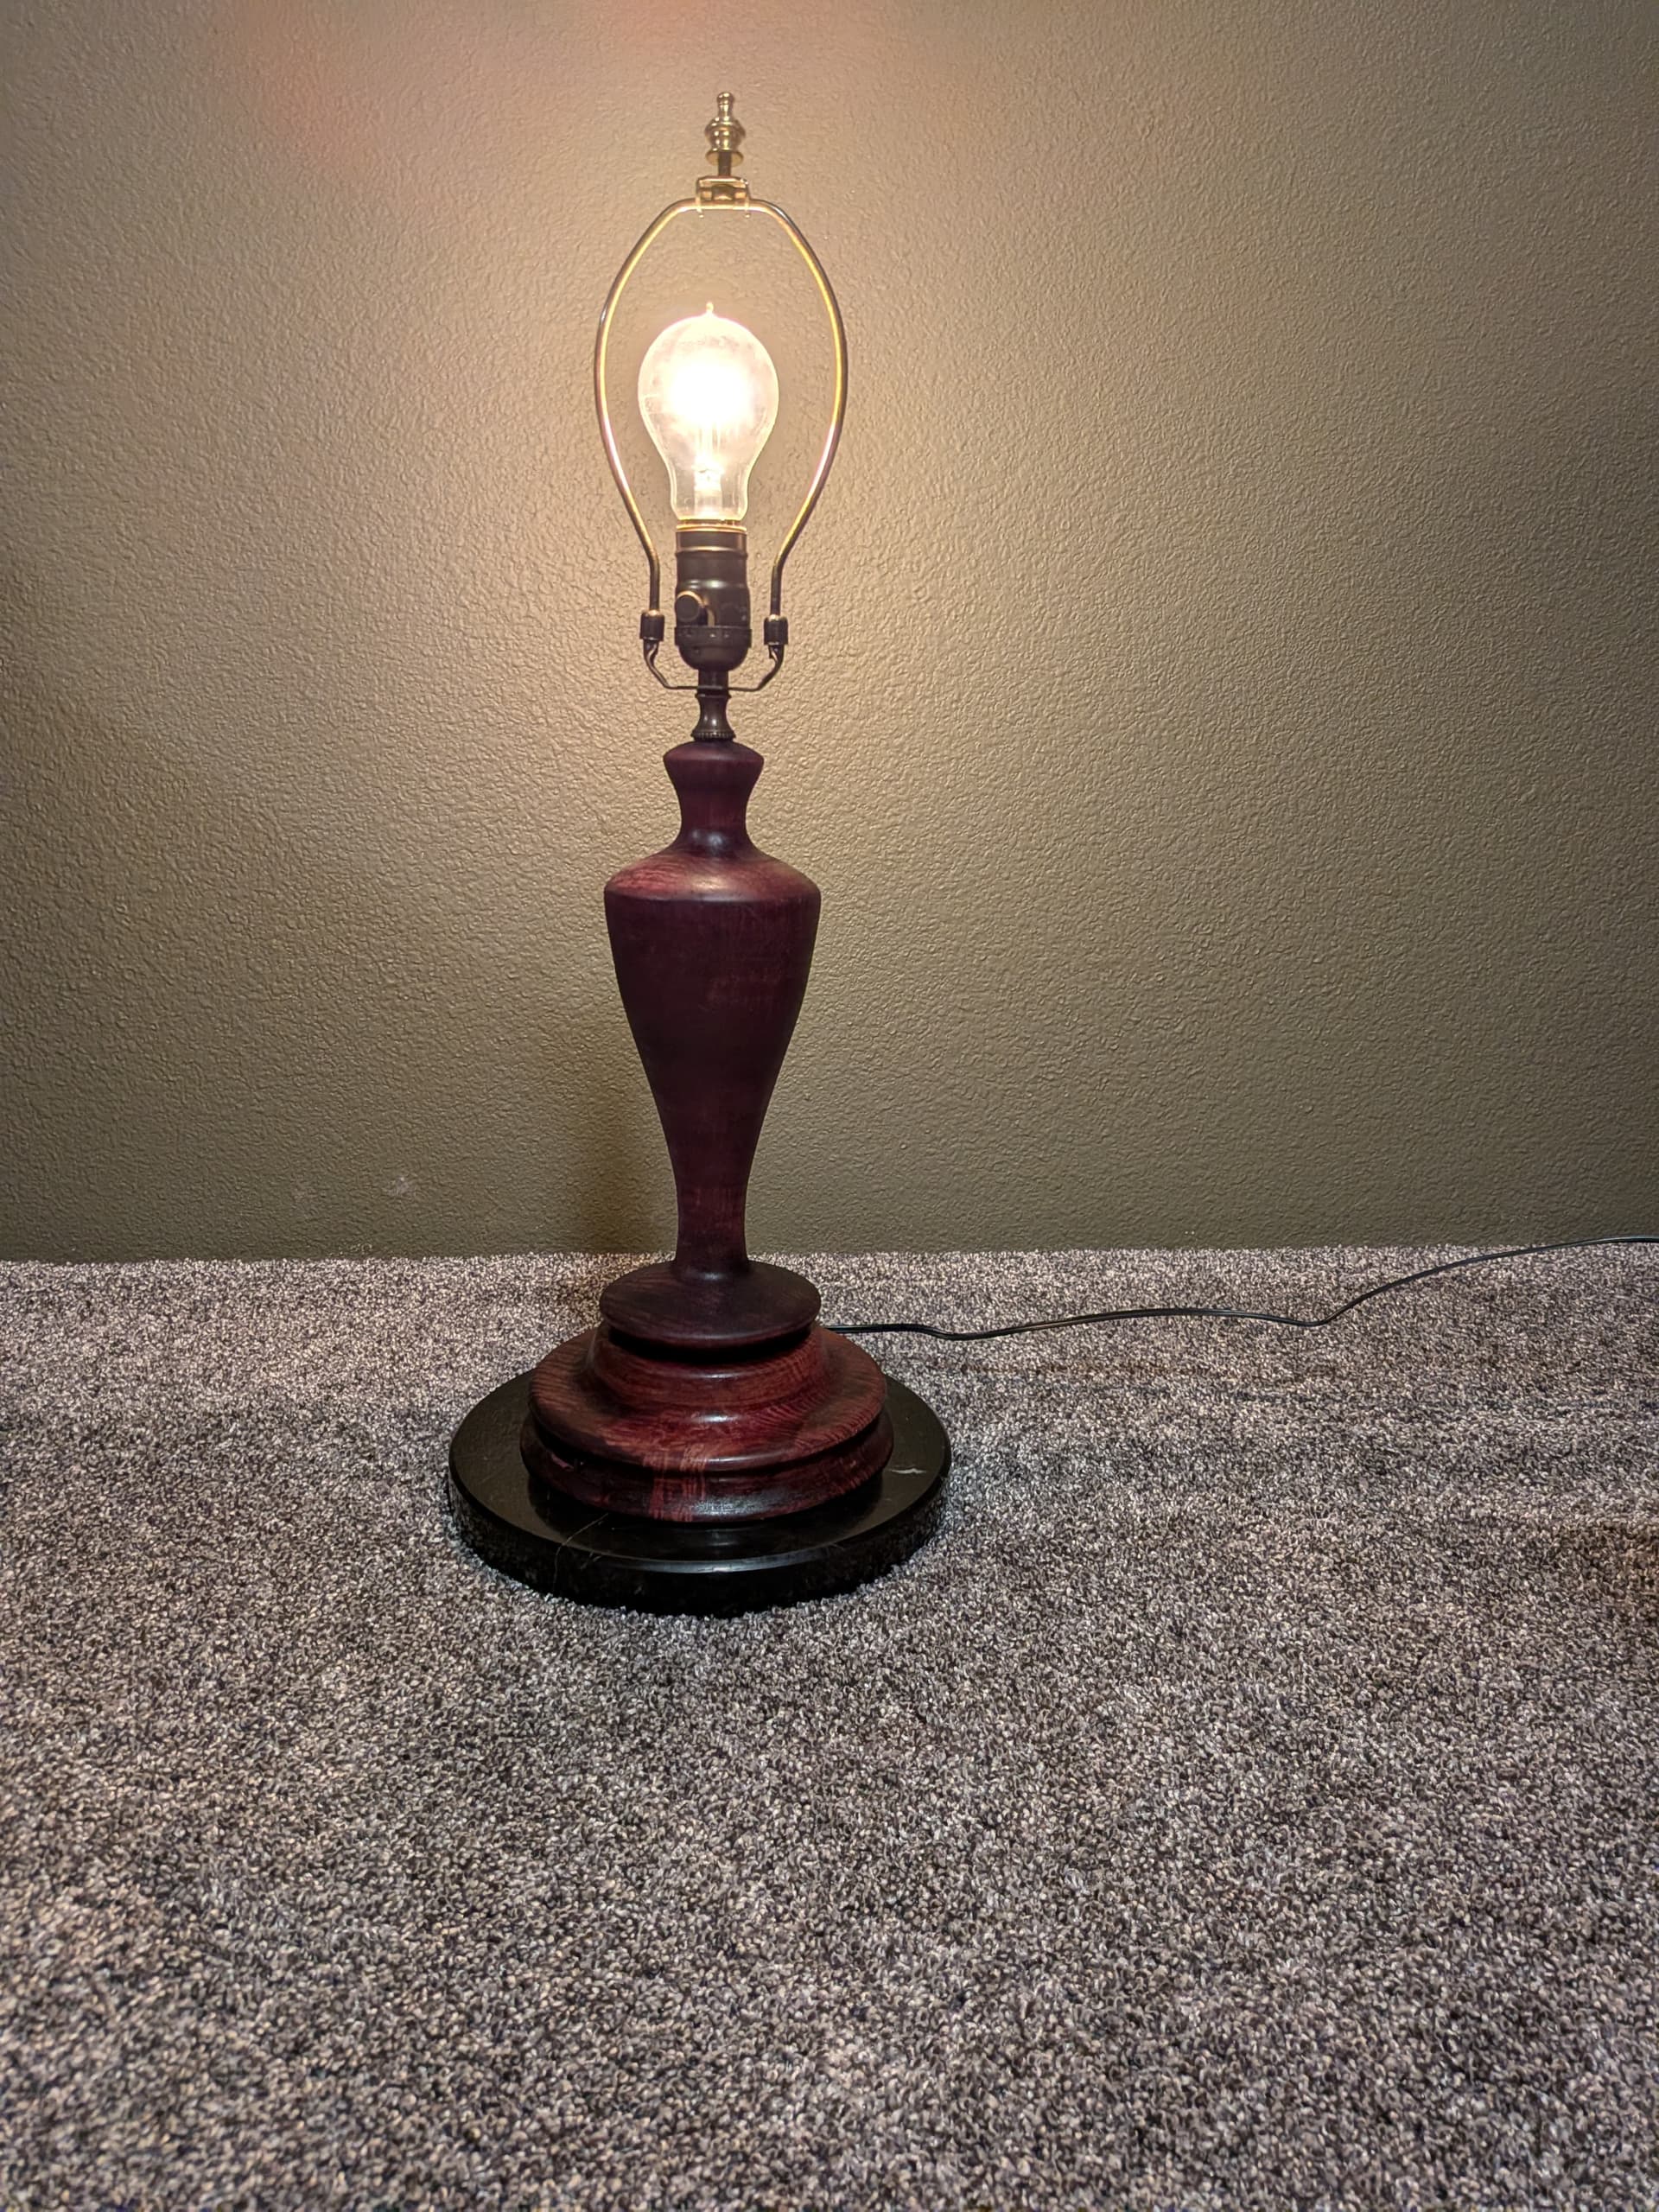
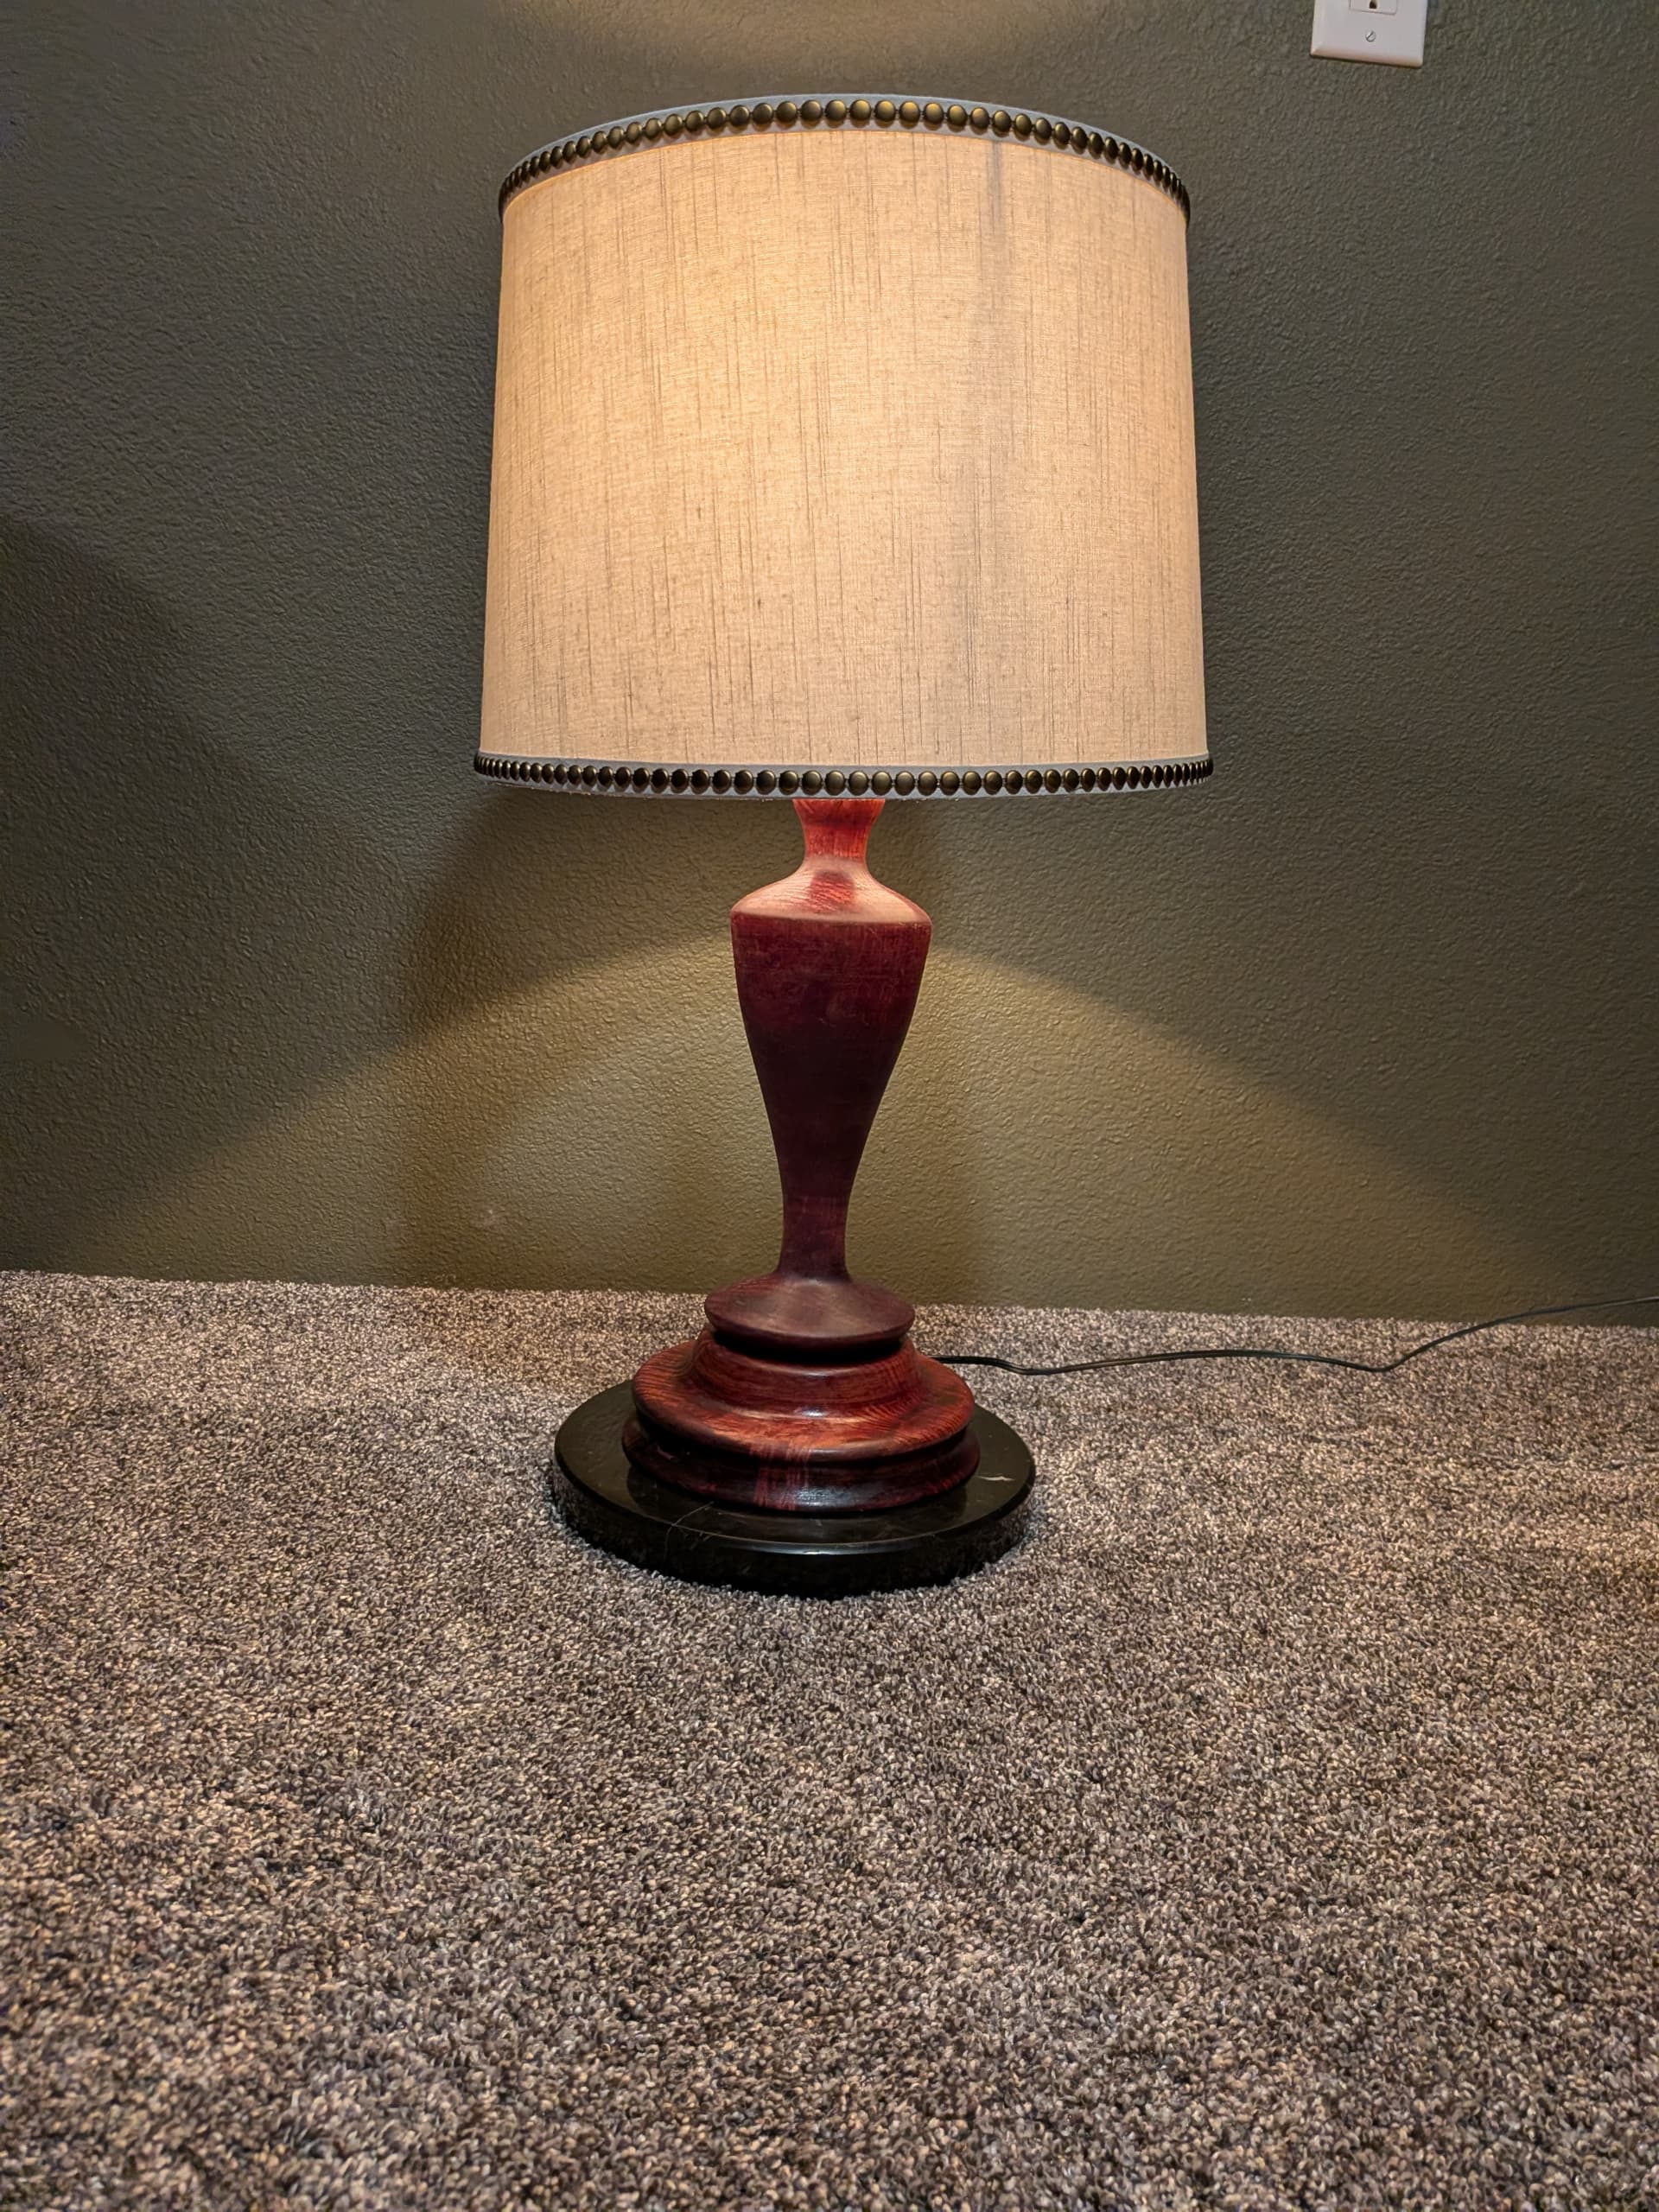
I have a lamp in my game room with a usb port at the base for charging, however the lamp is so light that if you try to push a usb cable into the port the lamp slides across the end table instead of the cable going into the port. Because of my inability to let myself do things the easy way, and I had been waiting to be able to take the stained glass class for a while, I decided that I should make my own lamp with a stained glass shade instead of something simple like opening up the existing lamp and filling the hollow sections with something cheap and heavy like scrap lead.
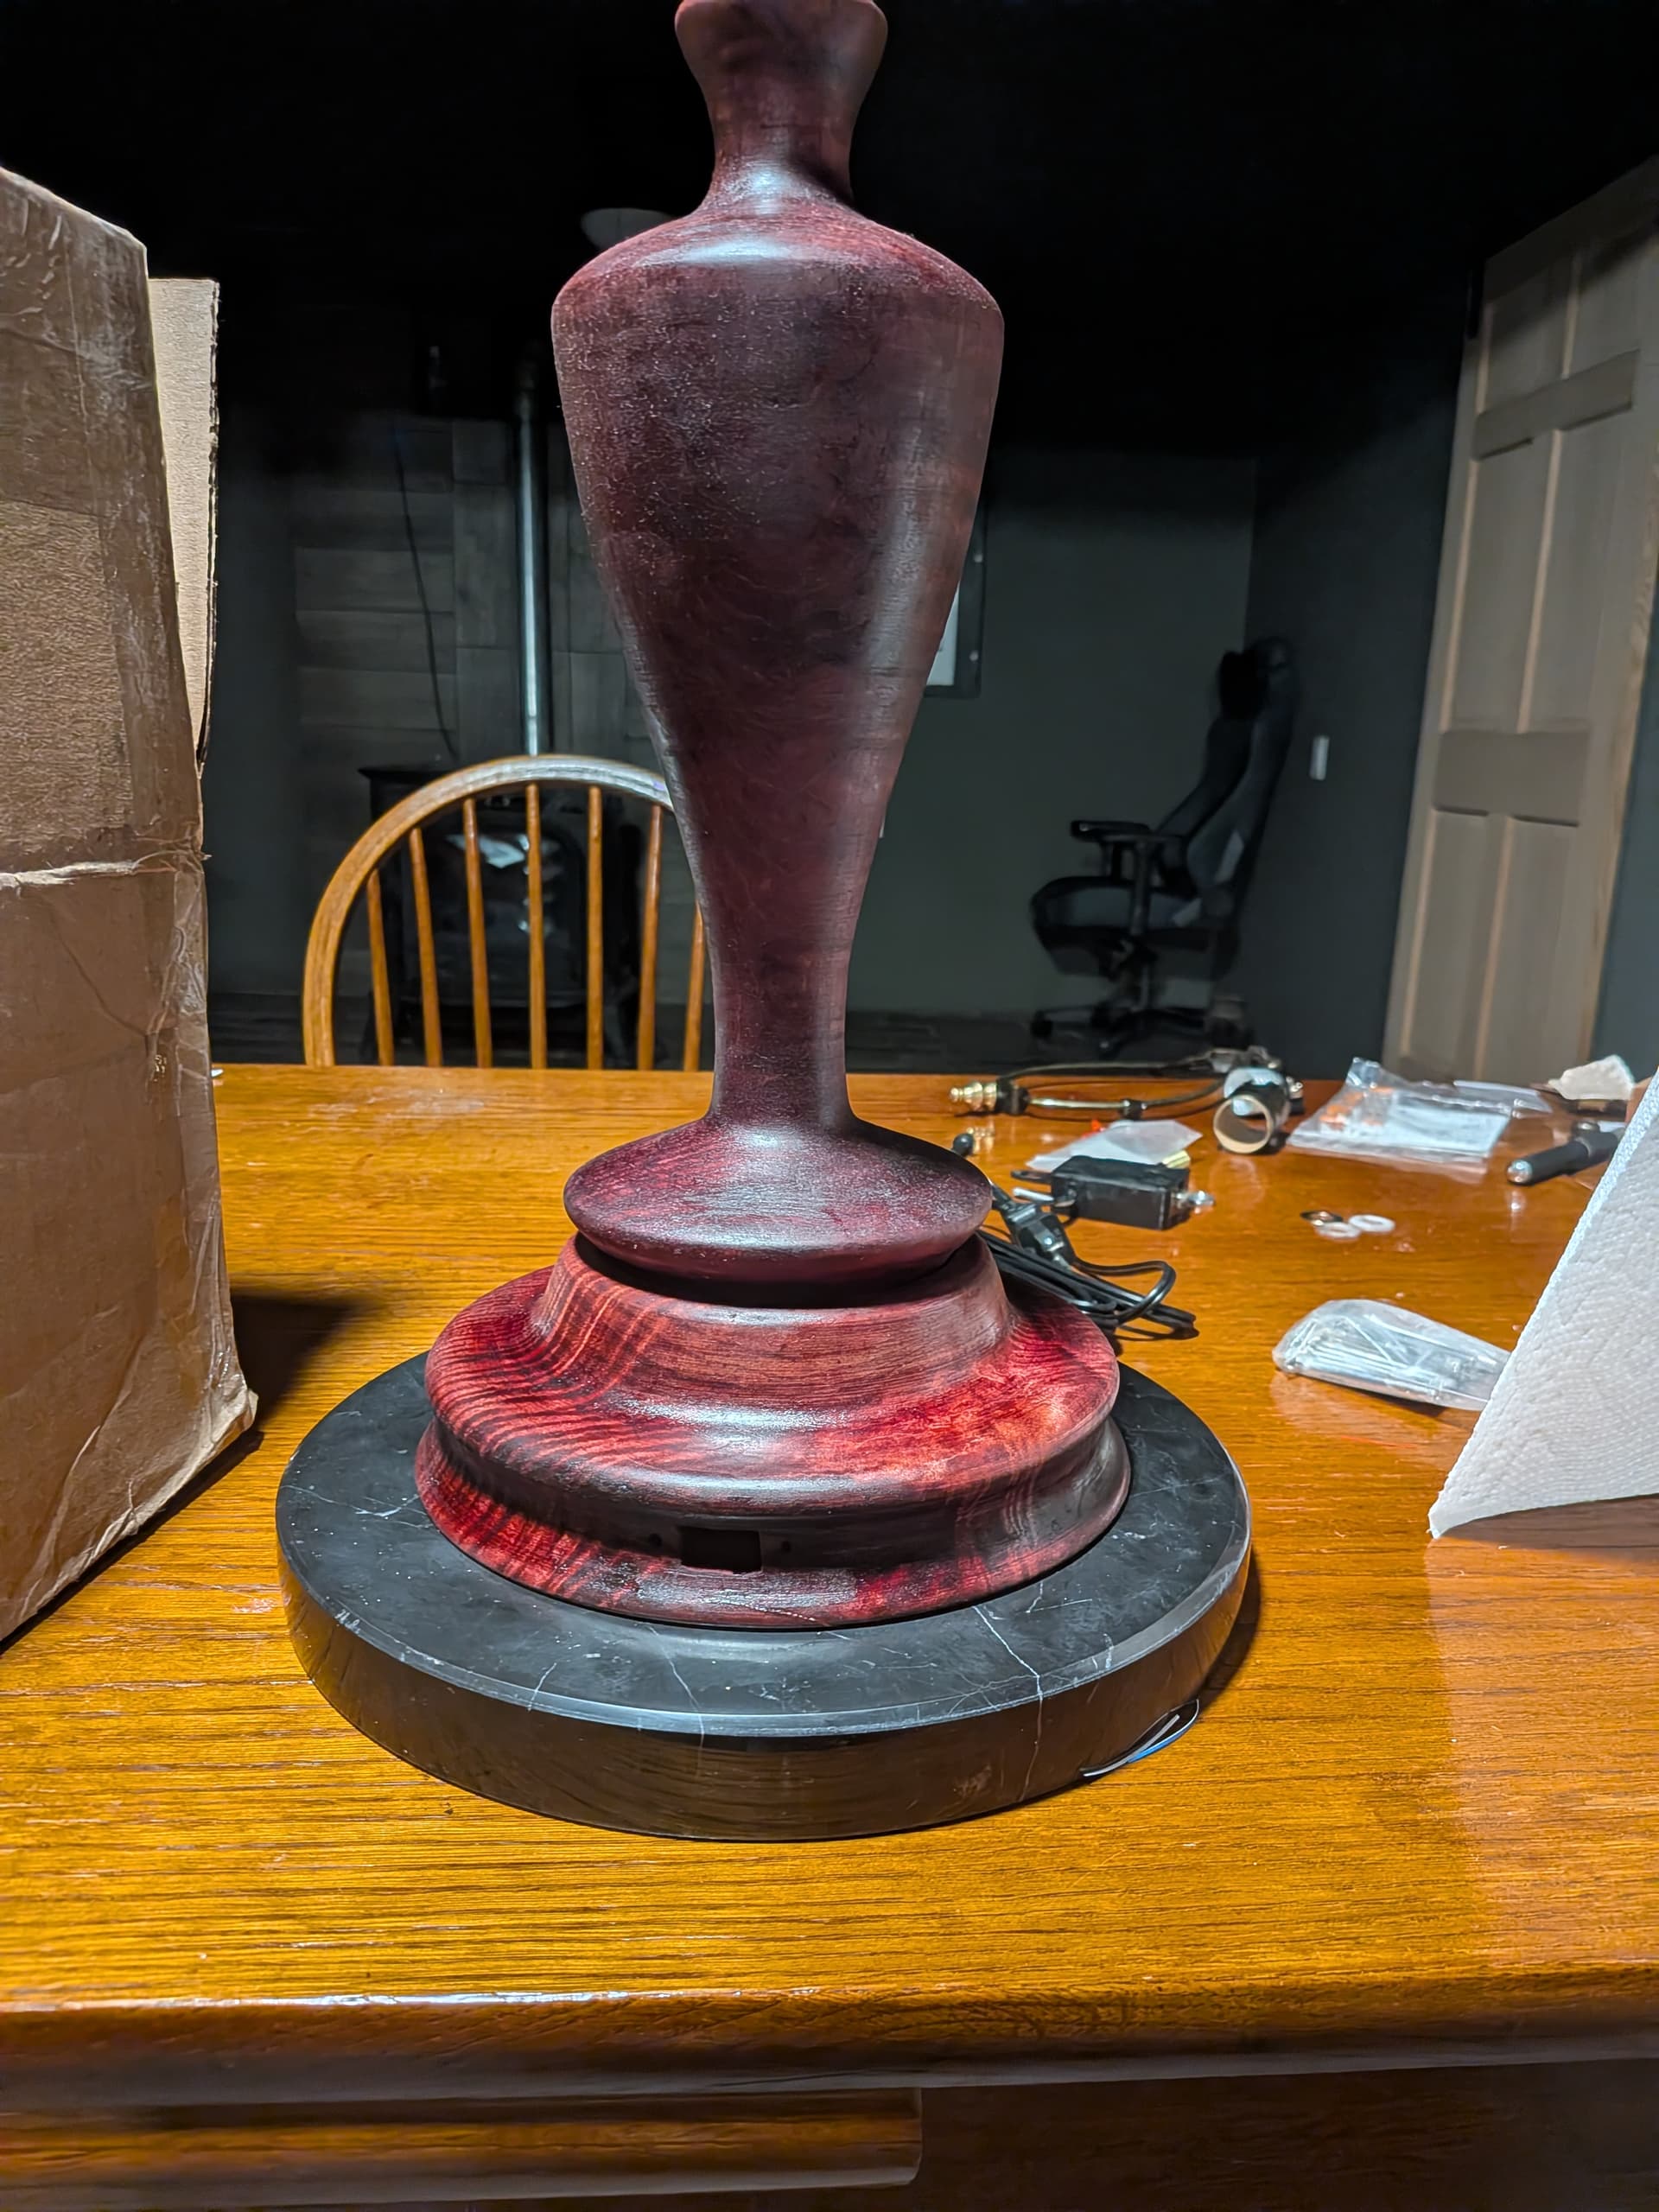
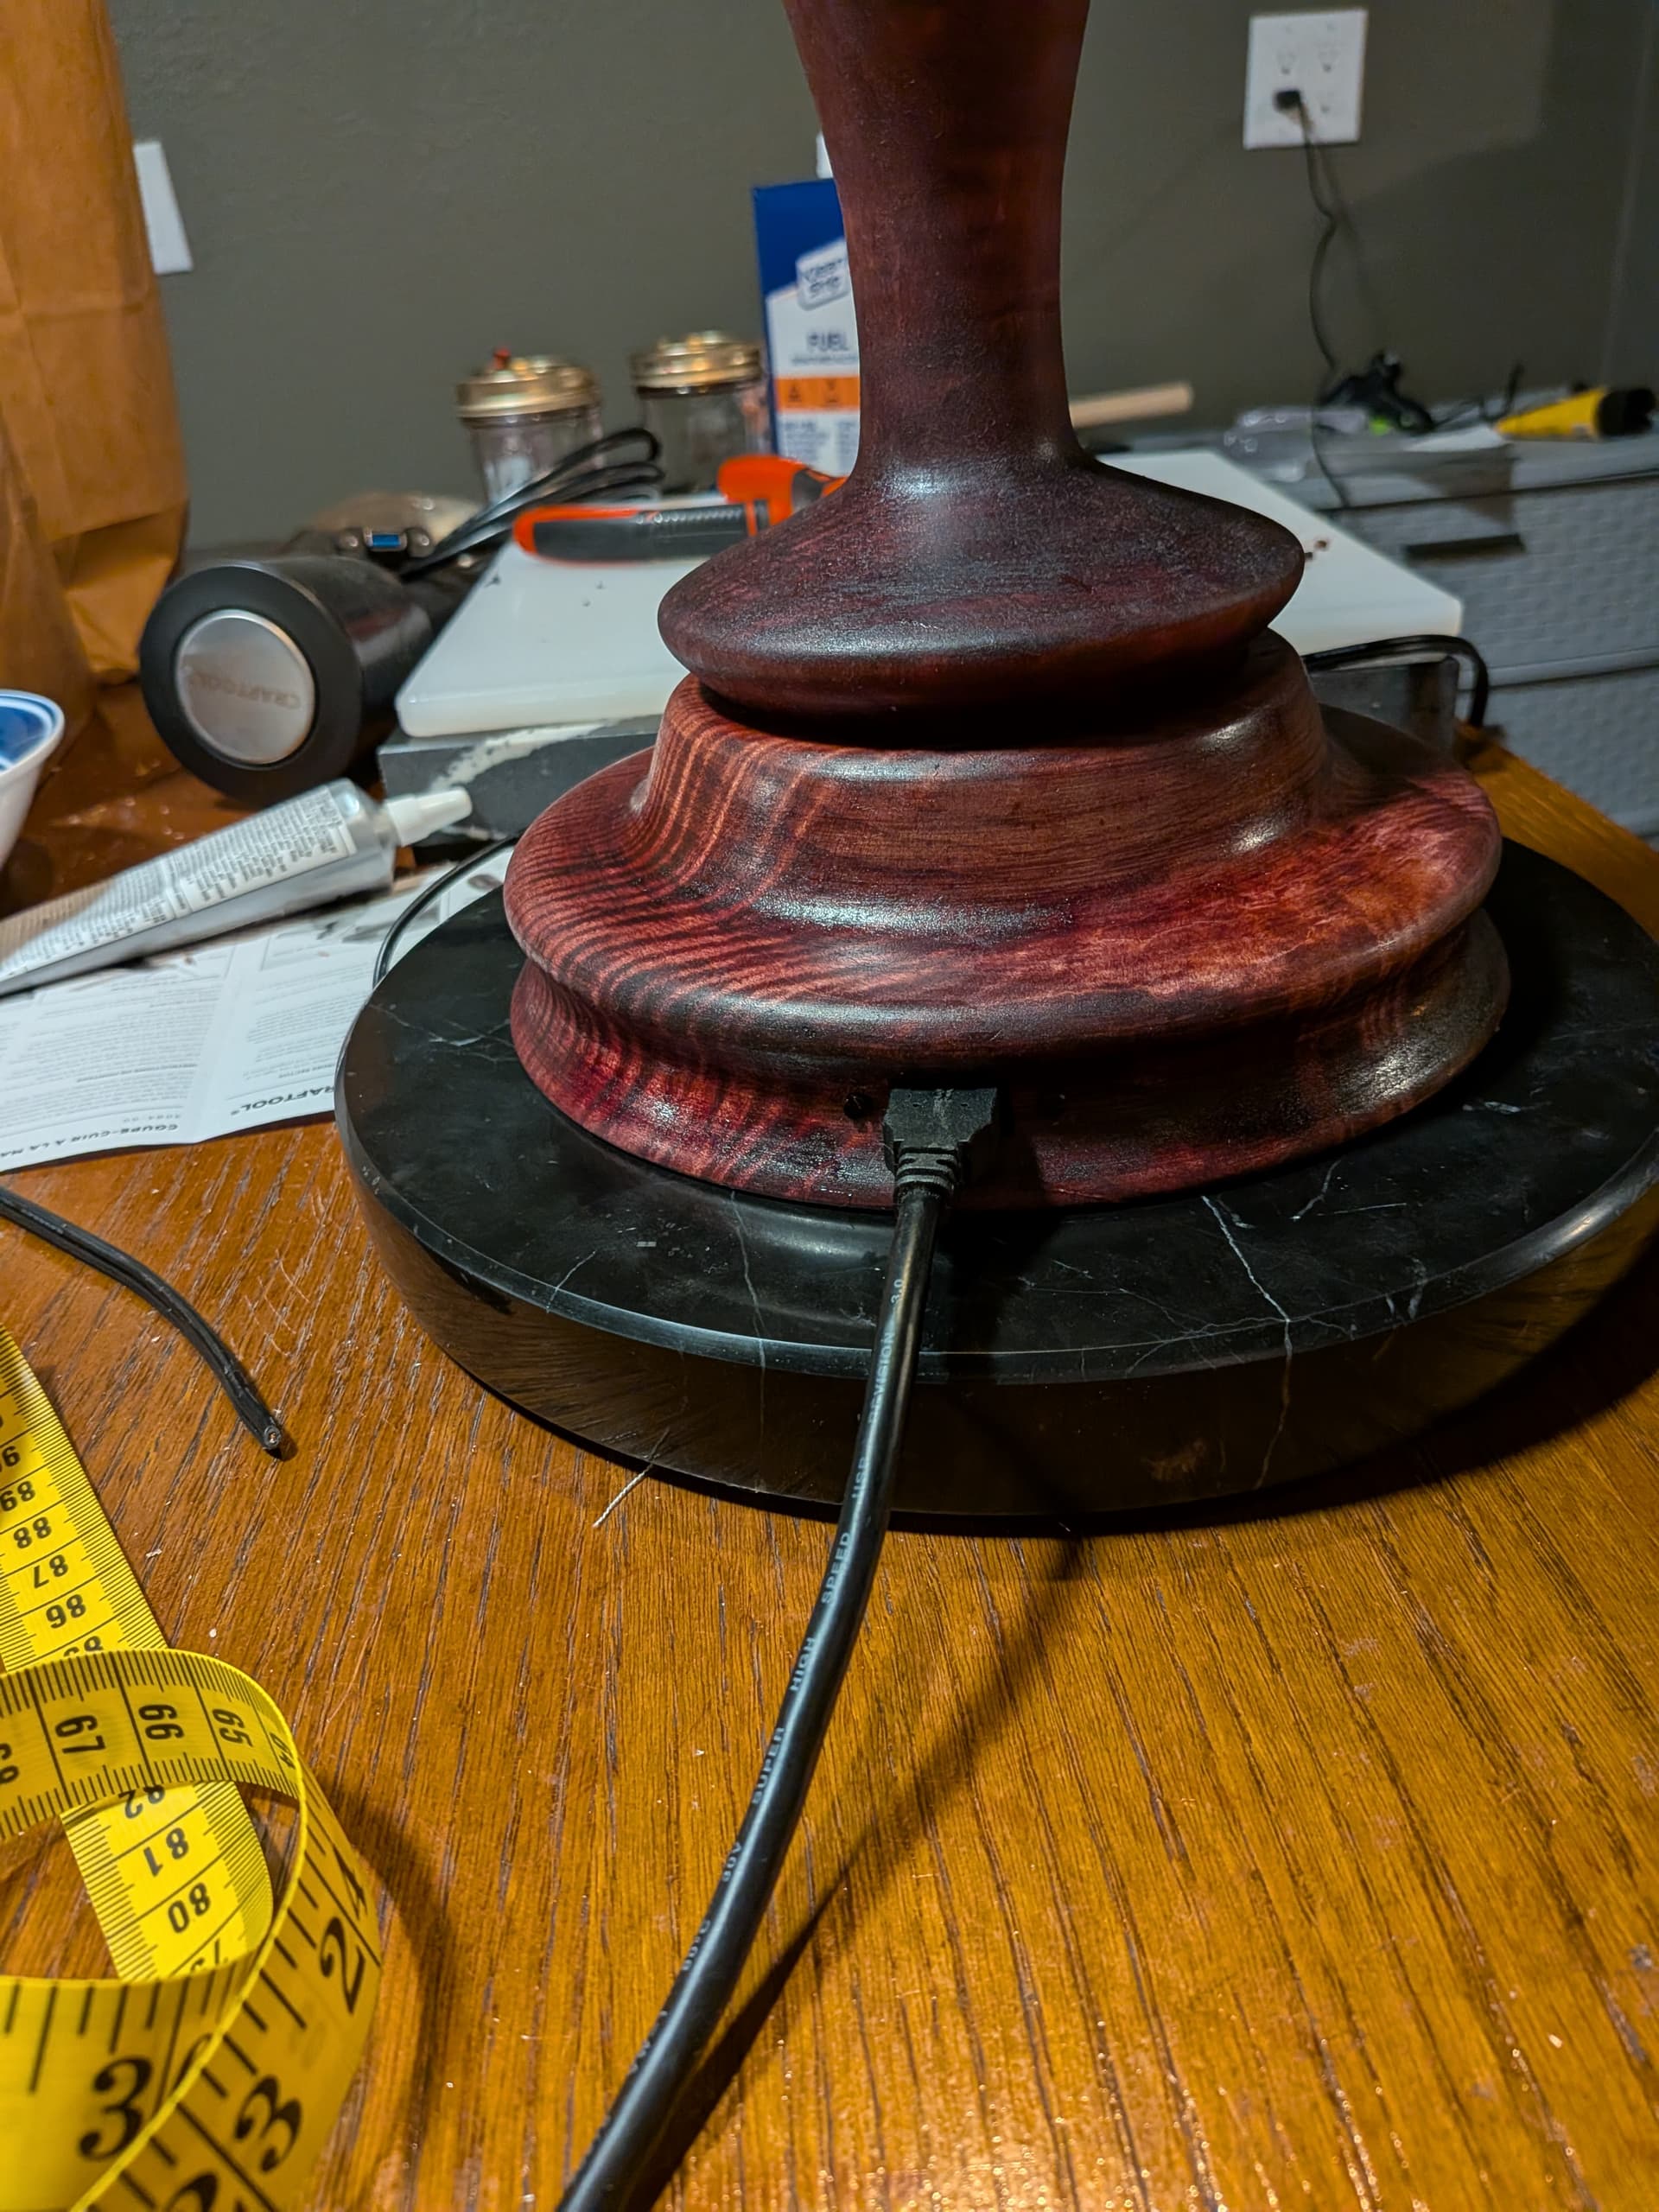
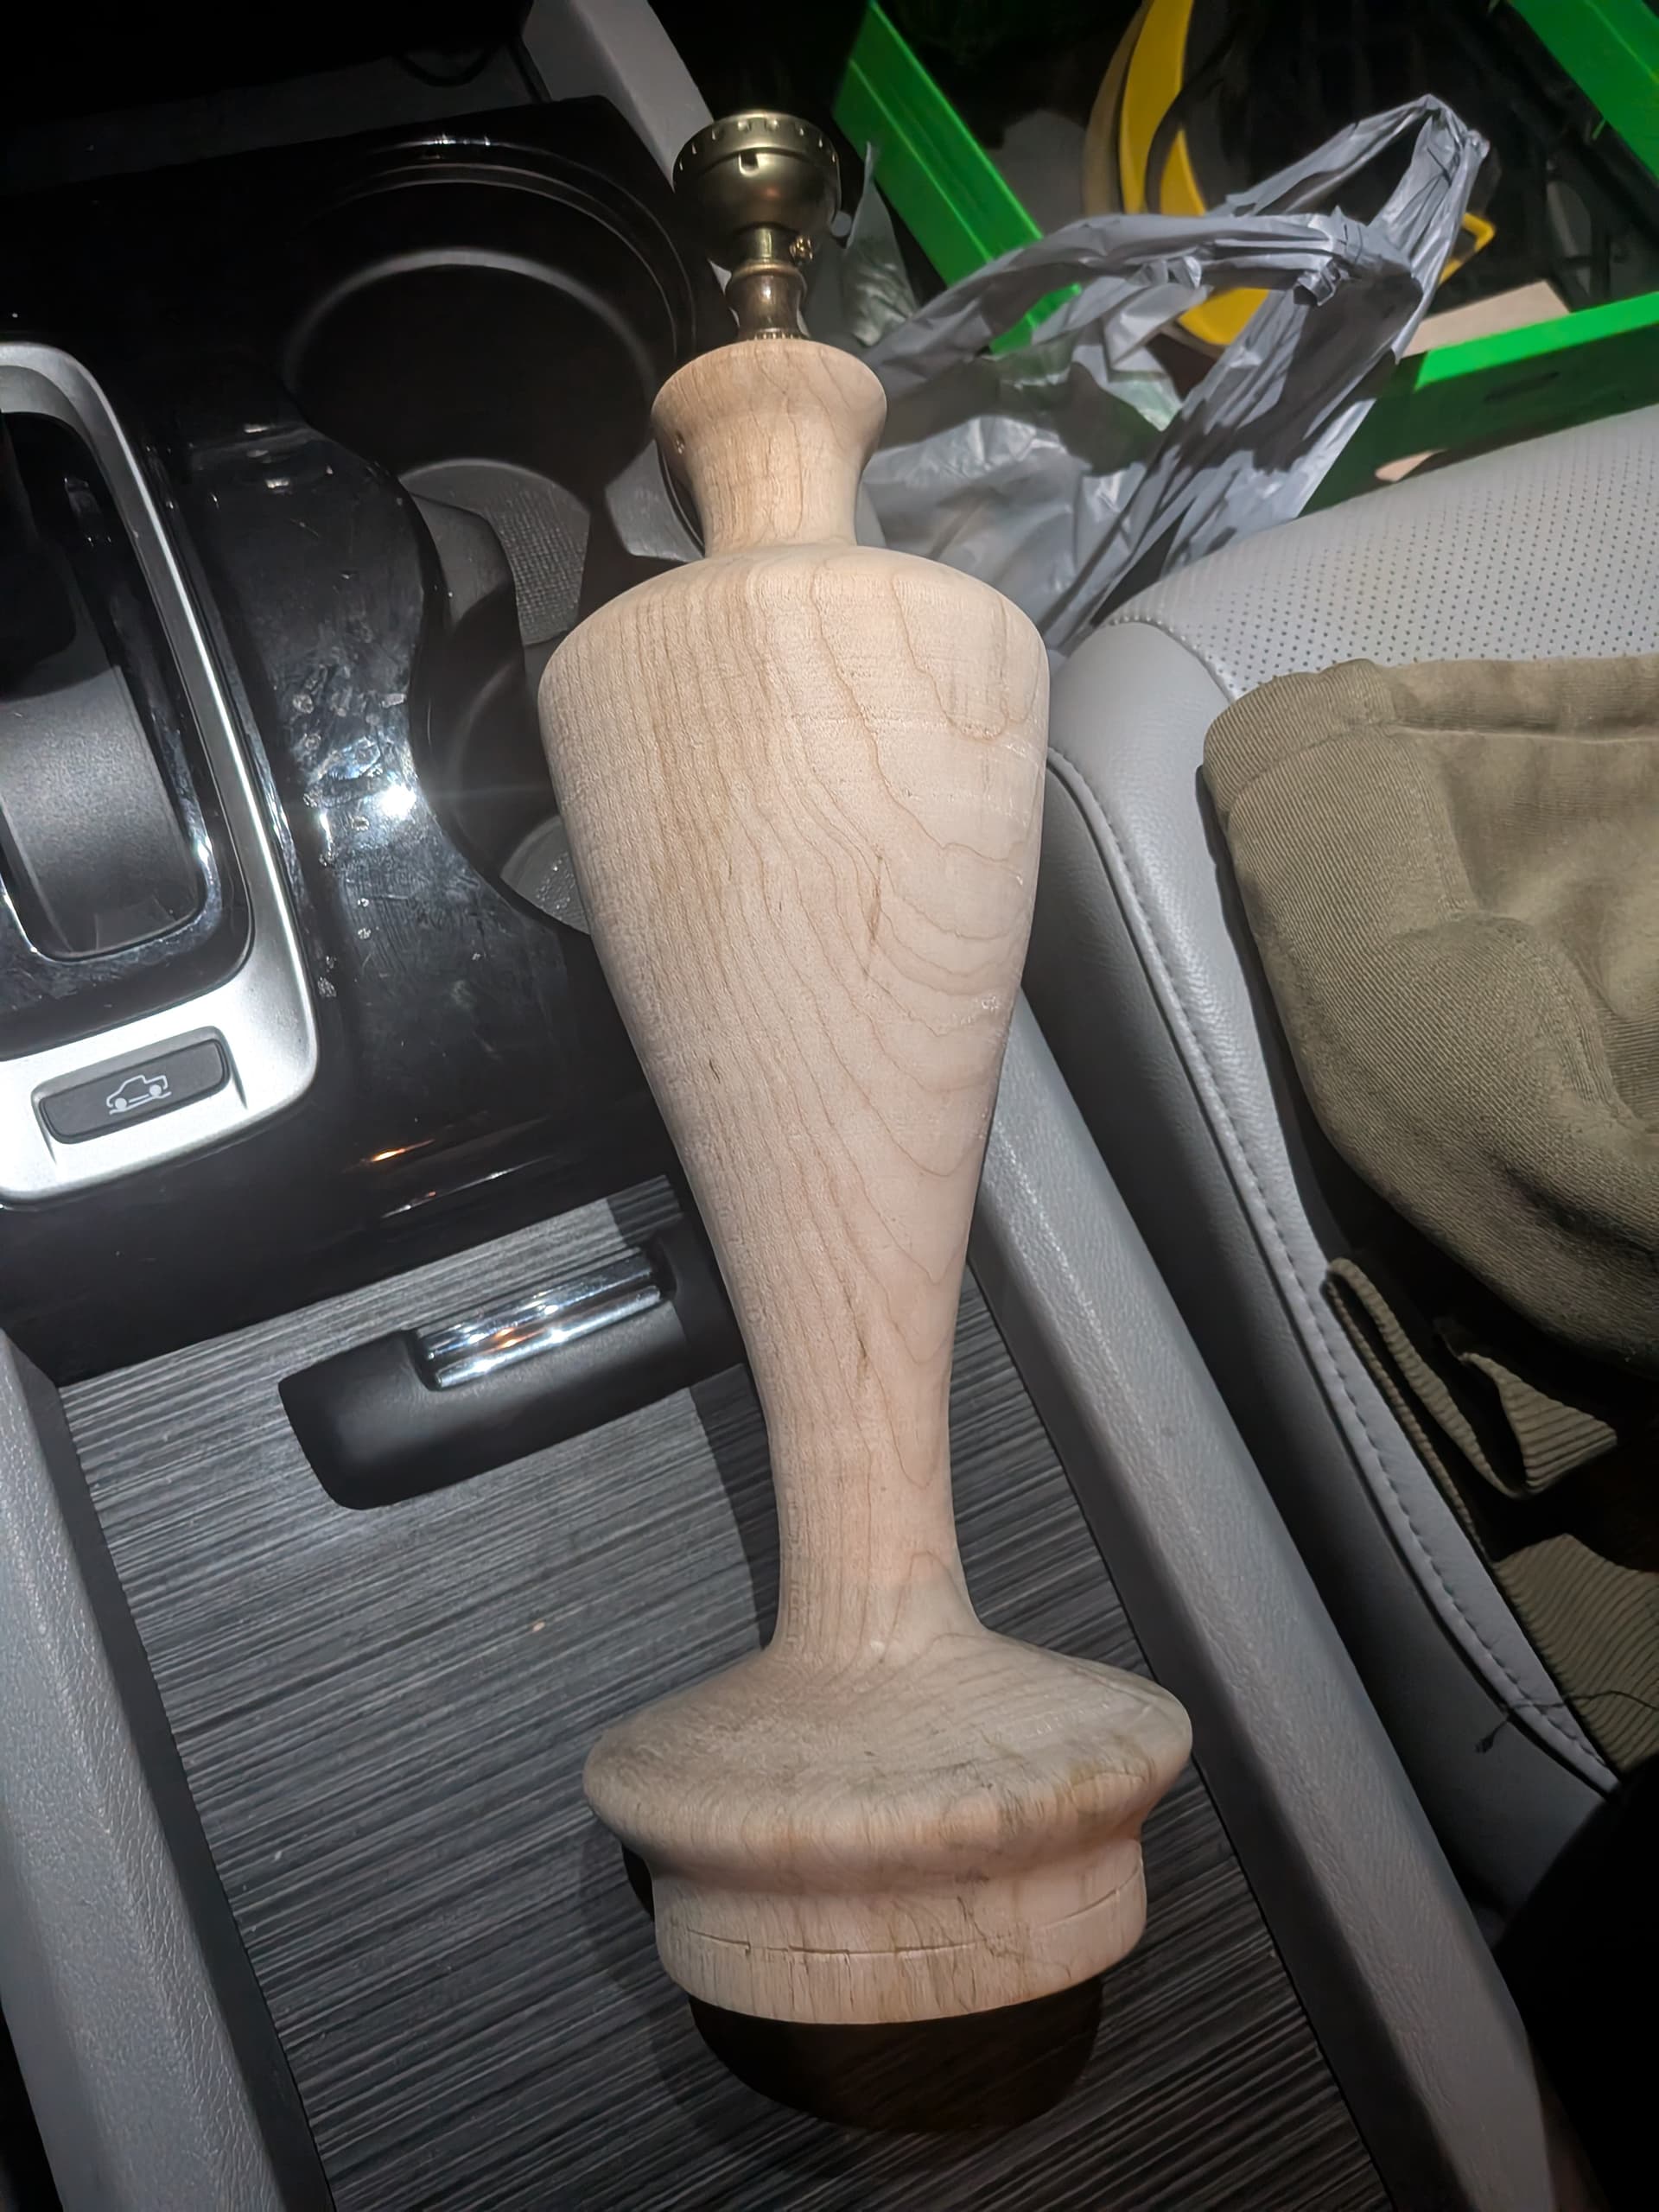
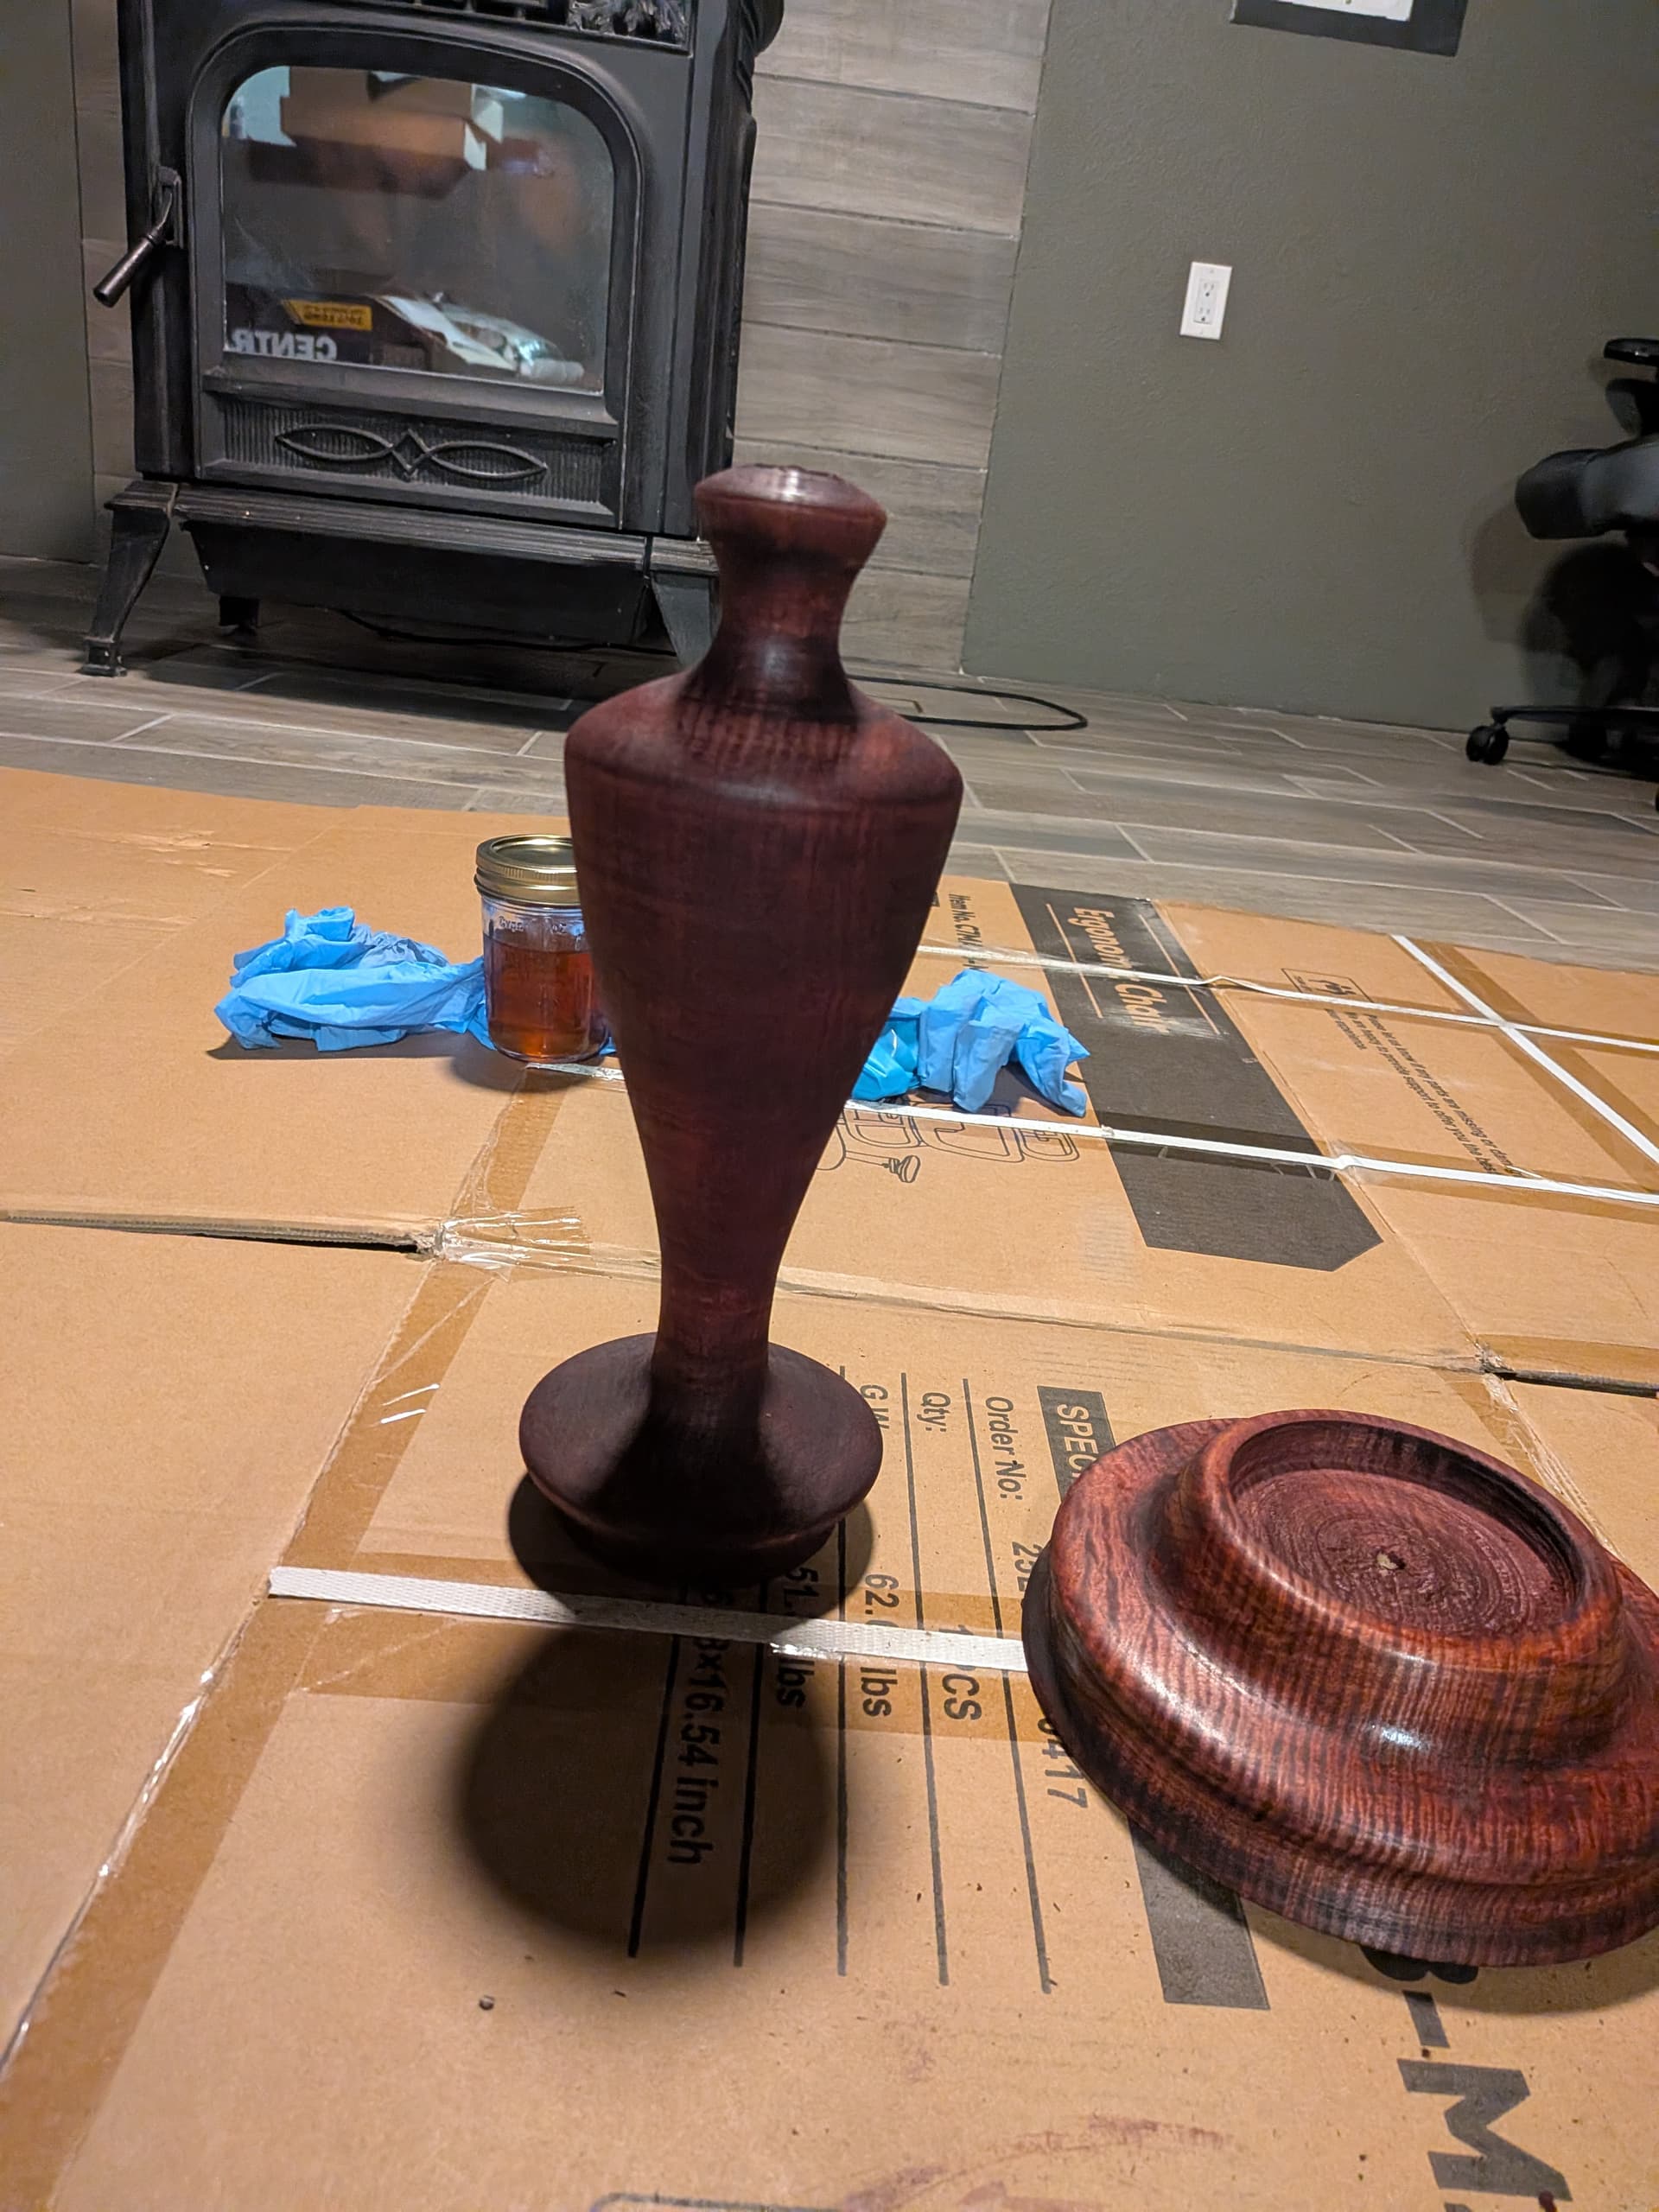
For the lamp body, I got some curly maple turning blanks to make the bulk of the lamp body. I made it in two pieces, one for the base and one for a pillar. I then turned these on a lathe. Unfortunately most of the figuring on the pillar was lost on the lathe, but the base still shows it well.
Here is the pillar after I first turned it and drilled a hole through the center for the wiring. I later did some more work on it to clean up some of the tearout. The marks on the bottom won’t show, I used that tennon to grip the blank while I was drilling the center, and I will use it to join the pillar to the base.
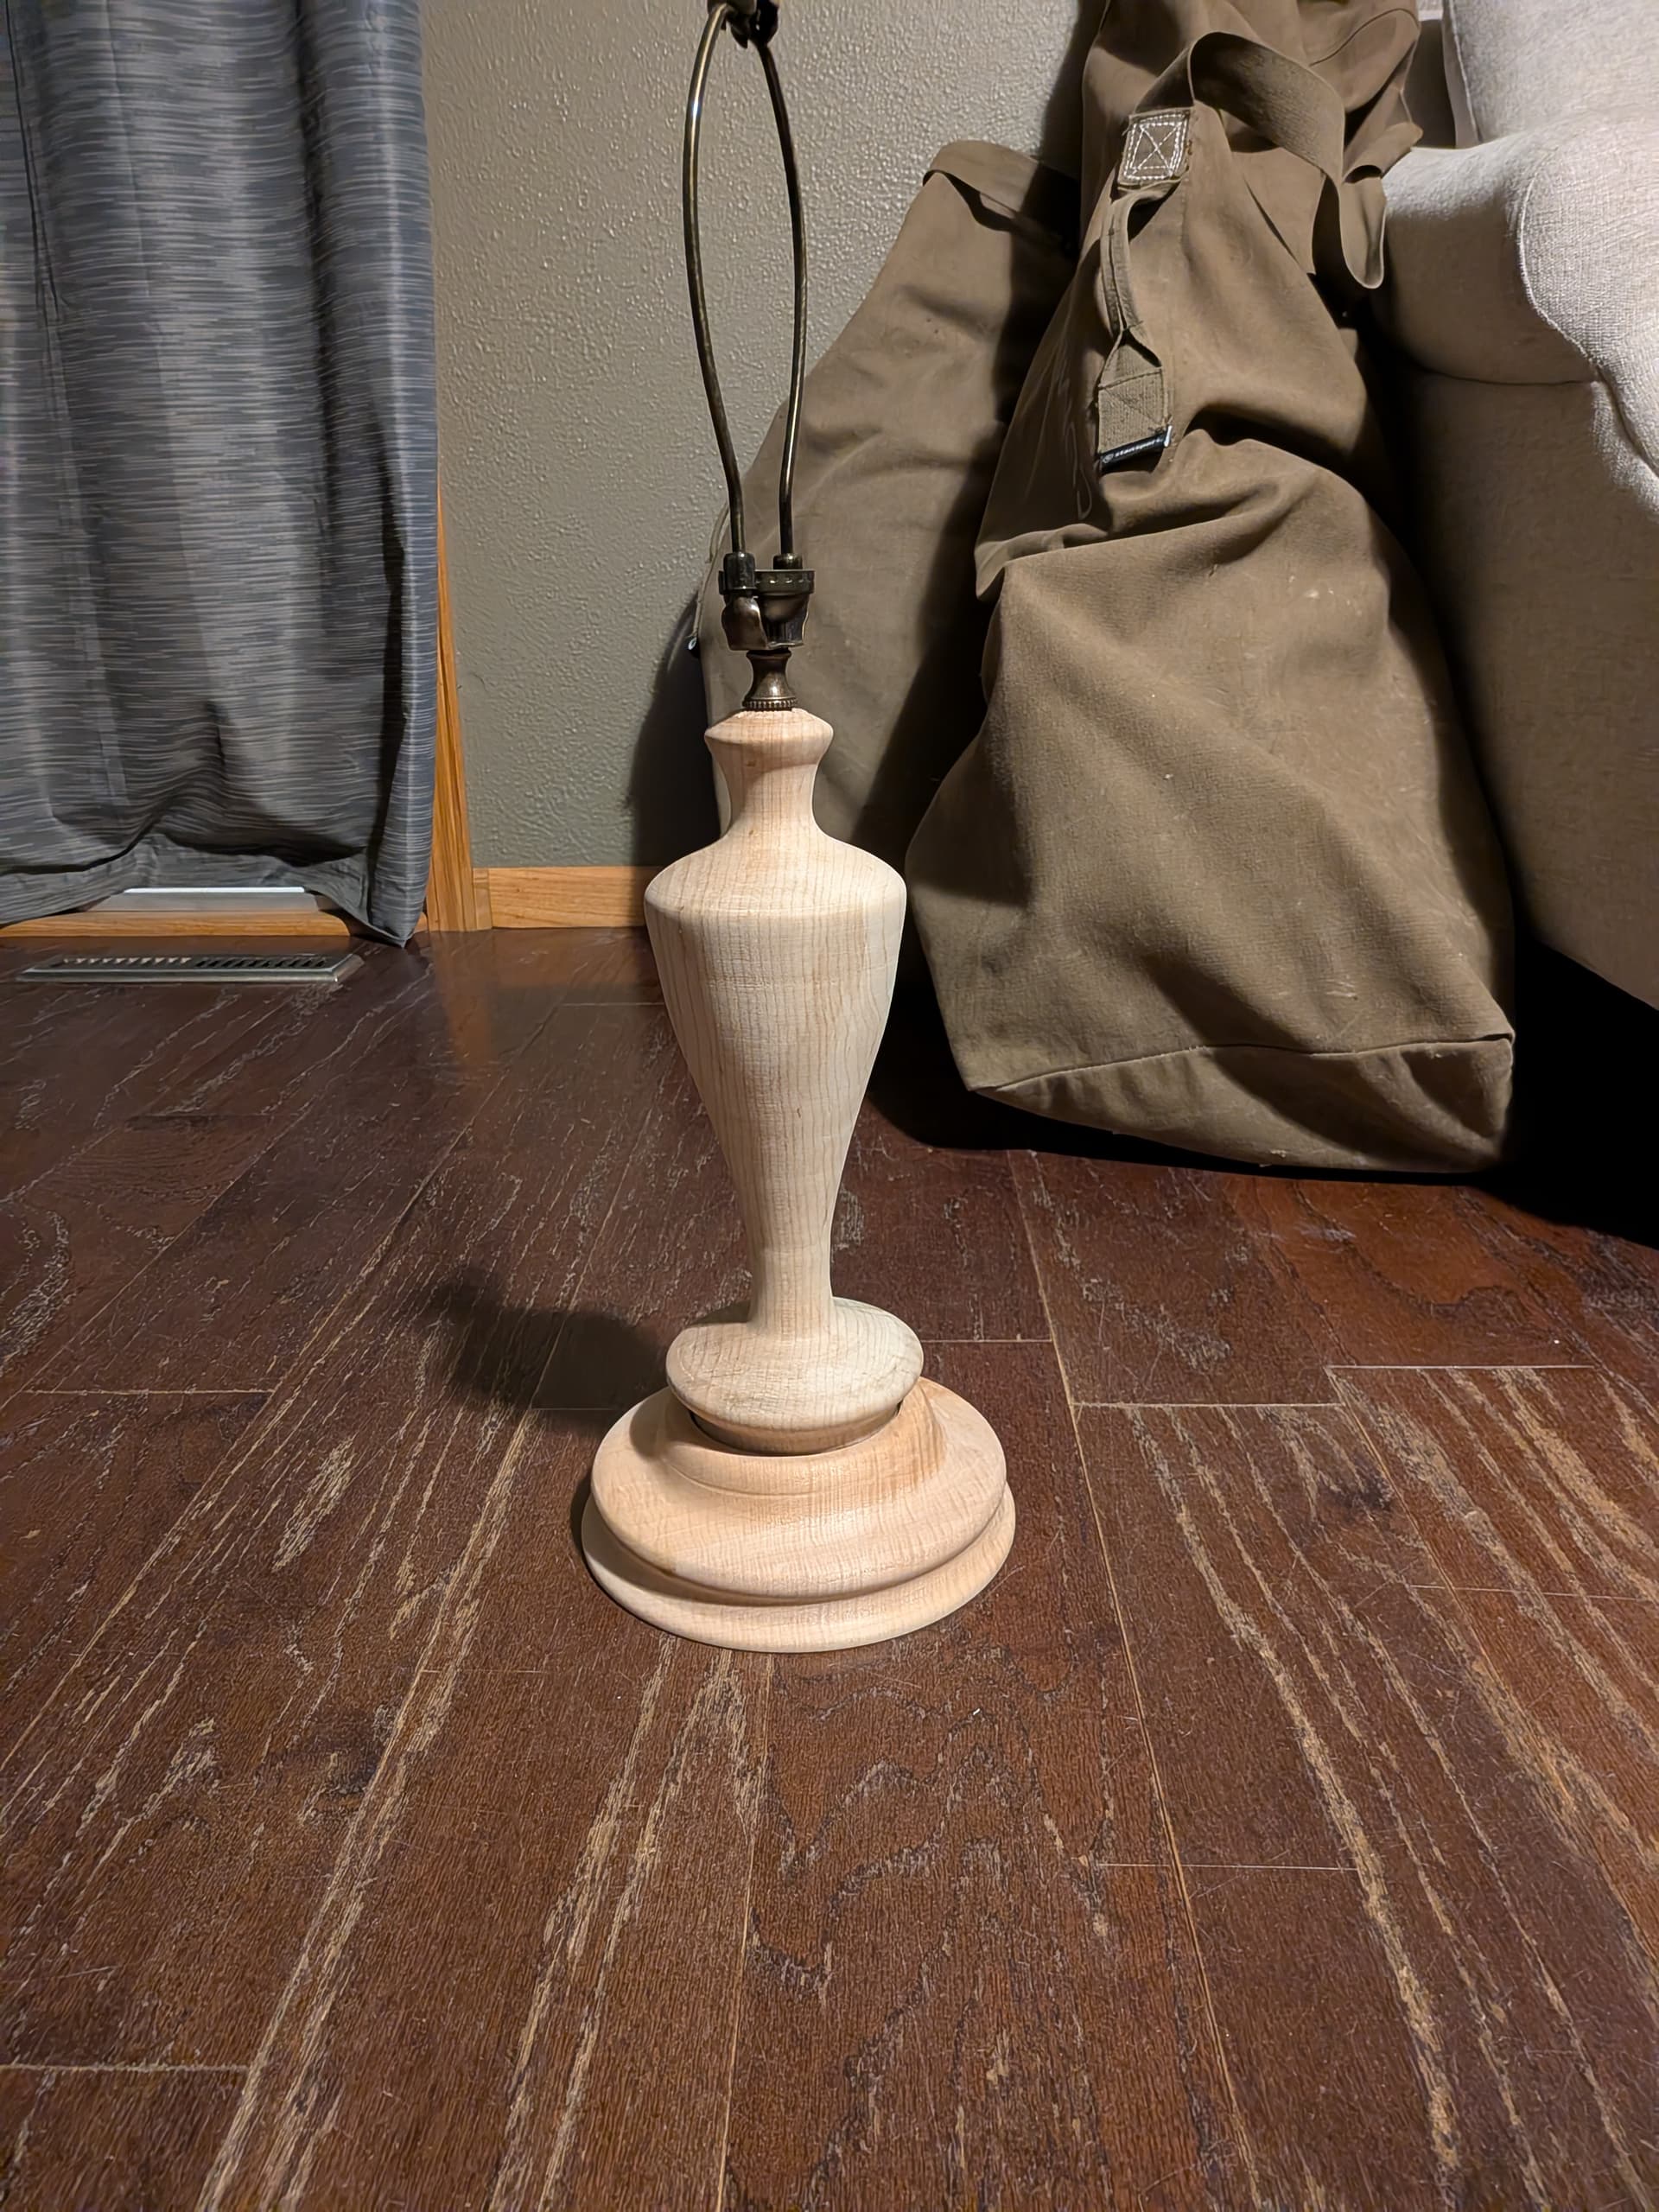
I turned the base a bit later. Here I have test fitted the two, but the pillar sits a bit too high, the tenon needed to be shortened so it could fit into a mortise in the base. You might see a bit of a groove on the base, I didn’t notice that until I had taken the picture, I have since mounted it back on the lathe and sanded out that groove.
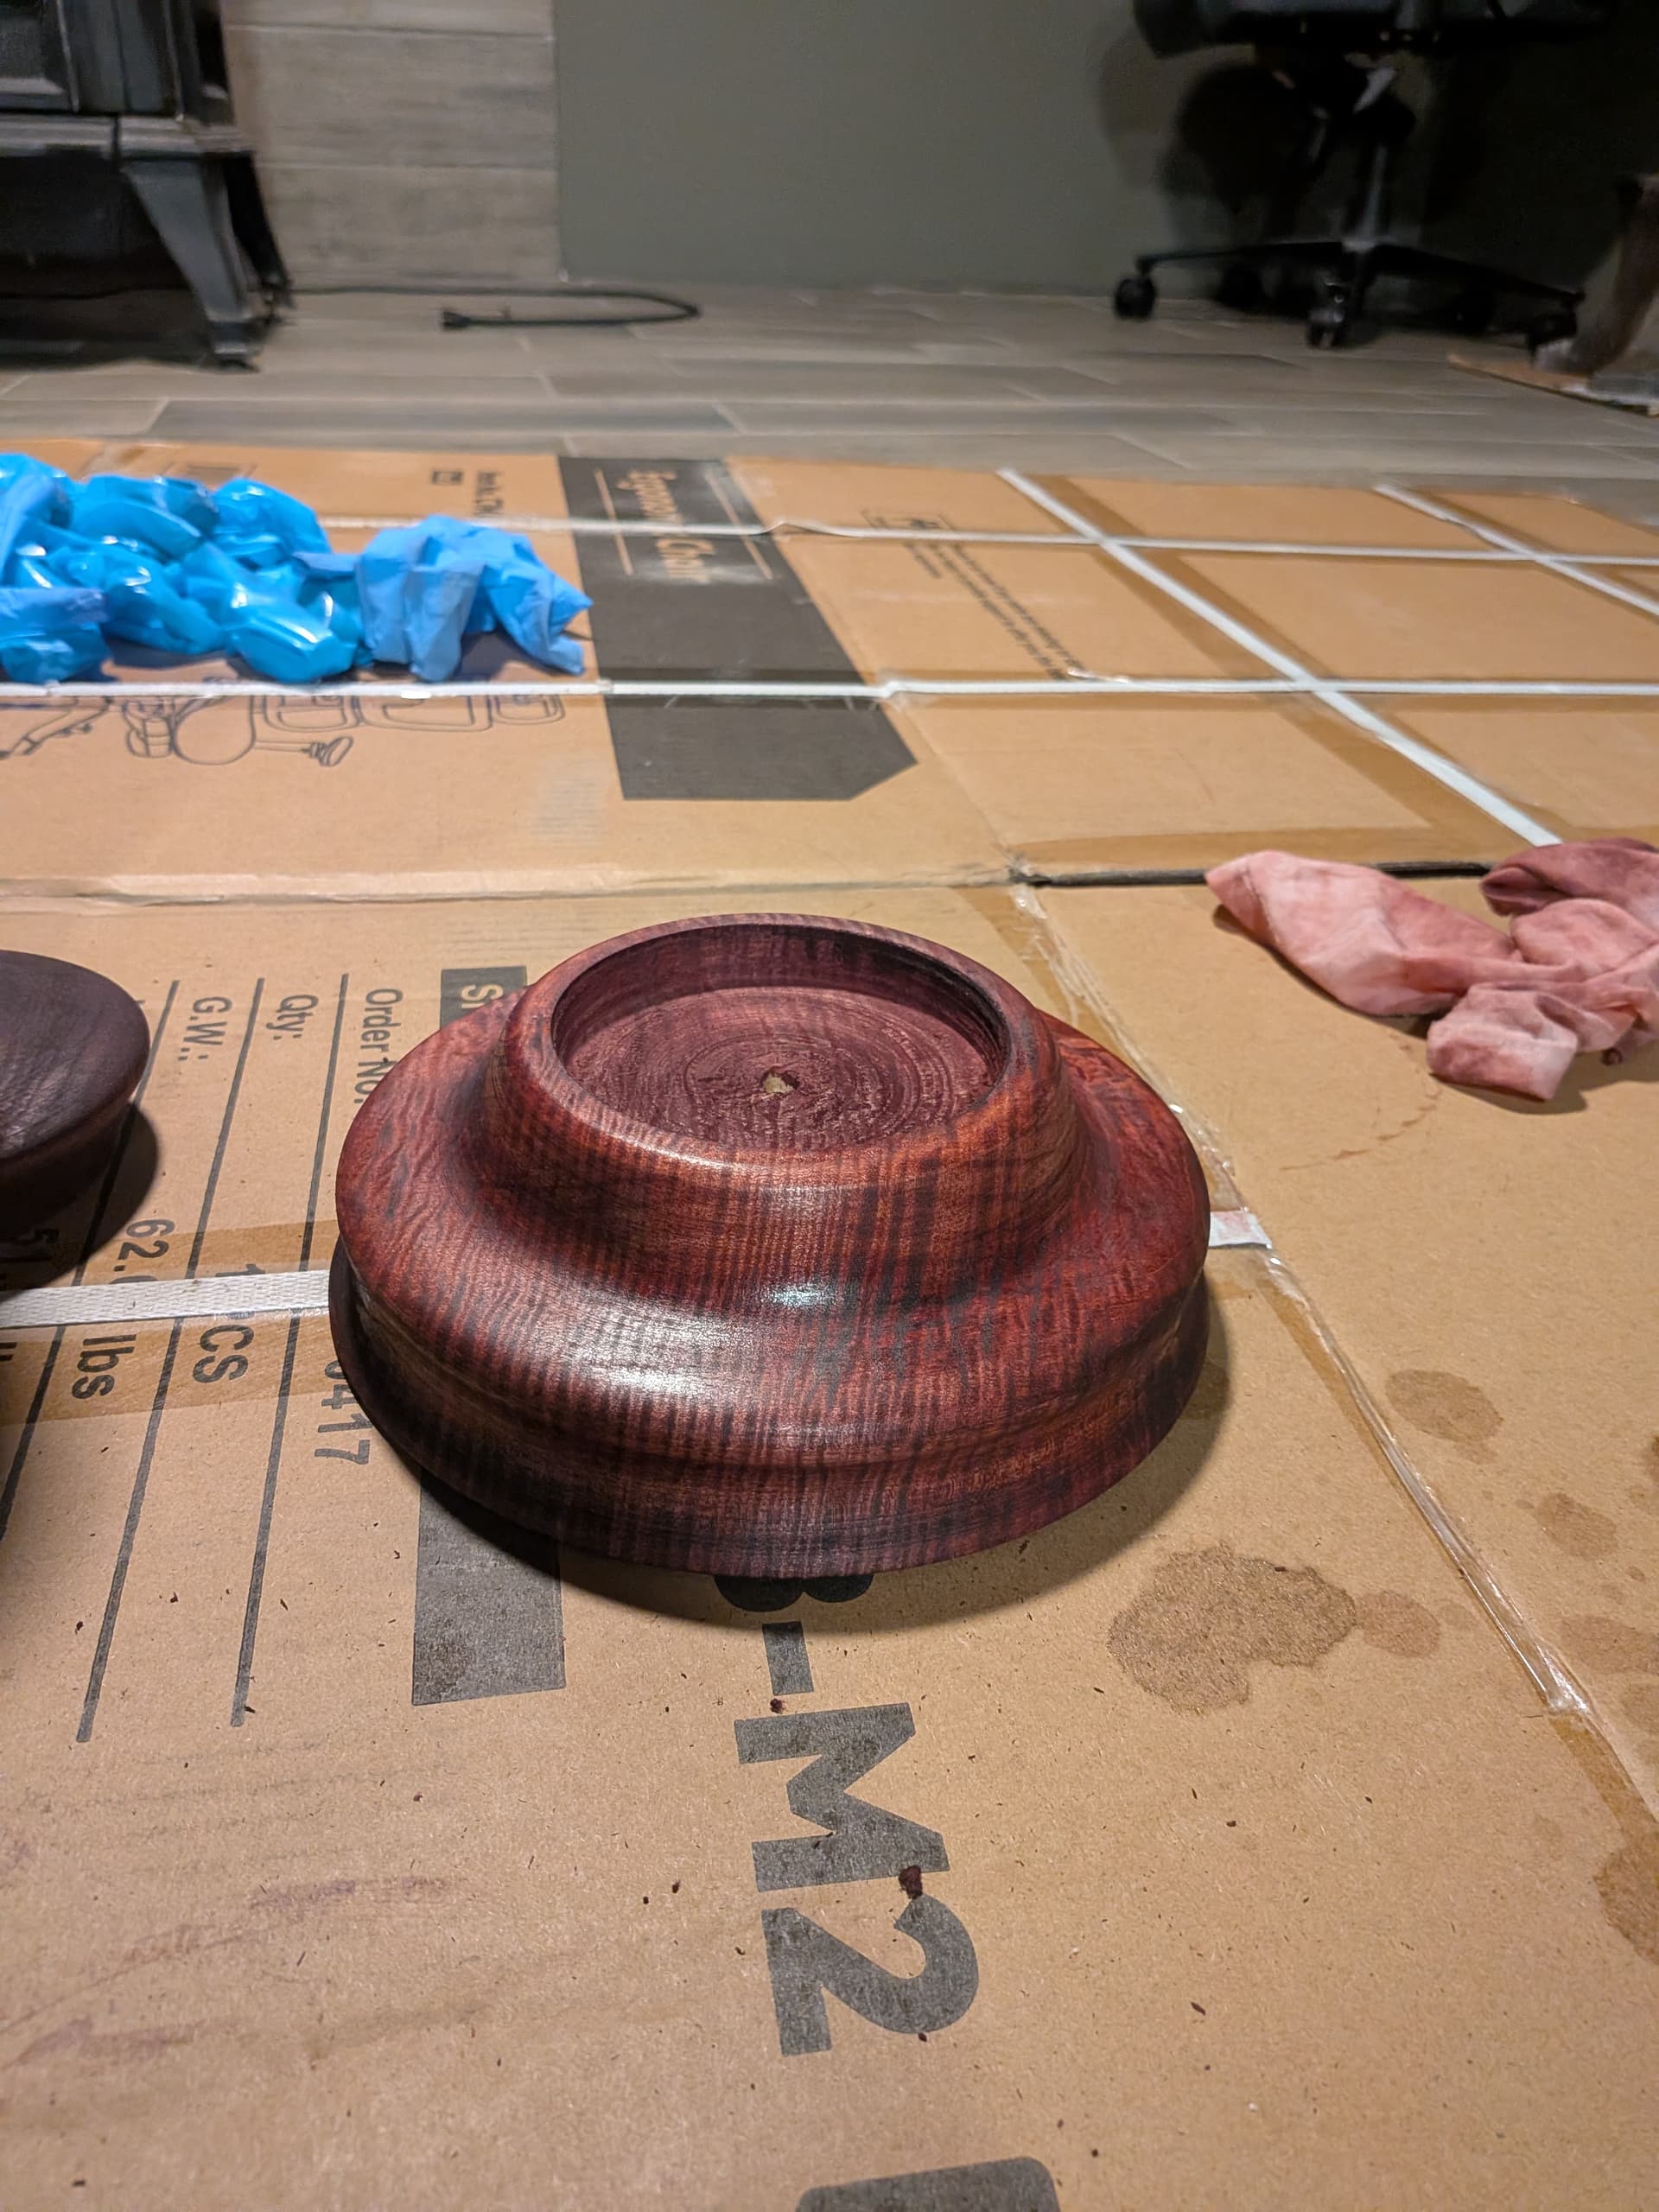
I am now in the process of finishing. I used a red mahogany dye, I haven’t used dyes for wood finishing before but it appeared to be a popular choice for curly maple. These pictures are after 3 coats of dye and then some shellac over top to protect it, I will probably do a few more coats to bring out some more shine and make the grain pop a bit more.
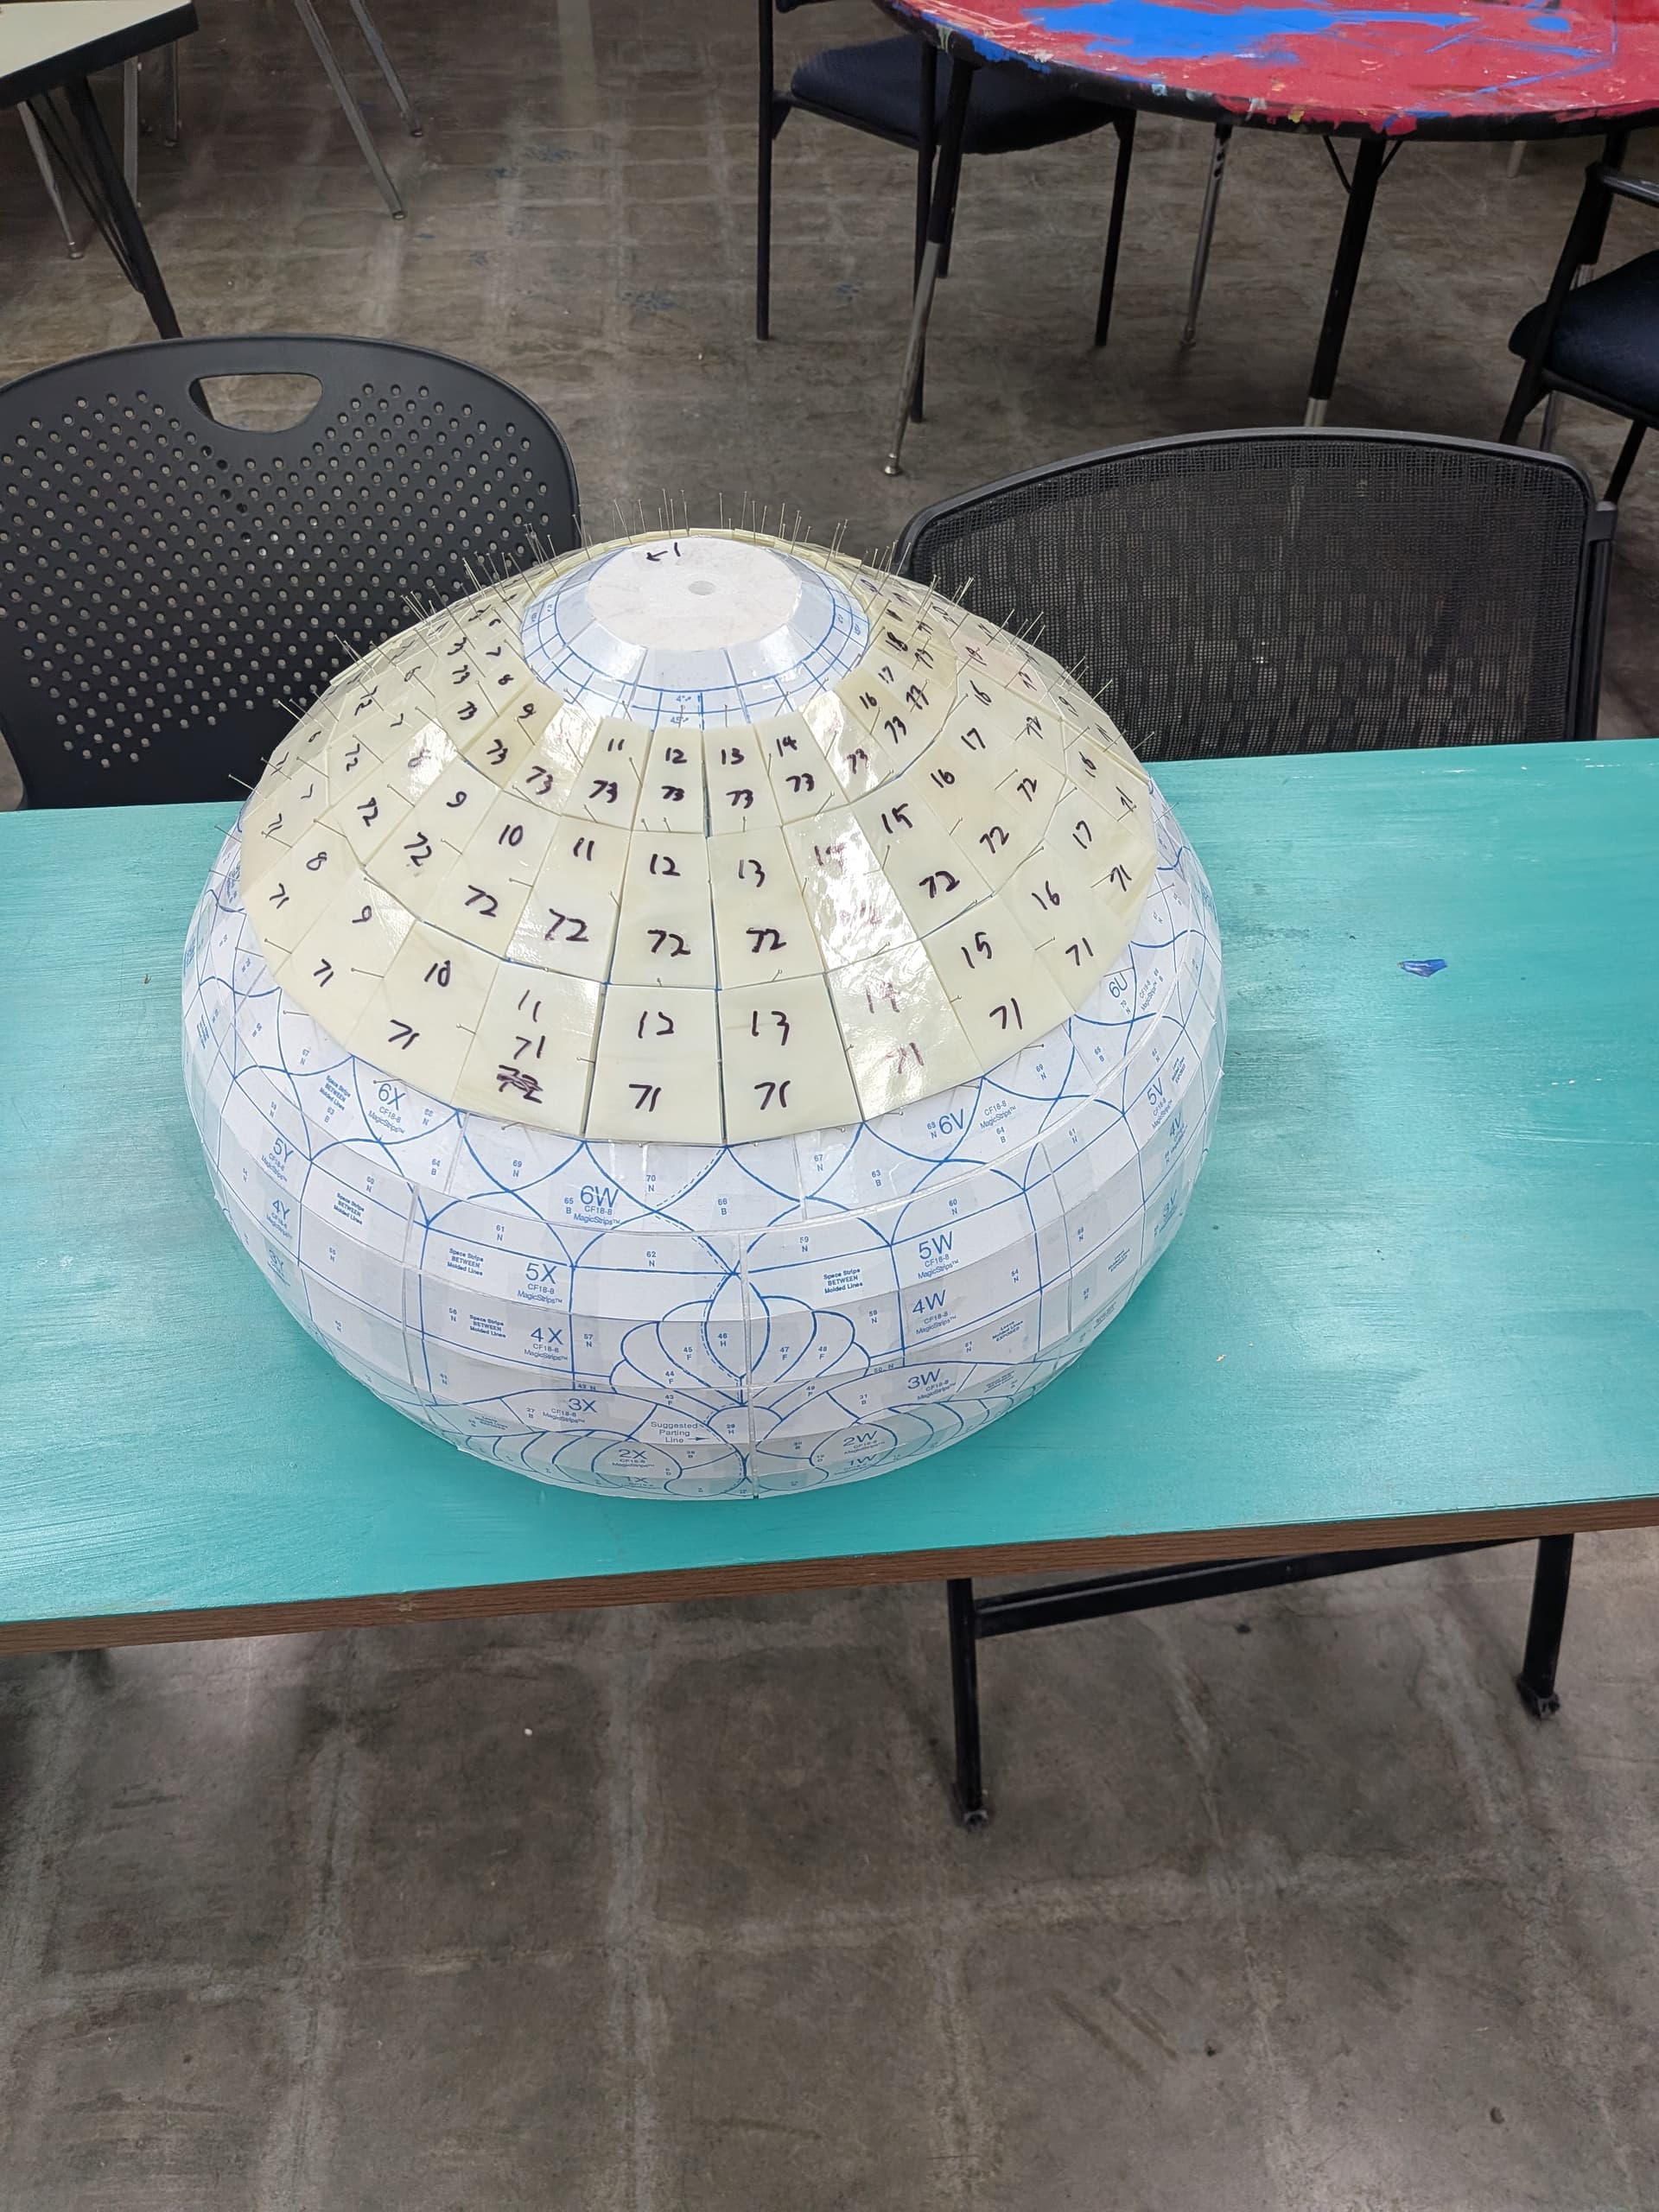
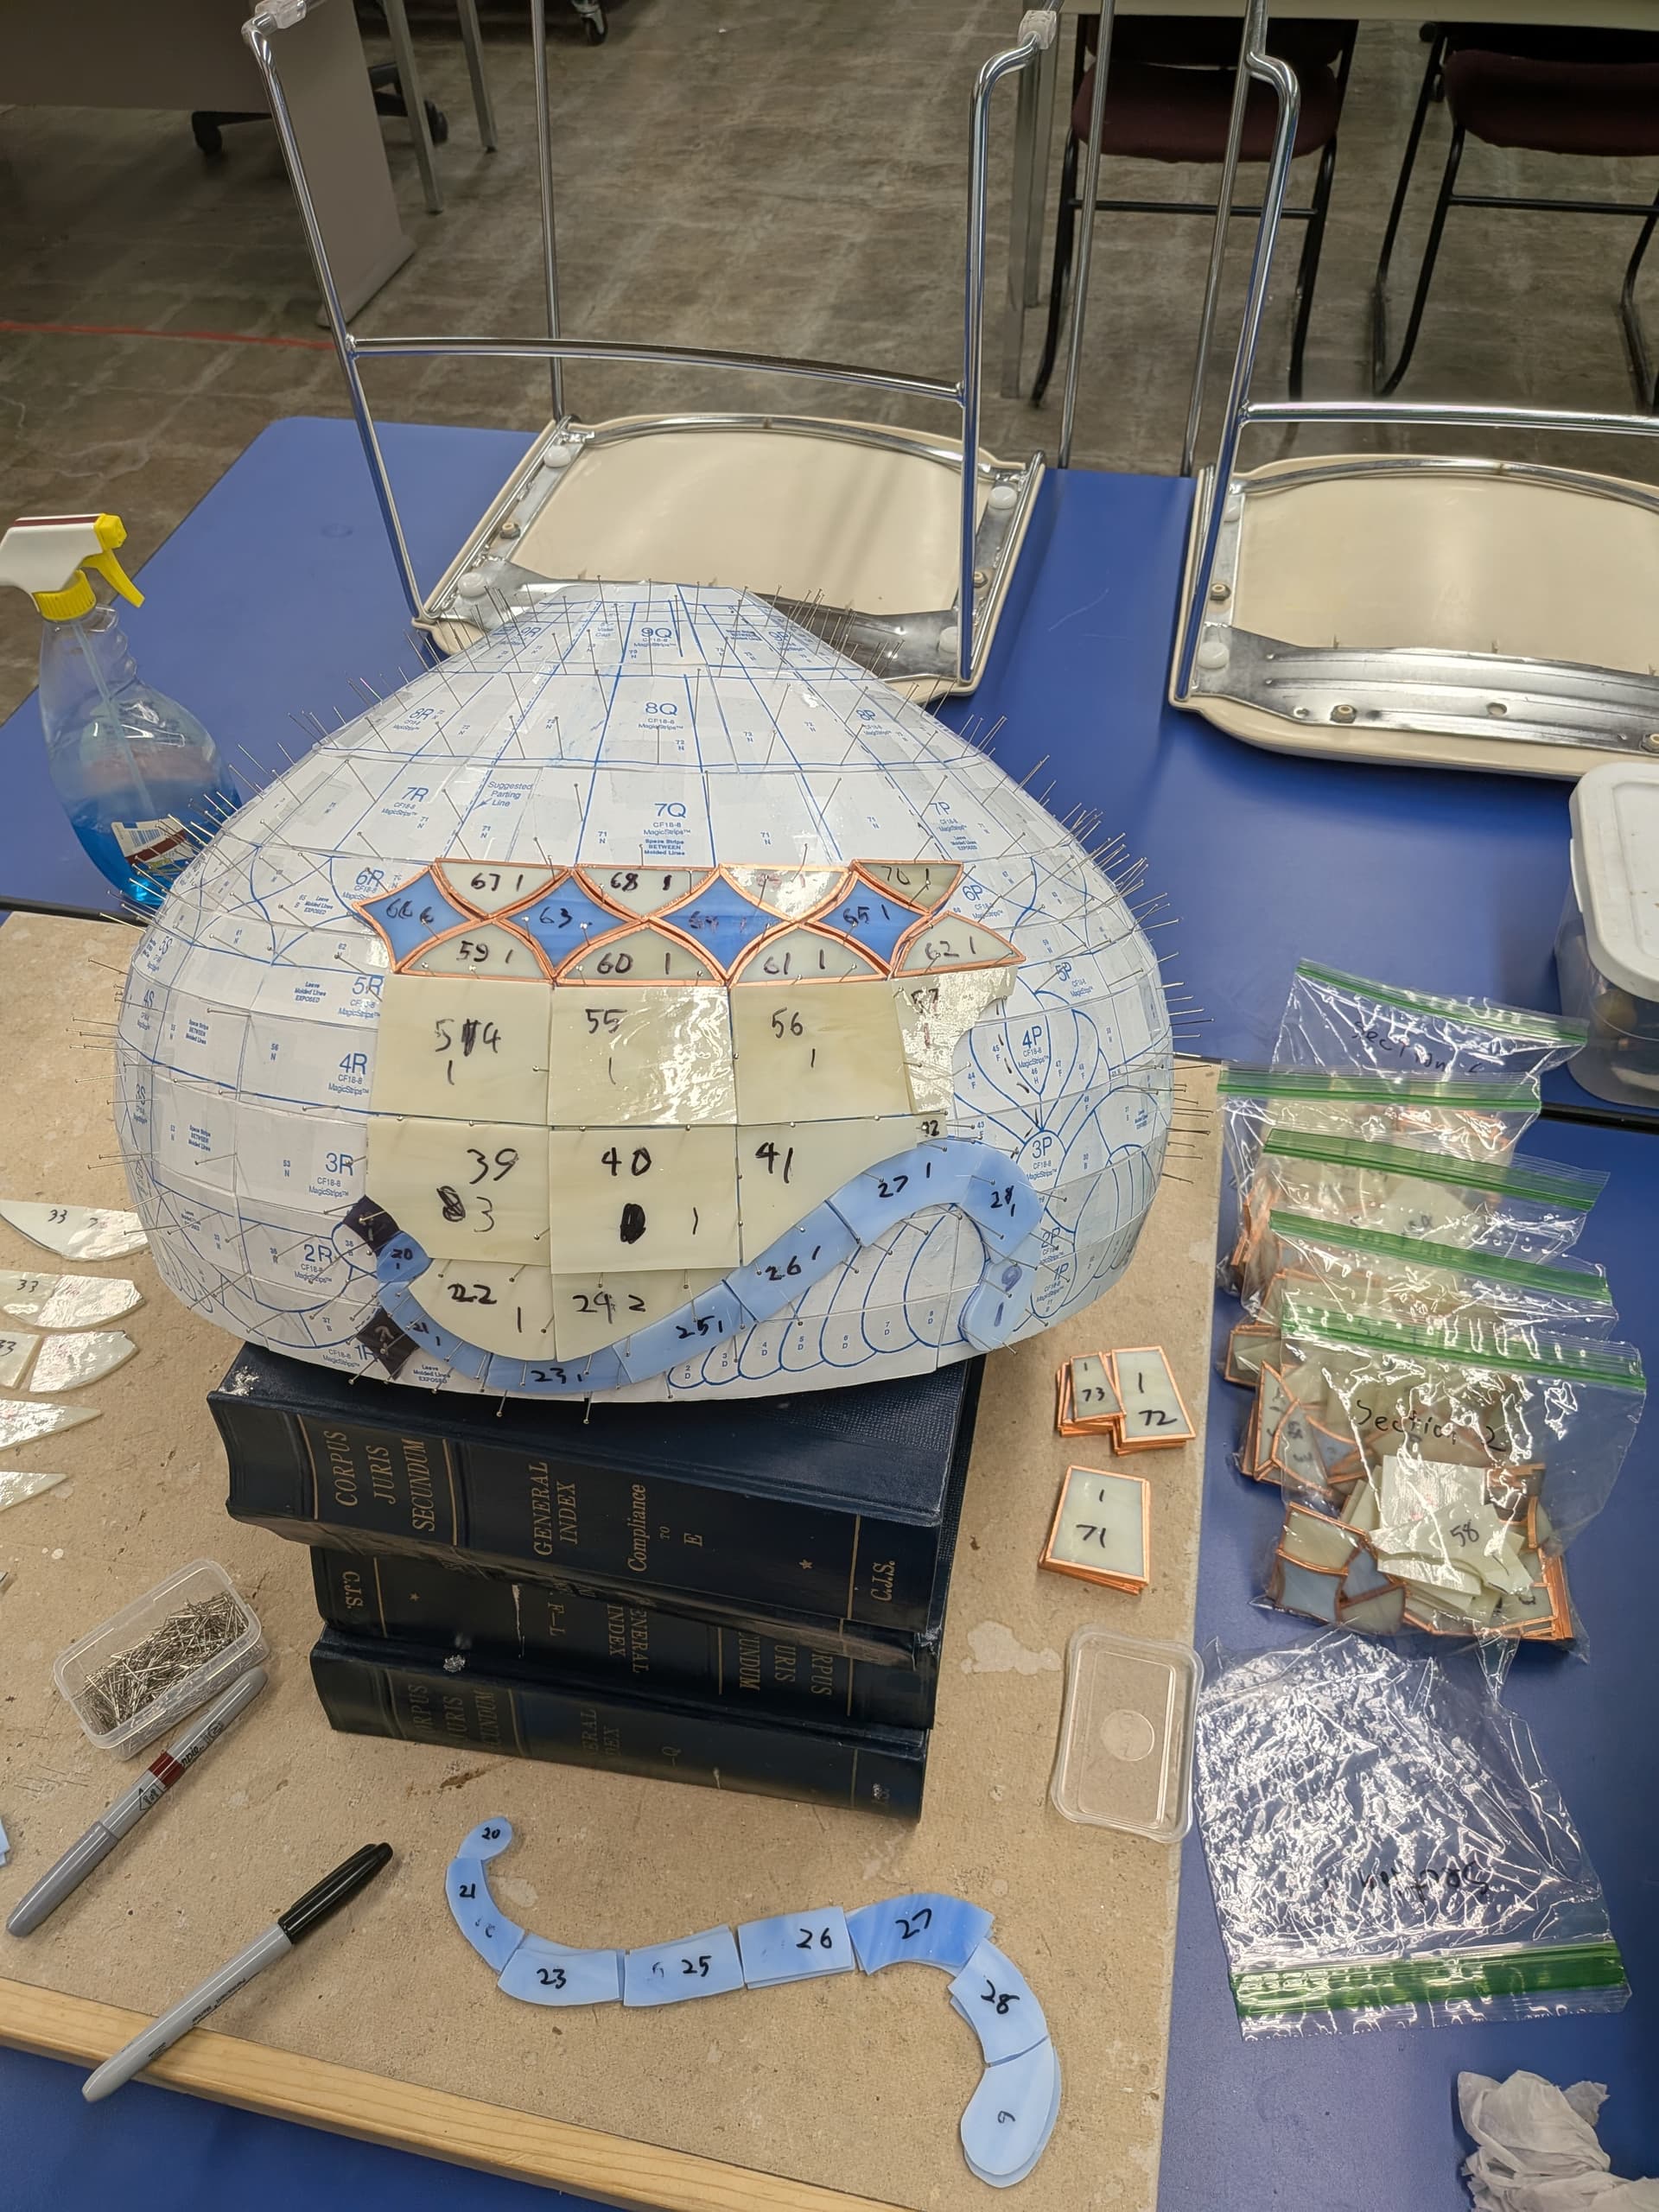
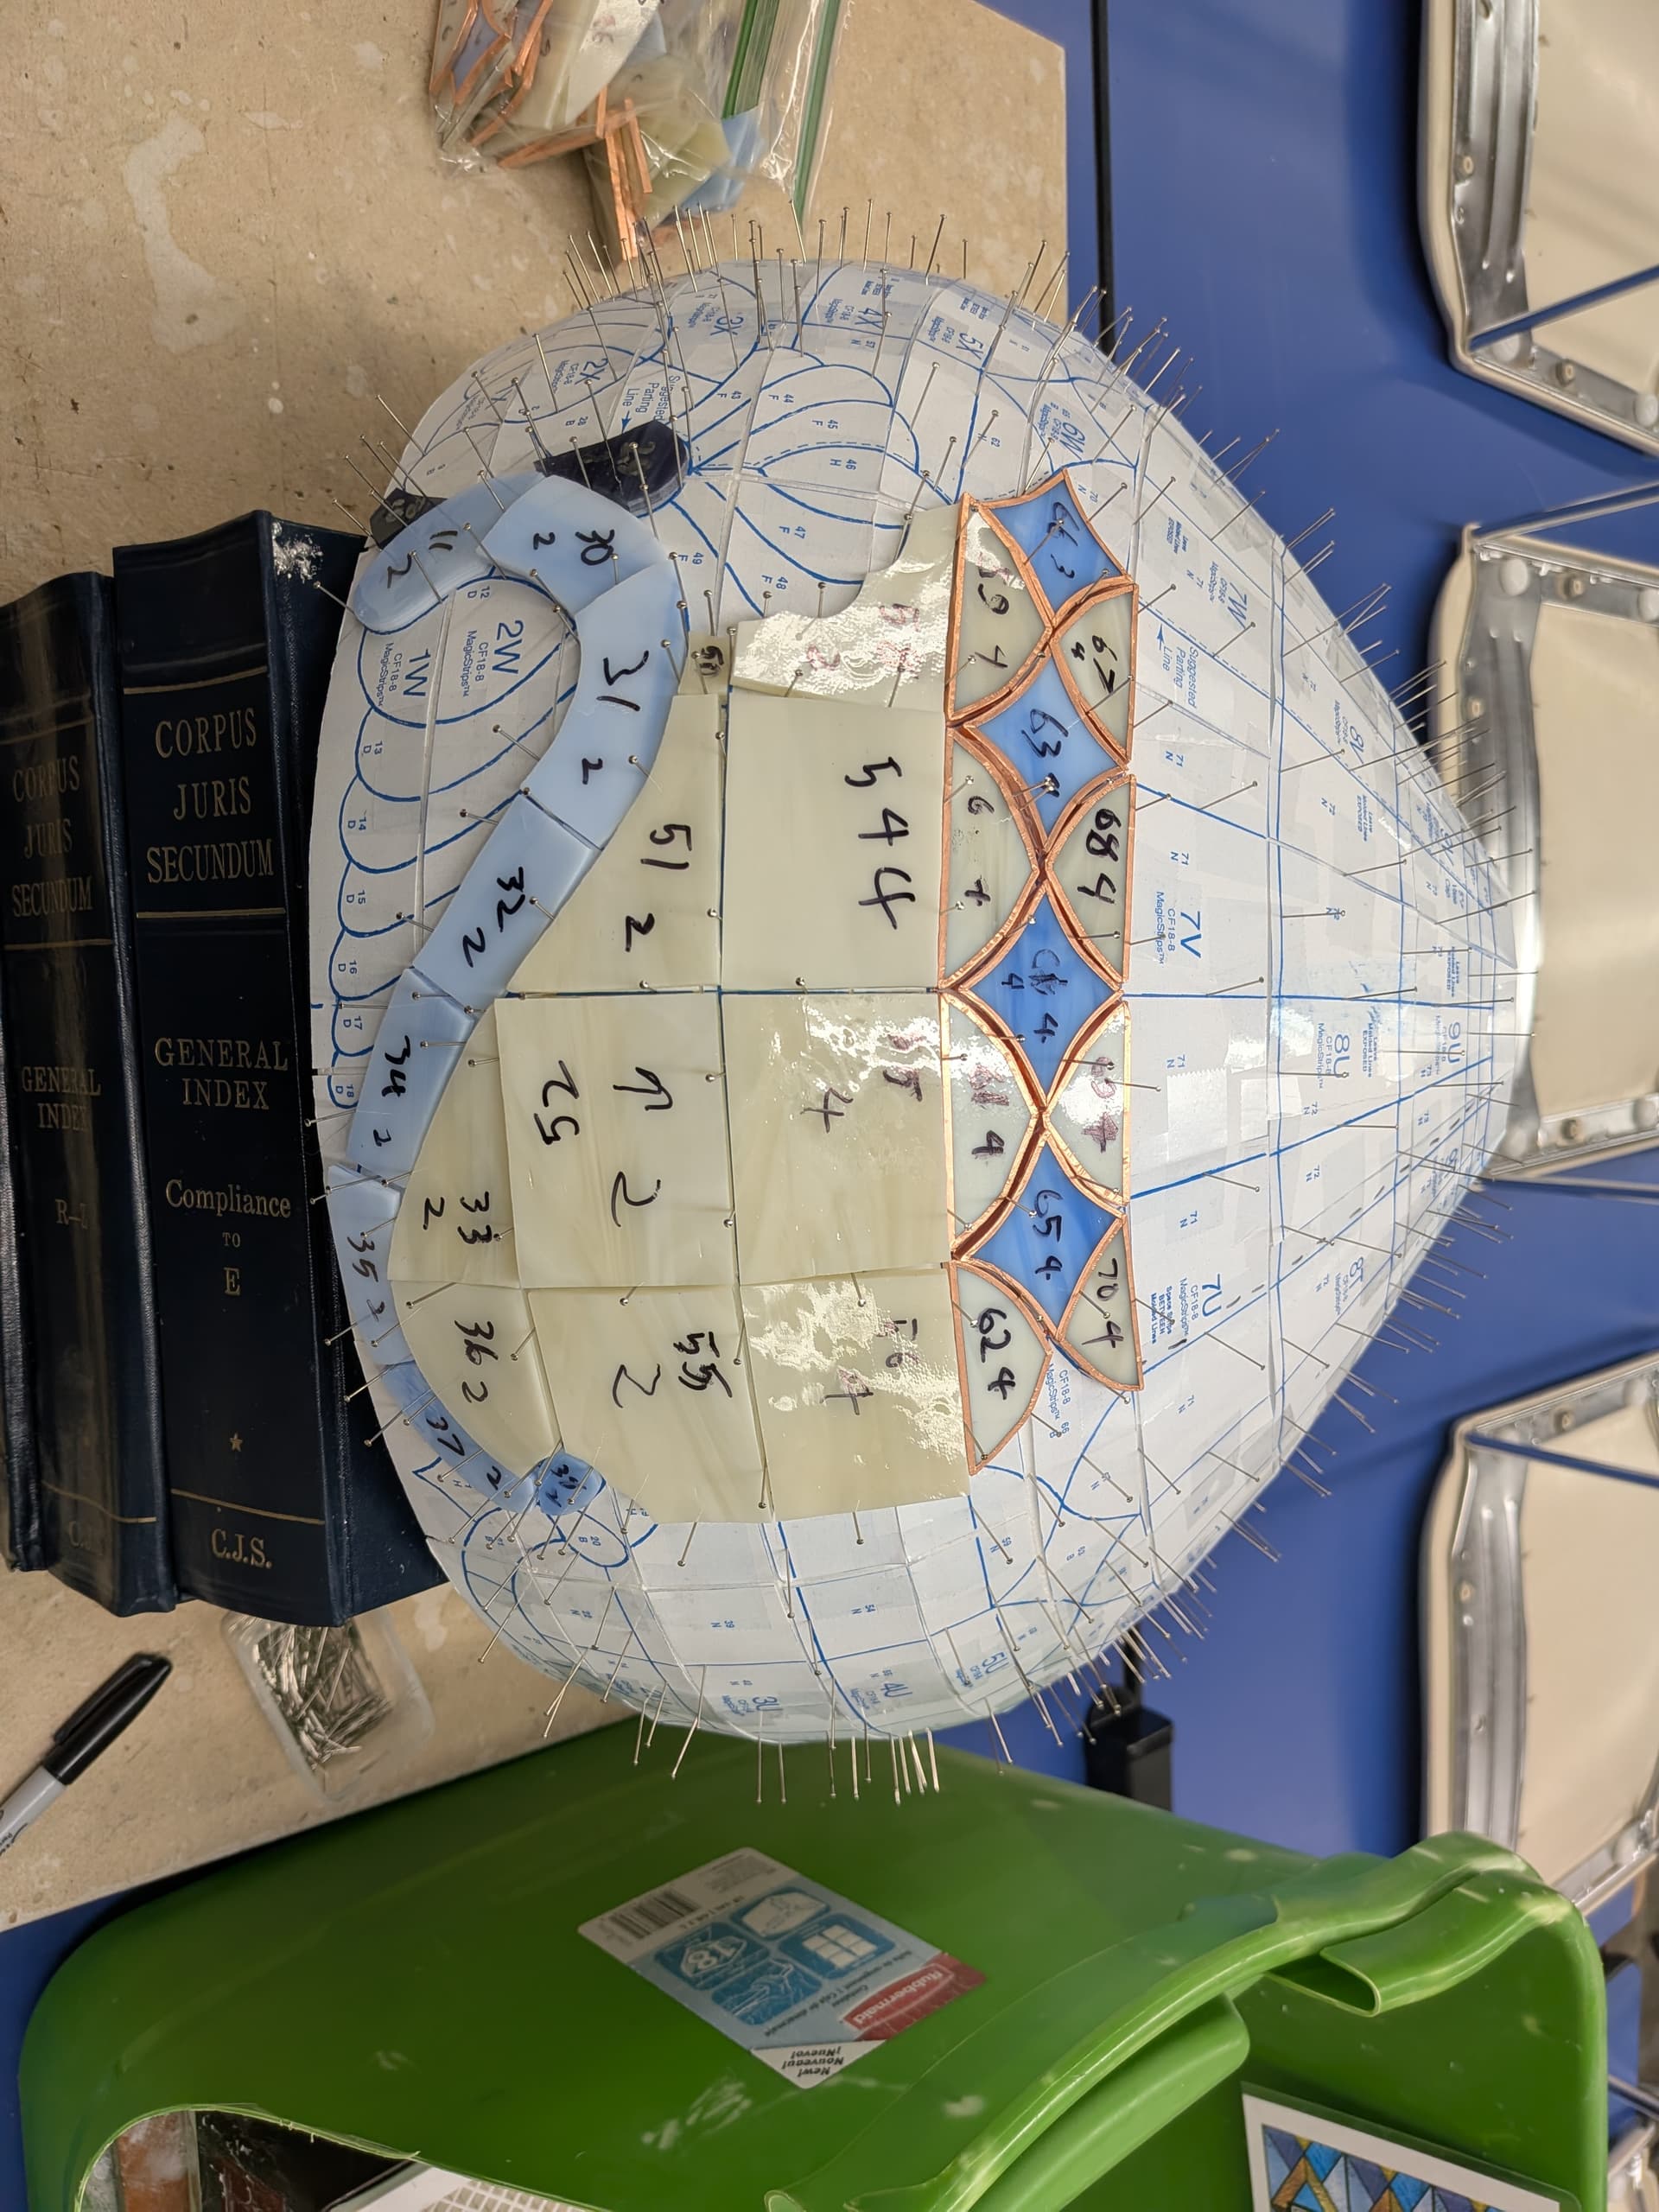
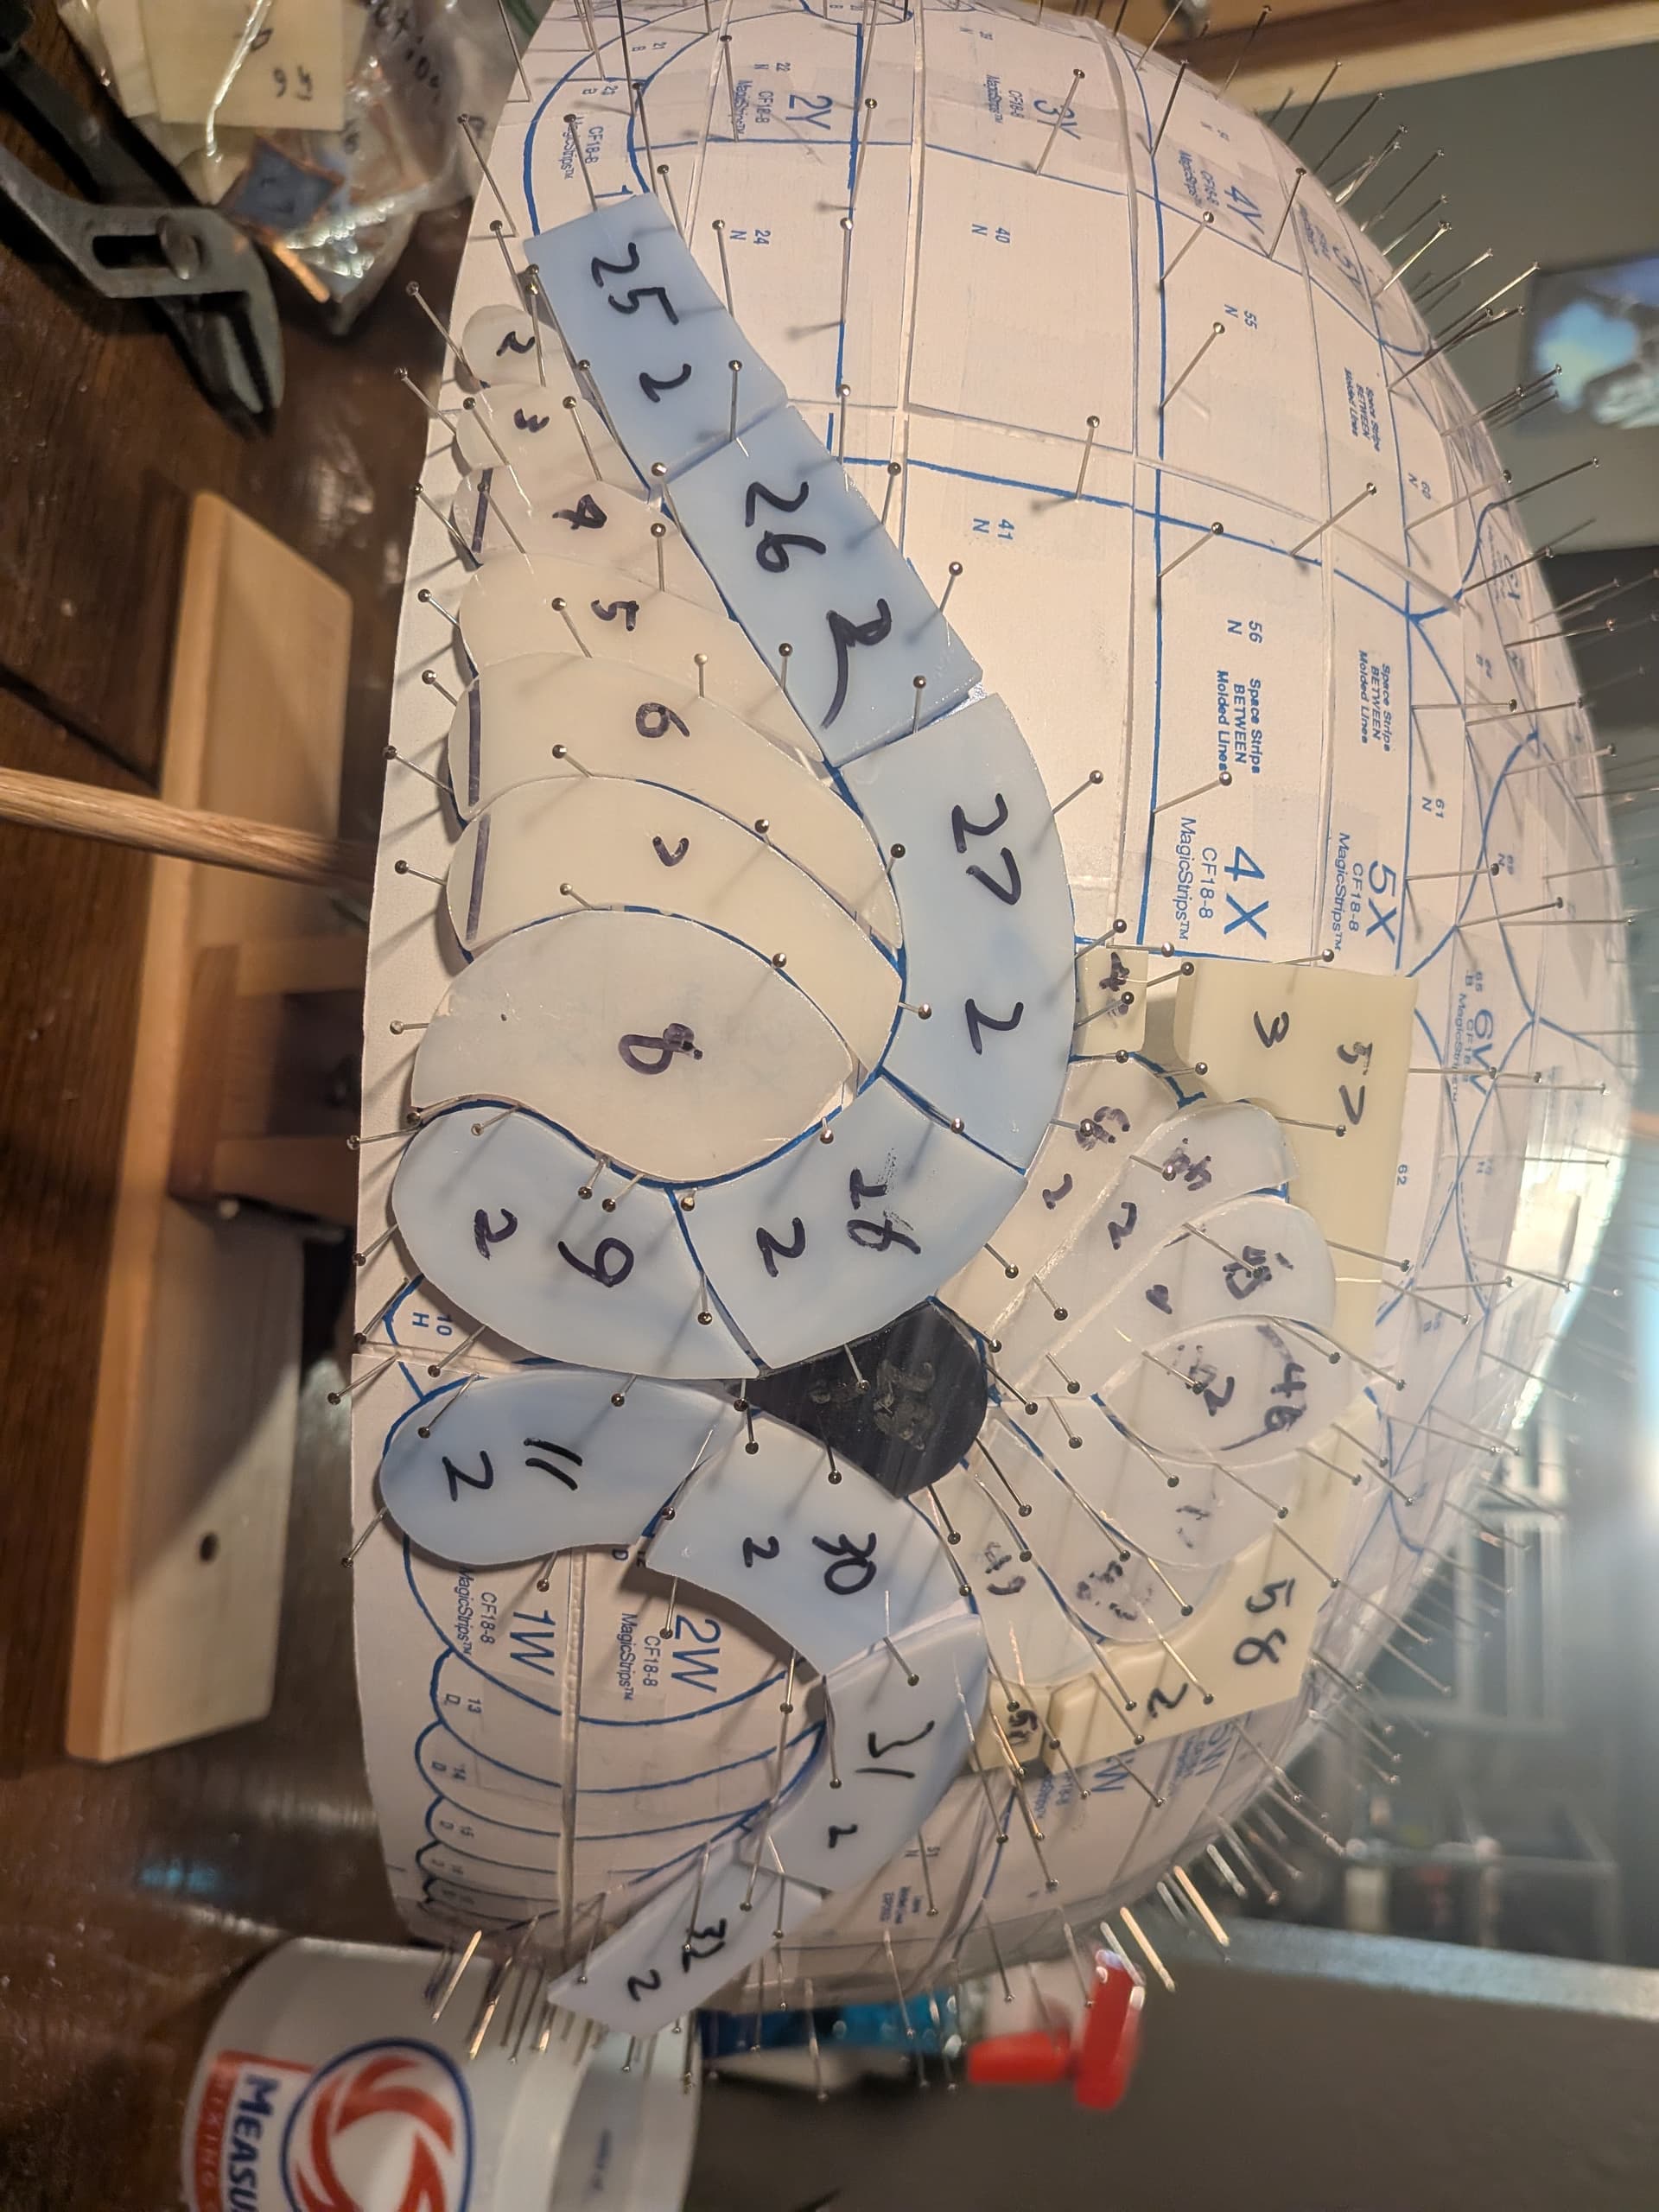
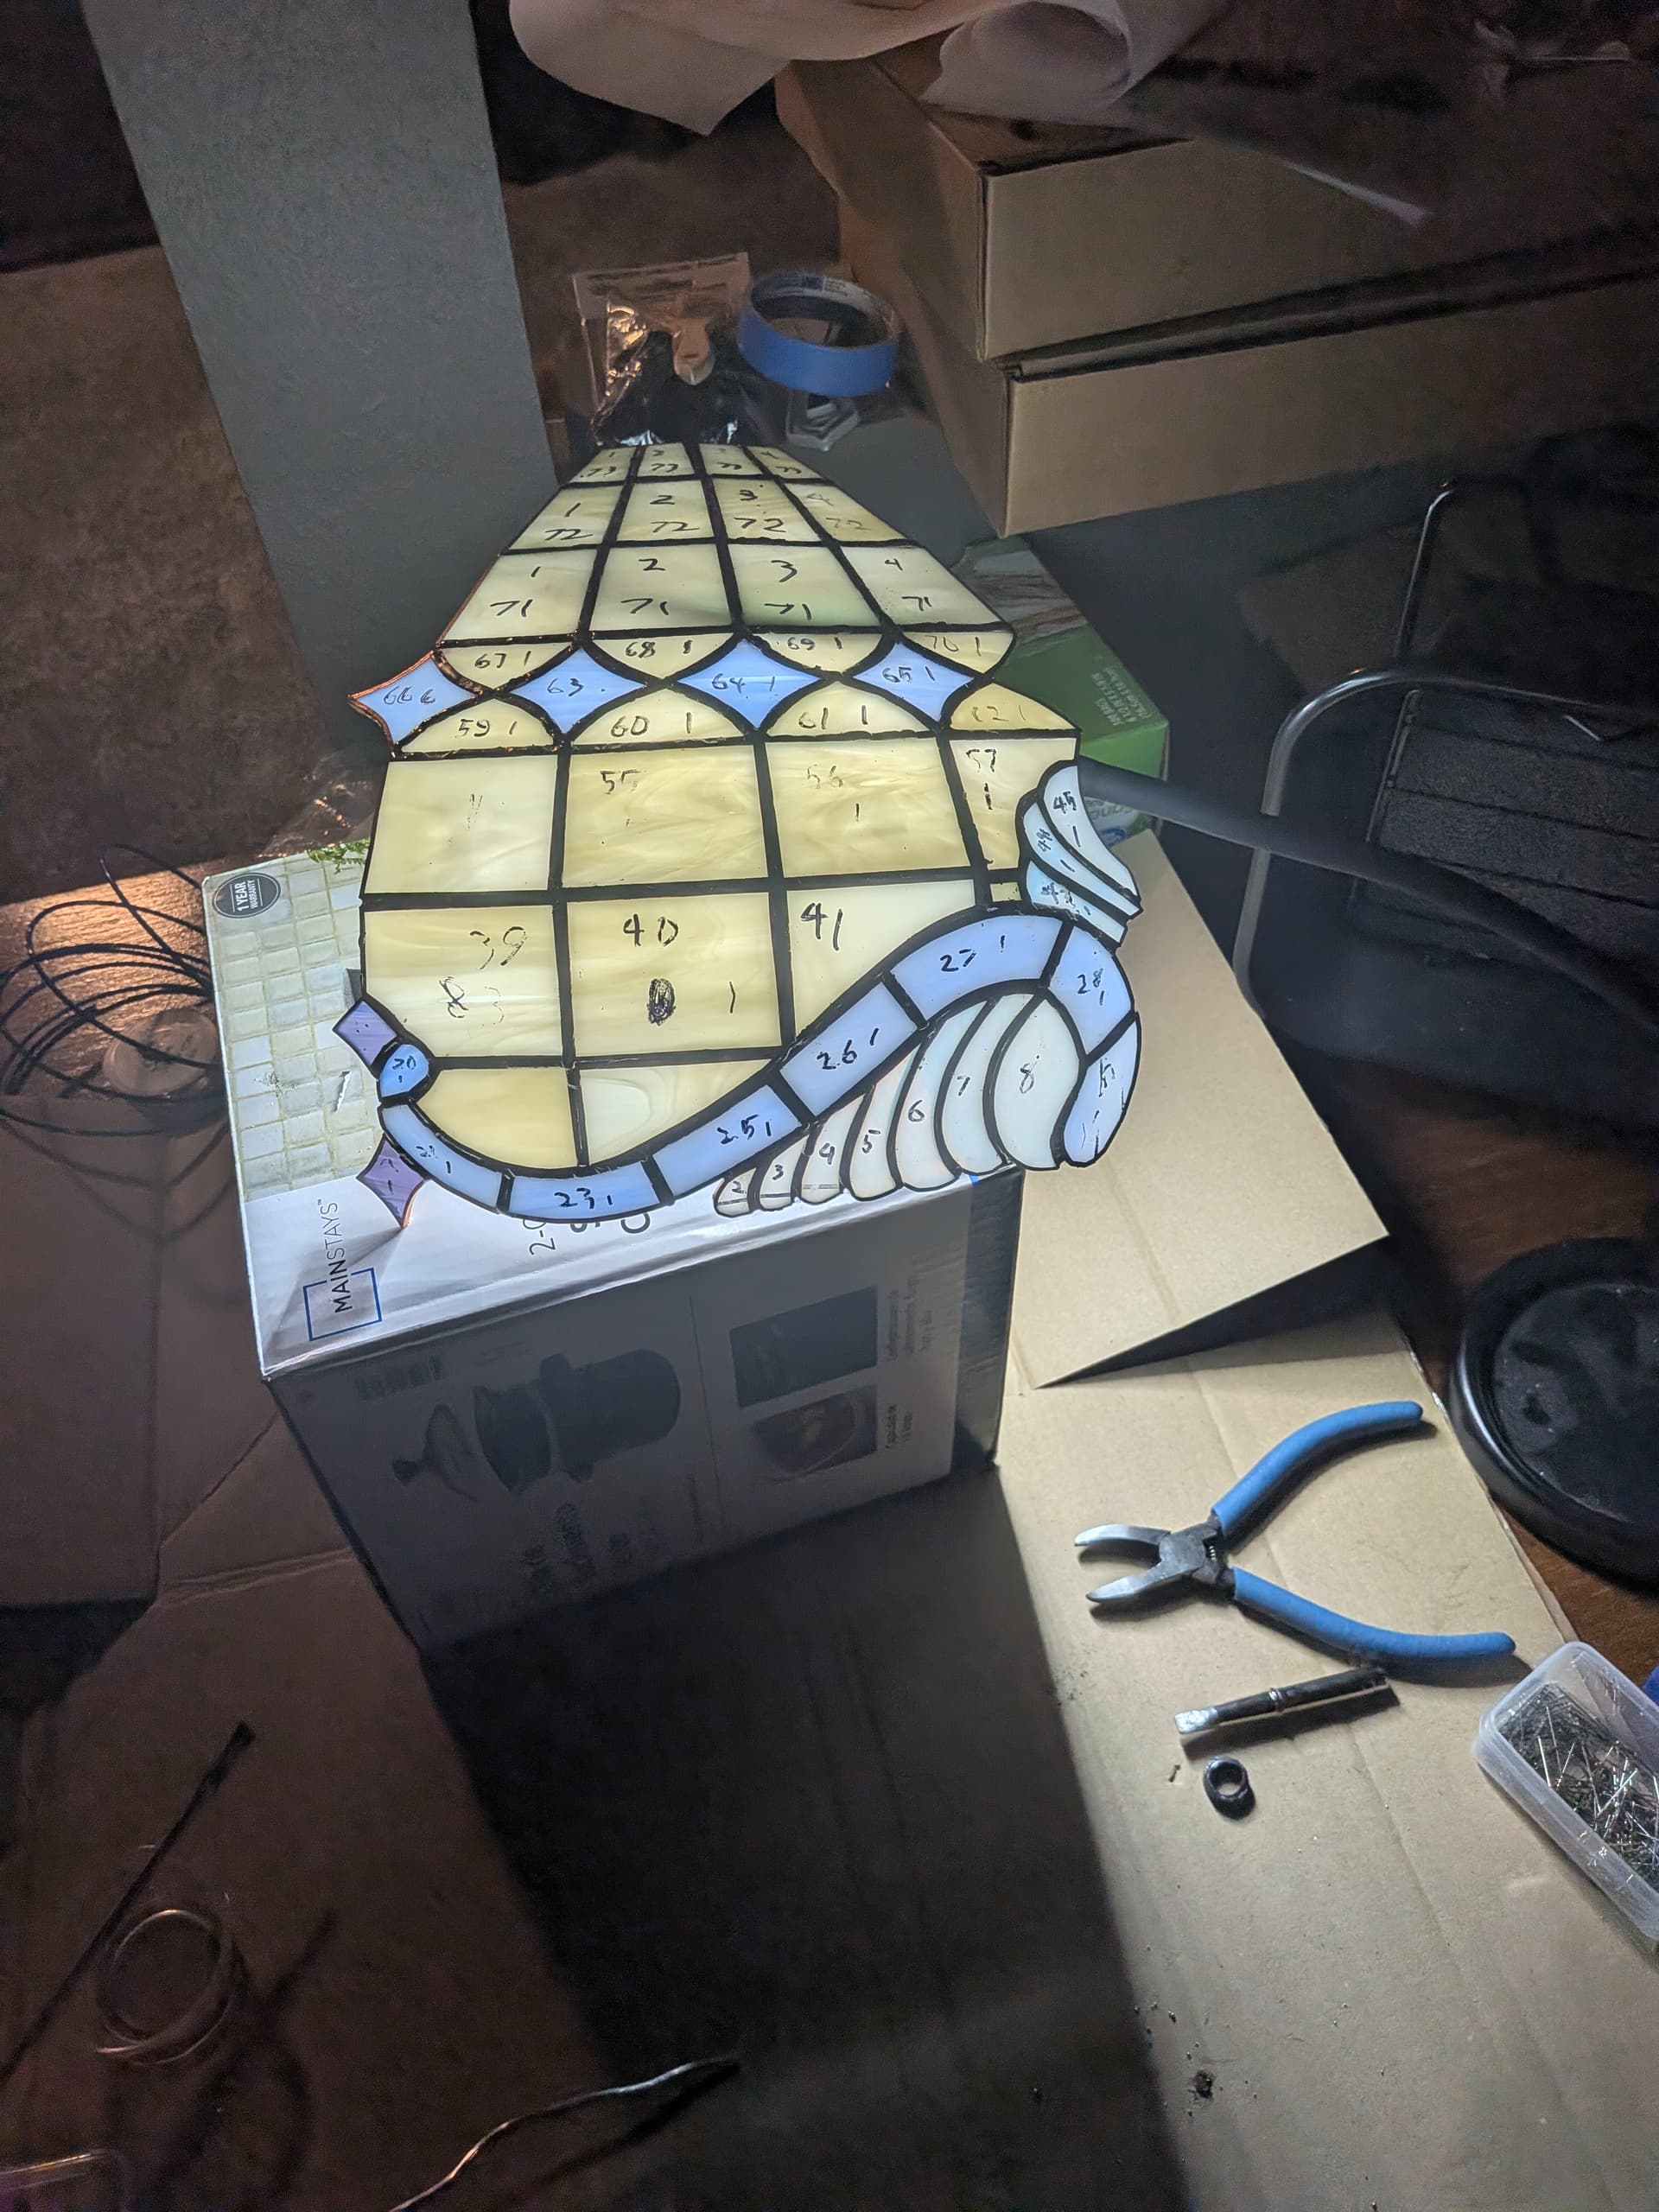
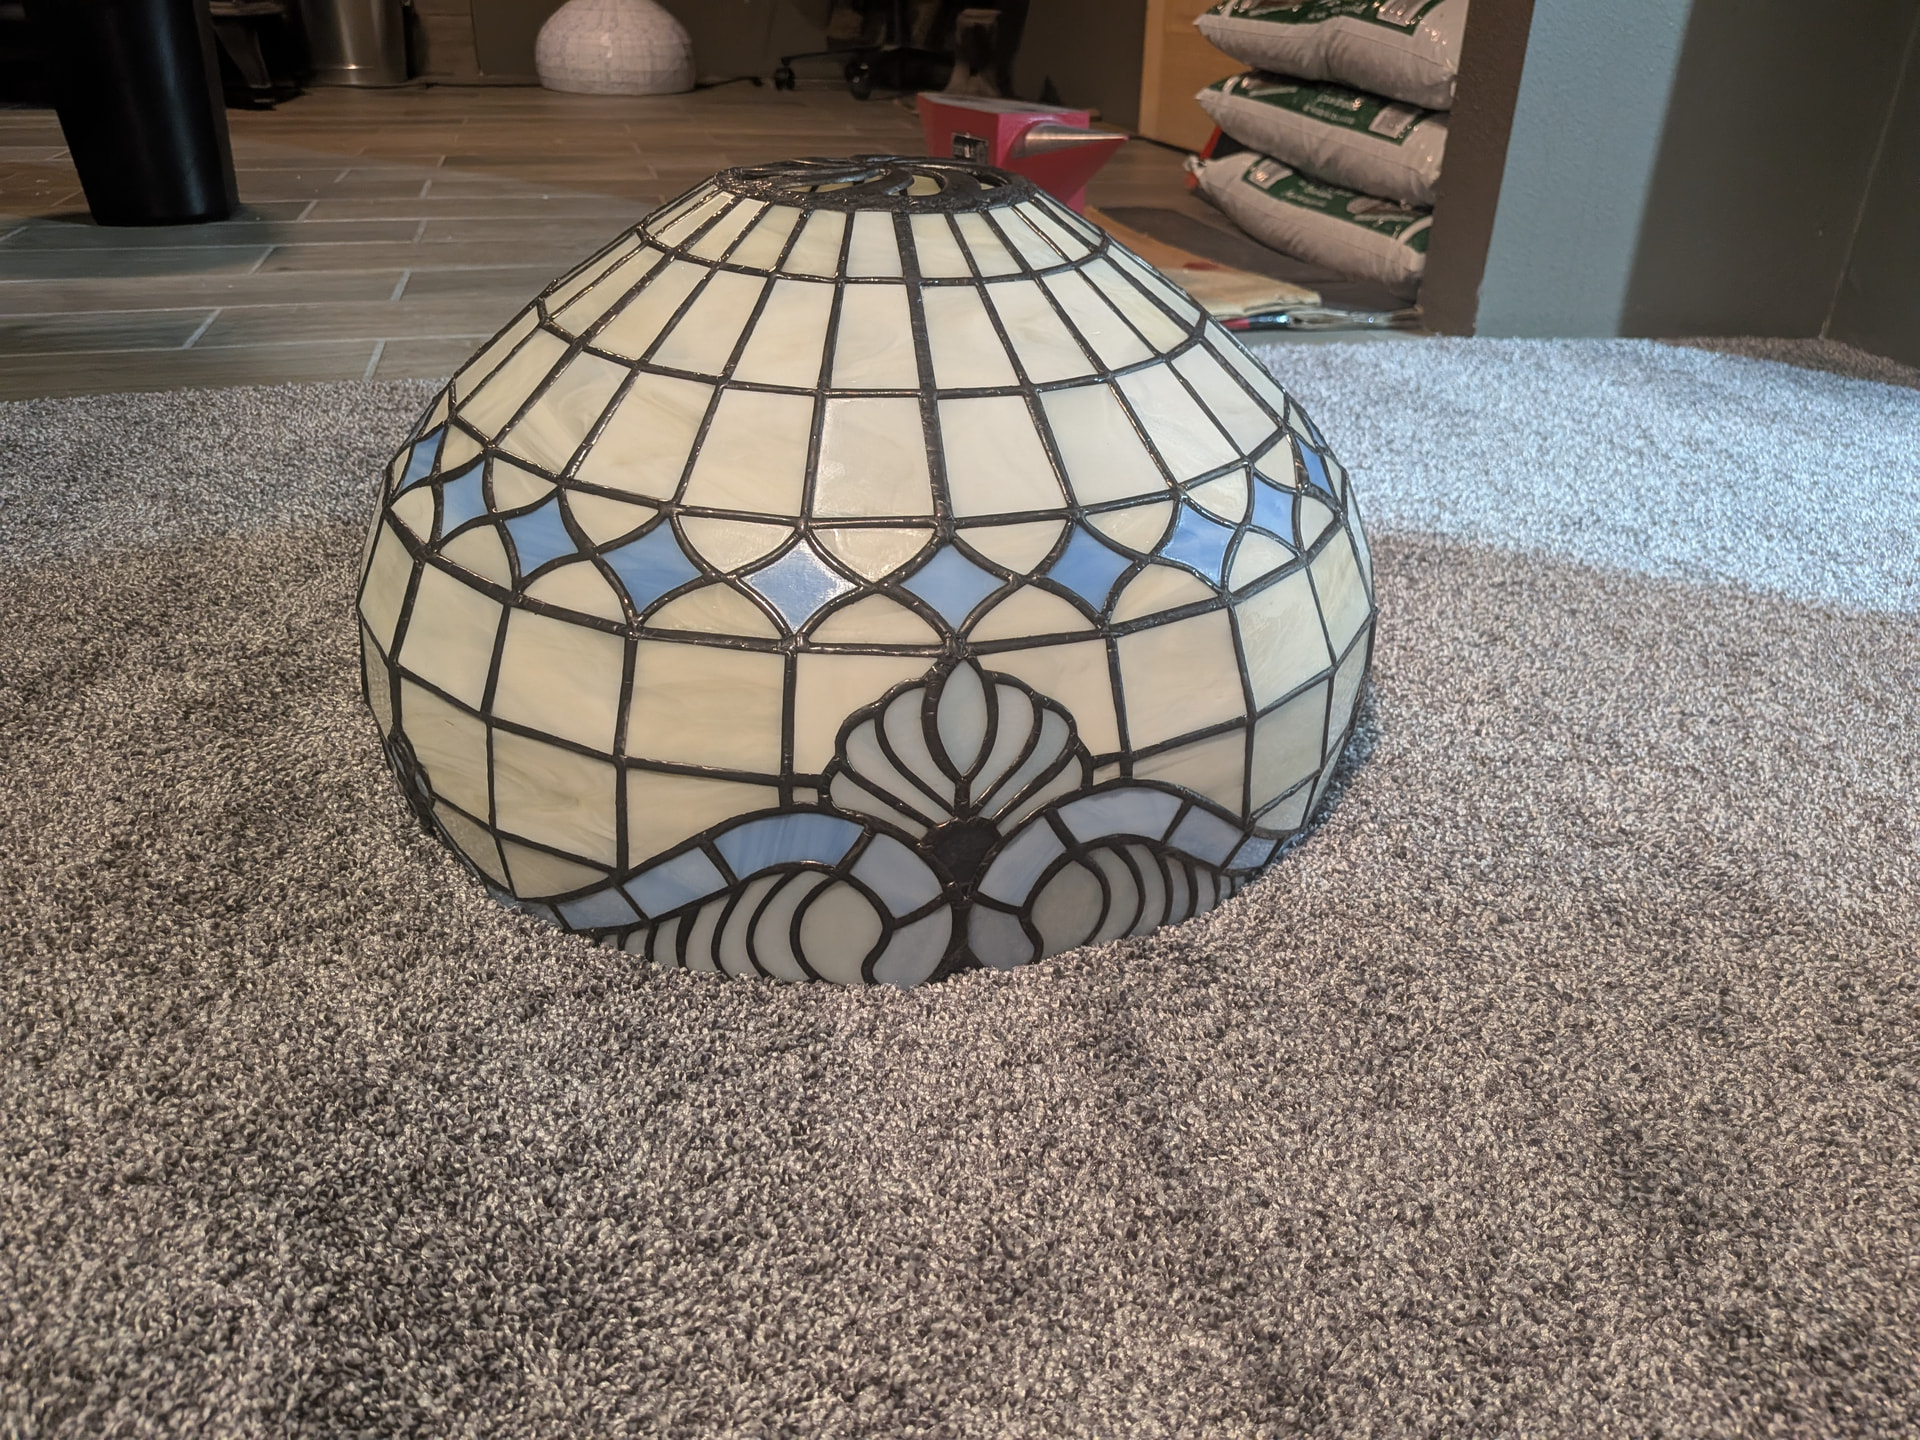
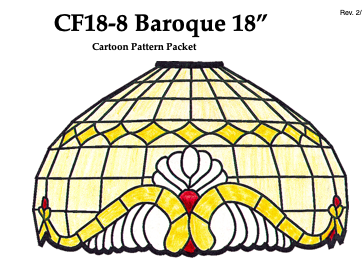
I also got started on the shade today. I am going to be using this pattern paired with a styrofoam form to hold the glass in the proper shape instead of designing one myself, although I will be using a different color scheme.
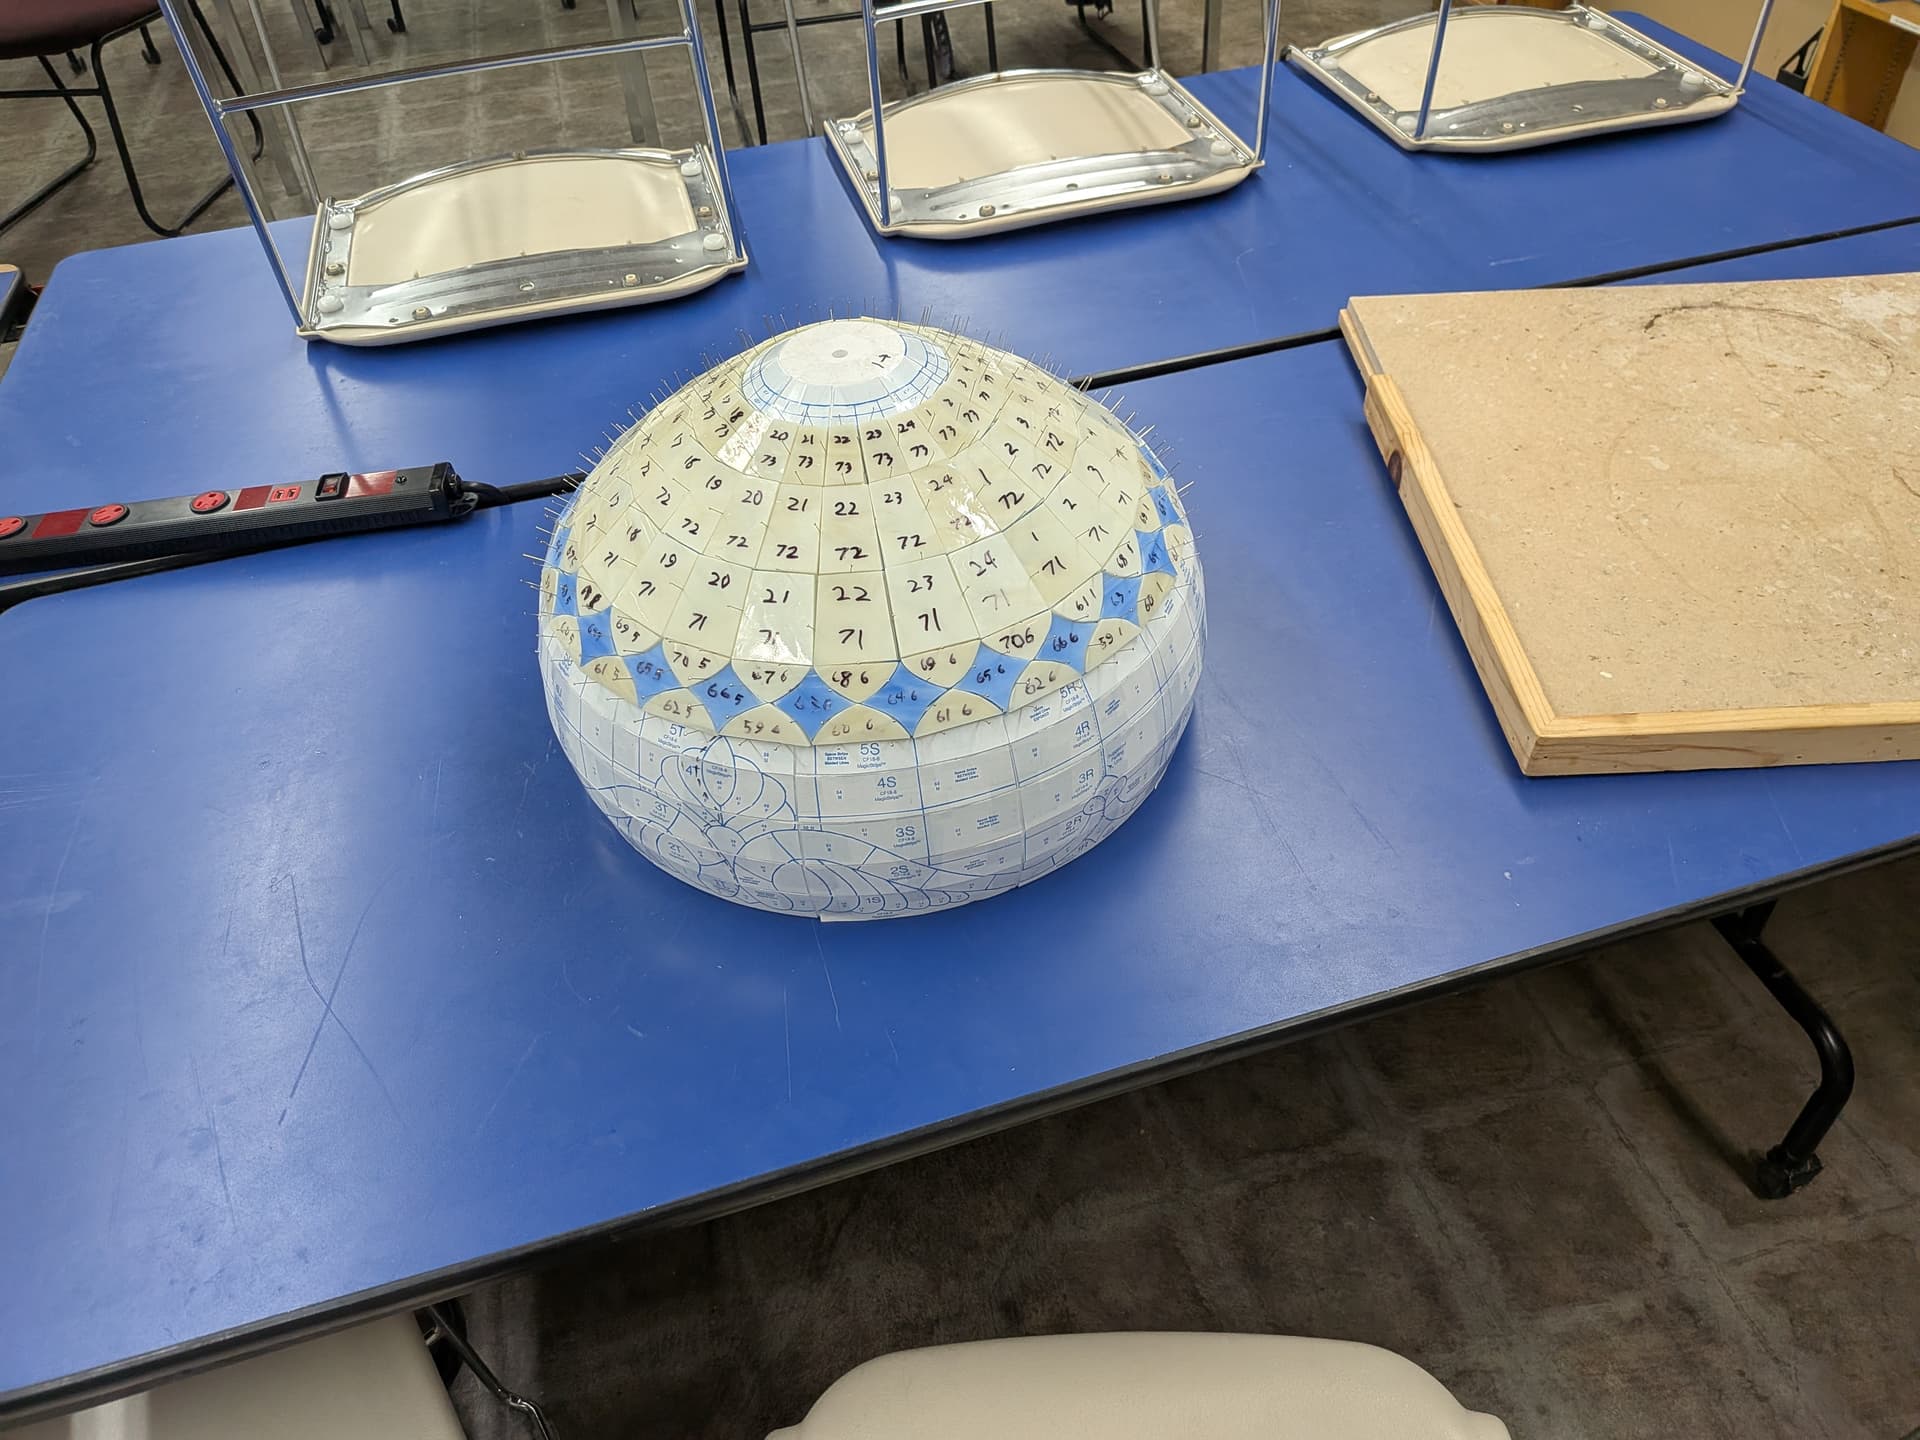
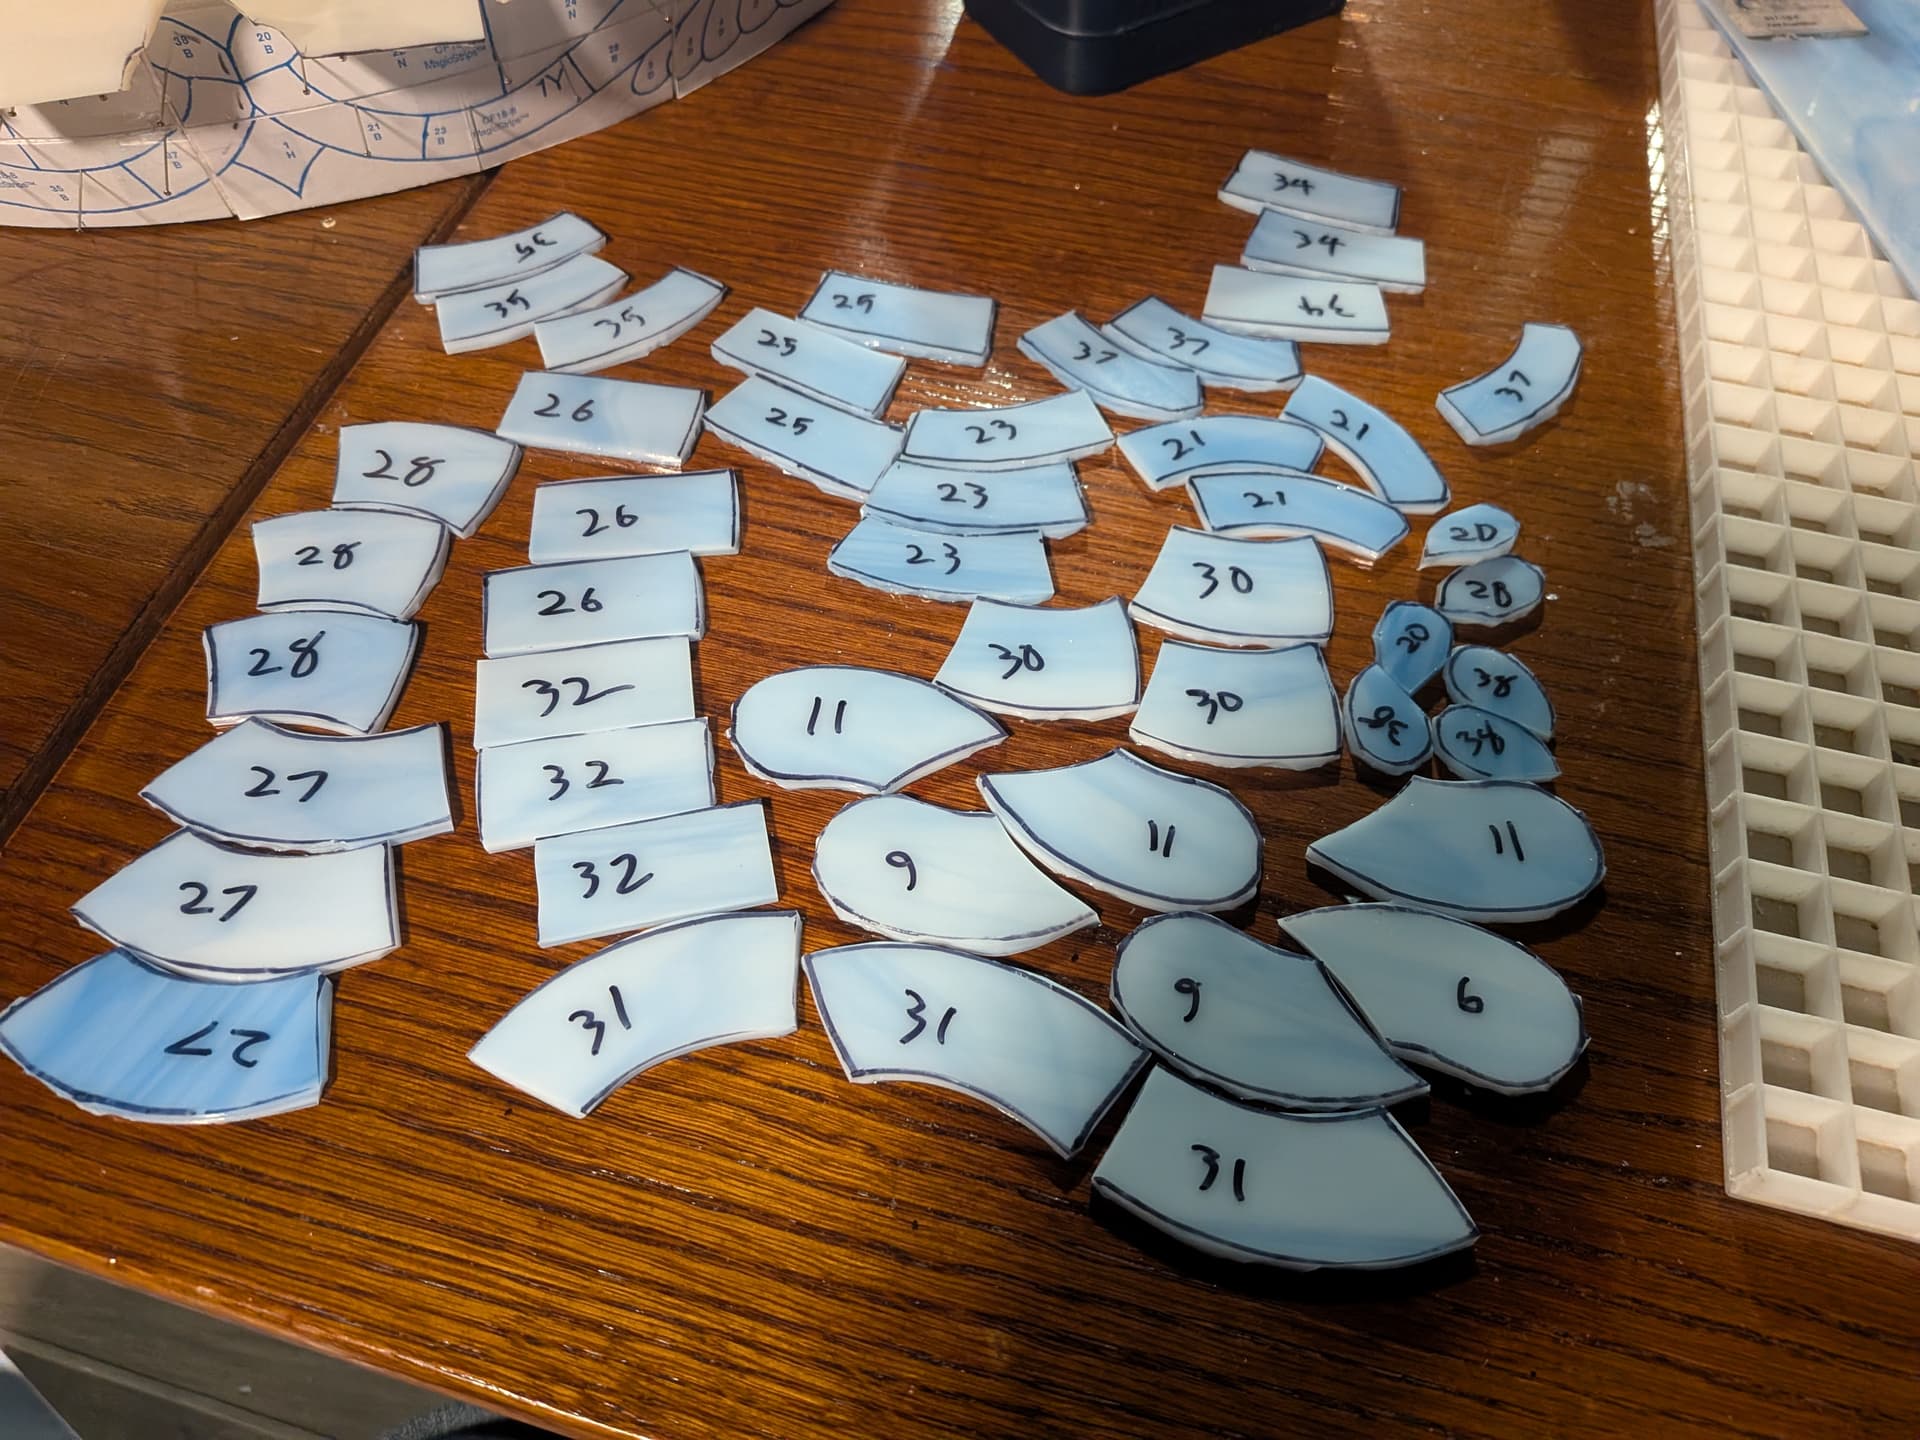
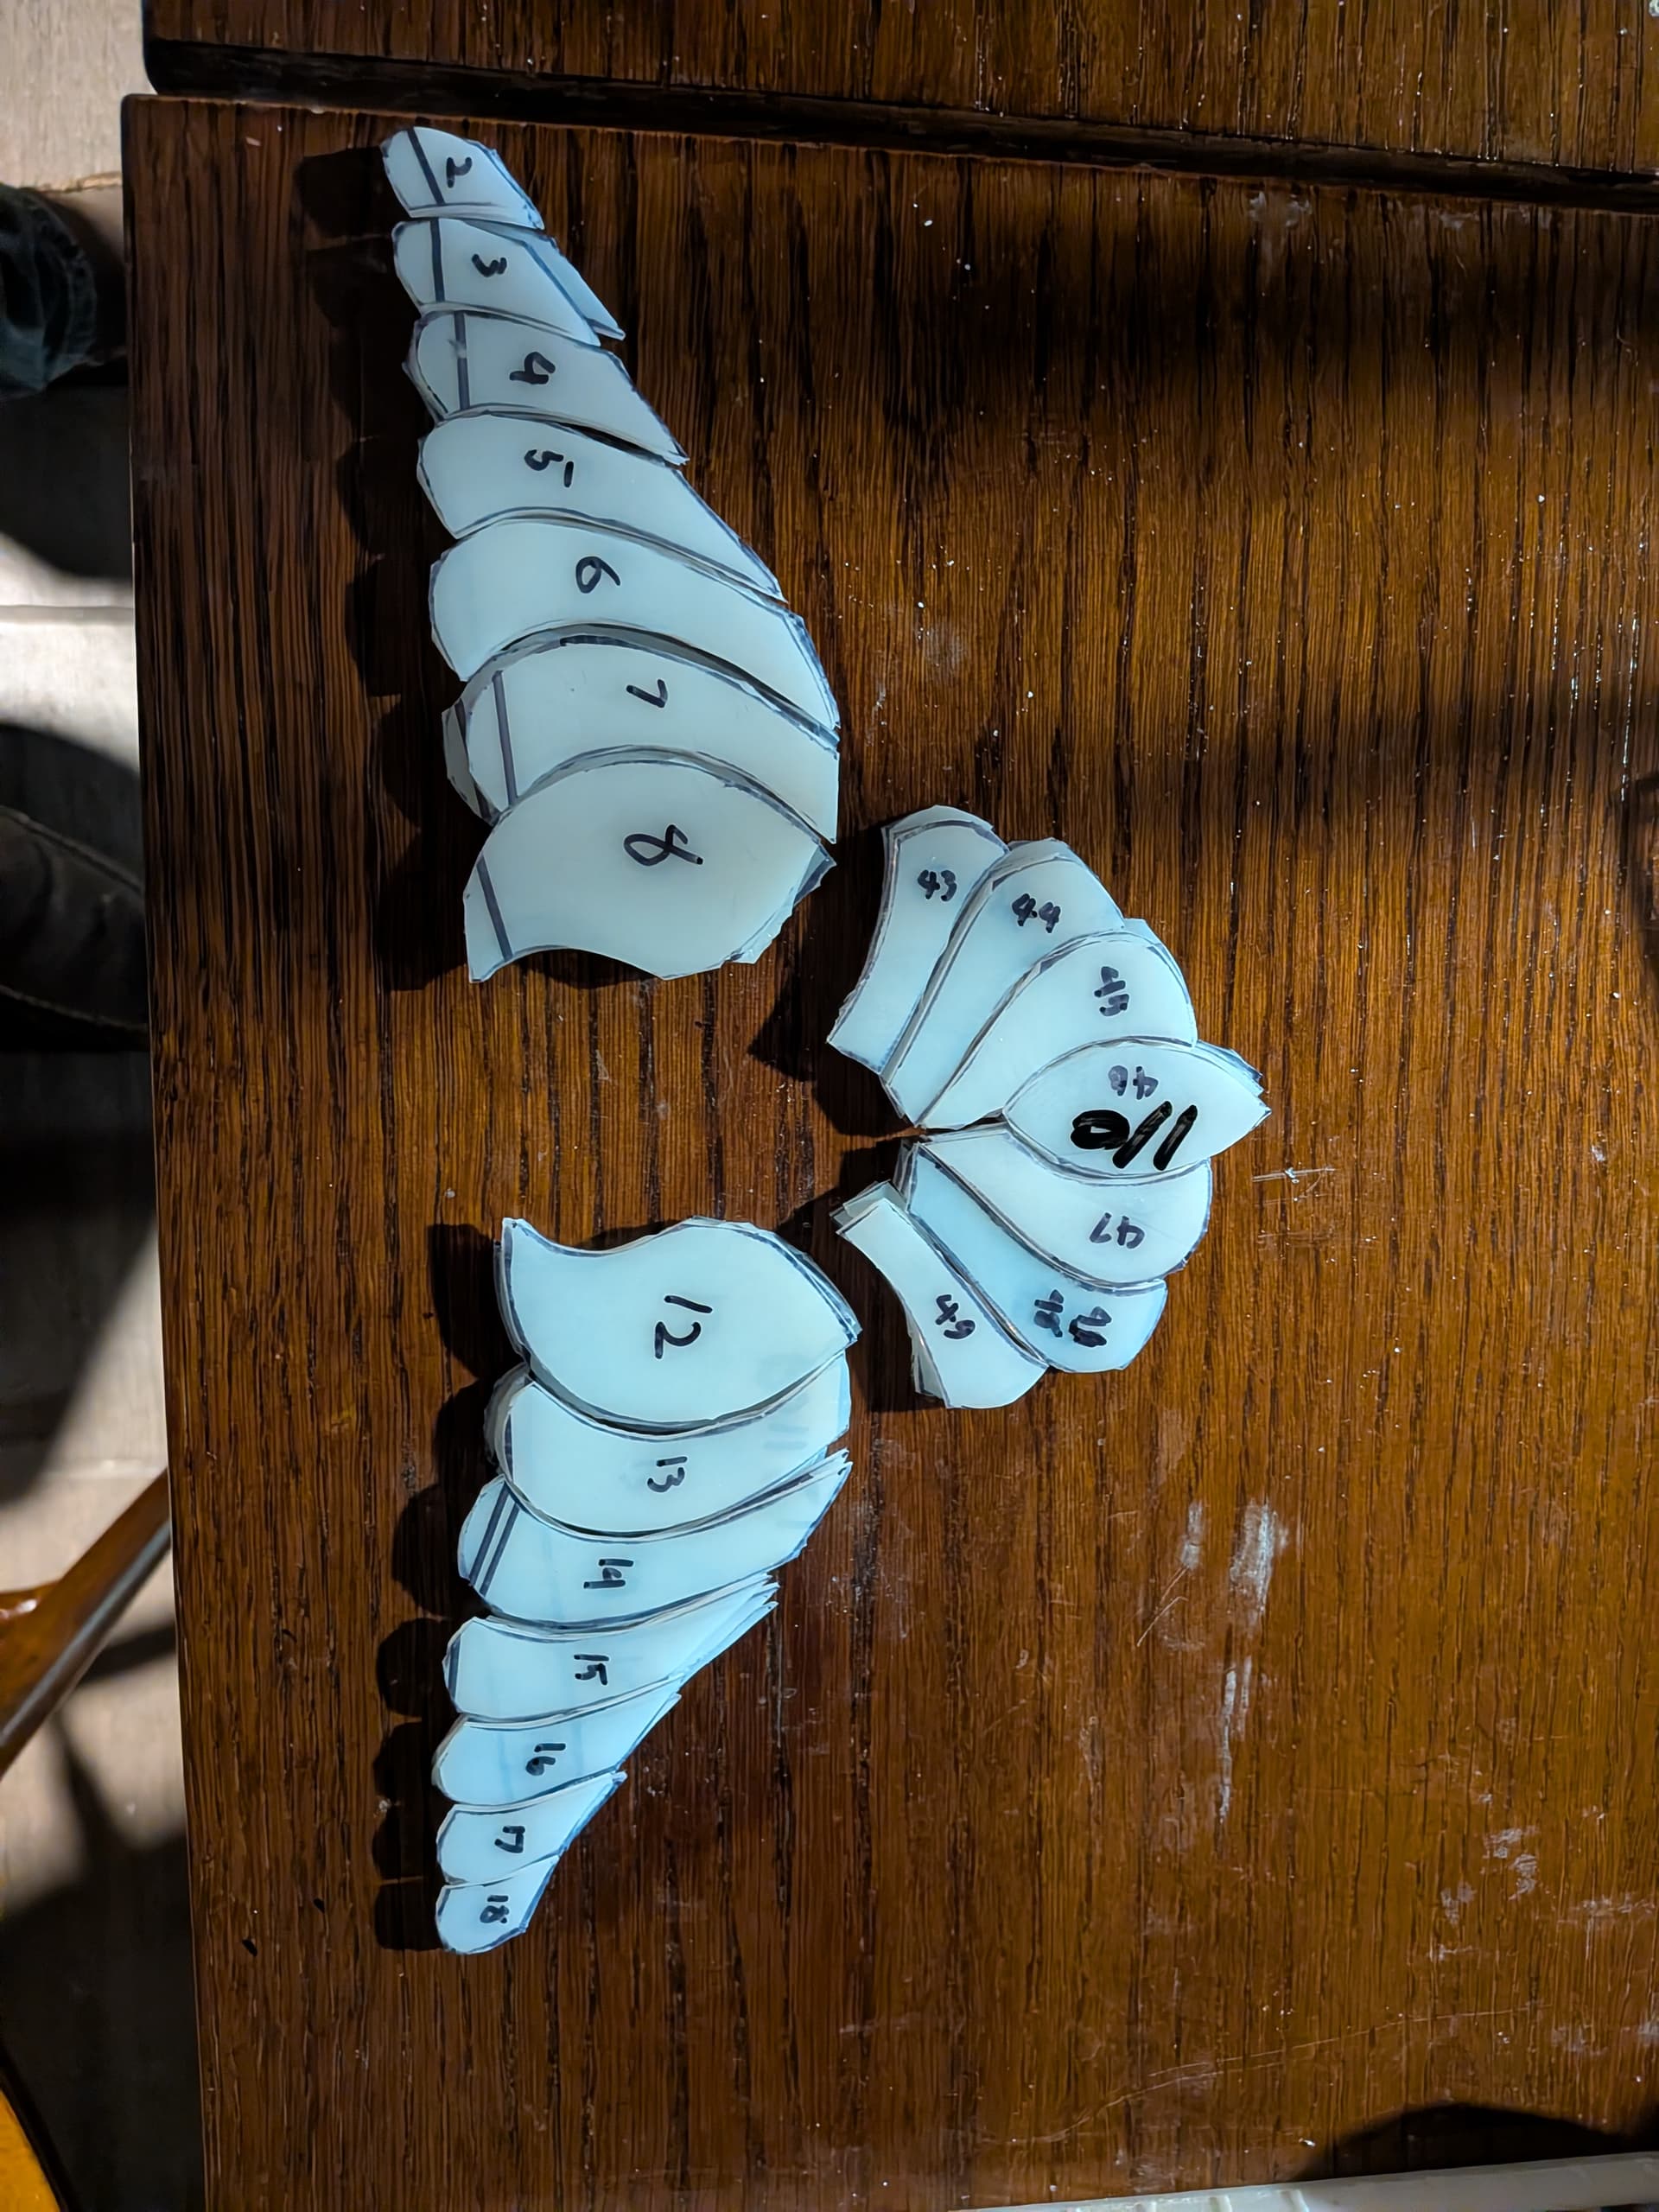
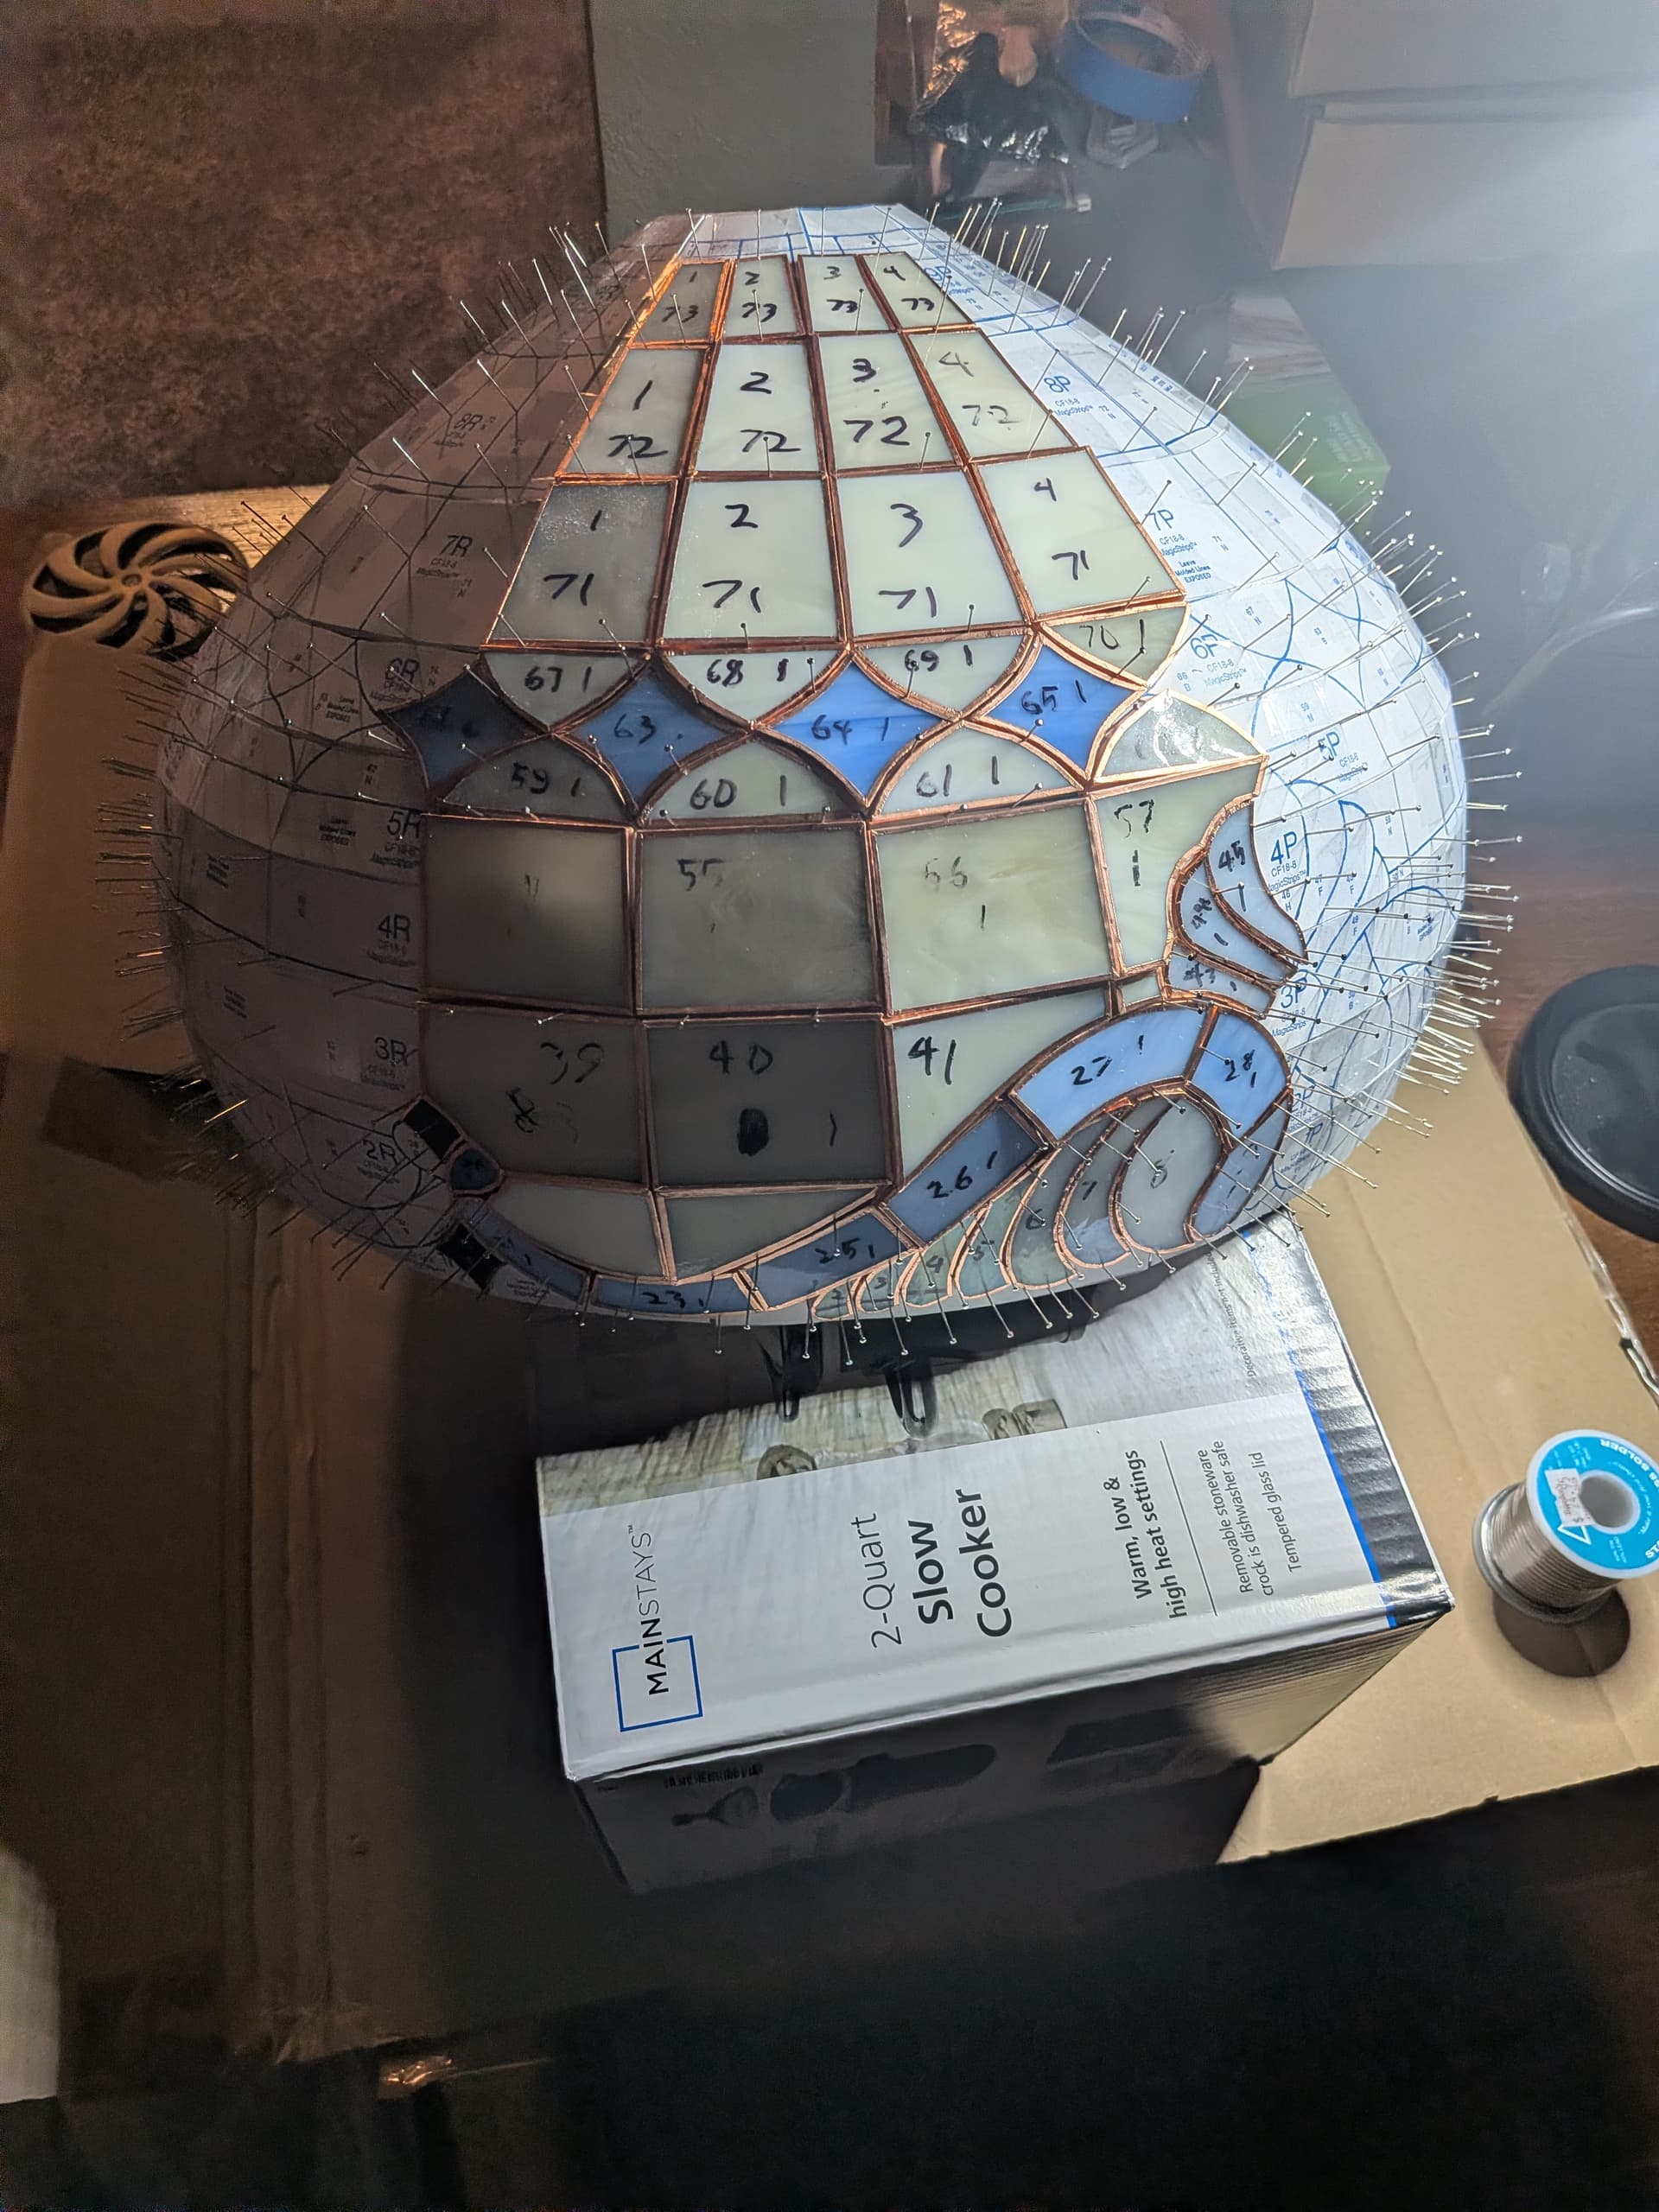
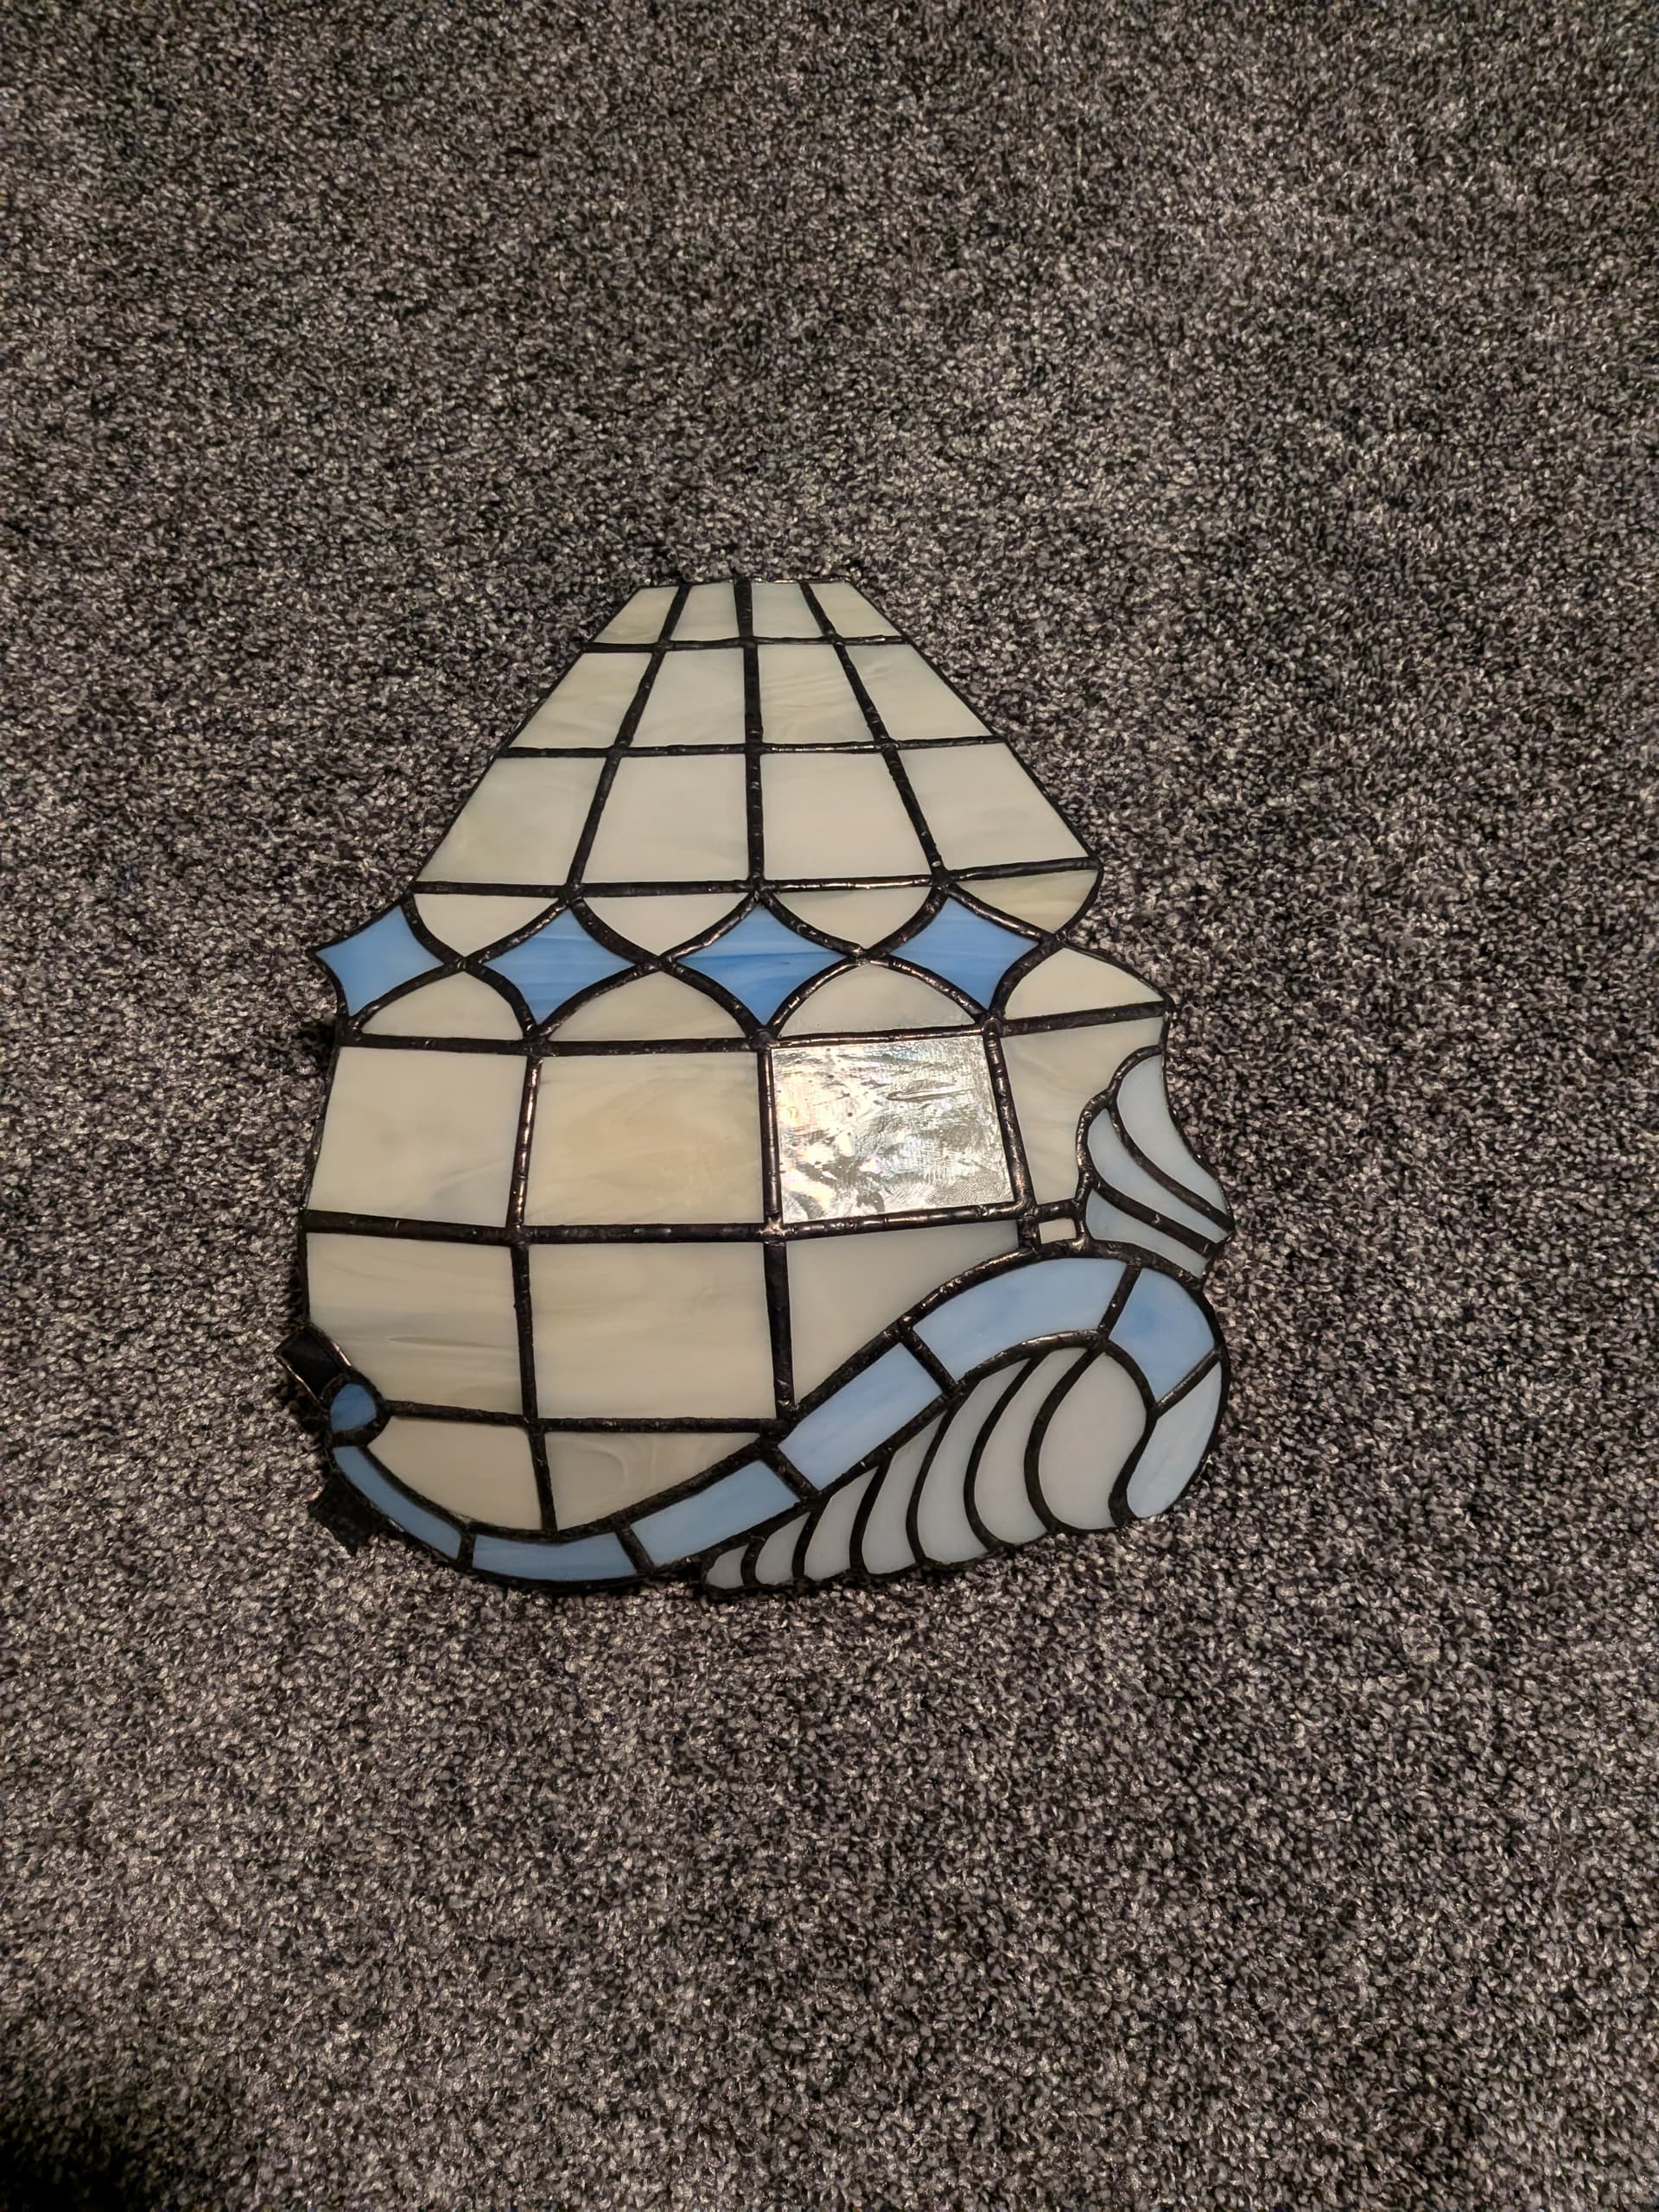
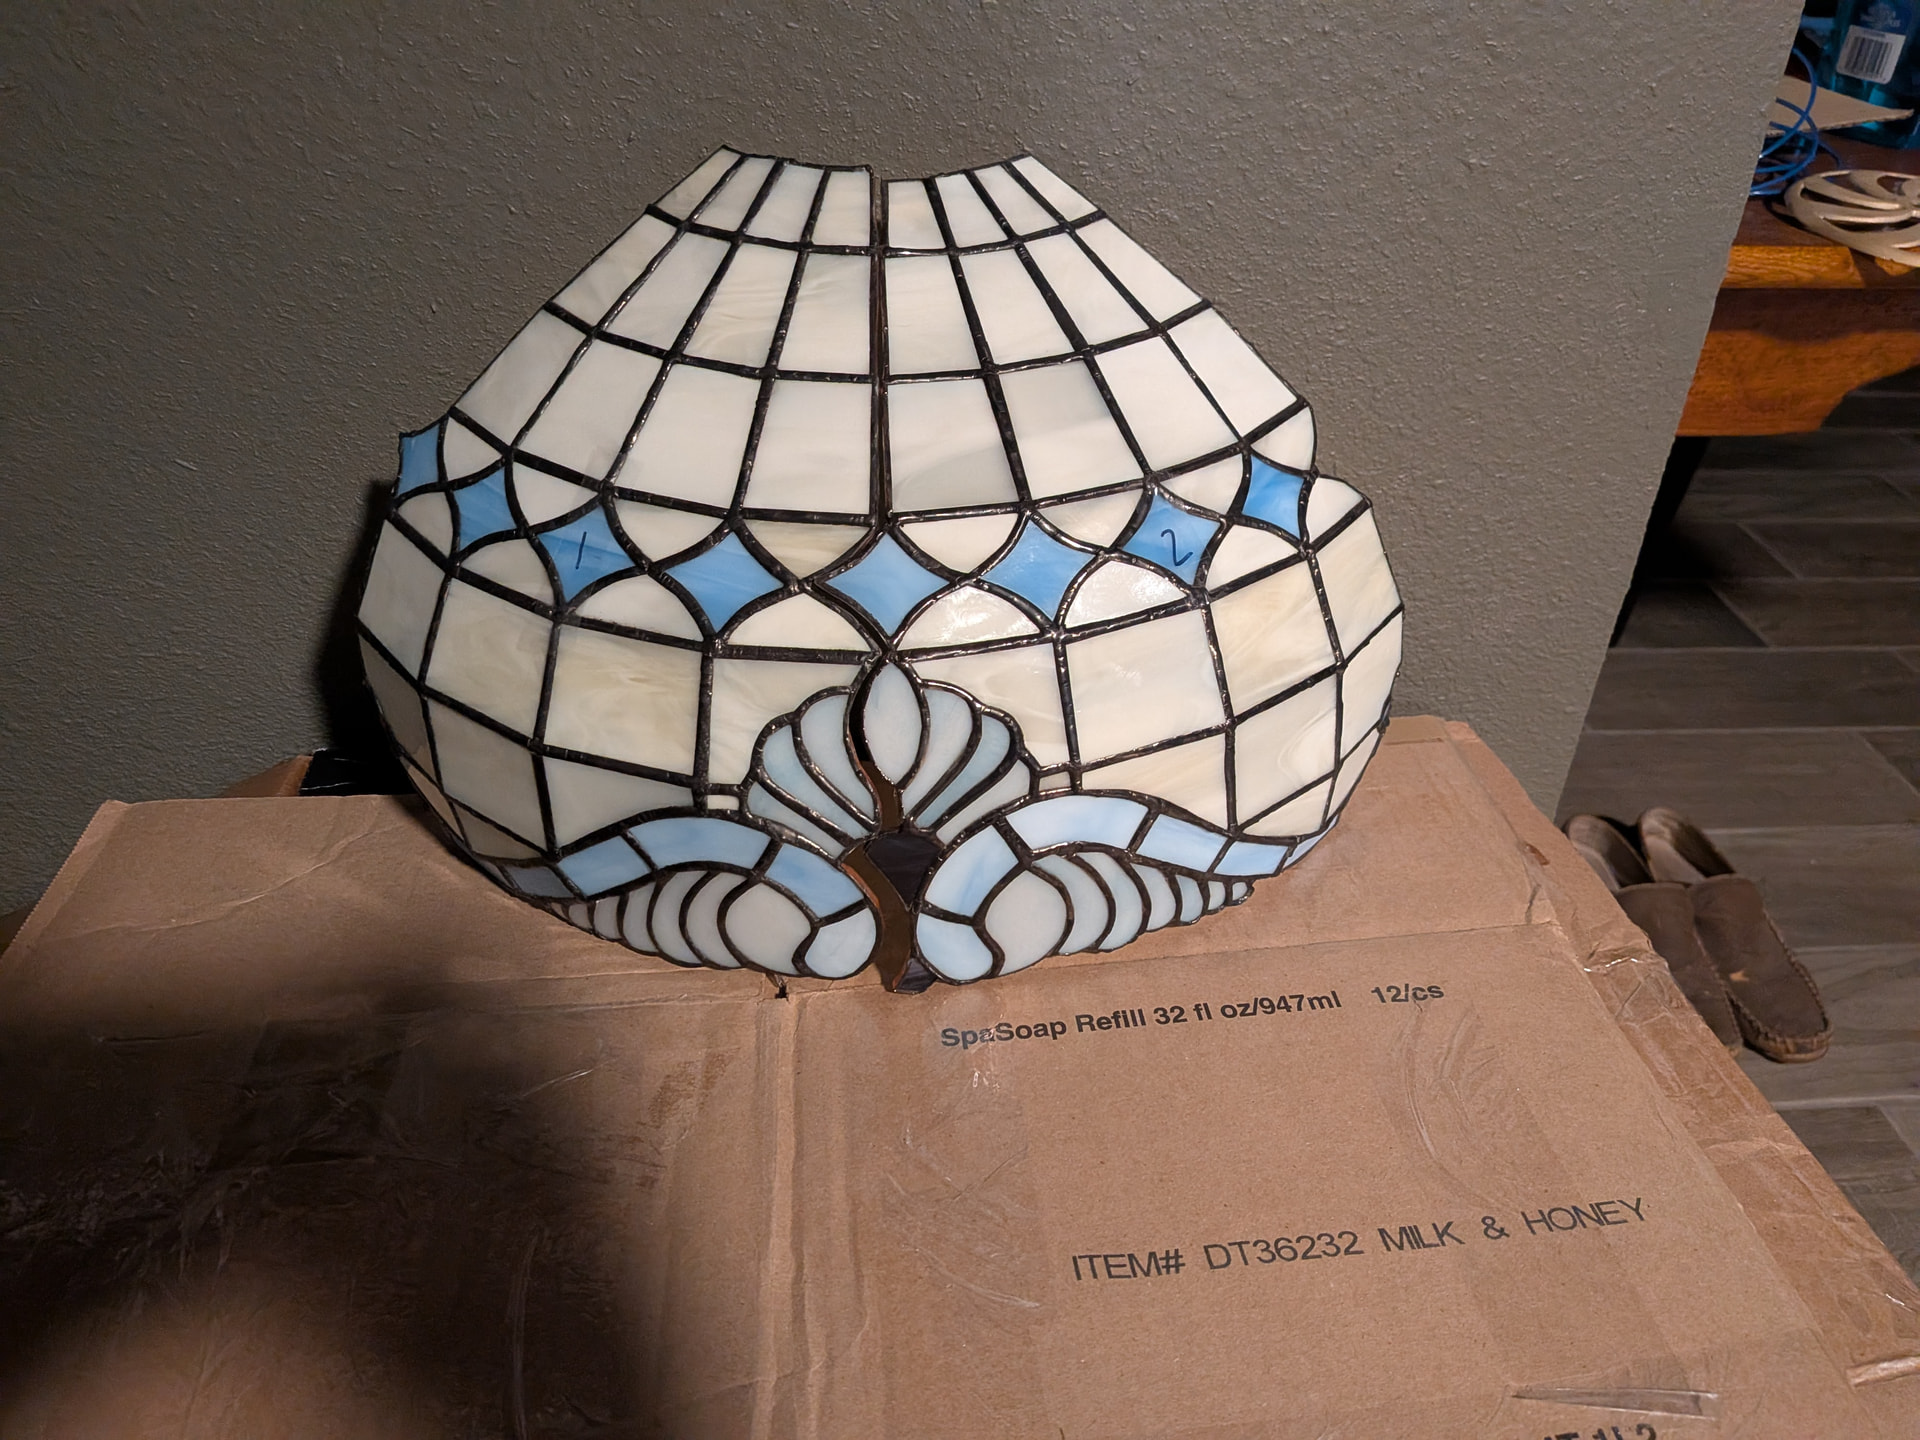
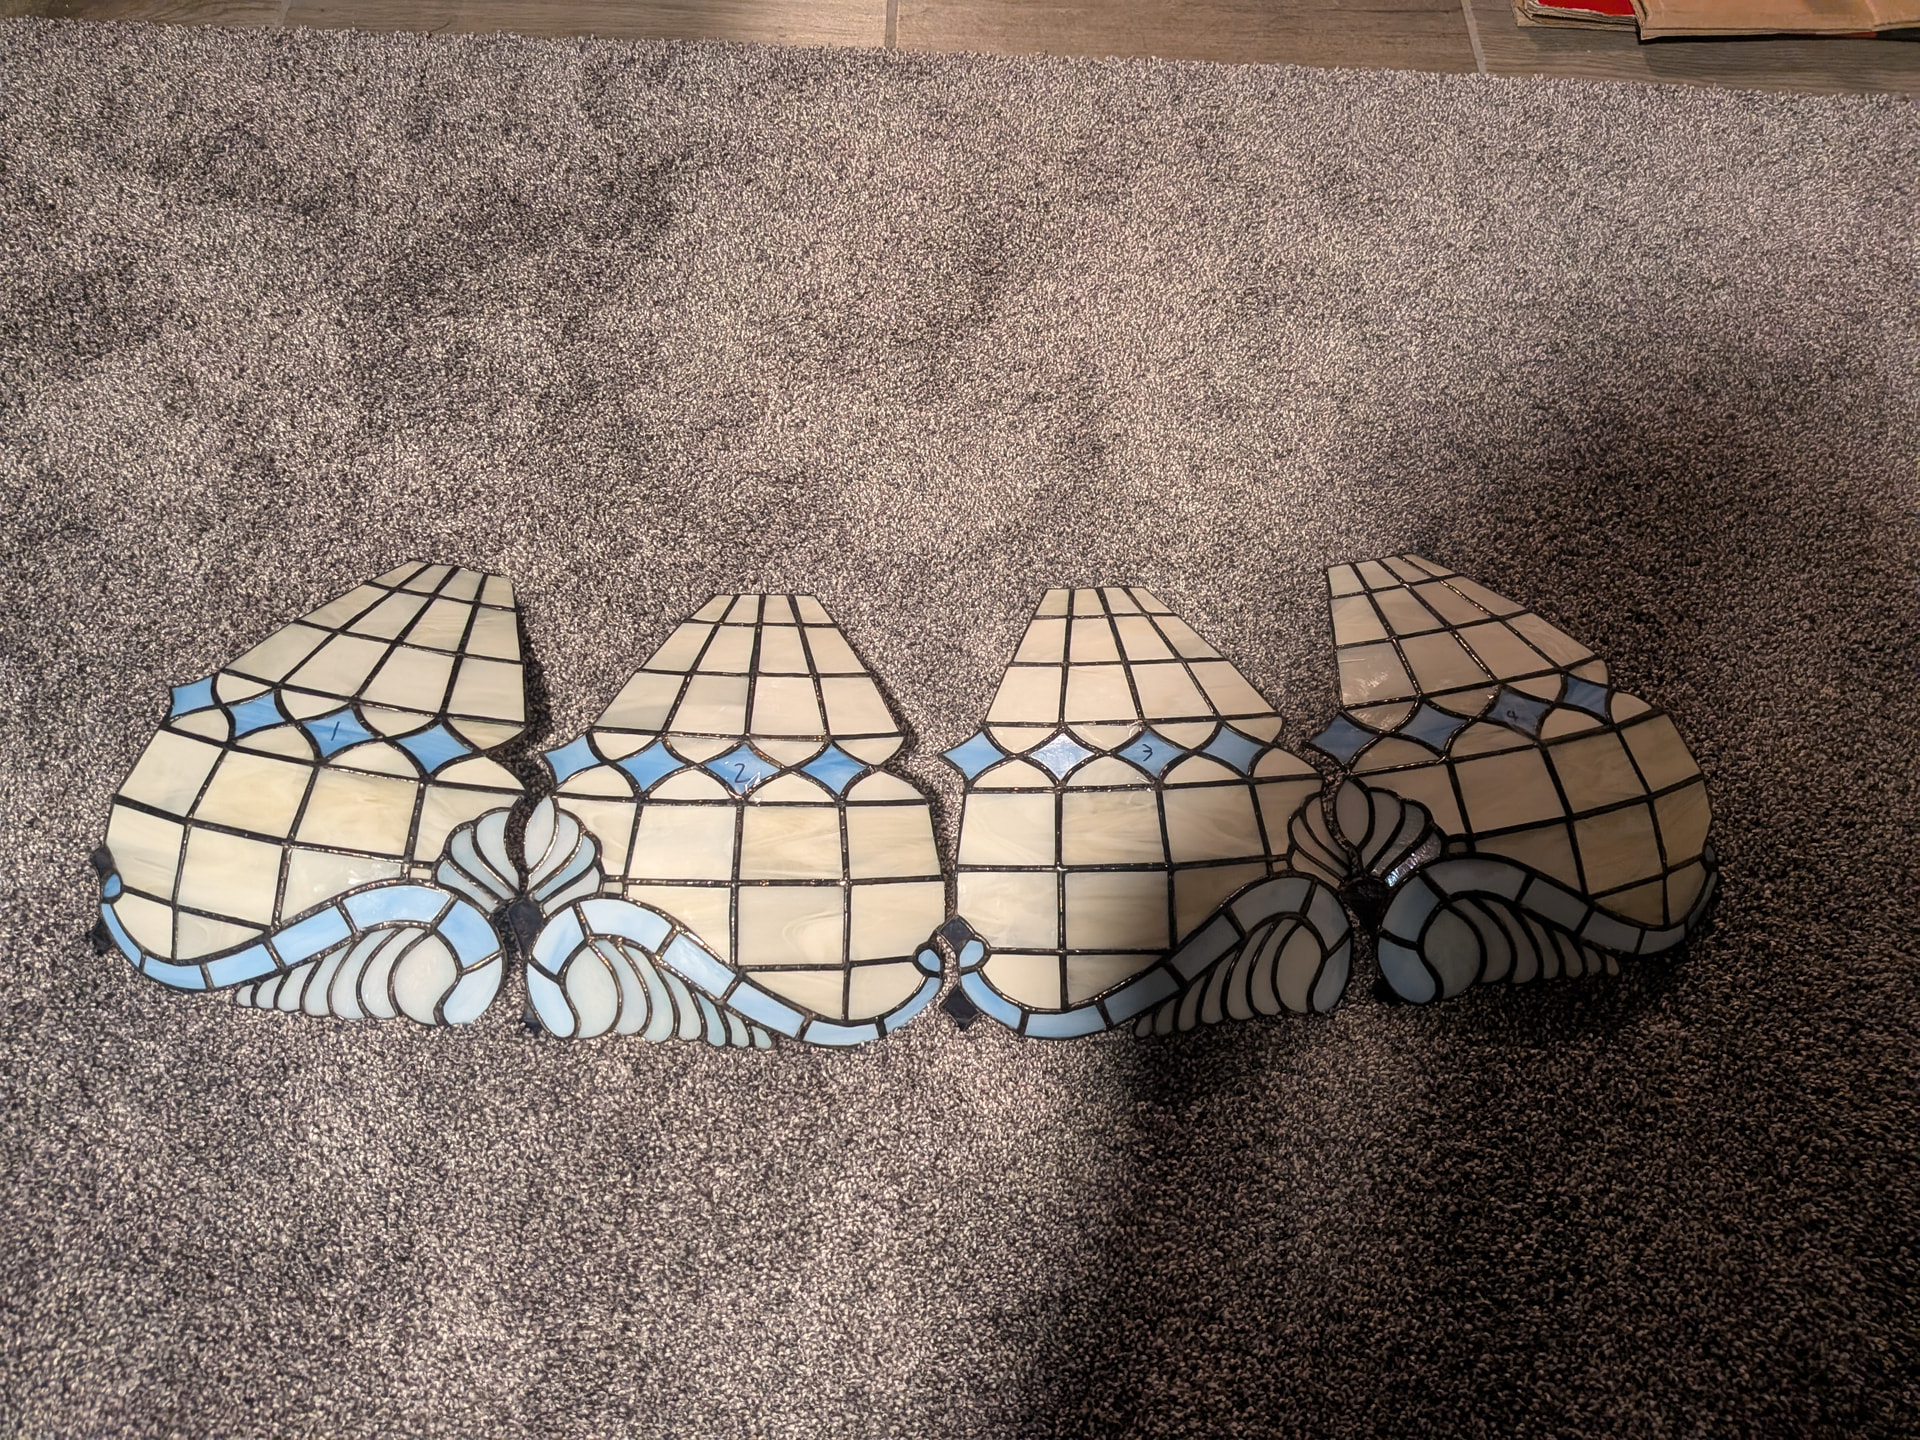
I am using a different vent cap for the top of the shade than the ones suggested by the pattern designers (the company that supplies them went out of buissness and they are hard to find in stock), so I decided to make the top row in clear practice glass today to make sure I was able to use the morton system properly to cut the simple parts that need a lot of duplicates and that everything would fit properly. I am glad I did so, when I was cutting these clear pieces I cut on the inside of the lines, but this pattern is a bit unusual and you are supposed to cut on the outside of the lines, but I didn’t notice until I had cut them all and placed them on the form, so I just foiled the pieces I had and tried to space them as evenly as possible and solder them to see how it would fit the vented cap would fit, but the gaps were hard to fill, but this doesn’t need to be pretty, it is just to make sure things are going to fit.
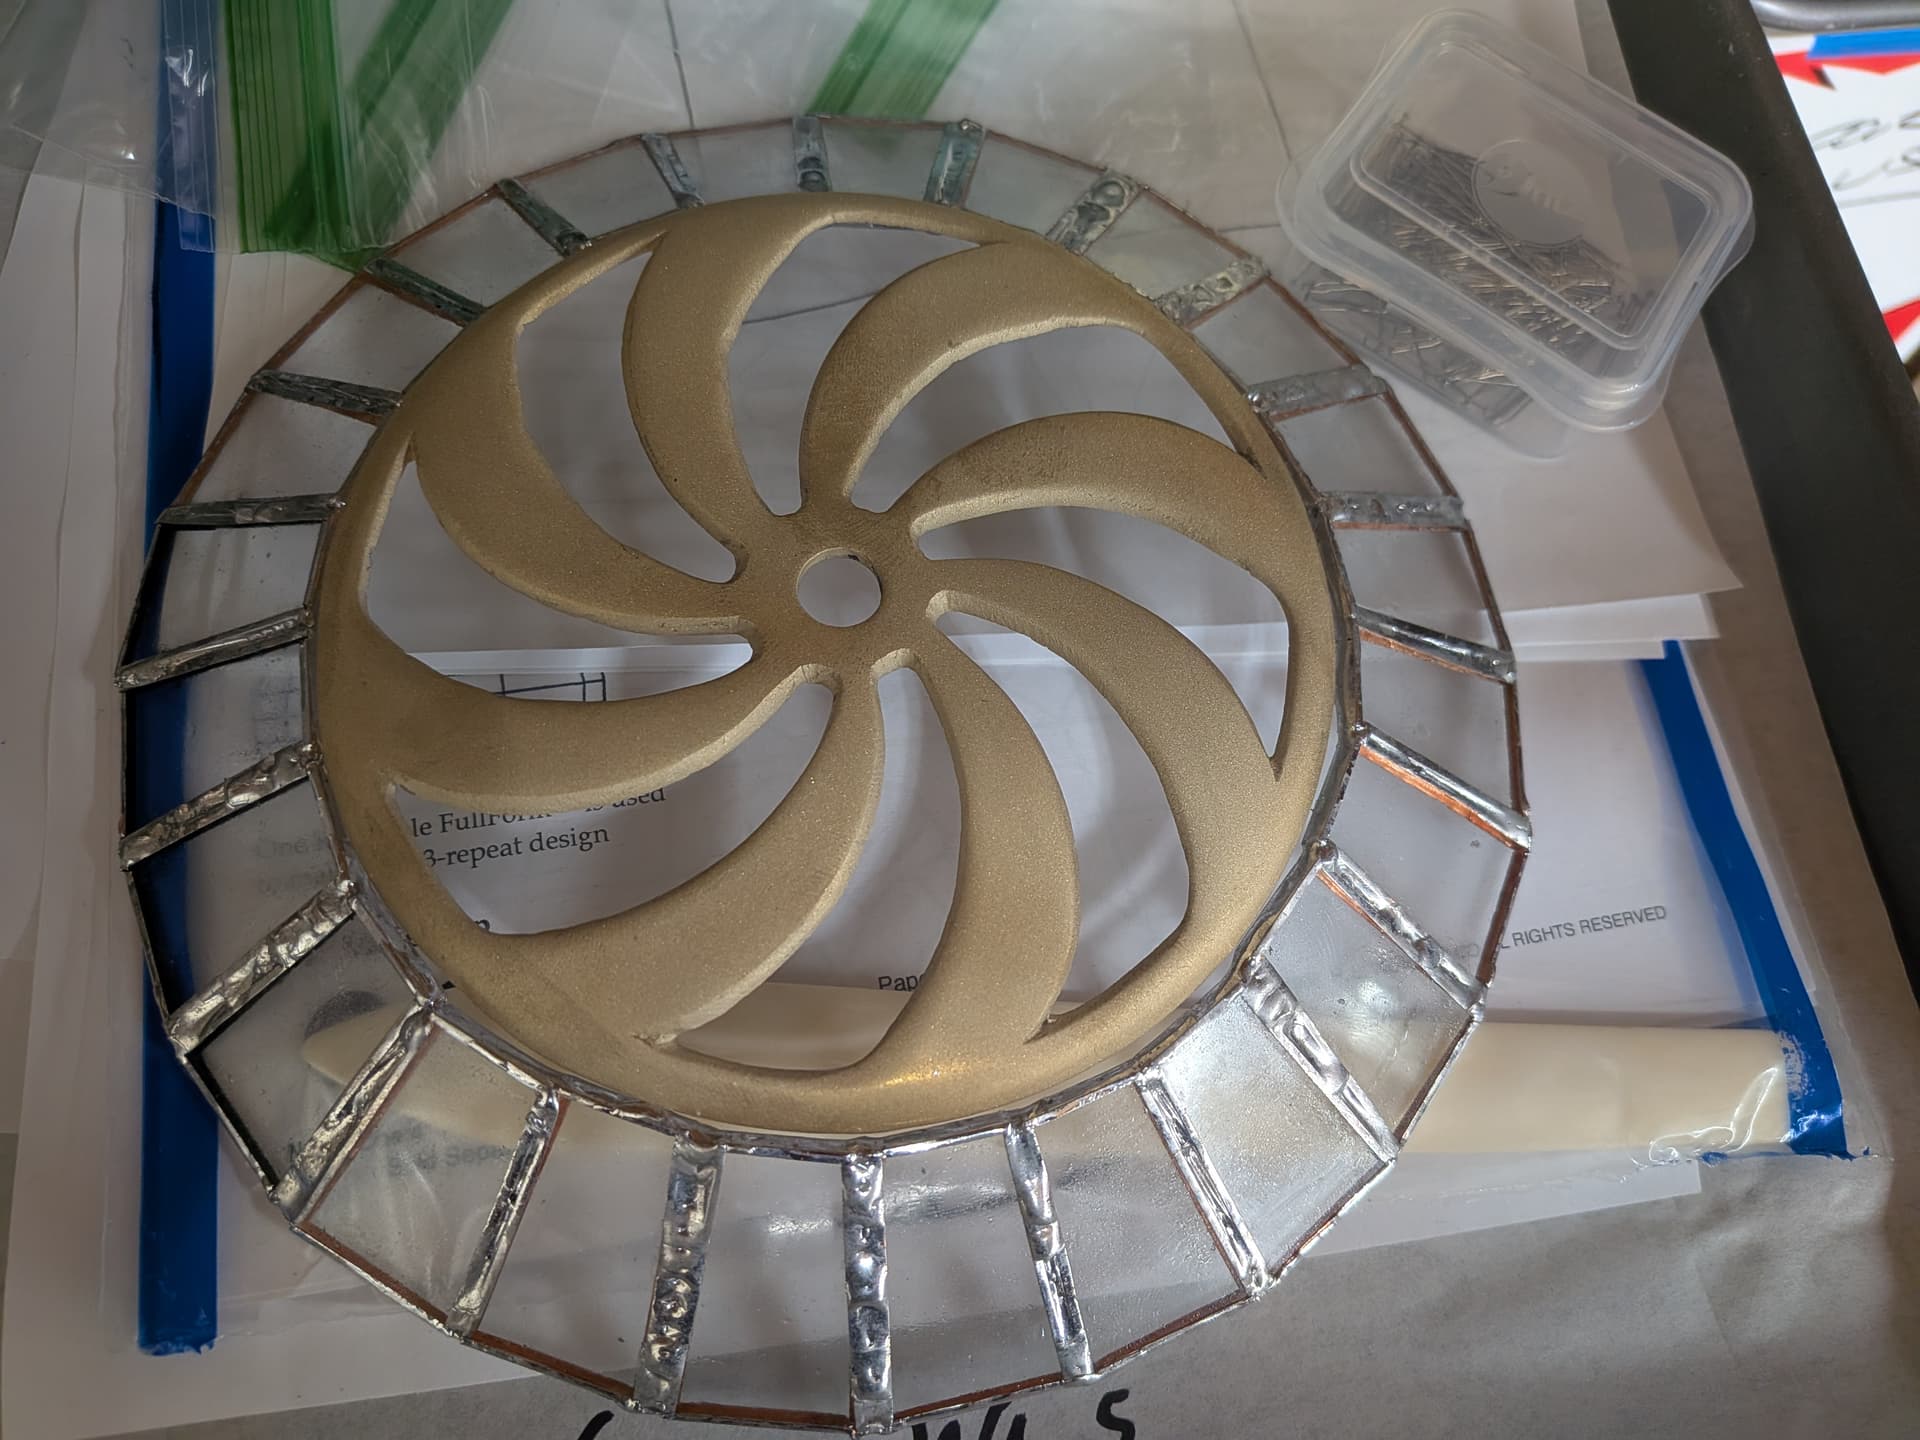
After finding out about my error cutting the pieces too small I adjusted my jigs on the morton system to make pieces a bit bigger to close up the gaps between the glass pieces and between the glass and the cap. After confirming that the new larger pieces matched up with the outside lines of the pattern I used my jigs to cut the pieces out of amber opal stained glass, I forgot to get a picture of those before packing everything up though.