Hello good people of the wood working MakeICT forum!
I have a large slab of walnut that I’m needing to flatten for a desk I’m making for my wife. I have the woodshop authorization but unfortunately I was not able to attend the last 2 shopbot classes that were offered as I was out of town both times. At any rate, I have a few questions/requests if there is anyone out there willing/able to assist me.
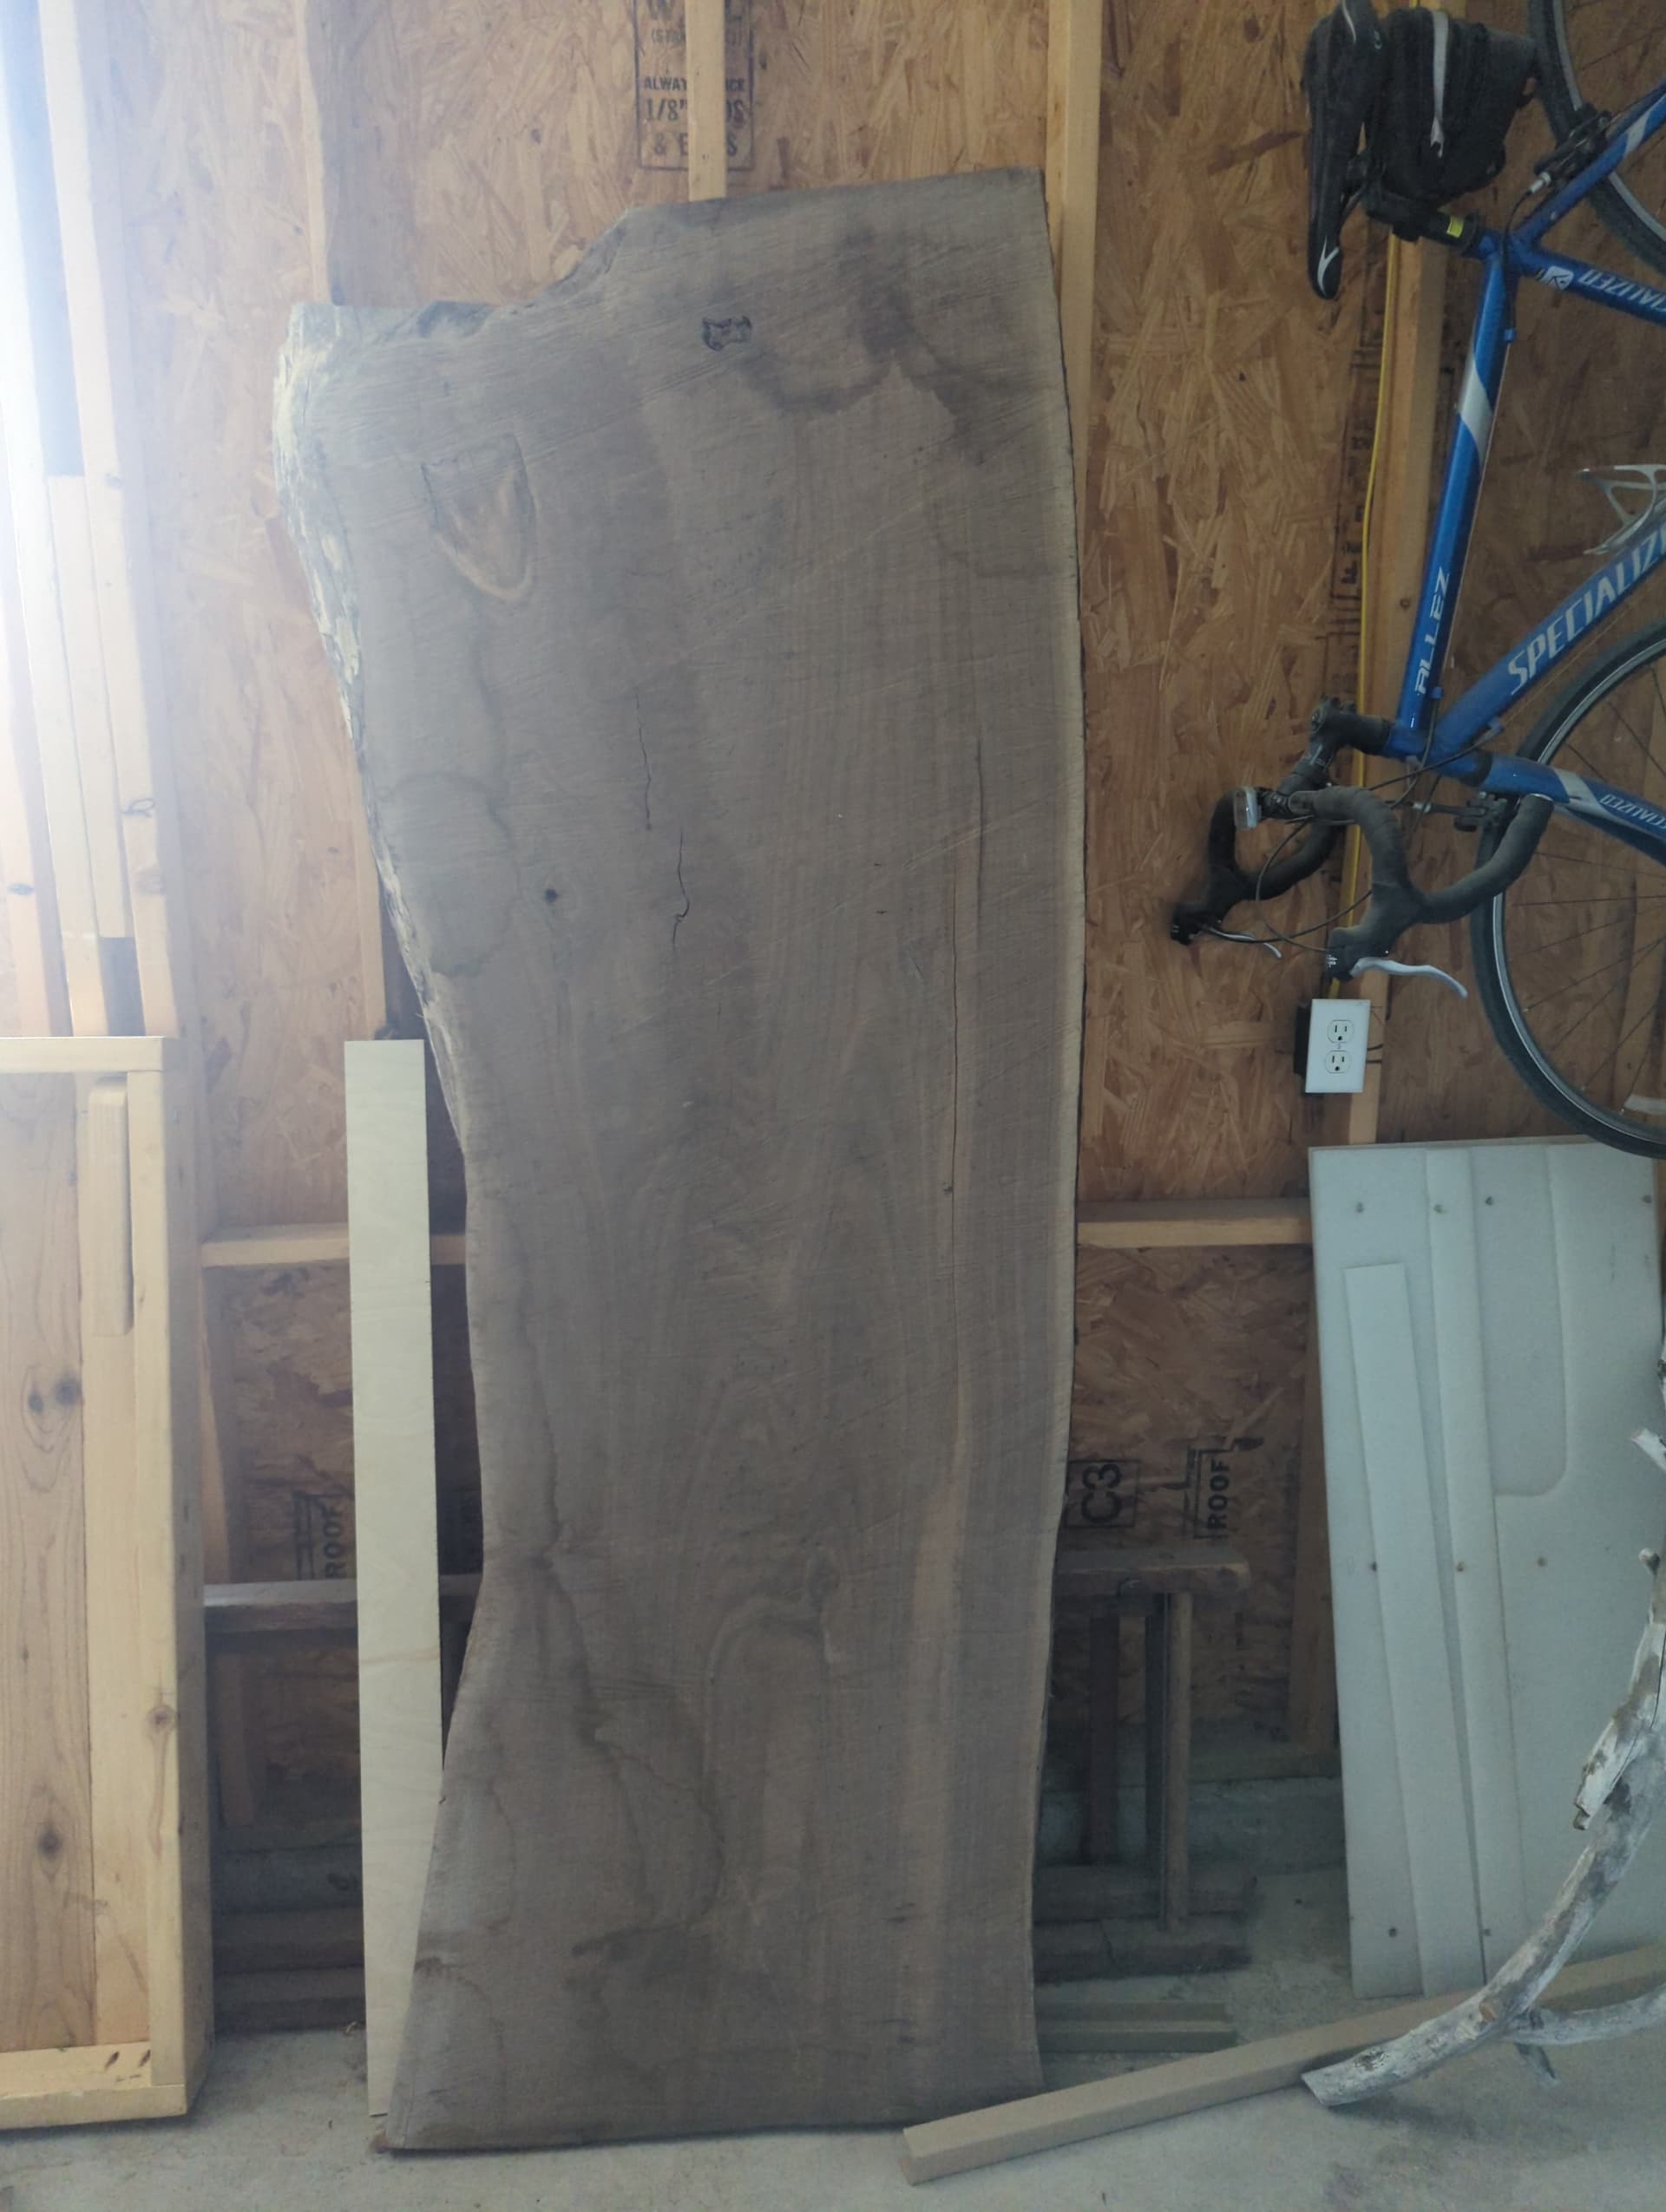
The slab is large… 7’ long and 34" wide at its widest point and 2.25" thick. Being this large, it’s not really feasible for me to handle it on my own. Also–being this large–it was rather expensive and I’d rather not screw it up!
My main request would be if there’s anyone who has flattened a slab like this before that would be willing to help me get it in the building, set up and on the right track for flattening it. I would be more than happy to pay this noble person in compensation for their efforts since the assistance would be well worth it and–since I don’t see another shopbot class on the calendar–it would help me keep my project moving.
Also, I am planning on buying my own flattening bit for the project since this’ll be a large surface and I don’t want to dull a shared bit, I want a sharp bit for myself , and I may flatten some other stuff down the road. What size shank bit does the shopbot accept? 1/2"? Also, any recommendations on a flattening bit would be welcome. I’m currently looking at a 2" “Astra Coated” Whiteside 6220 surfacing bit from bitsbits.
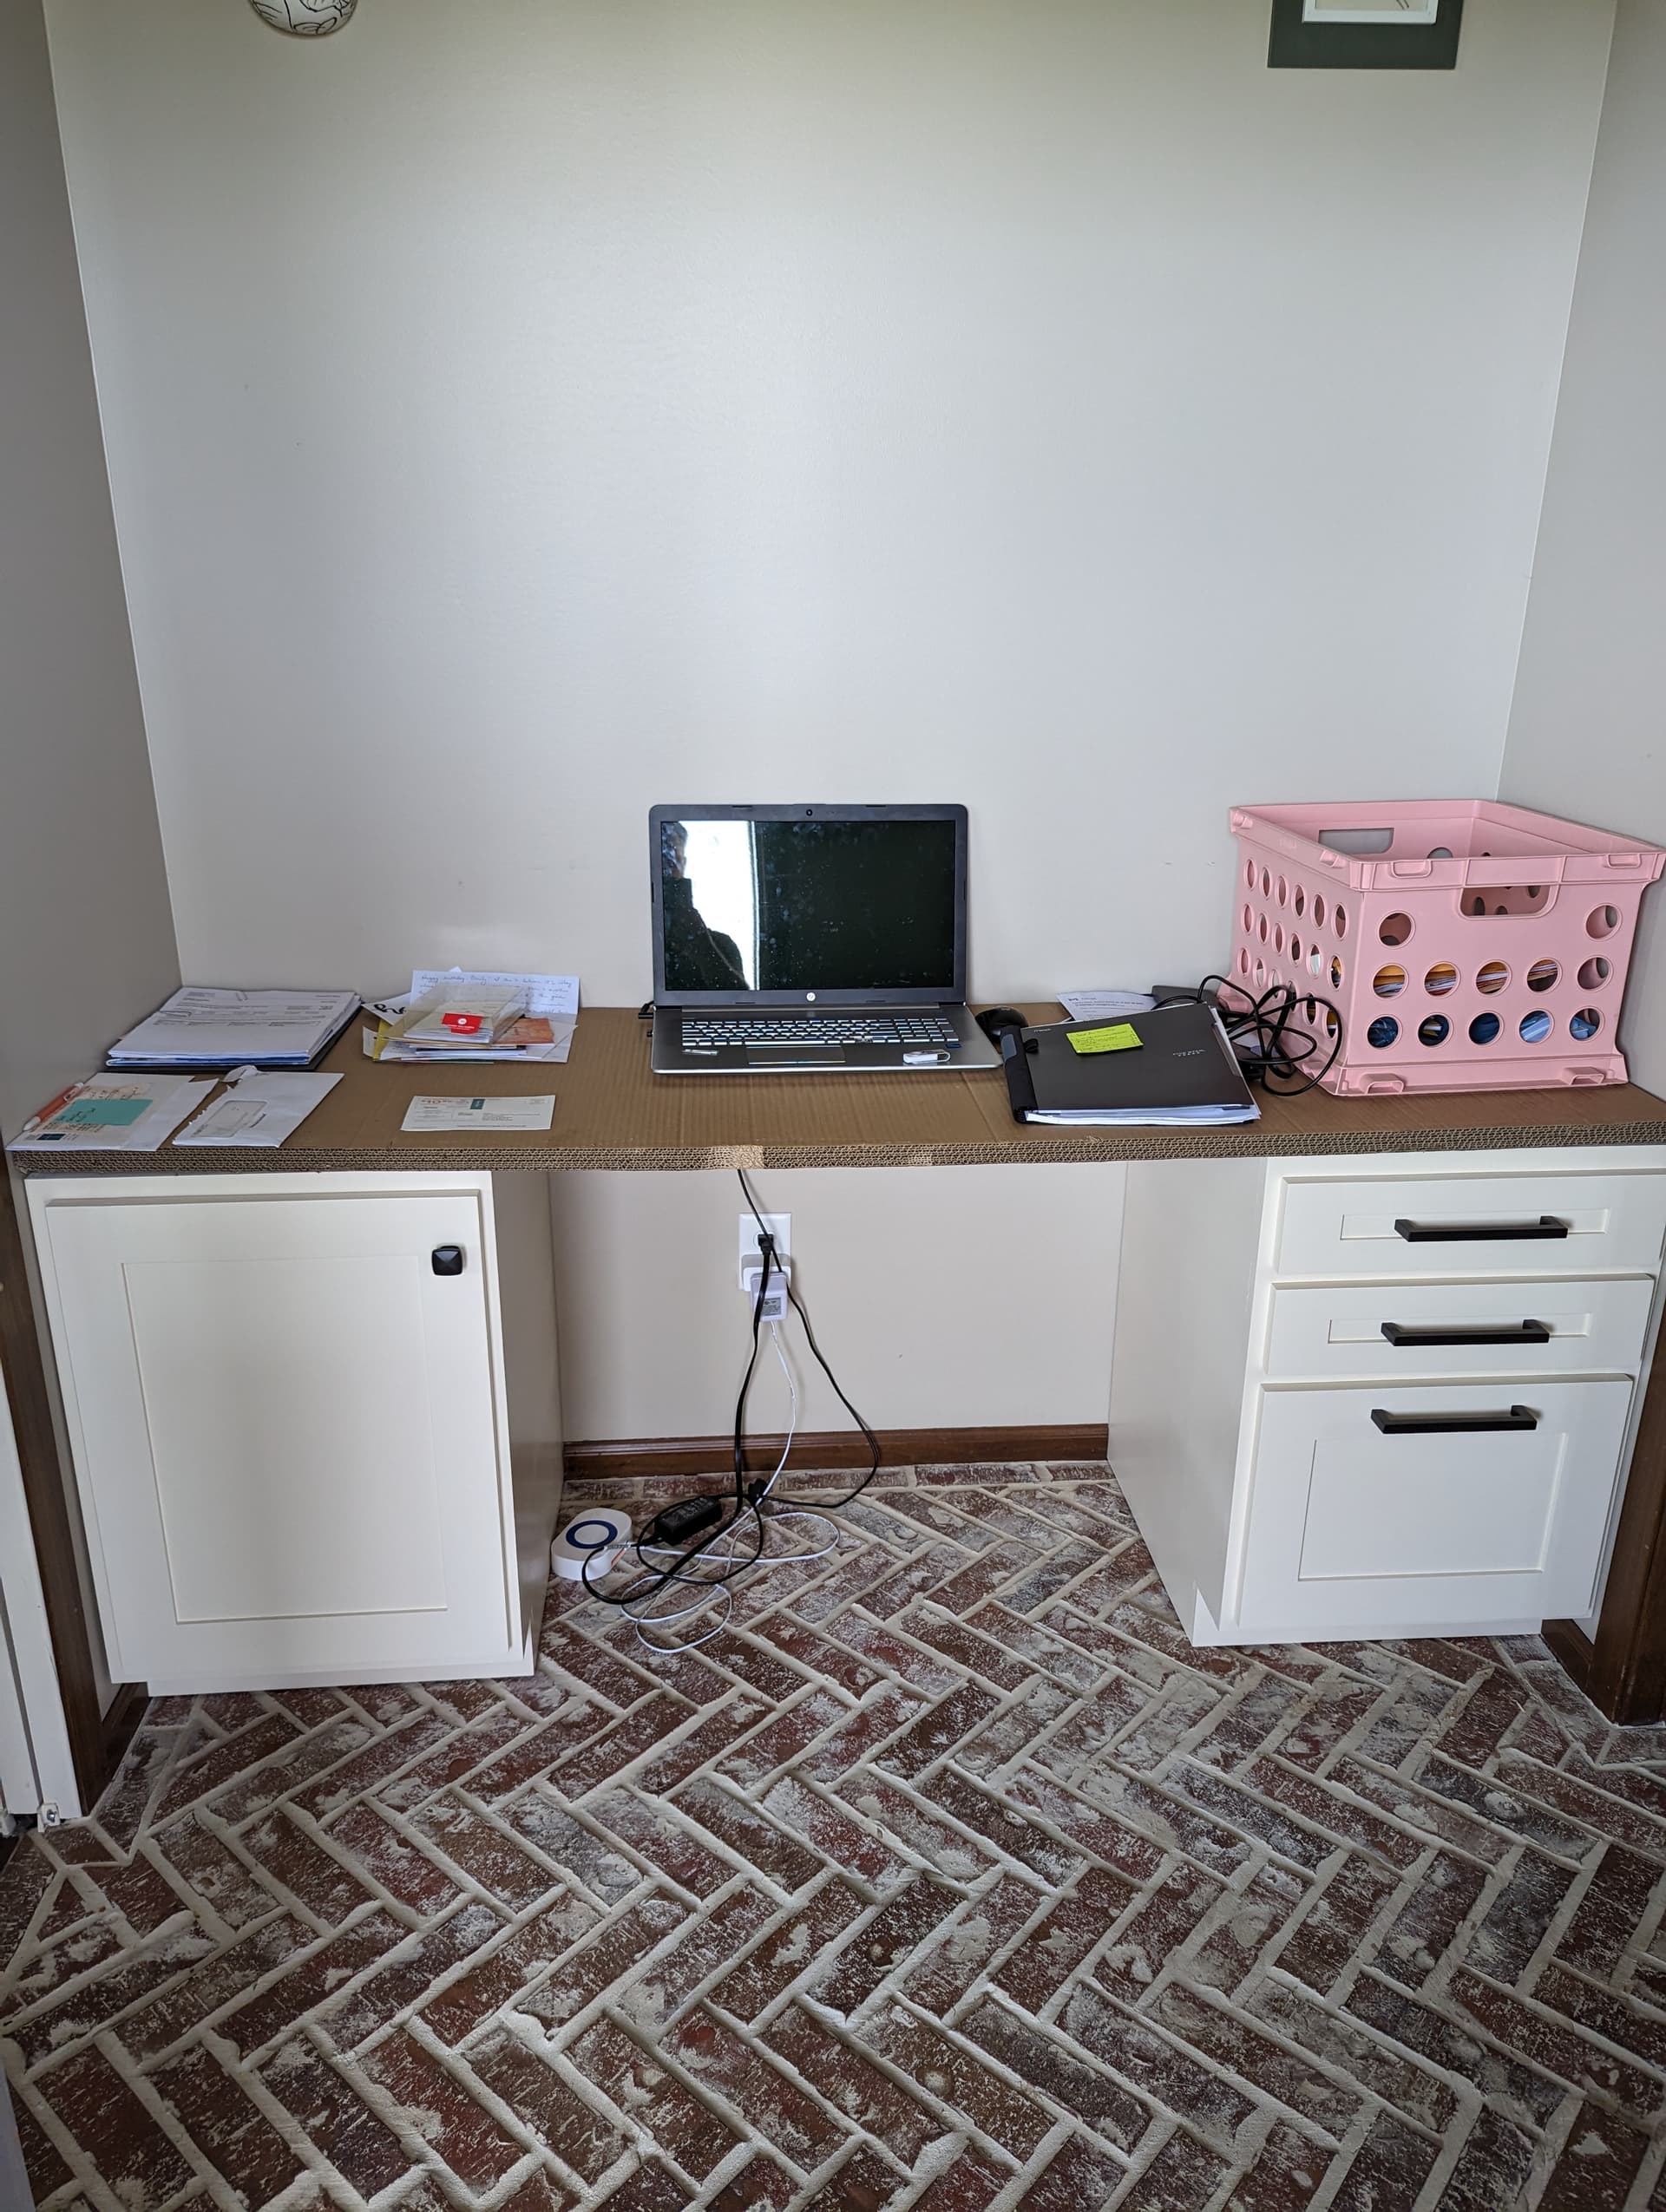
I’ve already made, painted and installed the cabinets for this project and this is the next step for me to be able to wrap things up. I’ll see if I can upload some pictures…
Hi, id be interested in helping you and seeing how this turns out. I do have the authorization and from what @doug.wilson has told me i may be able to authorize you without a class as long as you can safely operate the shopbot for yourself and not do any damage to the machine itself. I’ve only done about 11 projects on it myself so i am by no means a master but do know how to use it and the program pretty well so far.
I believe you still need the blessing from doug by showing him you know how to use it and operate it but this may get you working on your project faster.
Again id love to be of help and acutally see this project come to light as id like to do the same in the future.
I believe i have a way that one person can handle this slab using the hydraulic cart in the garage and some 2x4. Its the same way i move other thing by my self in my shop
Thanks so much for the quick response and your willingness to help! That would also be great if I could gain authorization on the shopbot as a result of this project. Again, I would be happy to compensate you for your time. What is your availability like this Friday afternoon or Saturday morning? Also, I have no frame of reference how long something like this will take… If you or anyone has an estimate that might help me plan as well. Thanks again!
Be sure to flatten a little at a time. Time permitting, I would get it close and then let it sit for a couple weeks to see if it’s going to move anymore. Have you checked the moisture content already? Flatten one side some, then flip it and do the other side some. You don’t want to make one side flat then flip it over and have it curl up on you.
These would be roughing and finishing operations, btw.
Thanks for the advice. I don’t have a moisture meter but the slab was kiln dried so hopefully it won’t move too much. Looks like moisture meters are fairly cheap though so maybe I’ll pick one up. What moisture content should I be looking for?
Many thanks for your help today Greg! Nice working with you too. It turned out great and I couldn’t have done it without you. I’ll be sure to post some pics of the finished product.
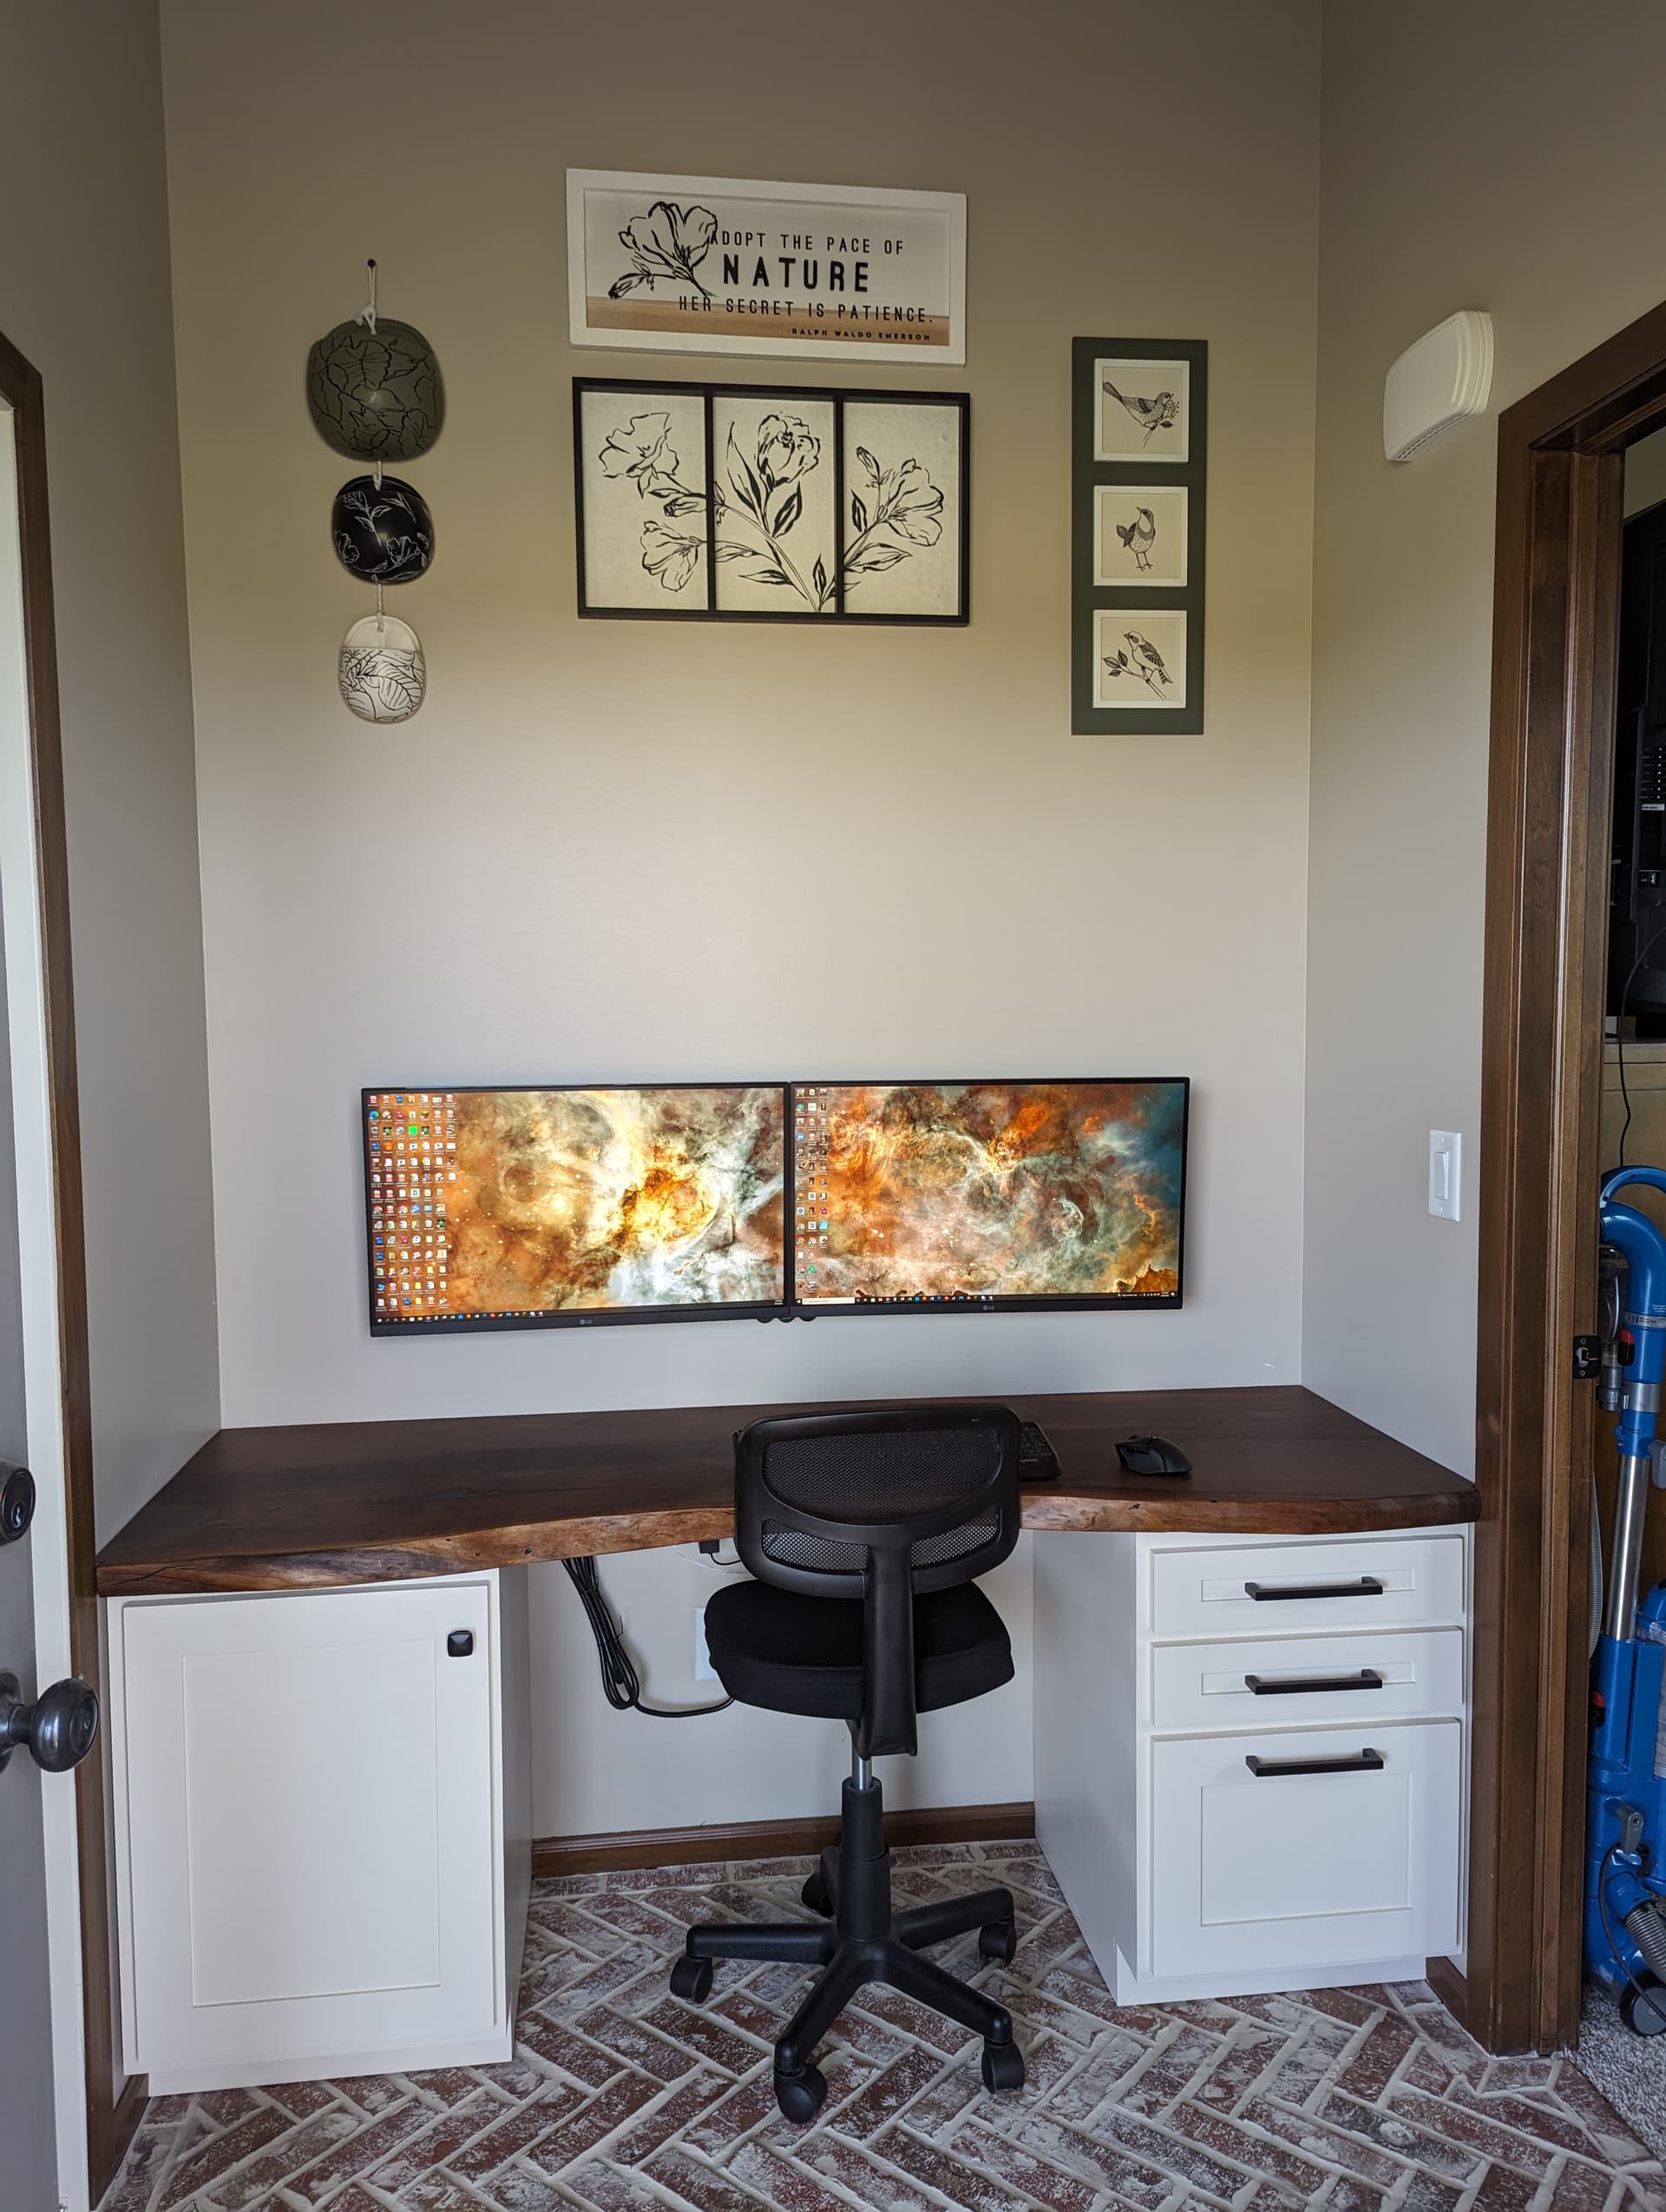
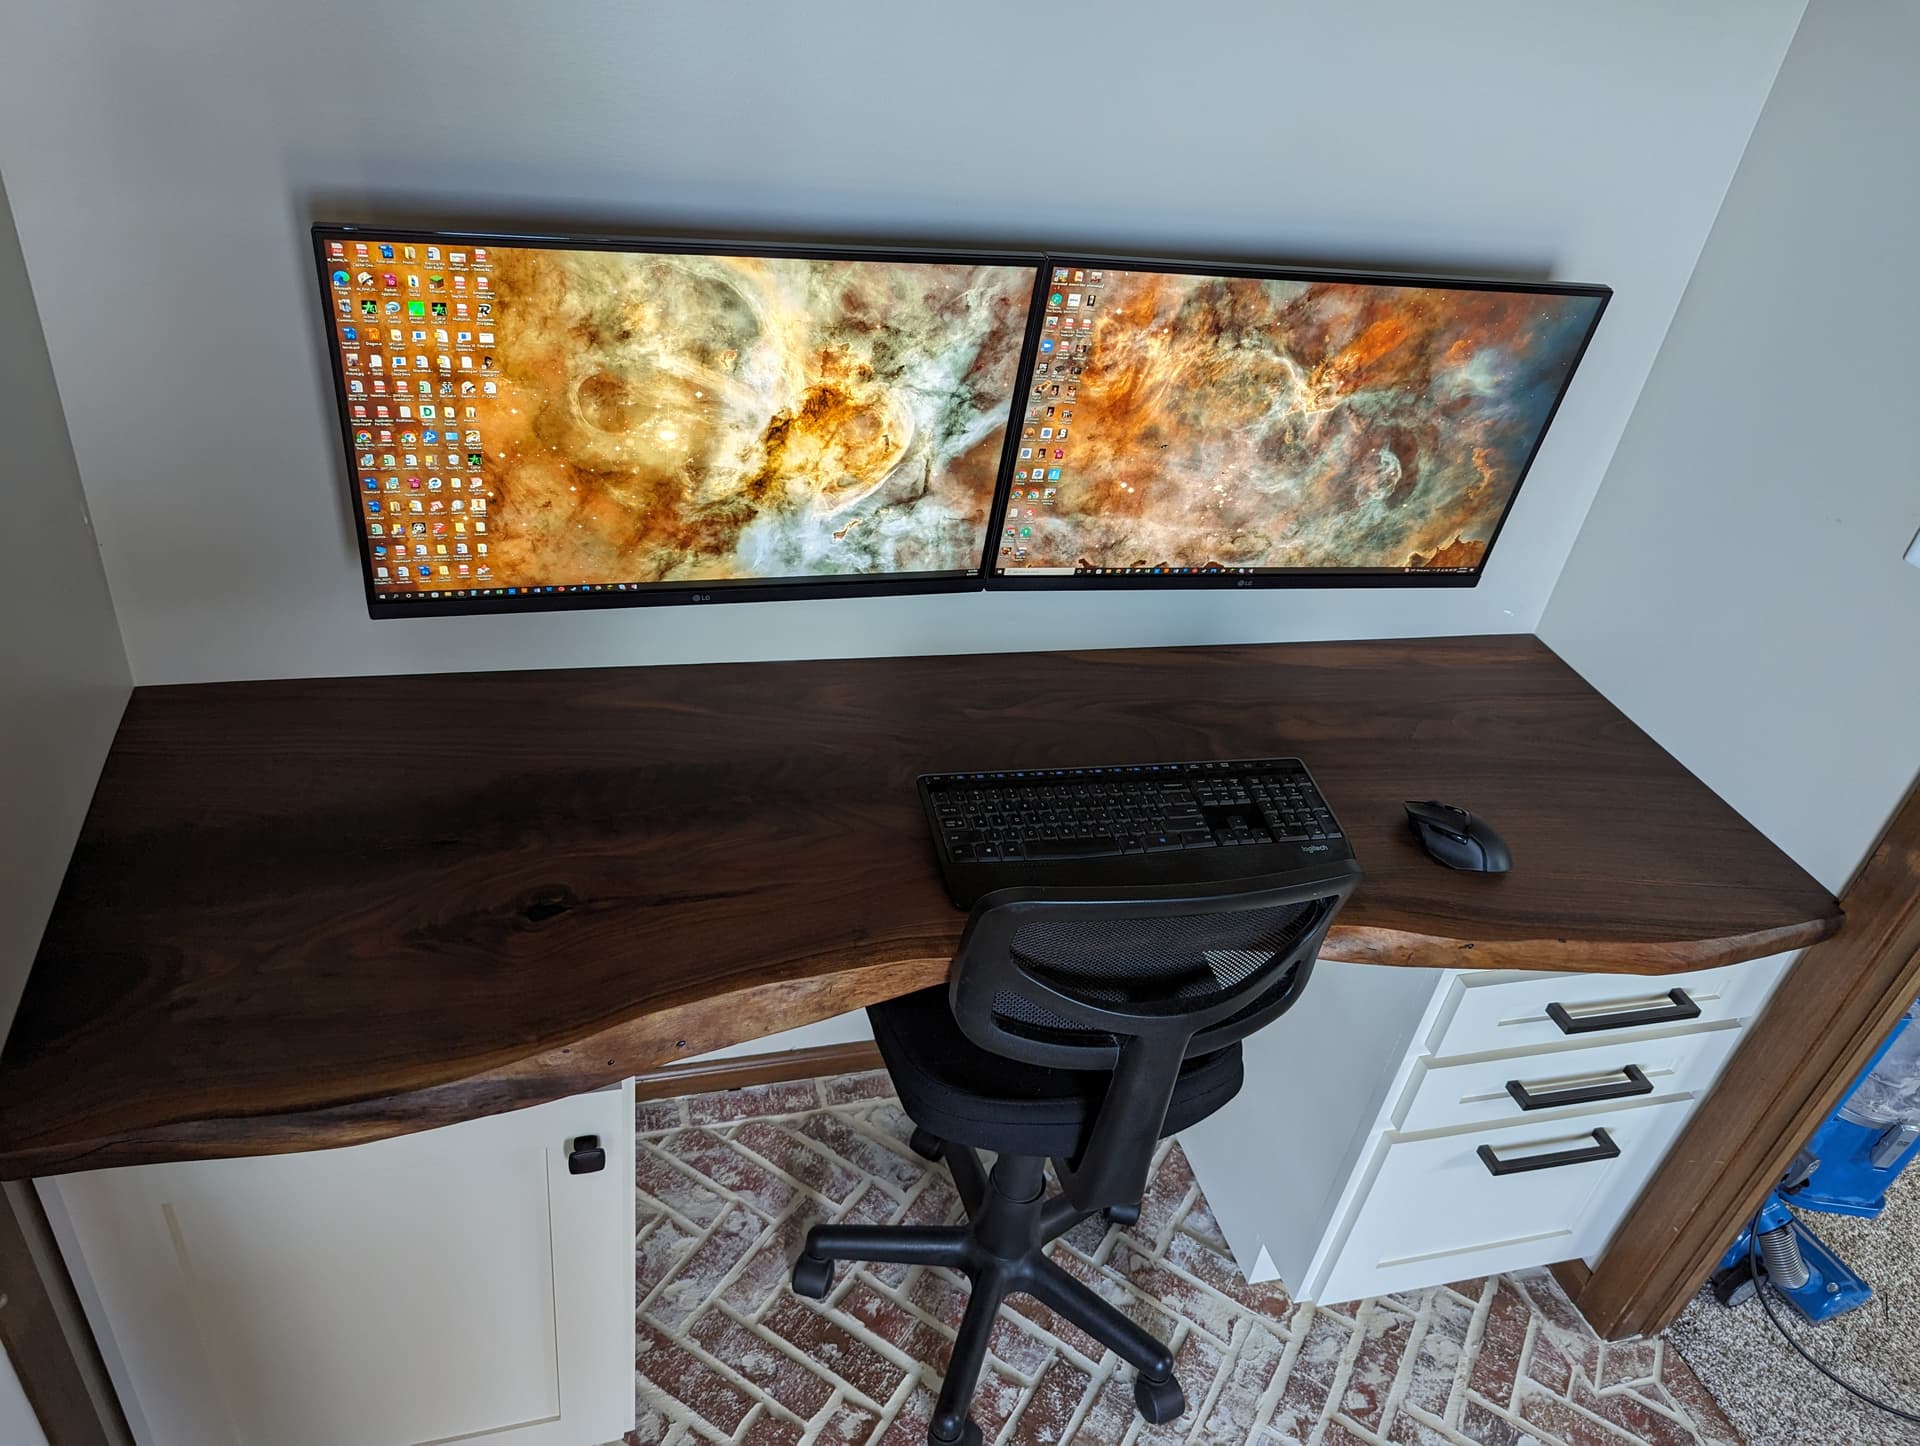
It’s been awhile but I finally have some pictures of the finished desk. Thanks again to Greg for helping me get the slab flattened.
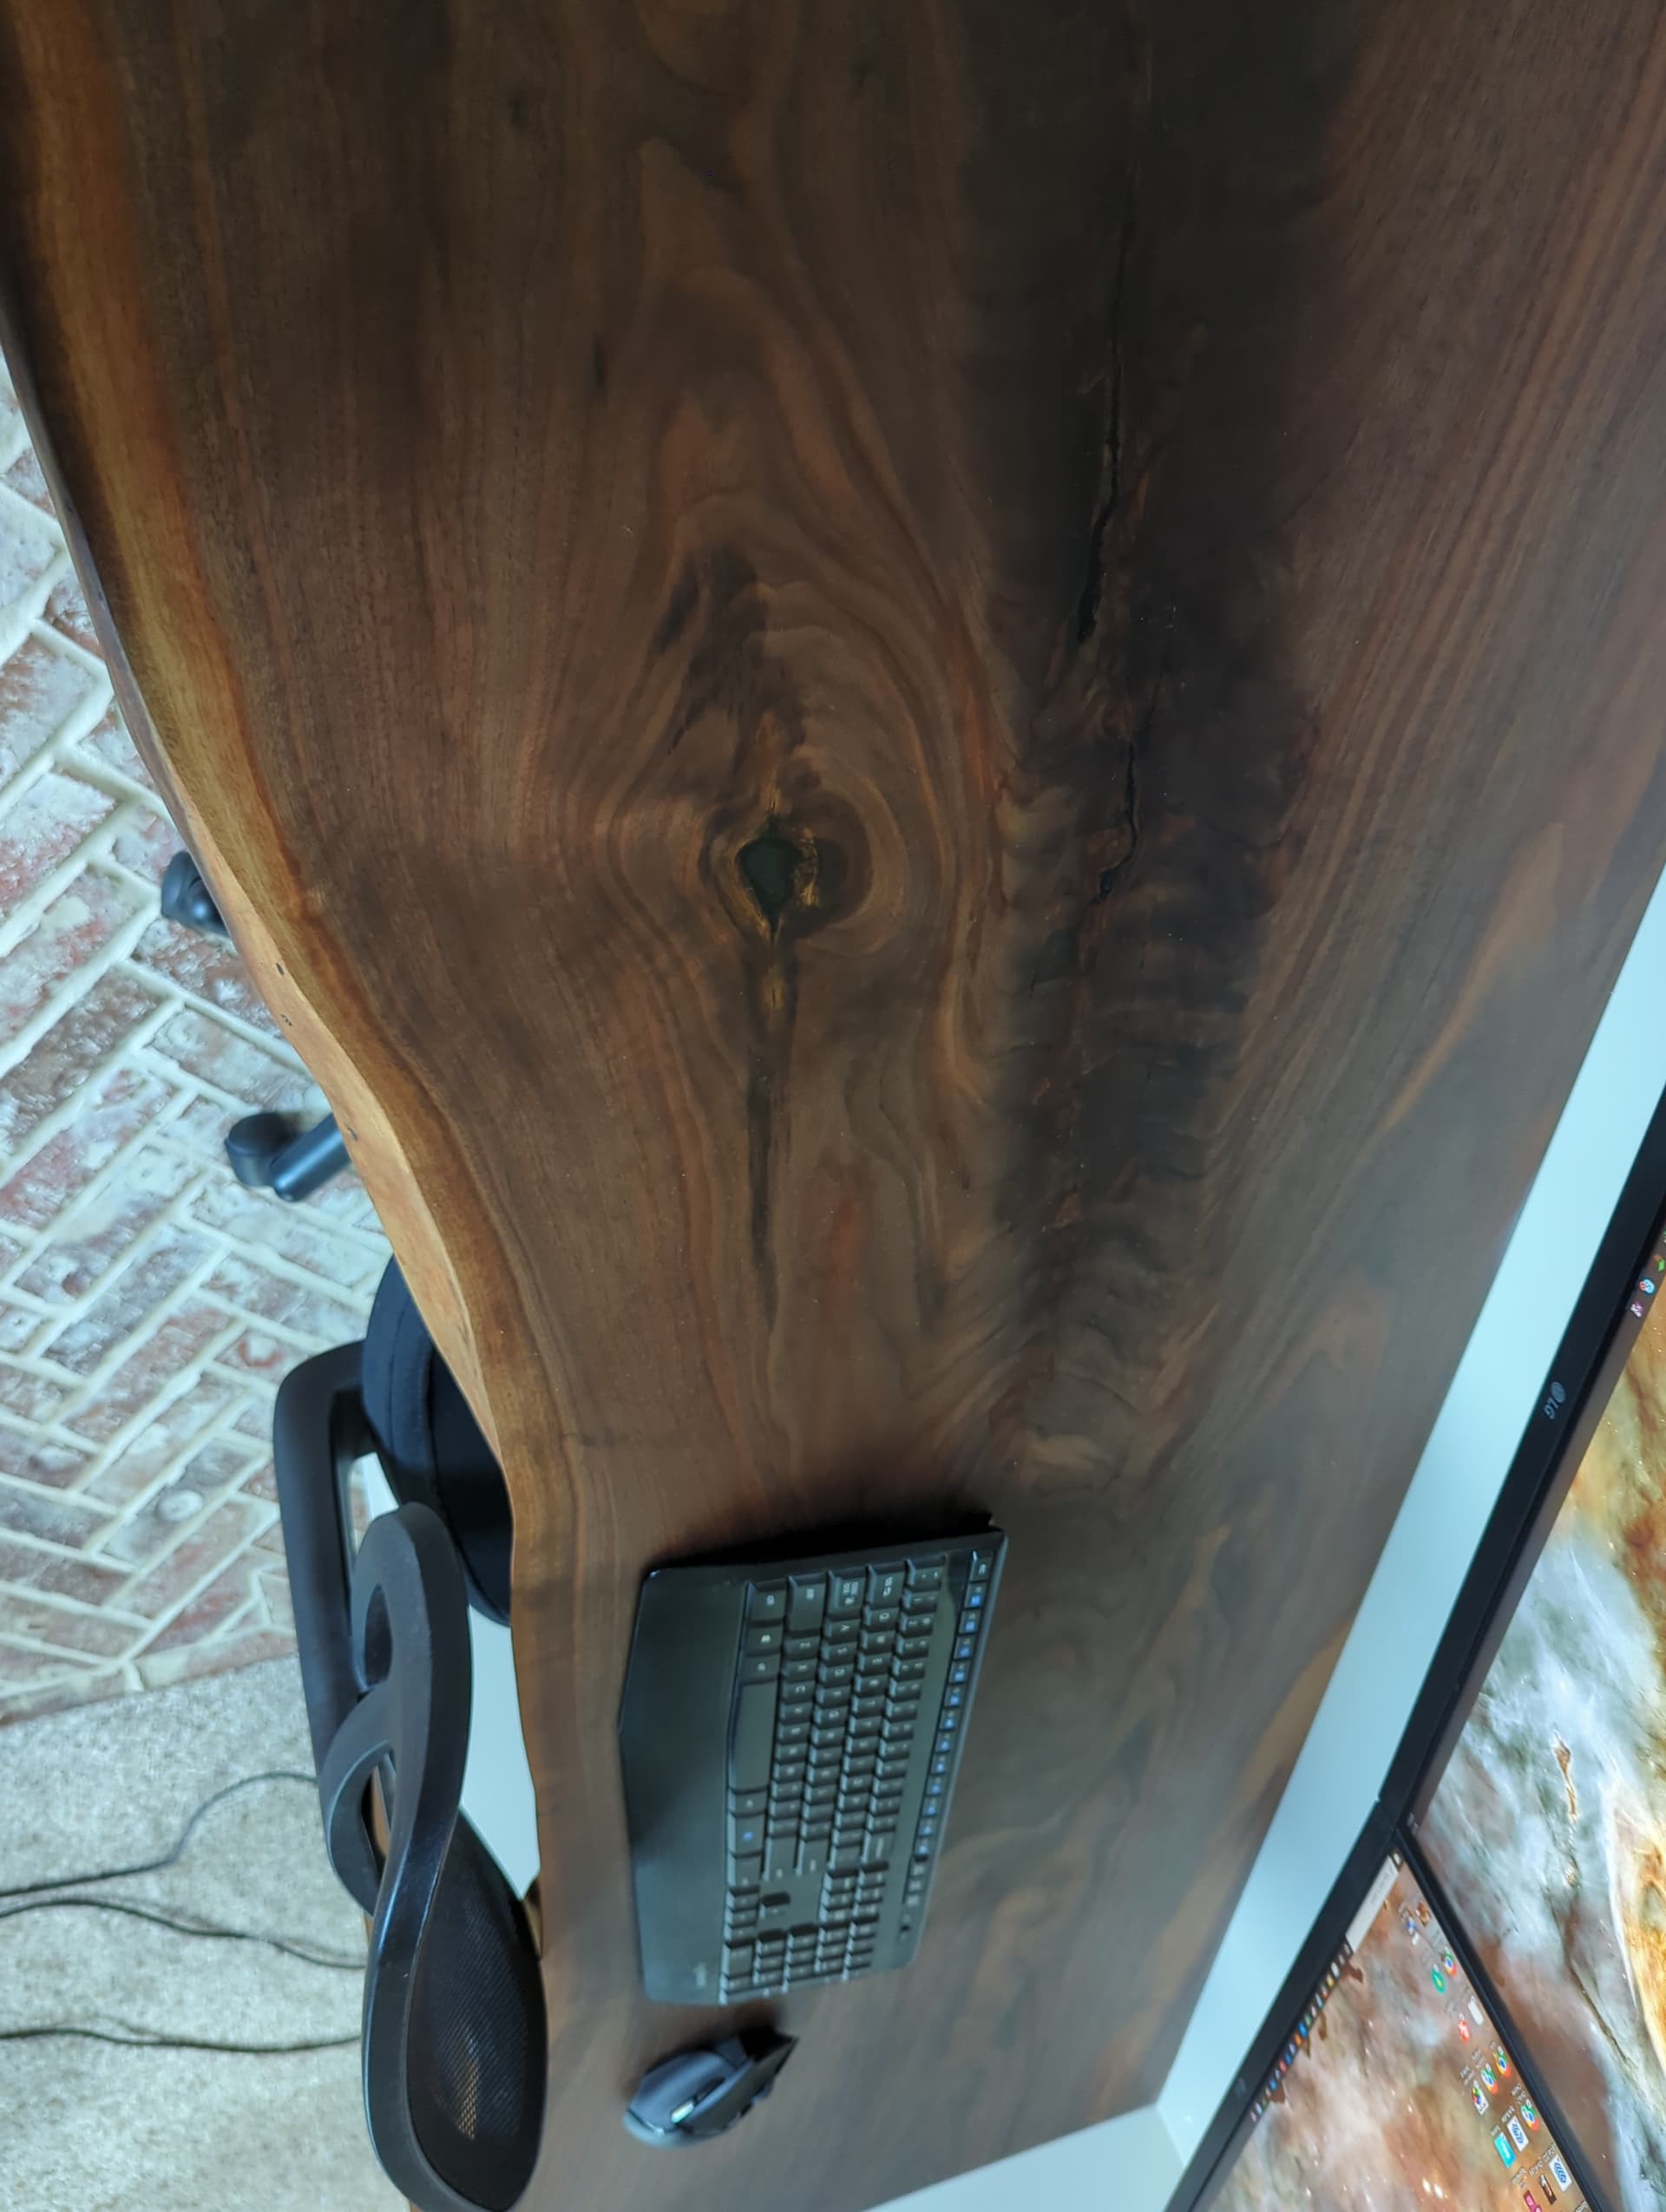
After flattening, I made a template out of hardboard to fit the exact space for the top, then I cut the slab from the template, filled voids with a black mica tinted epoxy, sanded the wood to 180 (epoxy fills sanded to 400) and finished with Rubio monocoat “pure”. Turned out really nice.
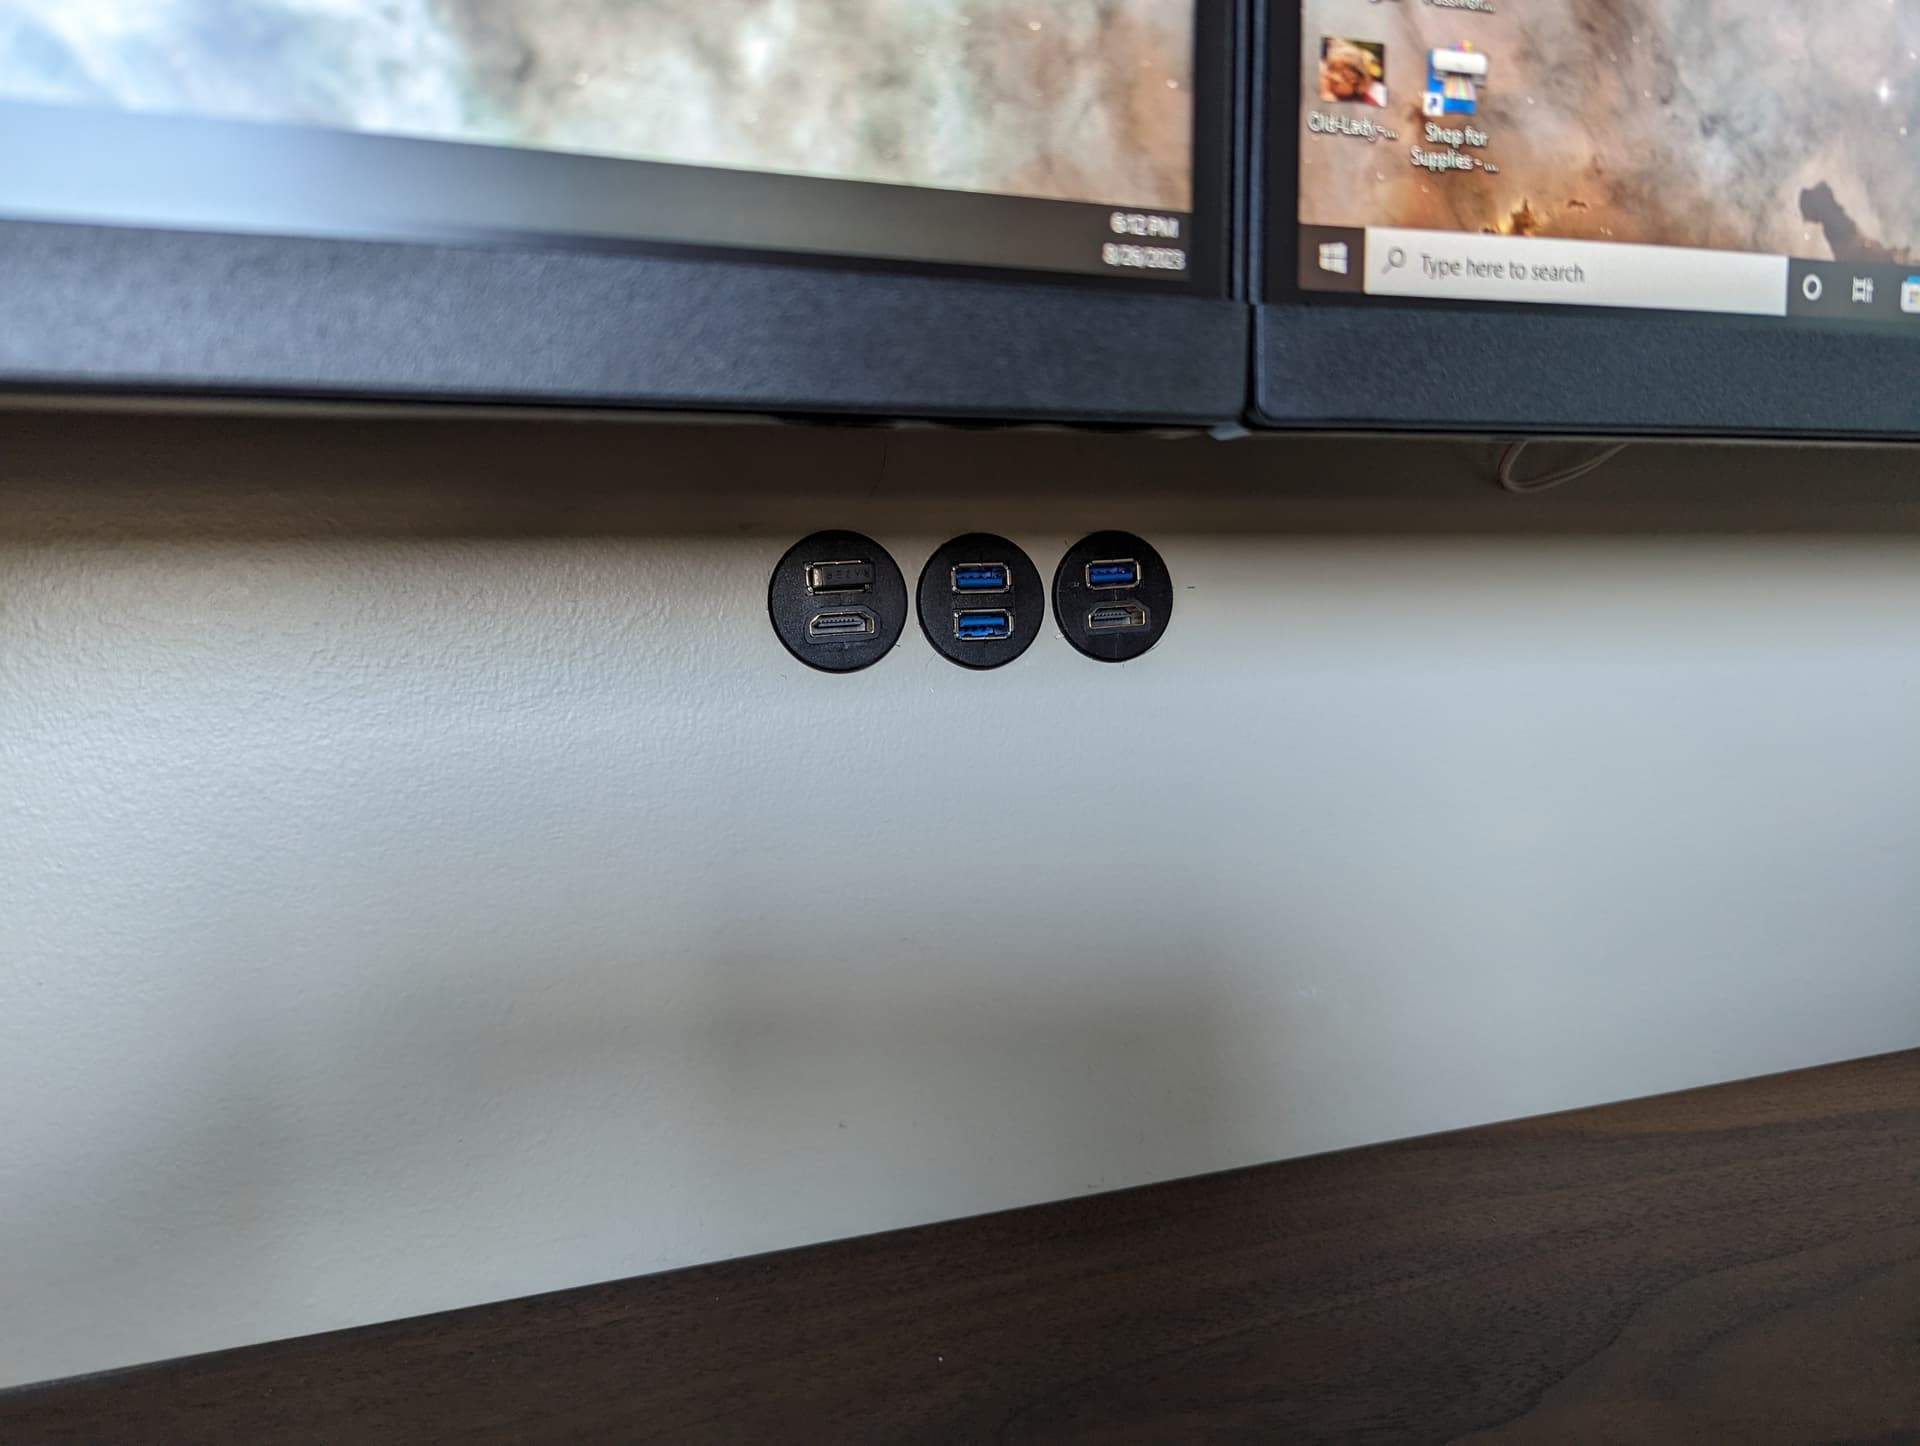
The computer is on a high shelf on the other side of the wall in the picture, which is our master closet. All the wires are run through the wall and I have a remote power switch wired up behind the monitors. In the future I want to install a floating shelf with LED lighting made from the offcut of the slab. Super pleased with how everything turned out.