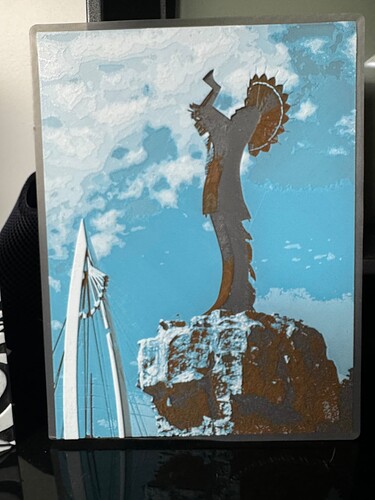
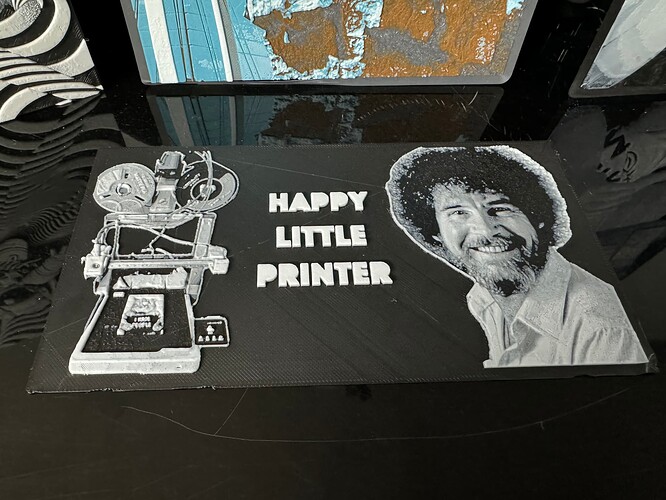
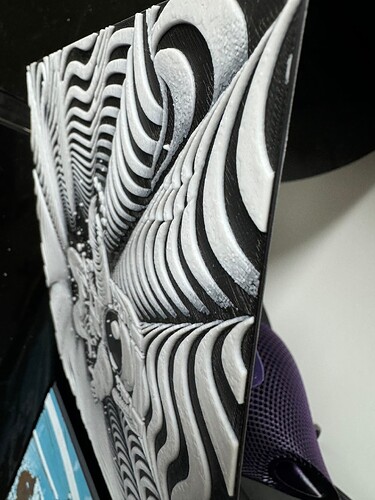
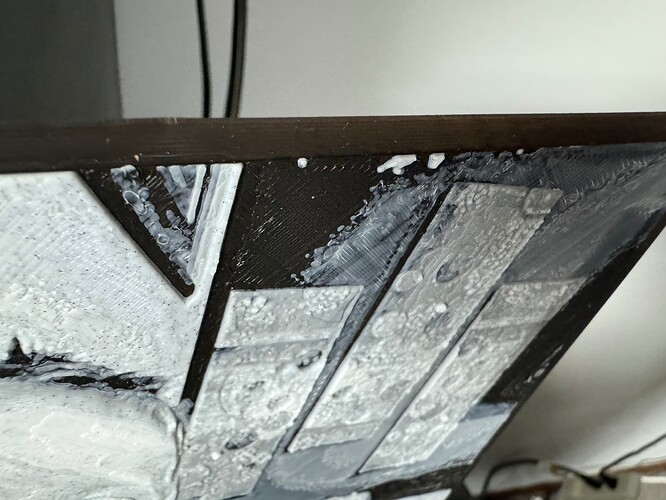
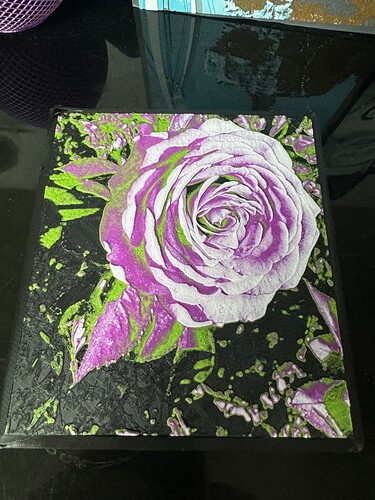
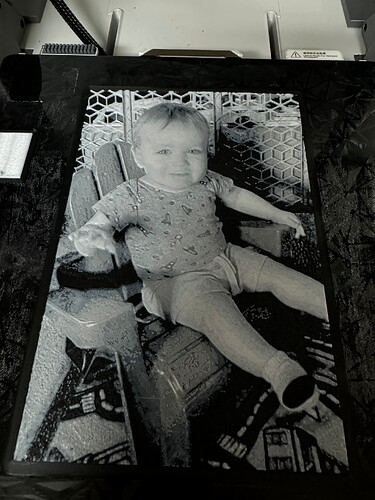
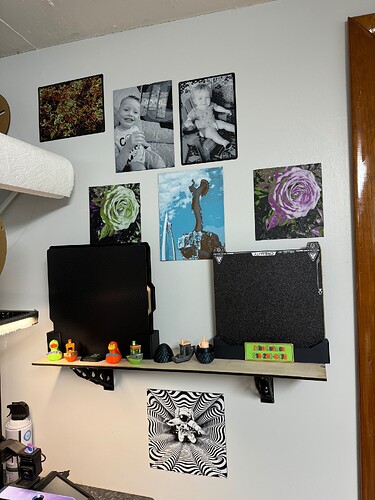
Wasn’t sure if folks not looking in the FabLab would see this or not, so thought I’d add it in here as well. Some folks have been asking about my experiments with the HueForge (https://shop.thehueforge.com) software, so I thought I would share a few of my attempts at creating my own 3D prints from photographs I have taken. The software is on sale for $12 right now for a personal license, so it’s pretty inexpensive to get and play with.
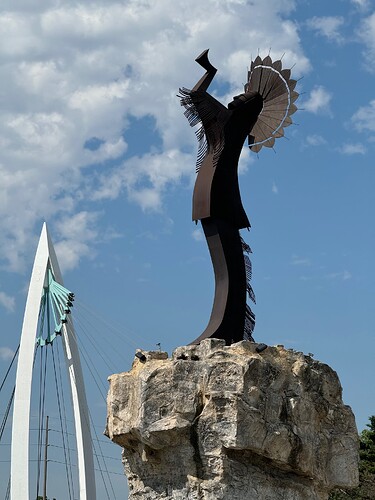
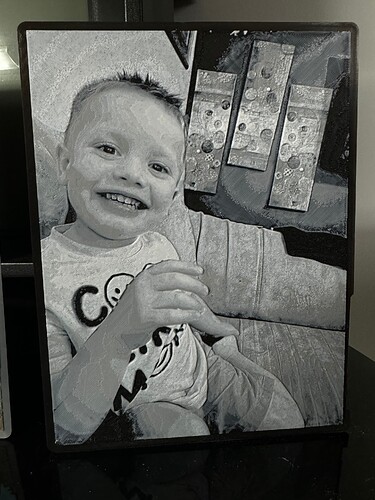
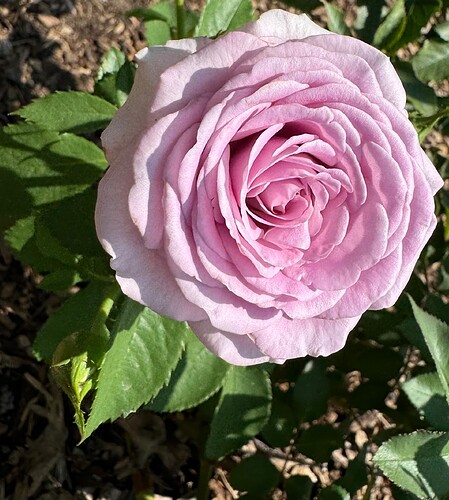
For the Keeper of the Plains picture, and the flower picture, I am also including the original photos. The black and white photos are of my two nephews.
The software is quite easy to use out of the box, but to get good results, you’ve really got to have a range of colors to work with, and you’ve got to take the time to go through and discovered the transmission distance of each color, if it hasn’t been calculated already. I have over 40 different filaments, so having the range of colors wasn’t an issue, although it took me about 2 days to print them all out.
After that initial calibration and configuration is done though, the software is fairly intuitive. Once you find a good combination of colors for black and white photos, it will nearly always come up with good results on the default parameters.
I’ve been doing these on my Bambu Lab A1 Combo, but it’s not necessary to have a printer that supports automatic color changes, although it does make it much simpler obviously. As long as the printer supports manual filament swaps, which the Prusa printers in the FabLab do, then it would simply be a matter of swapping filaments at the correct time.
Searching for HueForge in any of the 3D printing download sites will pull up several prints that have already been pre-done. They do have to be printed at 0.08 mm, but otherwise, there’s not much else to worry about settings wise, unless you want to get into more advanced situations, such as printing with more than 4 colors
