I need help coming up with a milling plan that needs to be repeatable and precice.
I won’t require much time, just need some validation on a plan of attack.
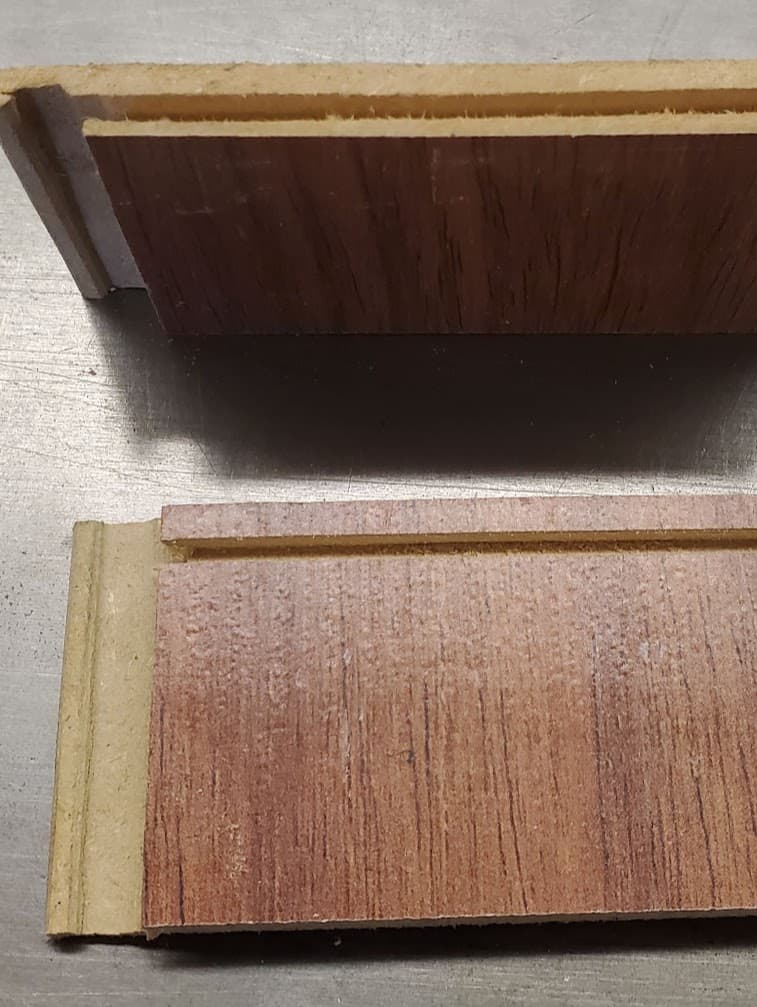
I am helping a dance studio install laminate flooring. The flooring has interlocking edges. Once a piece has been cut, that edge no longer can interlock. There are only 3 rows left, but we’re down to only cut boards. Unfortunately, the product is no longer in production. However, there is enough remaining material to finish… if the ends can be milled.
I have created profiles that I believe would work sufficiently using Fusion 360. There are two different profiles that interlock together. It is not essential to recreate the exact manufacturer’s profile as all the boards have a factory edge along the length. I will need to make a part holding jig for repeatability and generate gcode.
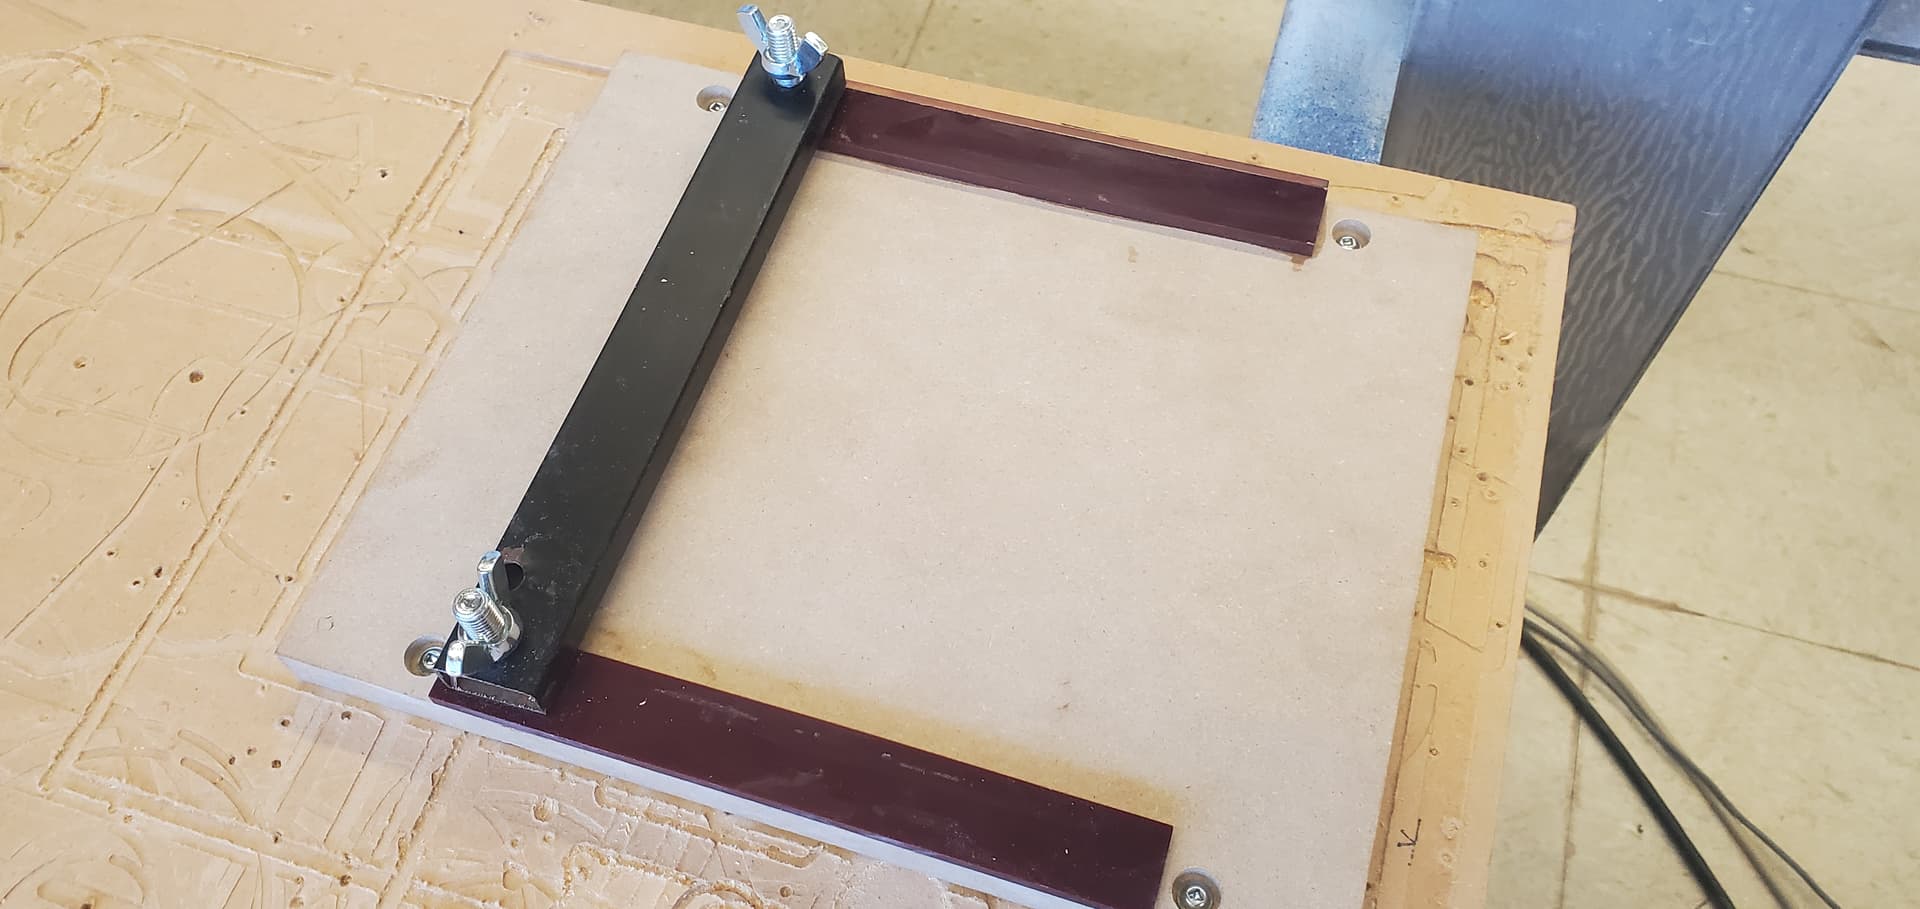
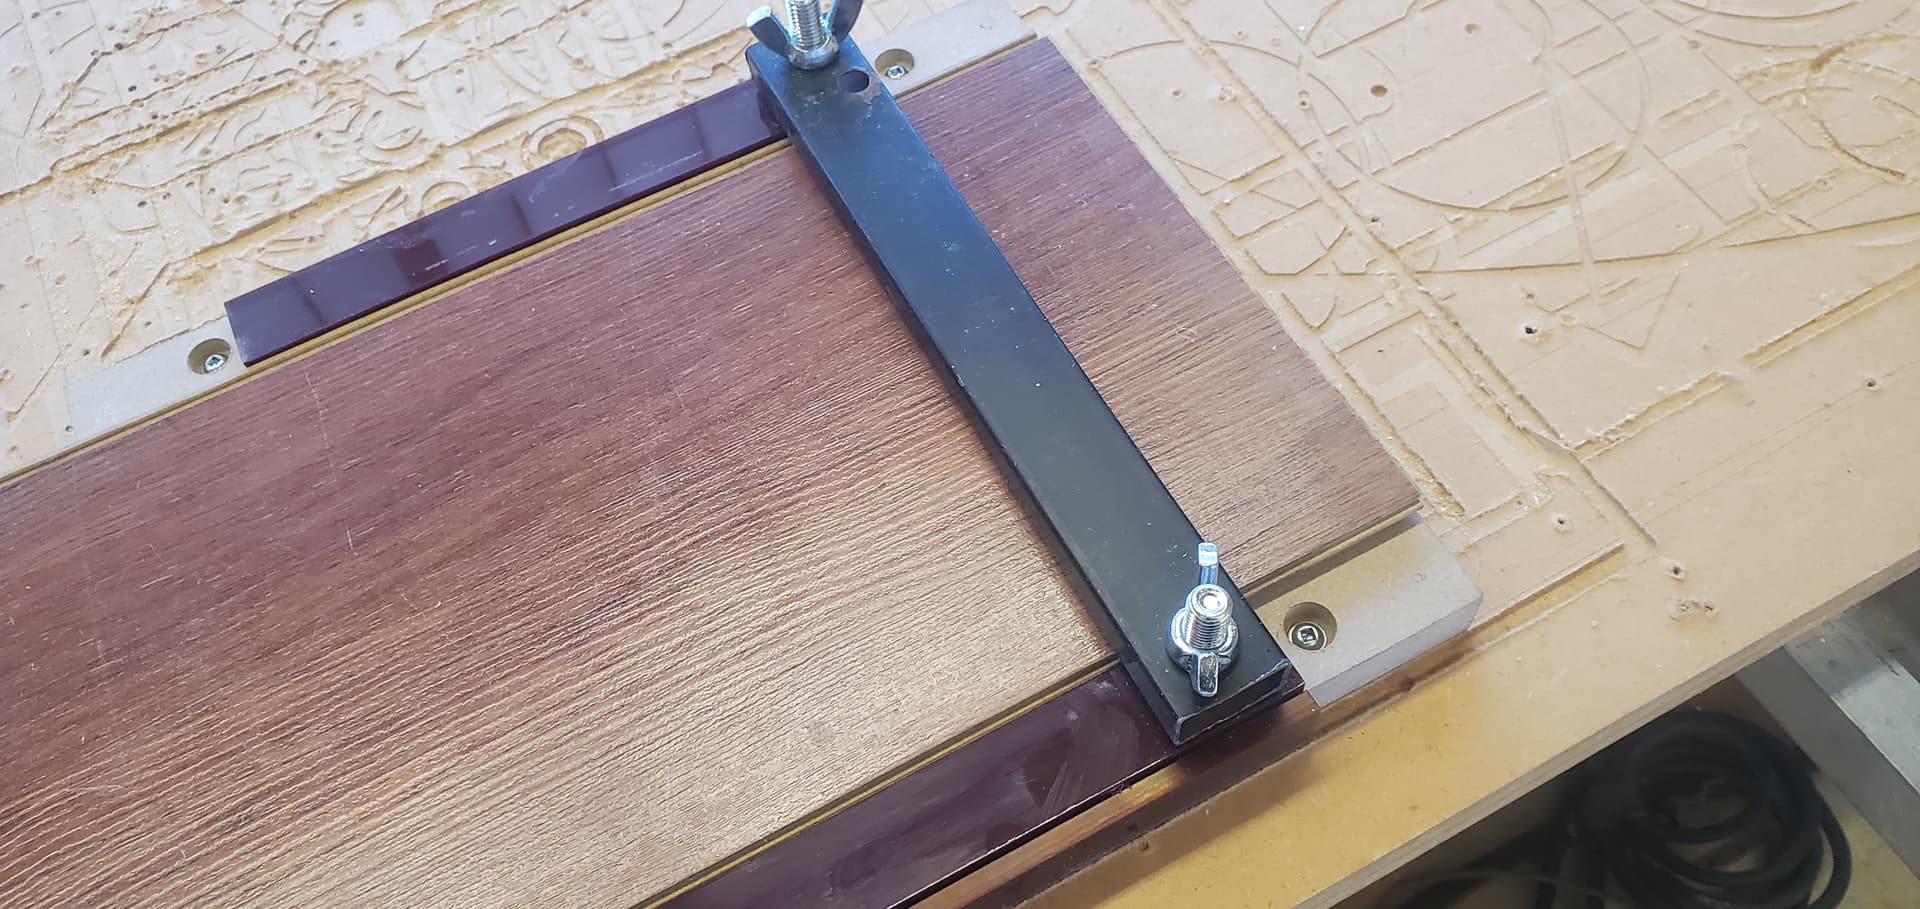
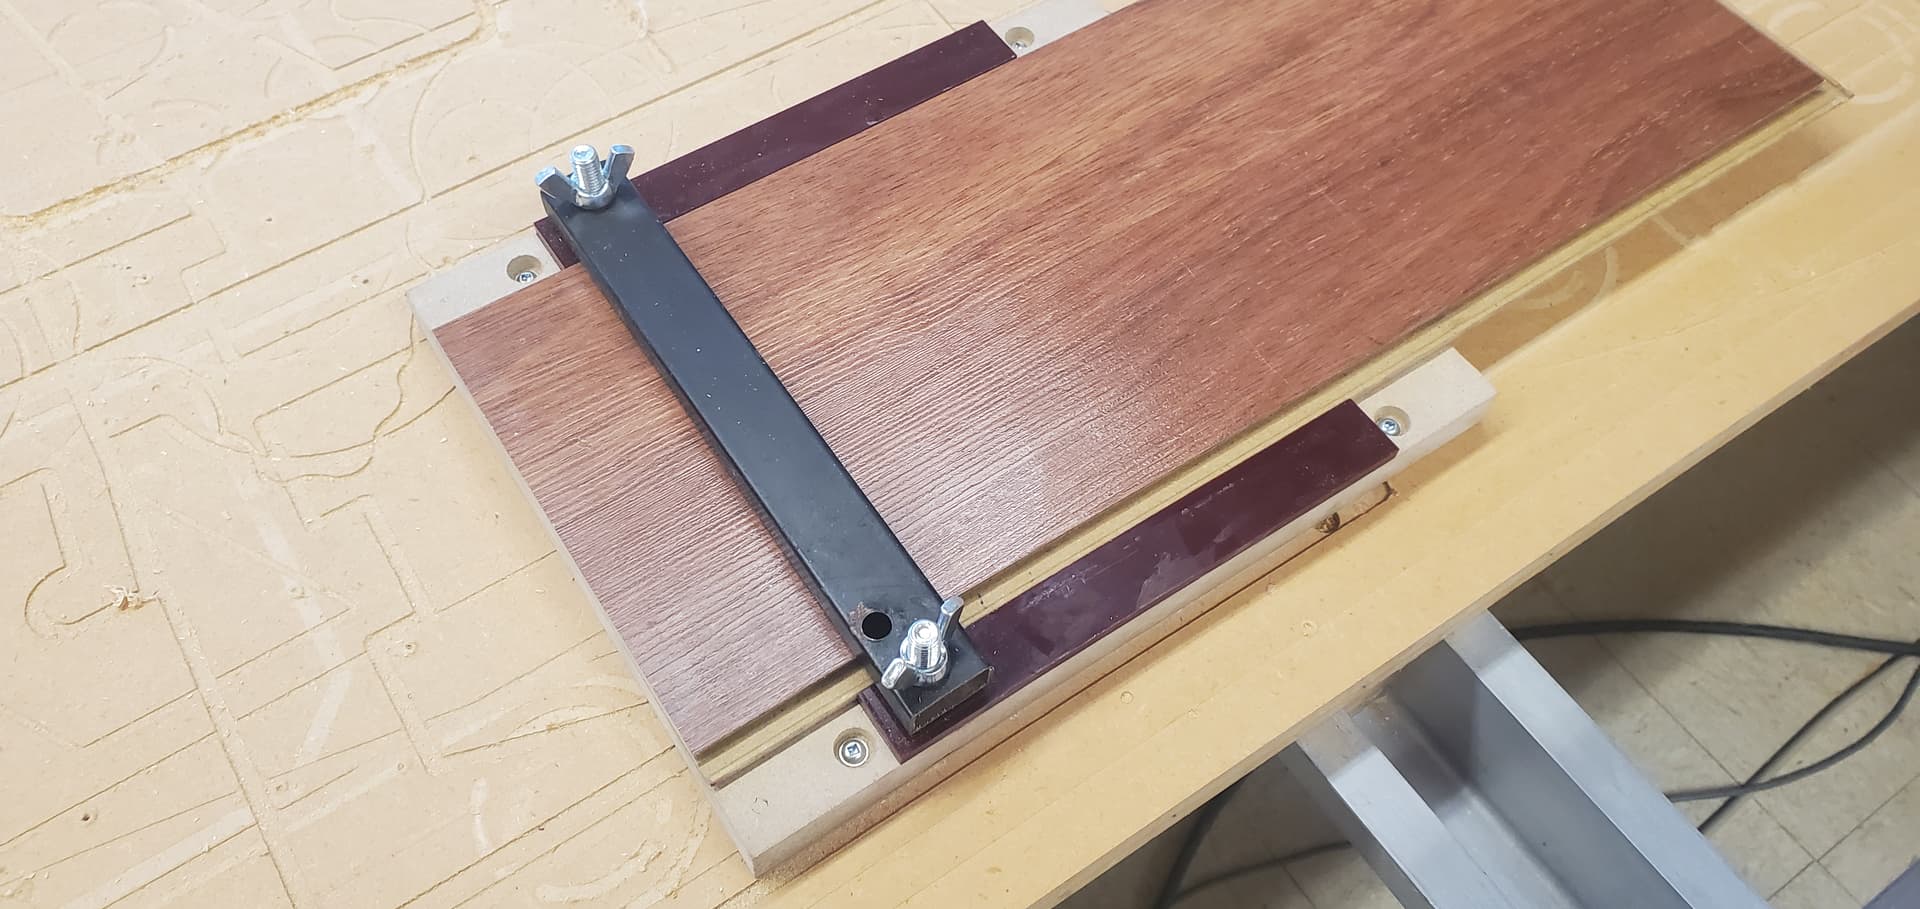
I would suggest taking a spoil board with some 1x2s screwed to it as an alignment board that you can bolt down to which ever machine you are using. Clamp fixtures attached to those 1x2s would definitely make it easy to swap out one piece of flooring for another. Once you have a board lined up the way you want, then you can assume your spoil board is square with the world and run the path over and over without even having to adjust the height of the cutter.
I believe it’s going to have to be both because of the undercut in the profile. The boards would be milled first and then have a single pass on the router for the undercut.
To hold it down, you might use bumpers with an alignment board (like a sacrificial 1x2), butt the edge up to that, and secure with carpet tape on that side and hold downs of some type on the other (or more carpet tape, or lengthwise boards over it, though of course, watch the clearance.) Remove the alignment board, run the profile. Take it up, put the board back and repeat. That way you’ve got a repeatable clearance. (I can’t think of a better way off the top of my head.) Then either turn it, or more likely use the router table for that undercut. (which will be difficult on the left/lower boards in the picture, but doable. I think.)
For the 1x2, also so you don’t have to worry about perfect placement, to get it square to the machine, initially mark it, tape it down, and run the shopbot along it, get rid of the tape then do the above.
The material is really nothing more than mdf, which side from the mess it makes, is plenty easy to work with.
The length of planks dictates that it will be done on the router, not the mill.
Which side do you need to replicate?
If it can be done in a single pass, a custom tool can be made to rout the profile. I beloved a piece of 2", maybe 1.5" would be enough to produce a tool to do that. Depending on how many linear feet, it sold do it on the original sharpening.
The other option would be multiple passes with simpler tooling. Sloped surfaces could be done with a ball nose and some Kellering. A woodruff key cutter could create the undercut.
When does the project have to be completed?
Edit: it does look like two passes are required either way. The profile has a feature that I didn’t notice the first time.
Carpet tape is a good work holding solution for some jobs but I wouldn’t use it for this. The time spent removing parts, replacing the tape when it gets dirty, dealing with the work being too high because some debris got stuck to the tape, etc. Just isn’t worth it. A good clamping job with a couple of cauls would be easier and faster for this.