The Blinky Badge
I’ve had an idea for some time now of a PCB board badge that has our logo. It started off when we were doing soldering at STEAM City at Riverfest one year and I thought “man I wish we could do these with our logo” The idea rattled around in my head and recently I Put my skills to use and laid one out.
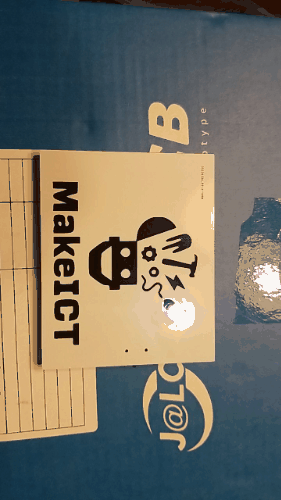
The idea behind these is to spread the word about MakeICT. So the back has our address and website, the front has our logo and a bright sparkly LED. I’d like to see these taken to events where a volenteer helps people assemble their own. “look what I made at we should check this place out they were cool!”.
So here is how one assembles it.
Take a board
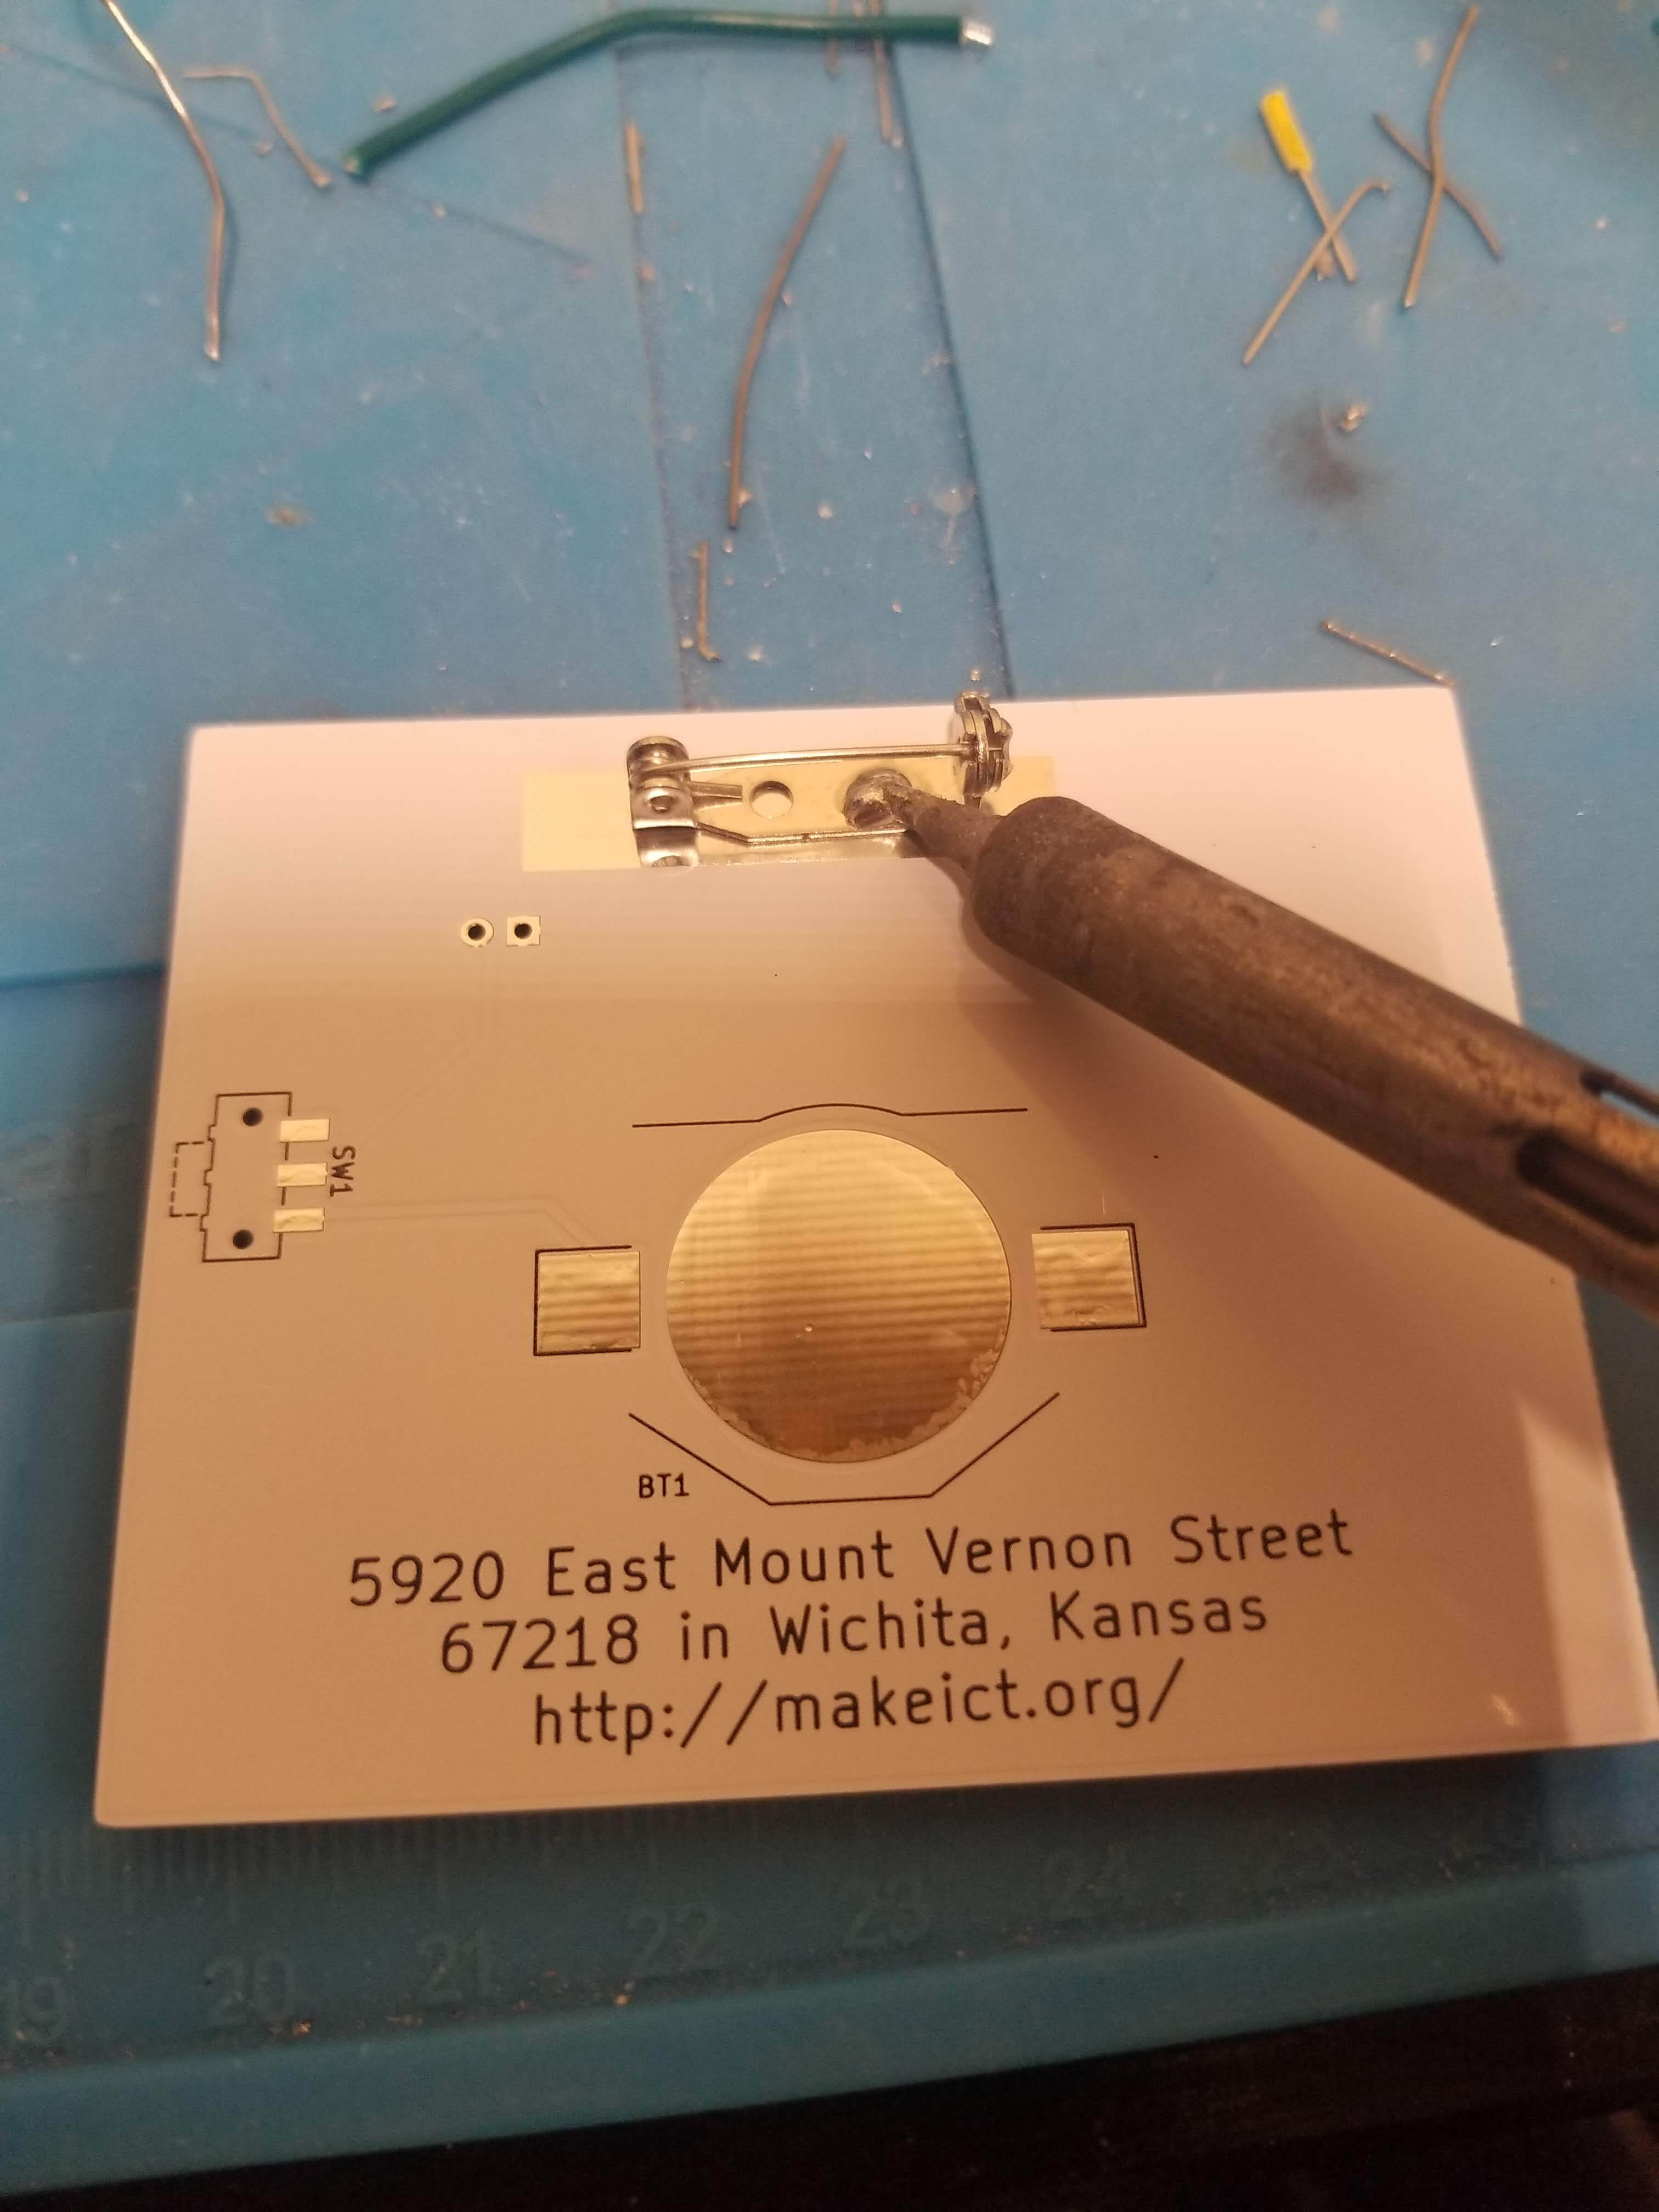
Solder on the Pin, it can be glued, but you have a hot iron right there so why not.
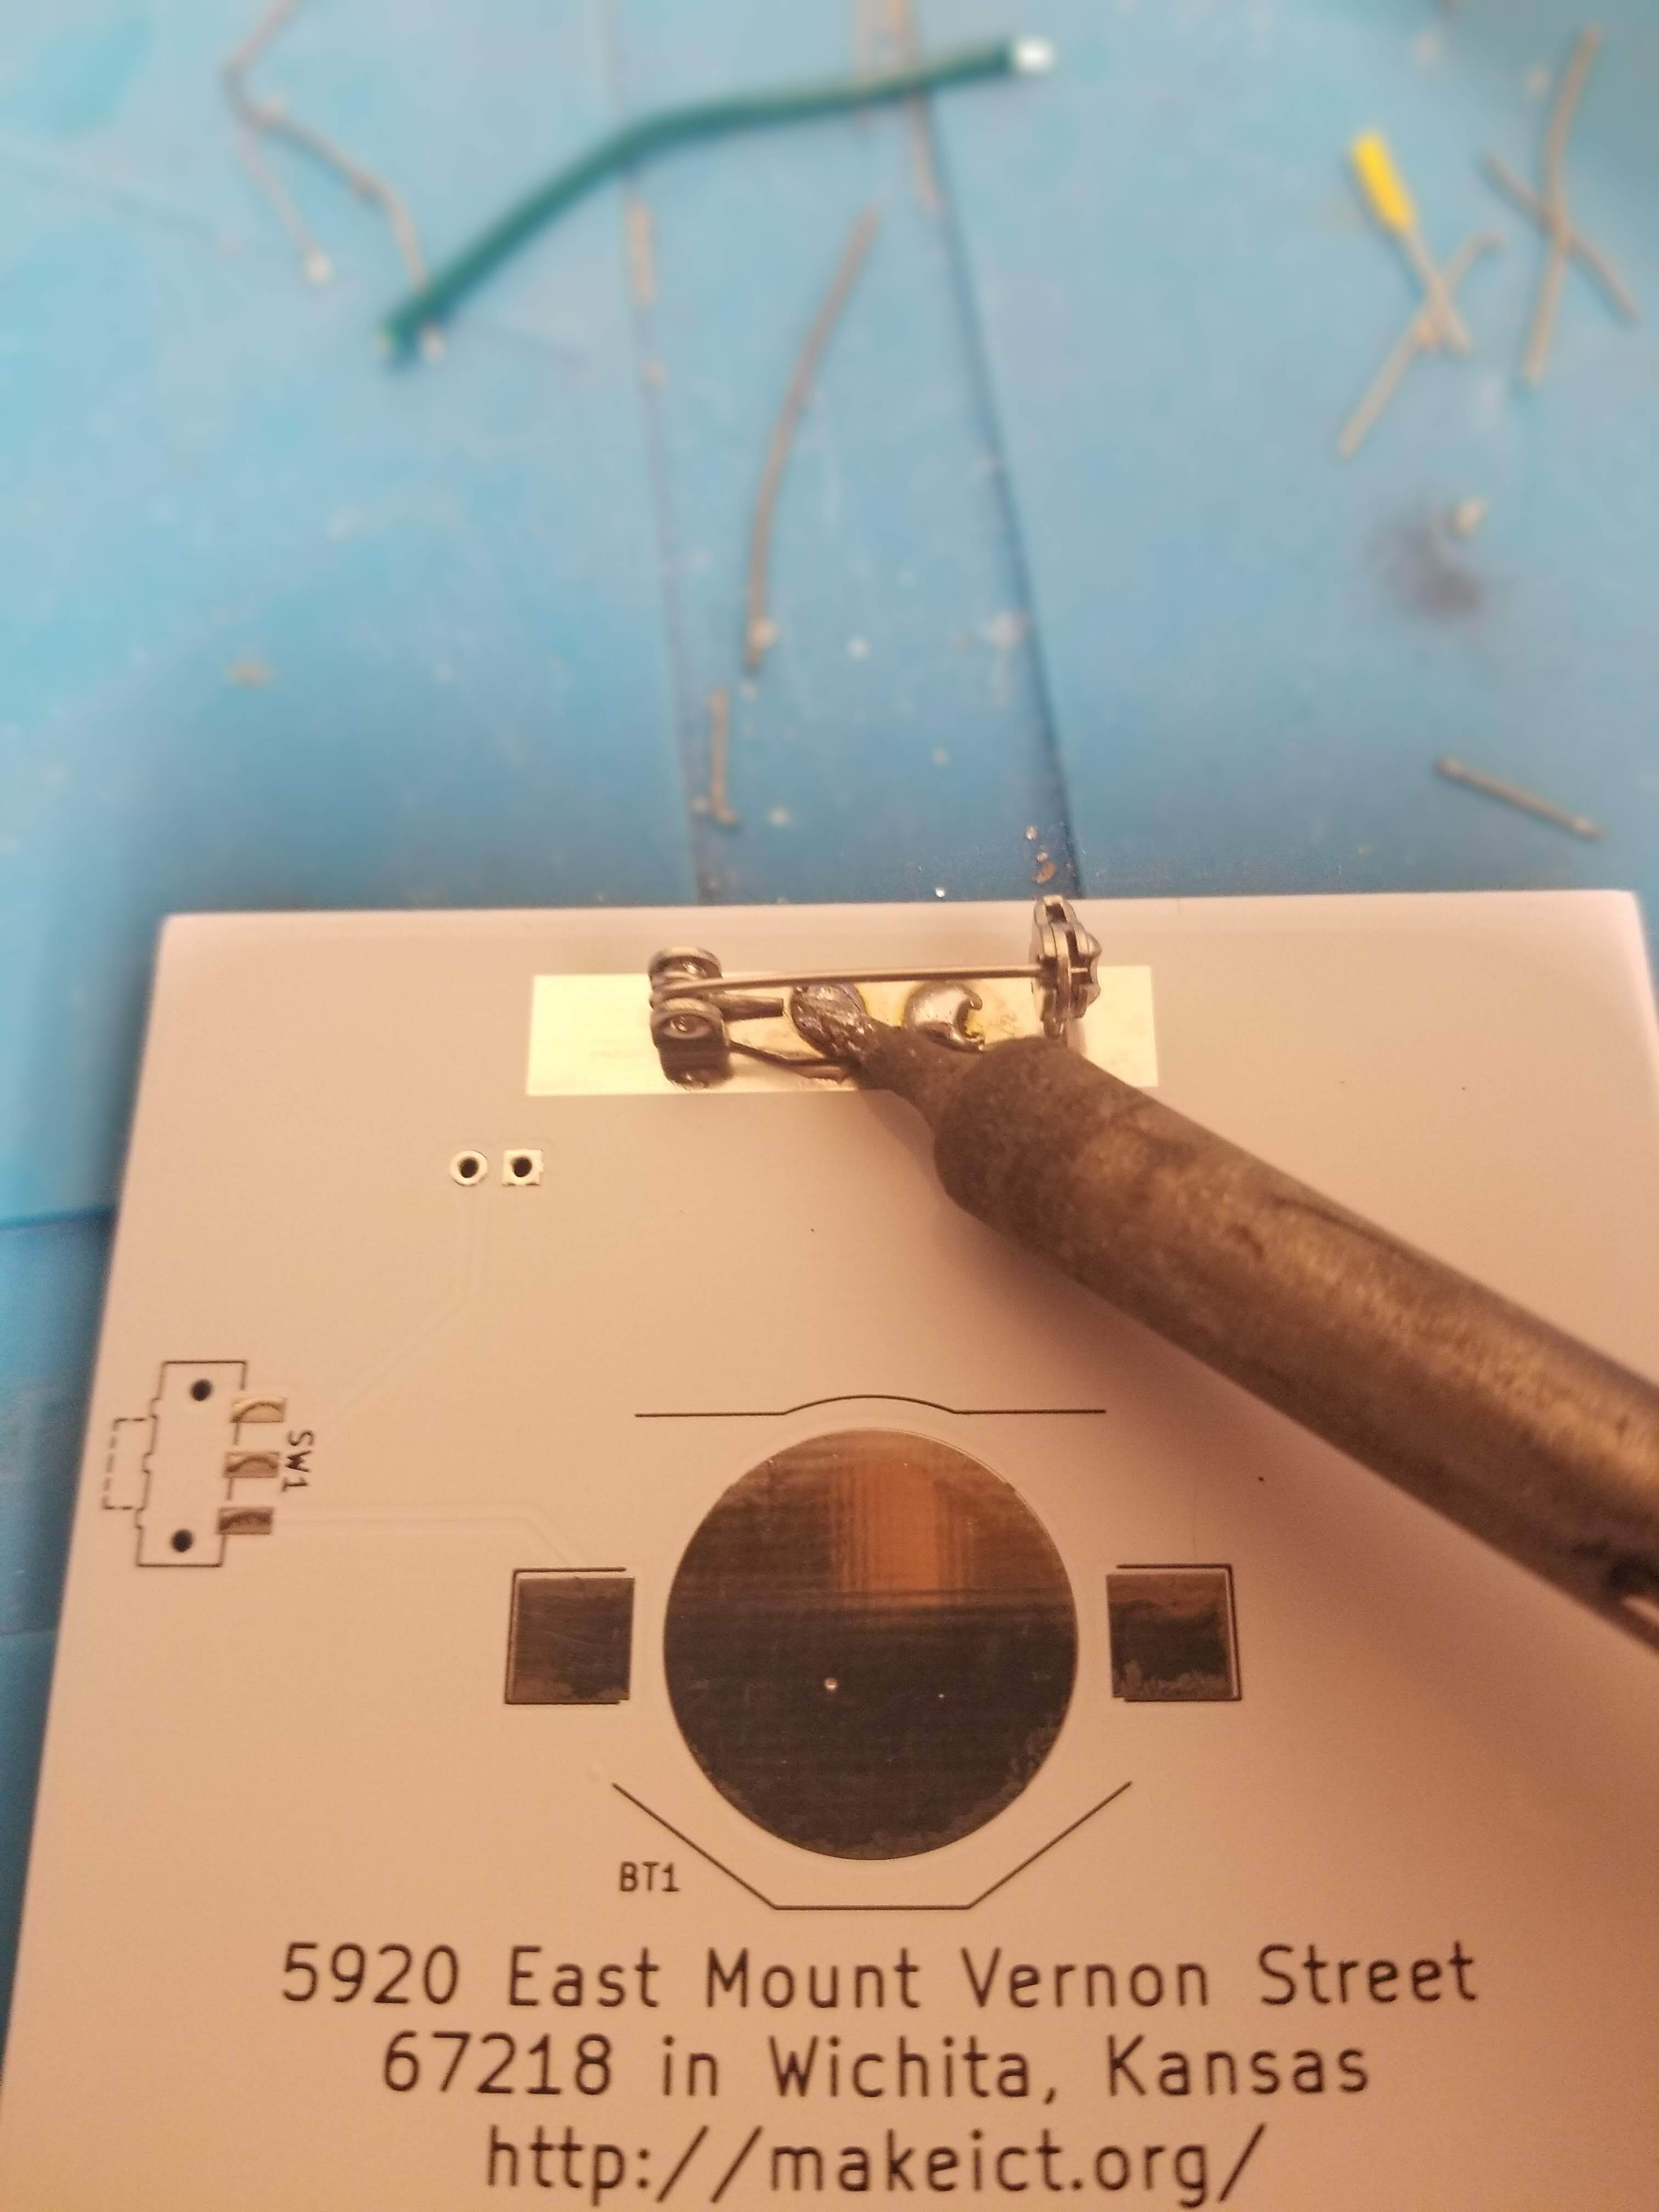
solder down both sides of the pin…
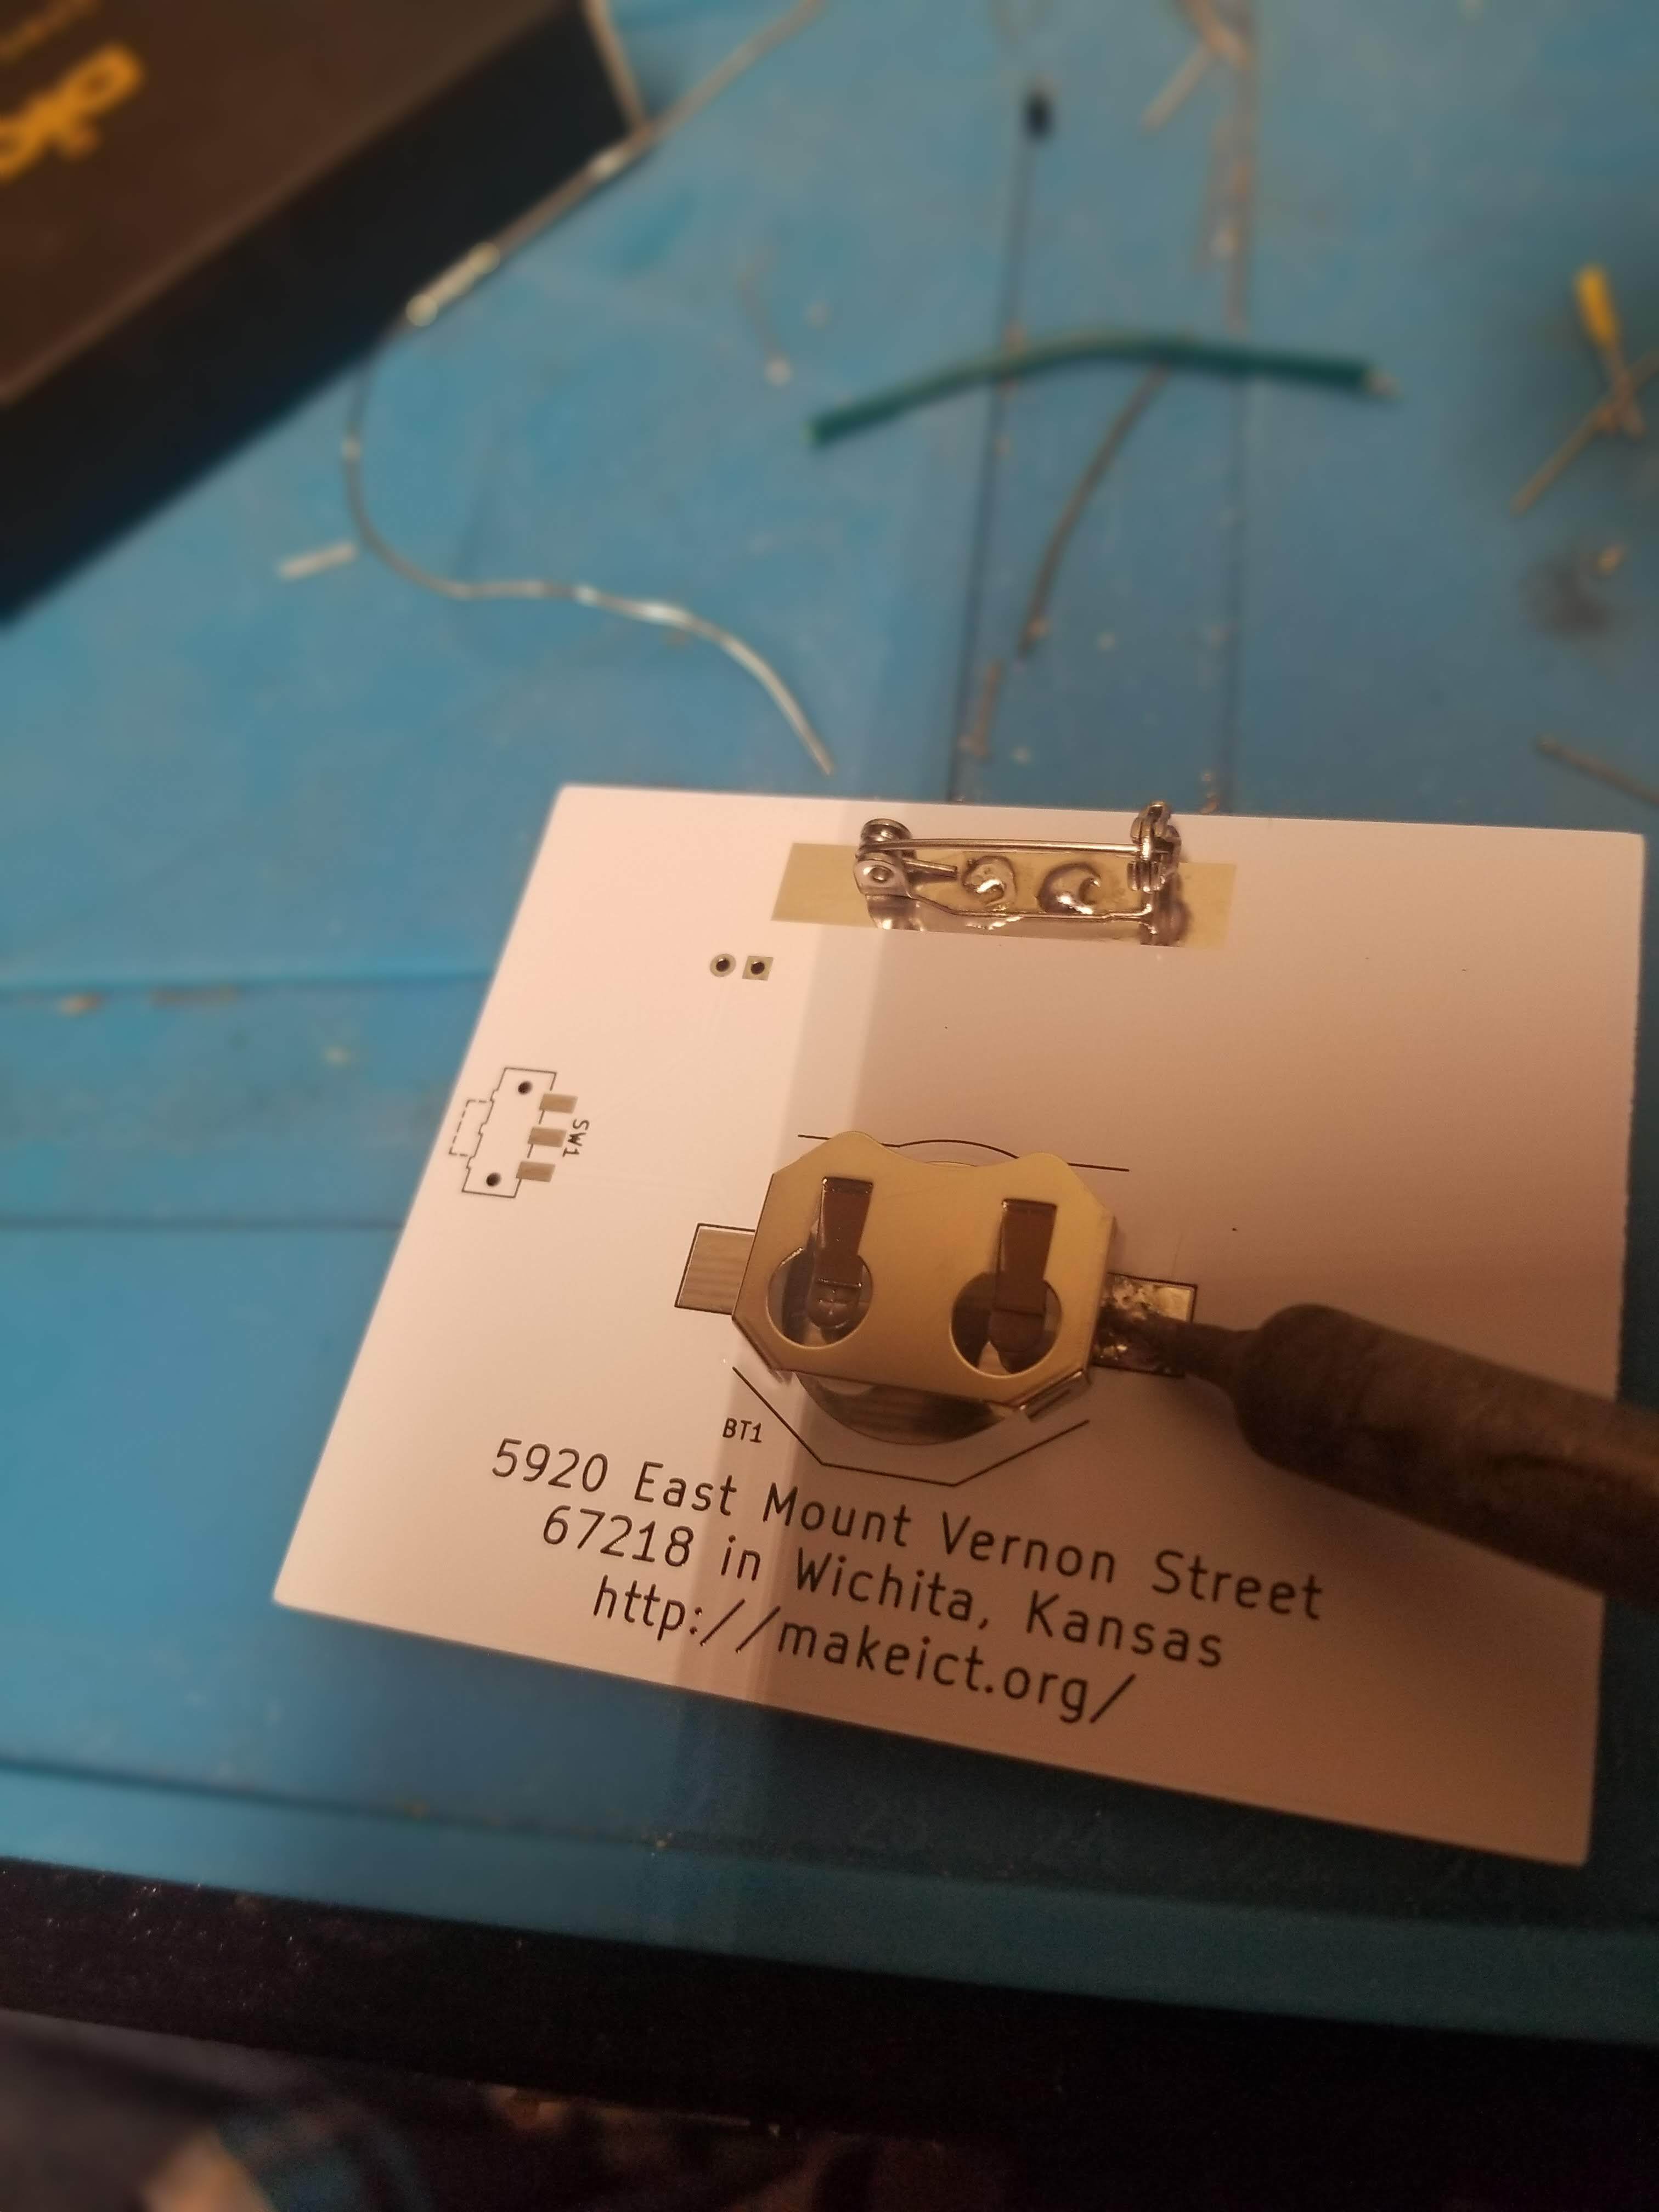
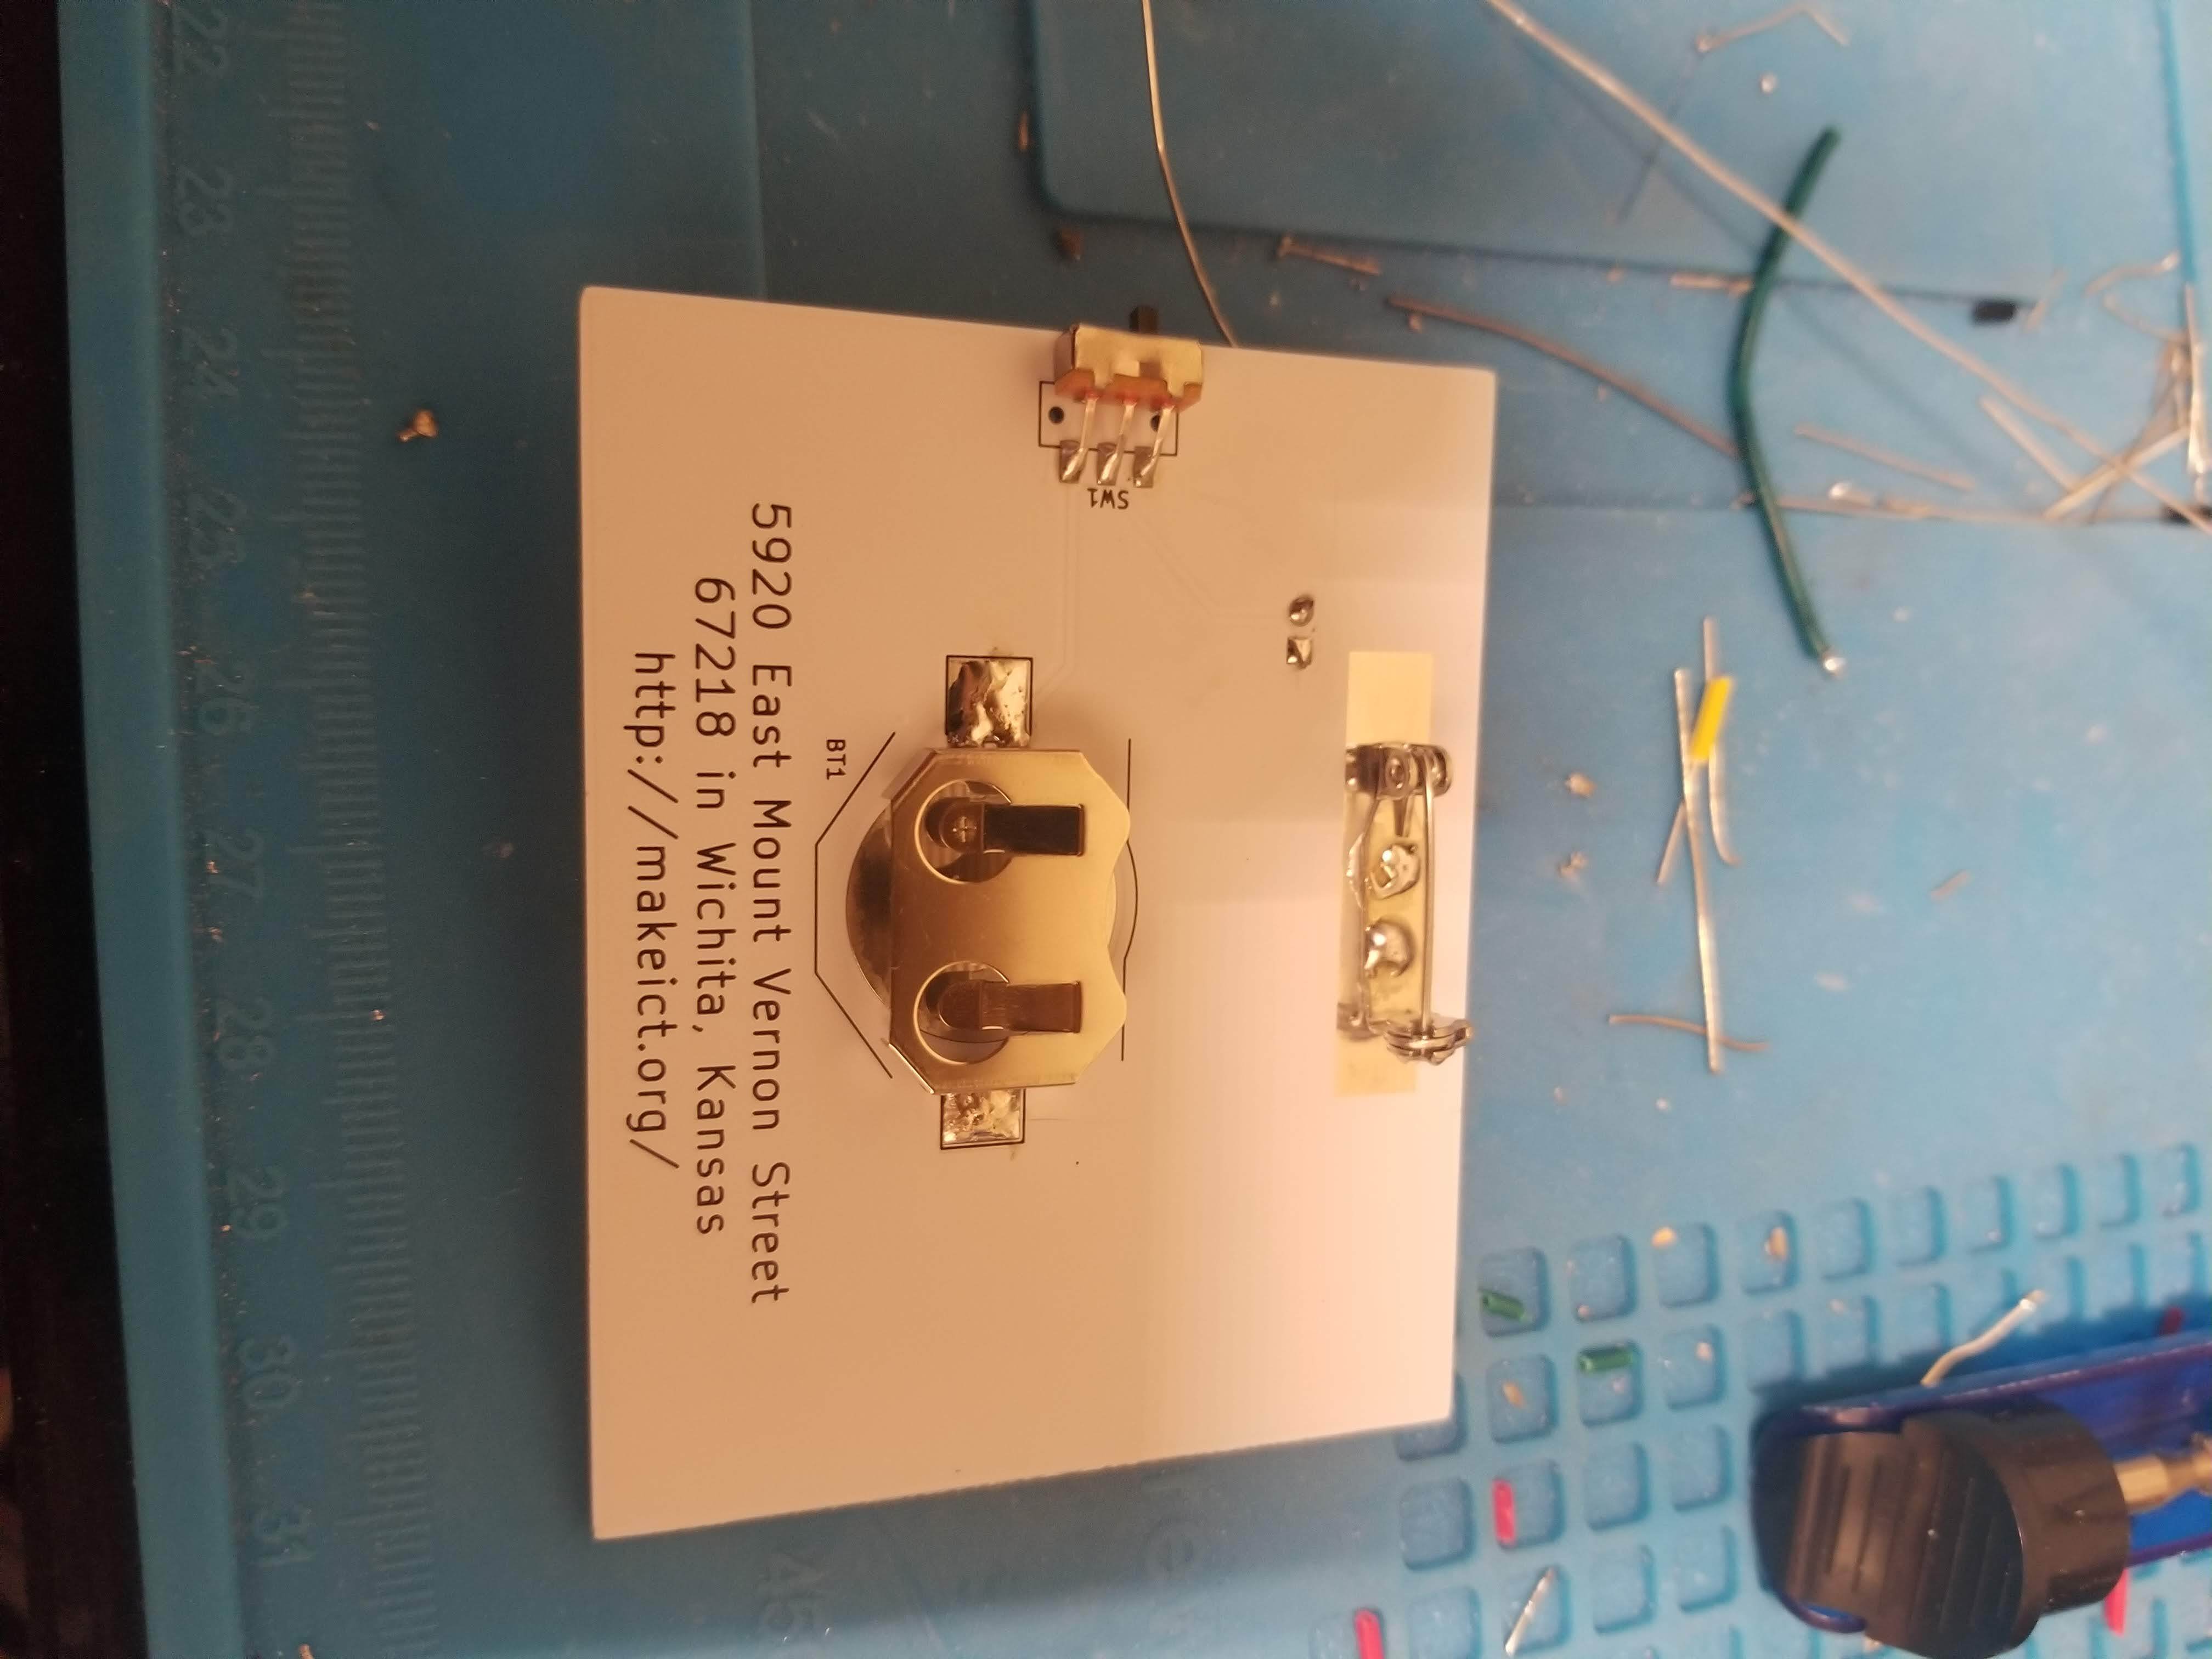
Solder down one side of the battery holder
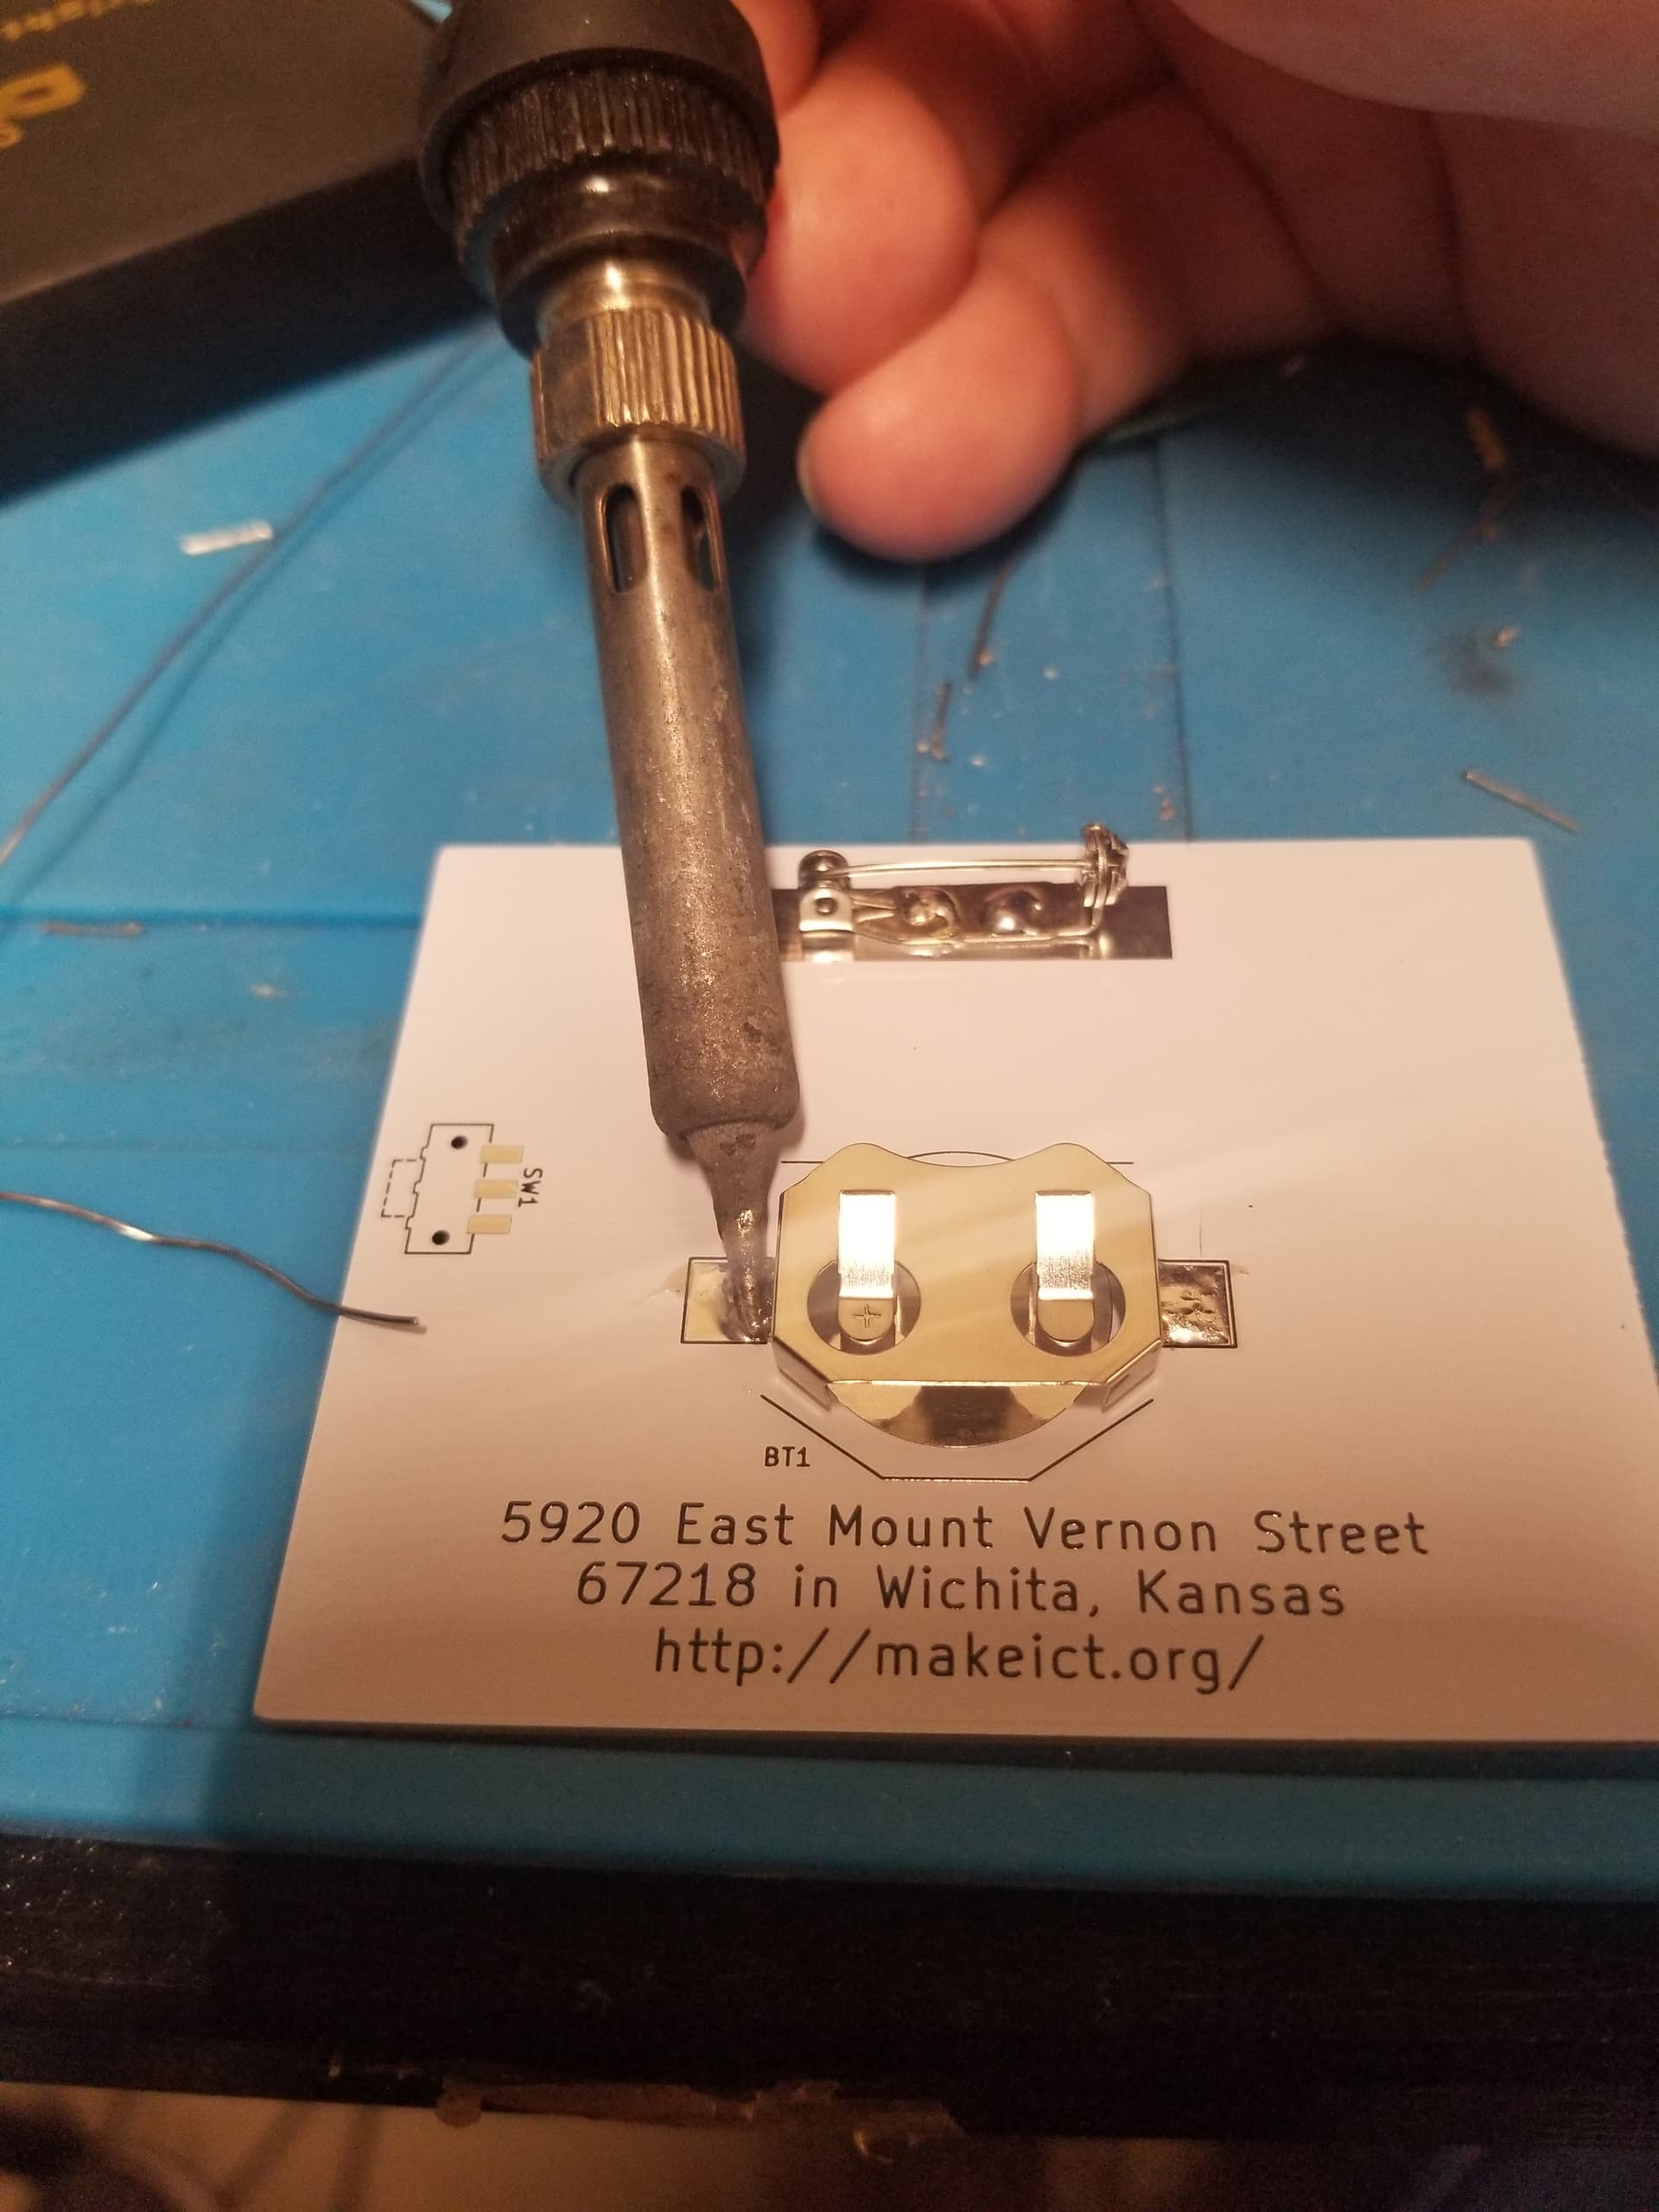
And the other side of the battery holder
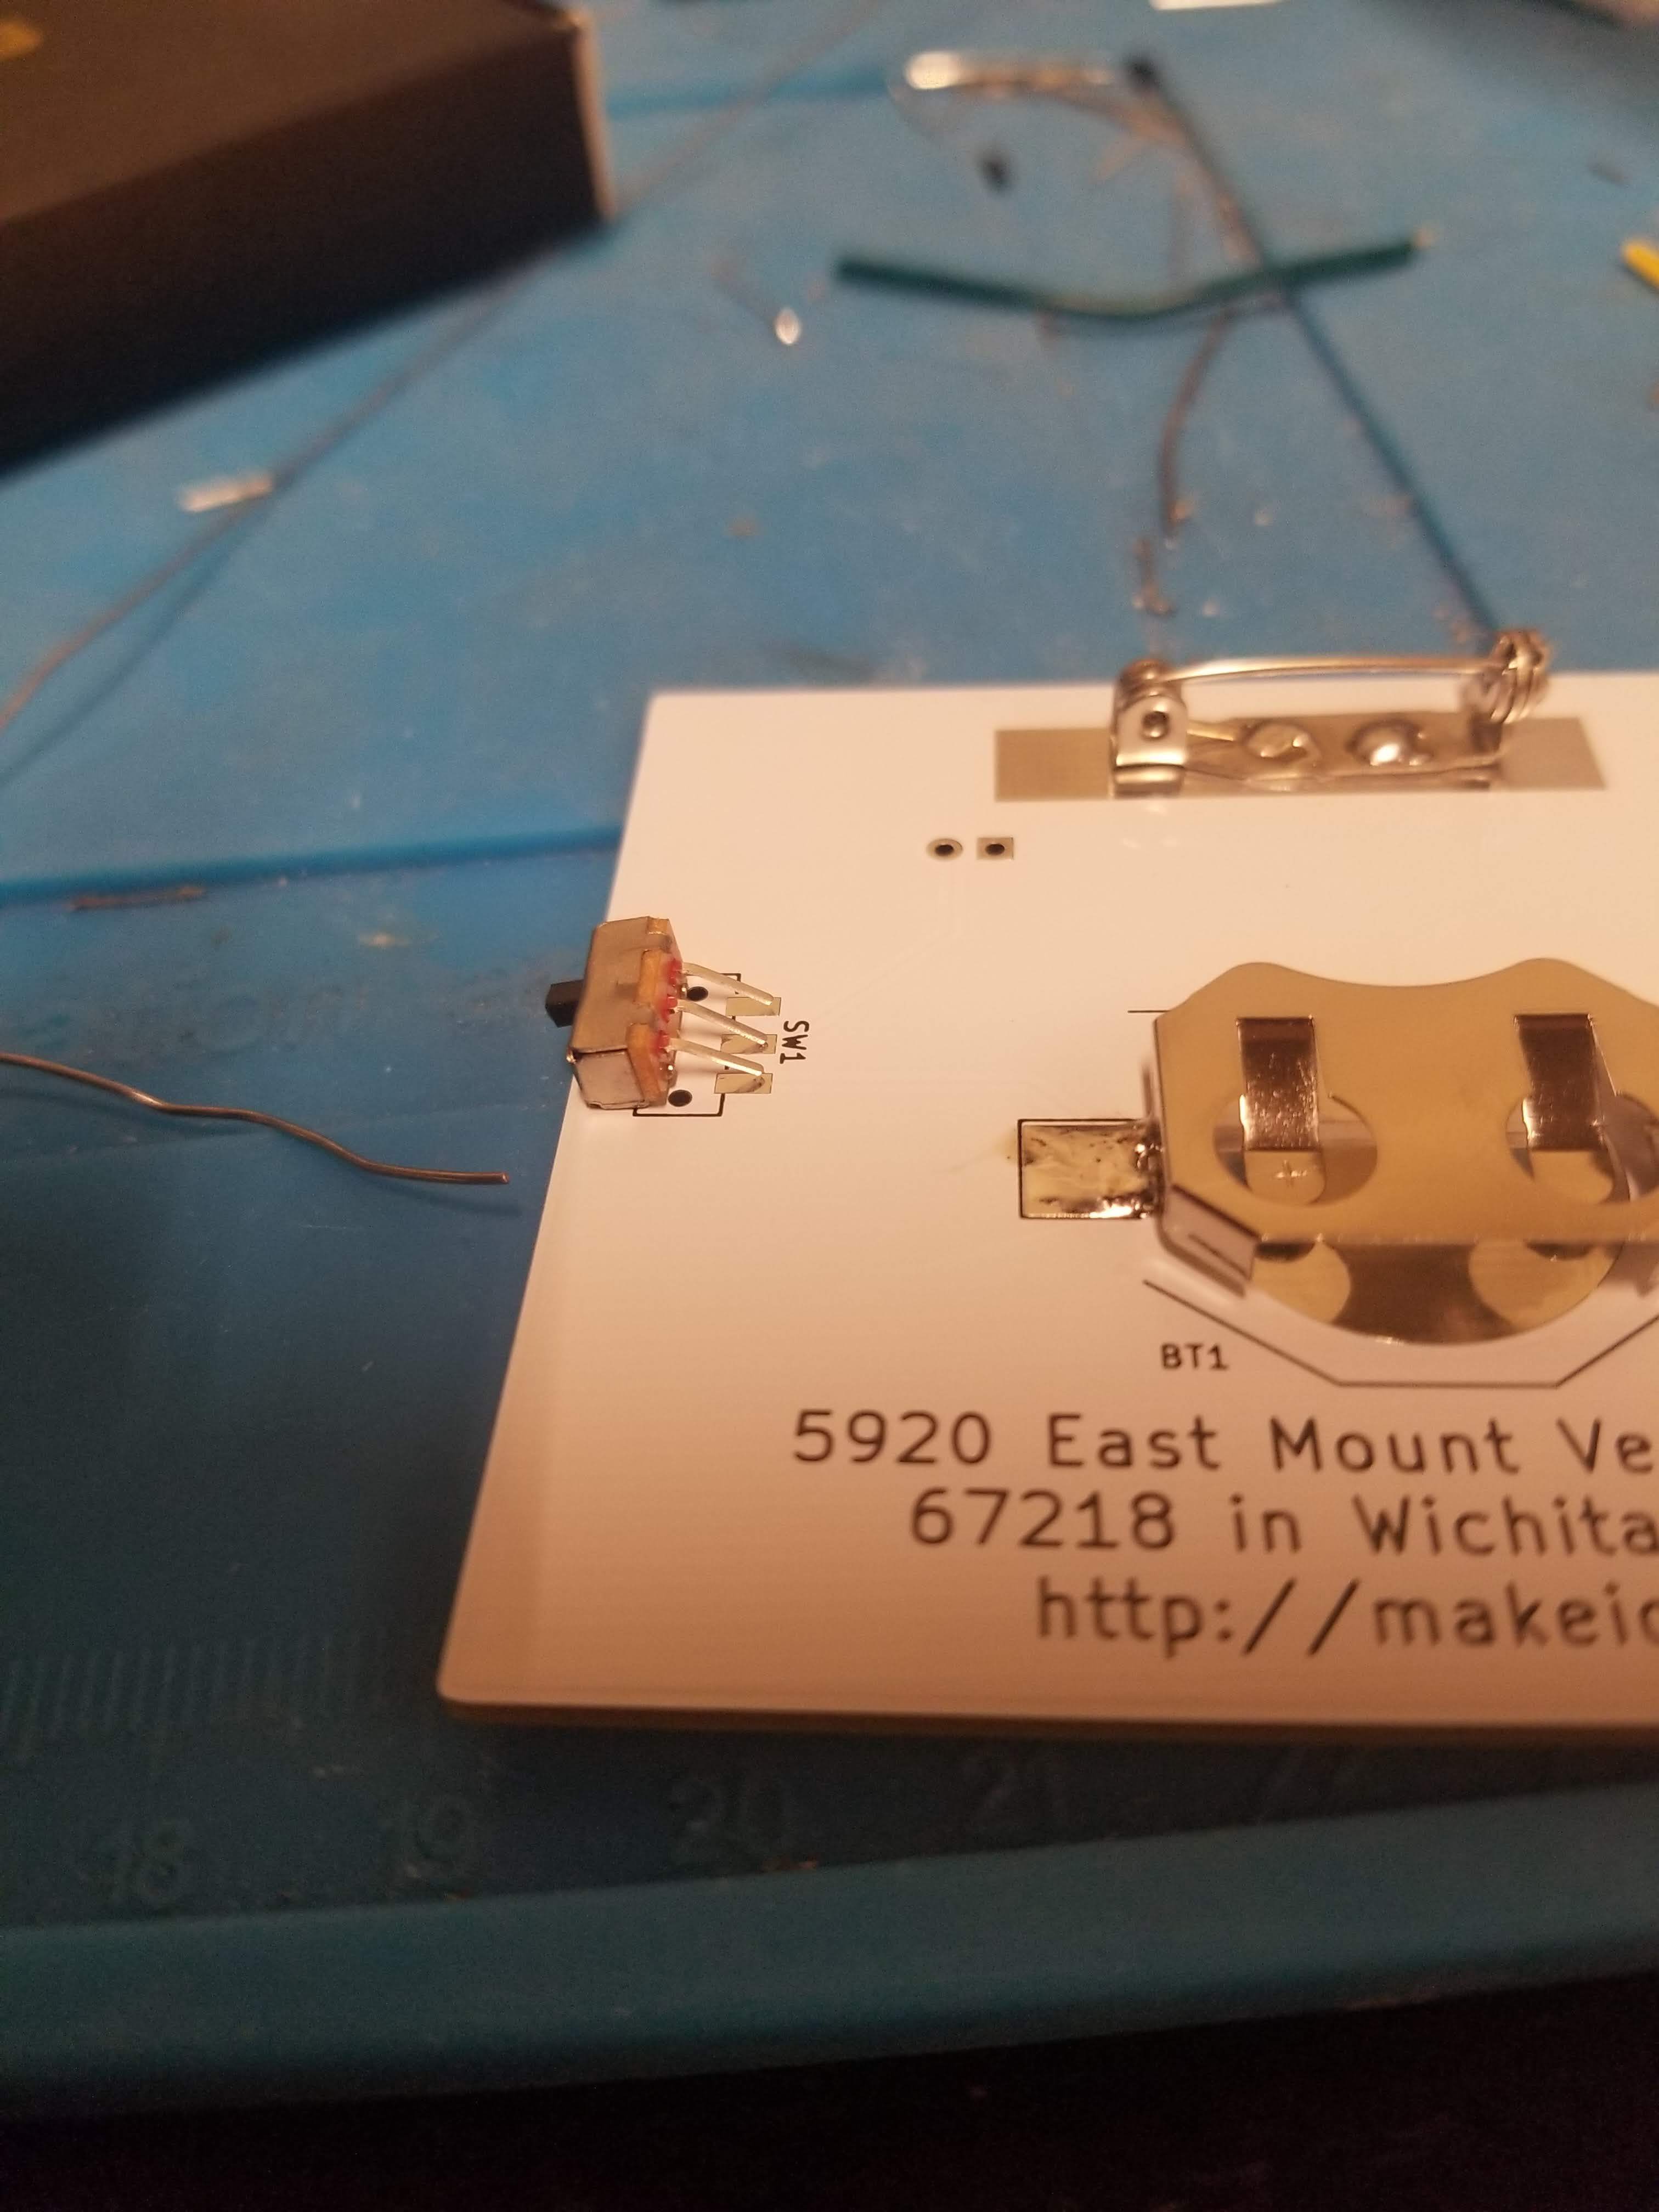
You may need to bend the leads of the switch a little
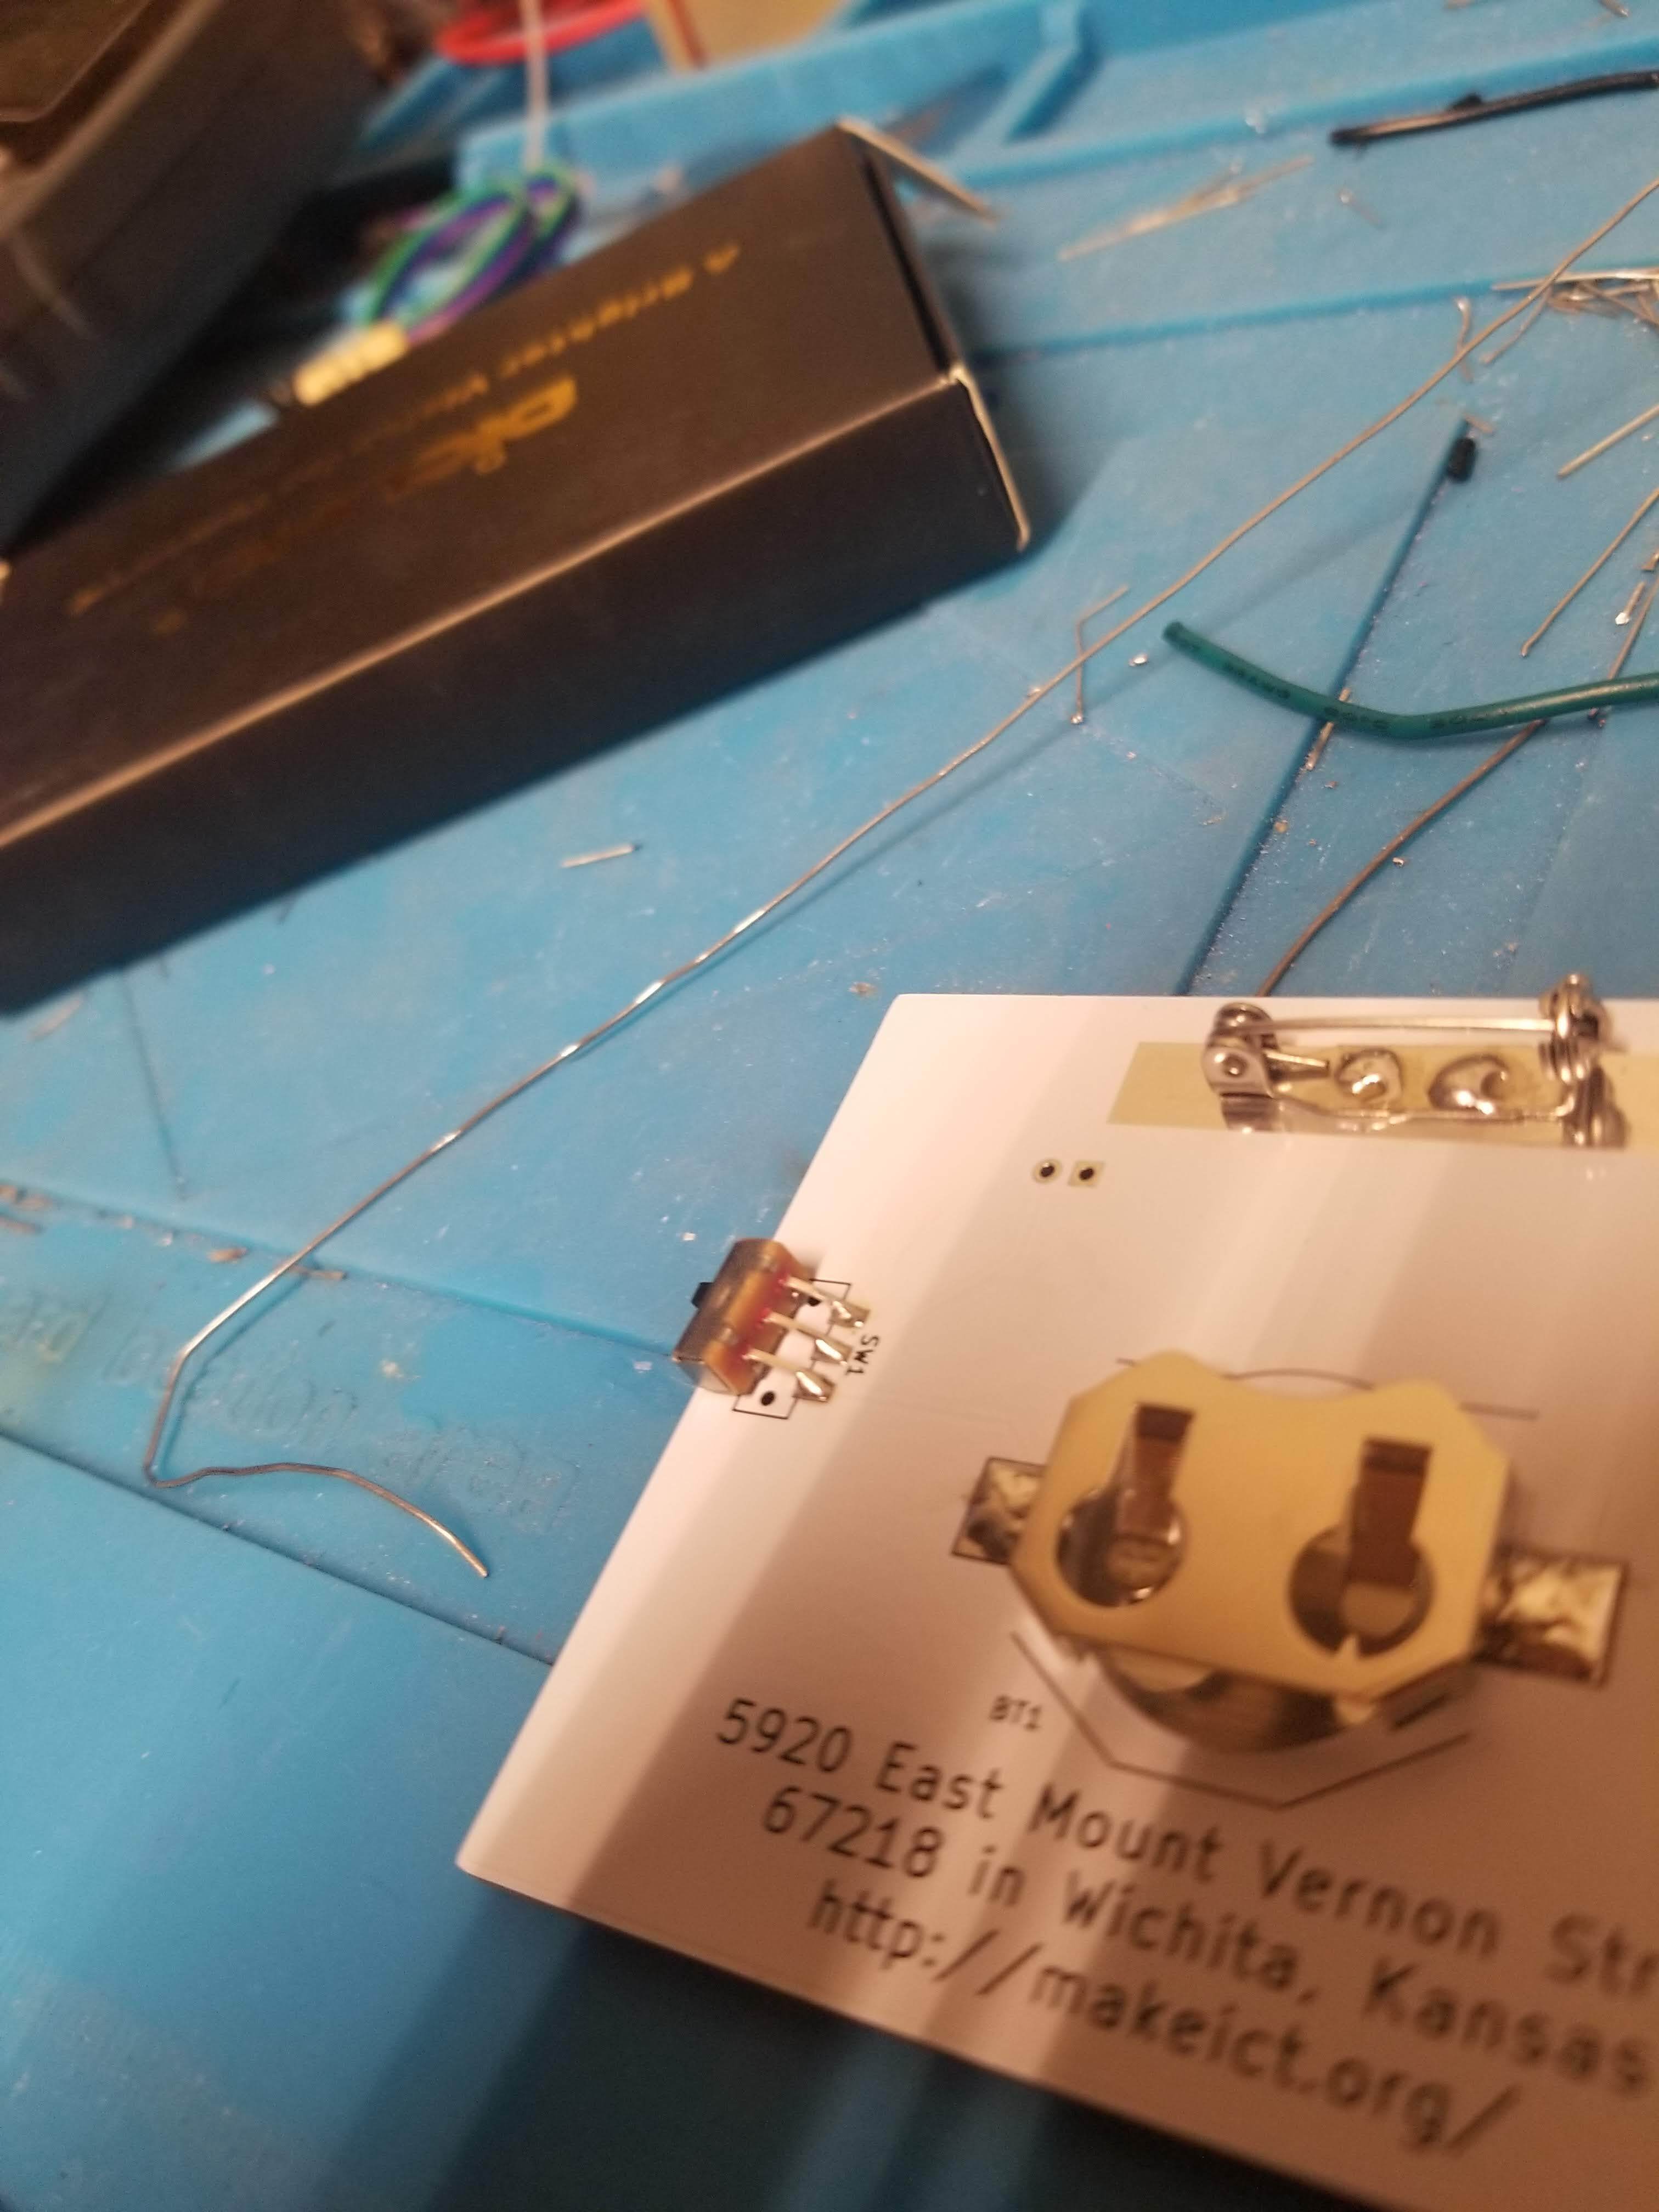
and solder down the switch.
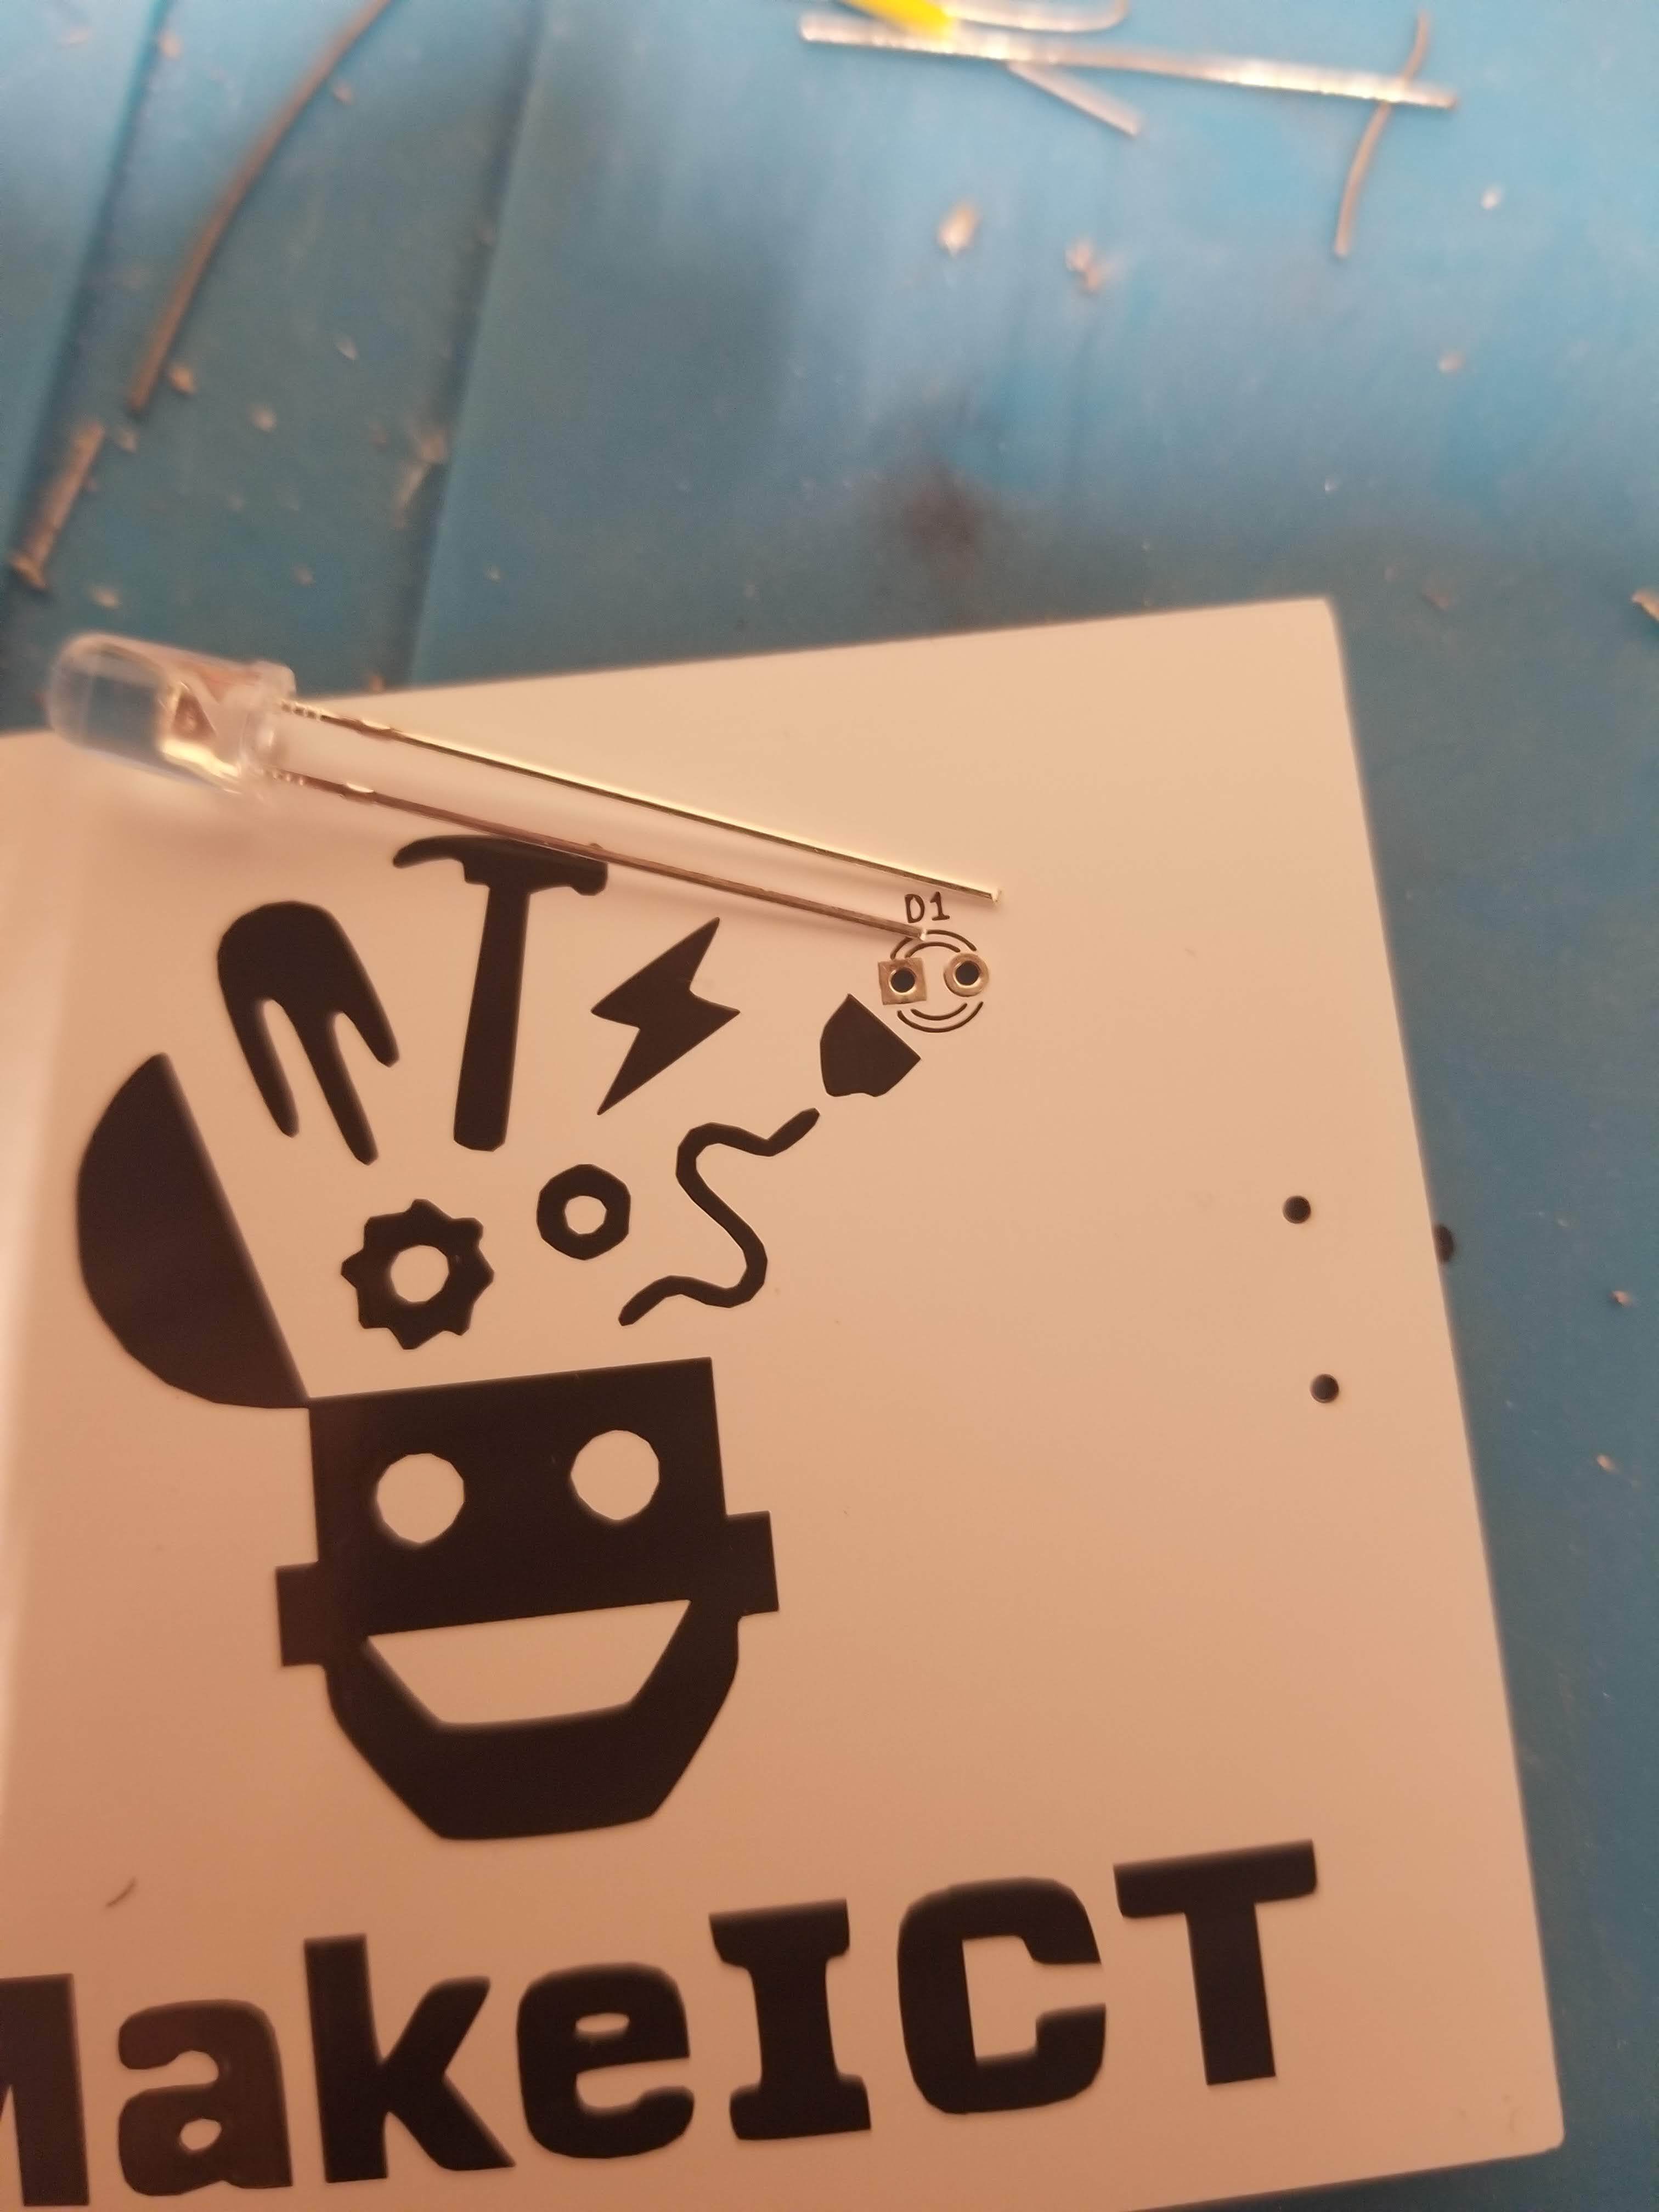
Put the LED in with the long lead in the round side, and the short lead in the square side.
and solder in the LED, trim the leads, all that jazz.
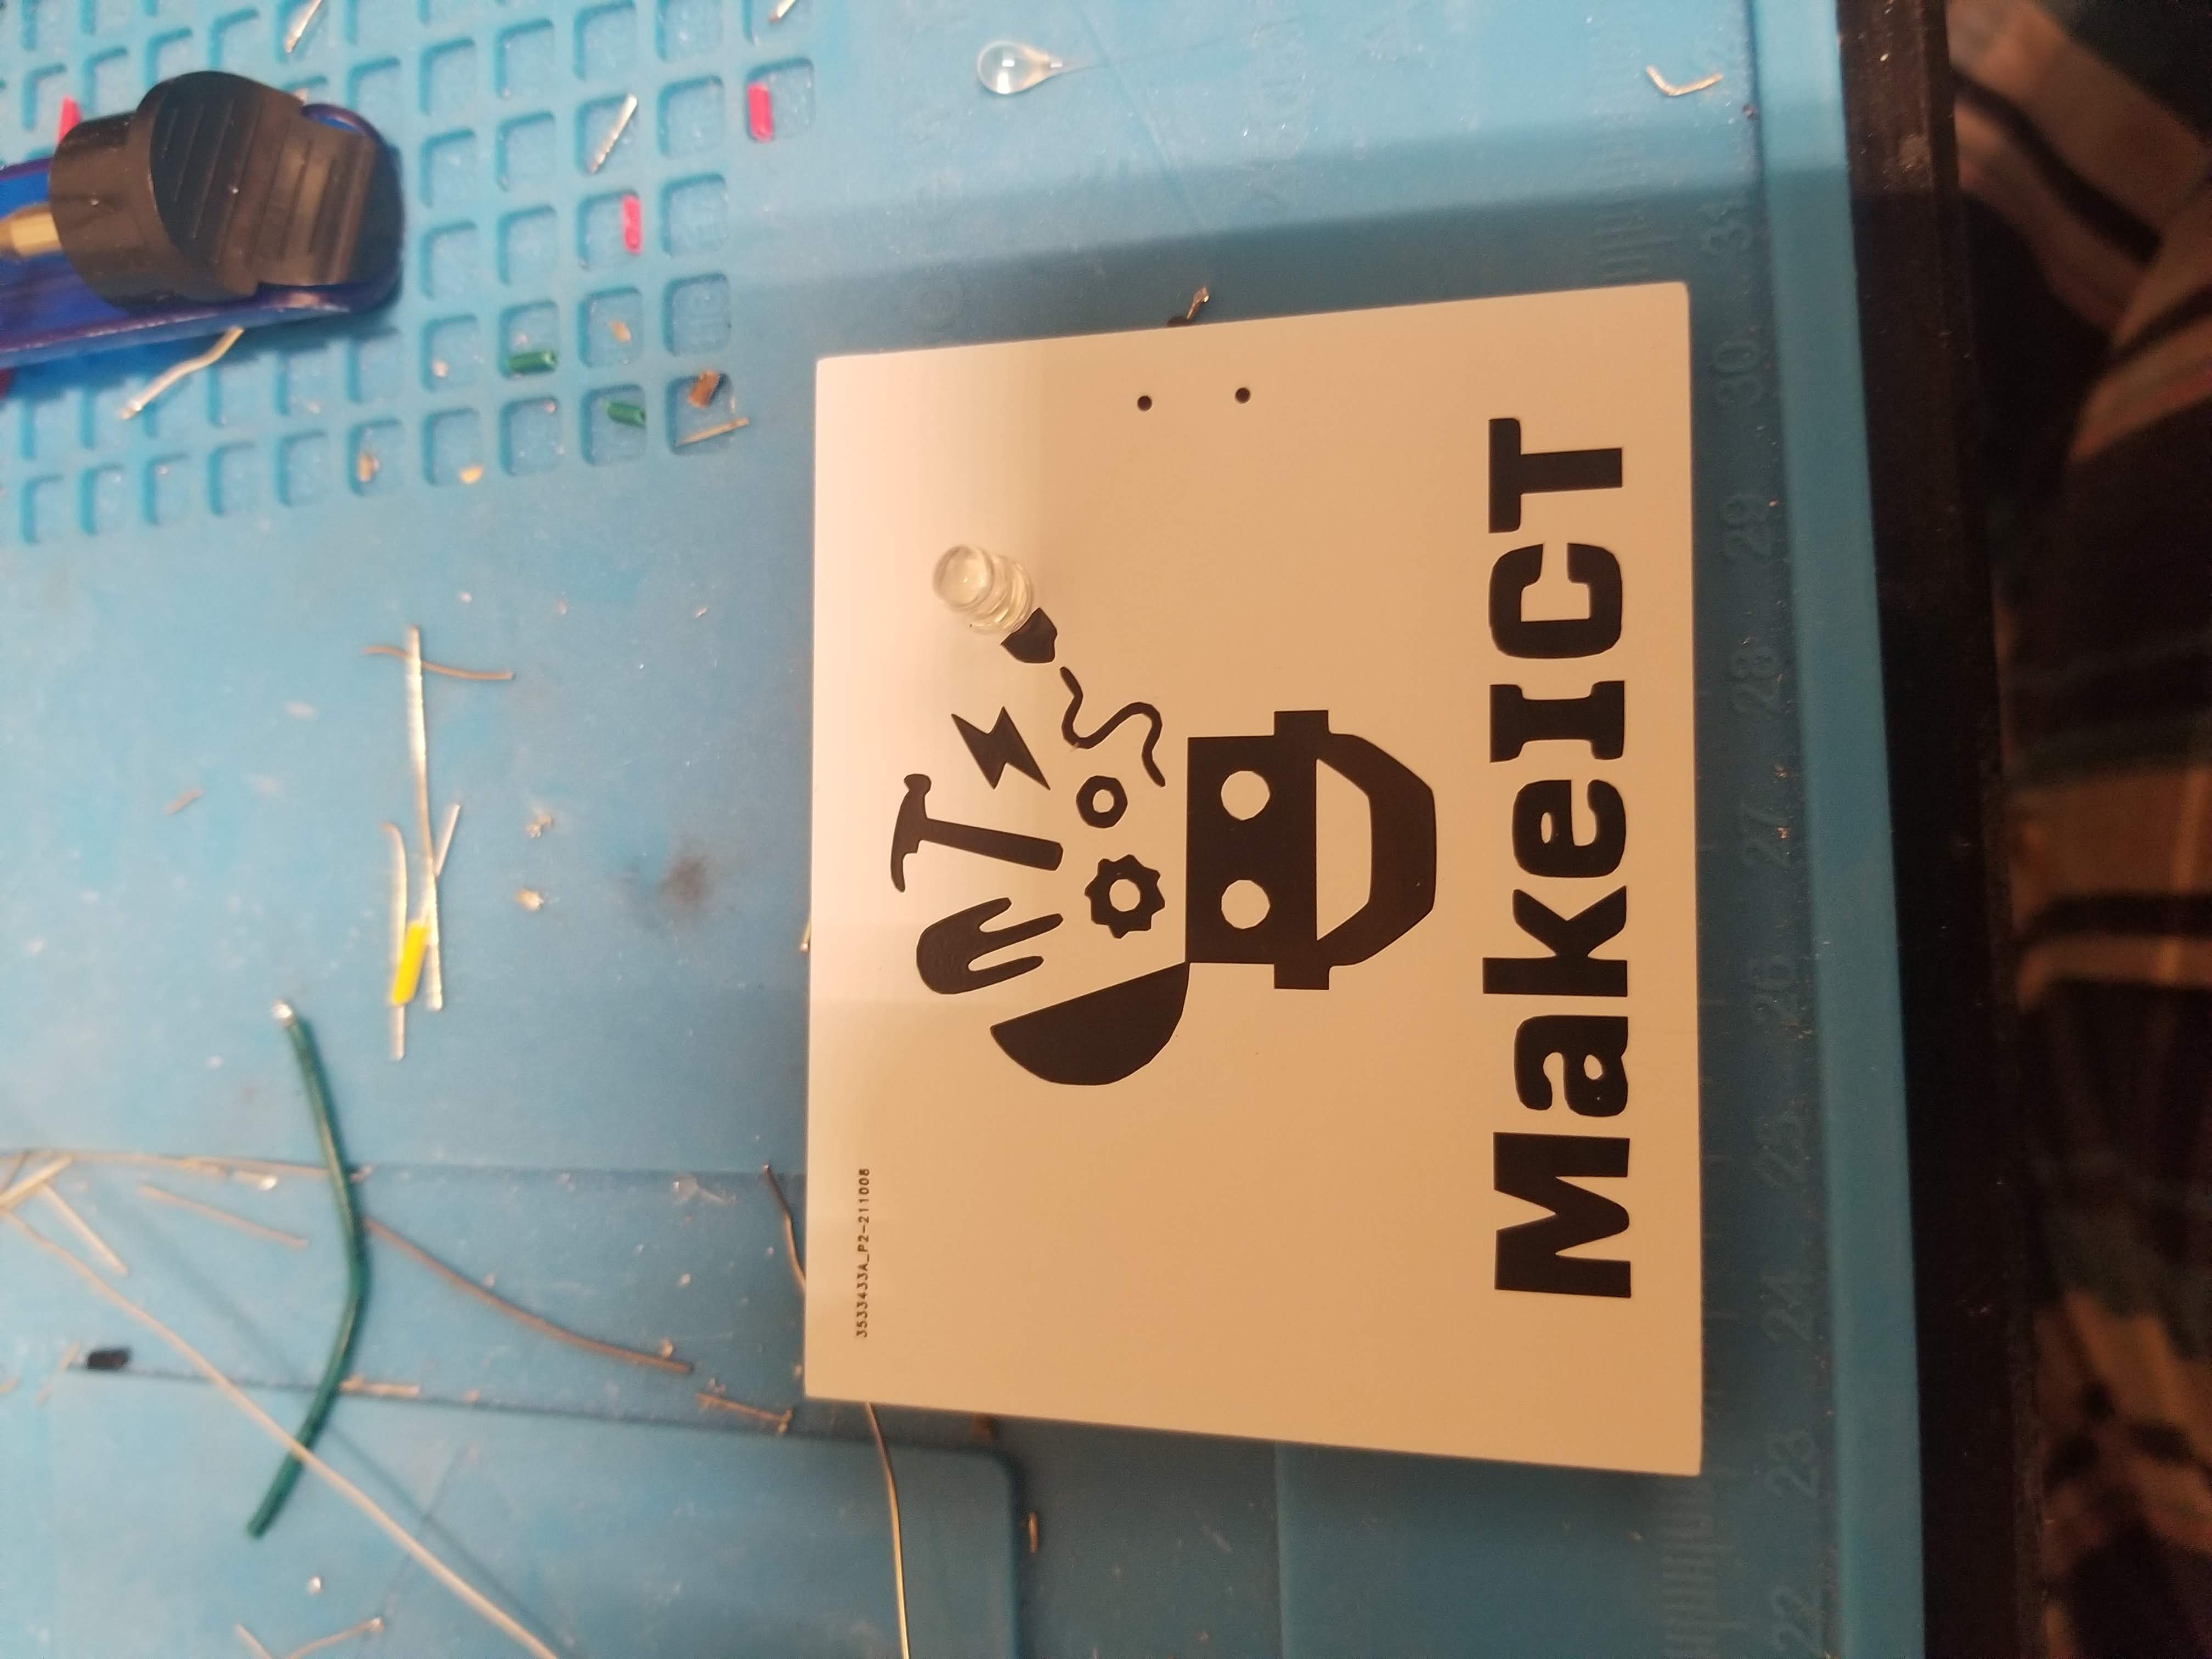
and you have a finished Badge!

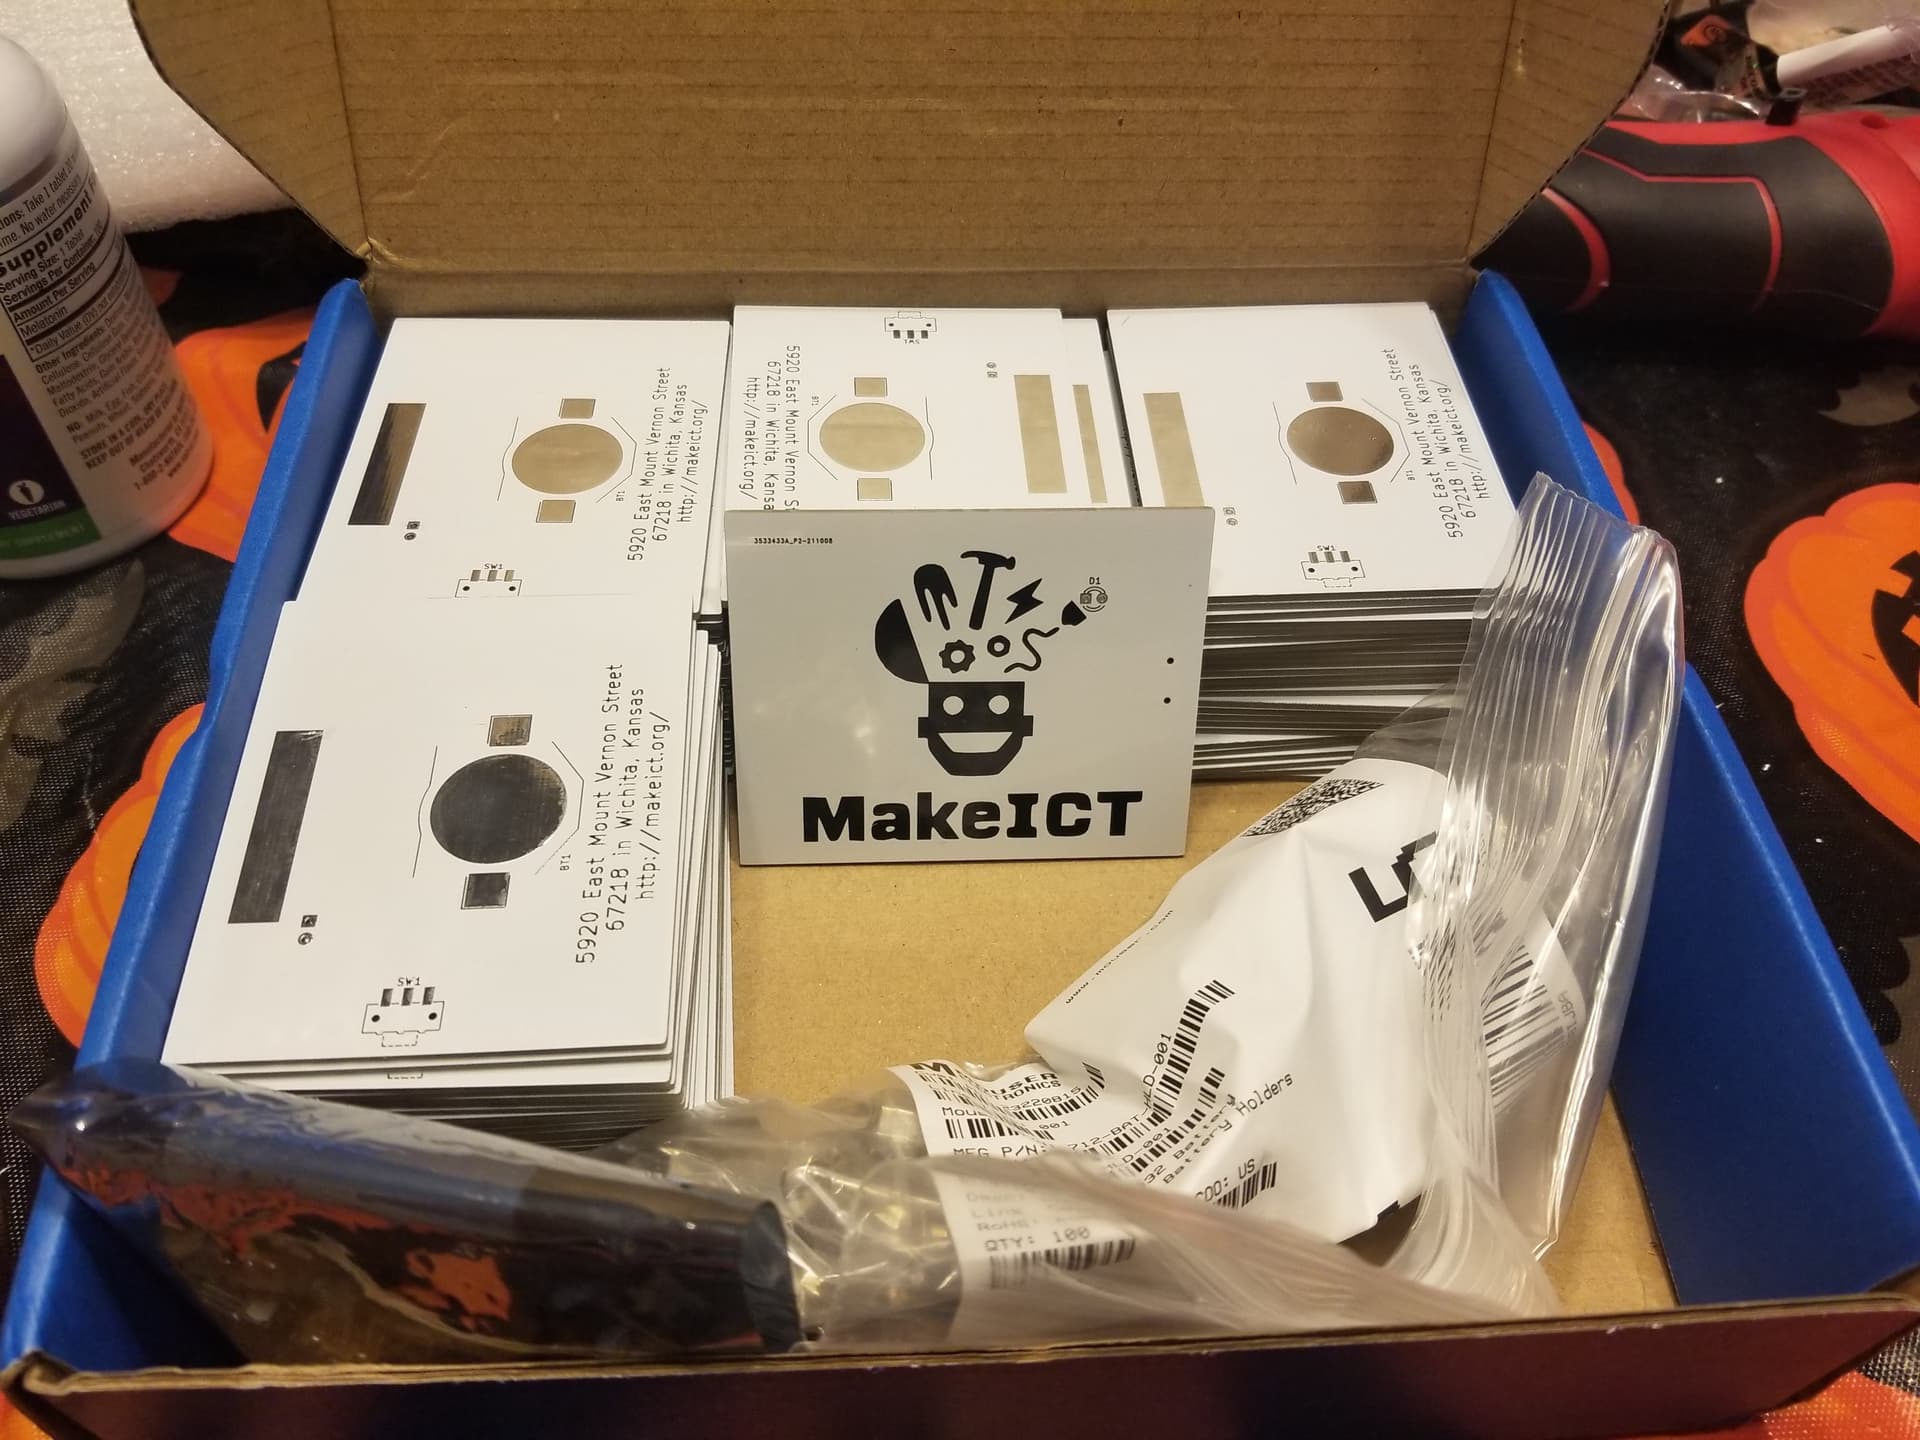
I’m giving enough for 100 badges ( I think) I’m also uploading the gerbers here.
blinkyBadge_2.zip (21.4 KB)
The parts I used were
Pins
LEDs
Batteries
Switches
Battery holder
https://www.mouser.com/ProductDetail/linx-technologies/bat-hld-001/?qs=K5ta8V%2bWhta7hbVGfm4dqA%3D%3D&countrycode=US¤cycode=USD
I ordered the boards through JLCPCB
As soon as the batteries come in, I’ll hand everything over to the board, as well as one badge I hacked to run off of LIPO battery and is USB chargeable set up as a display.
Go MakeICT.