Heater Shields

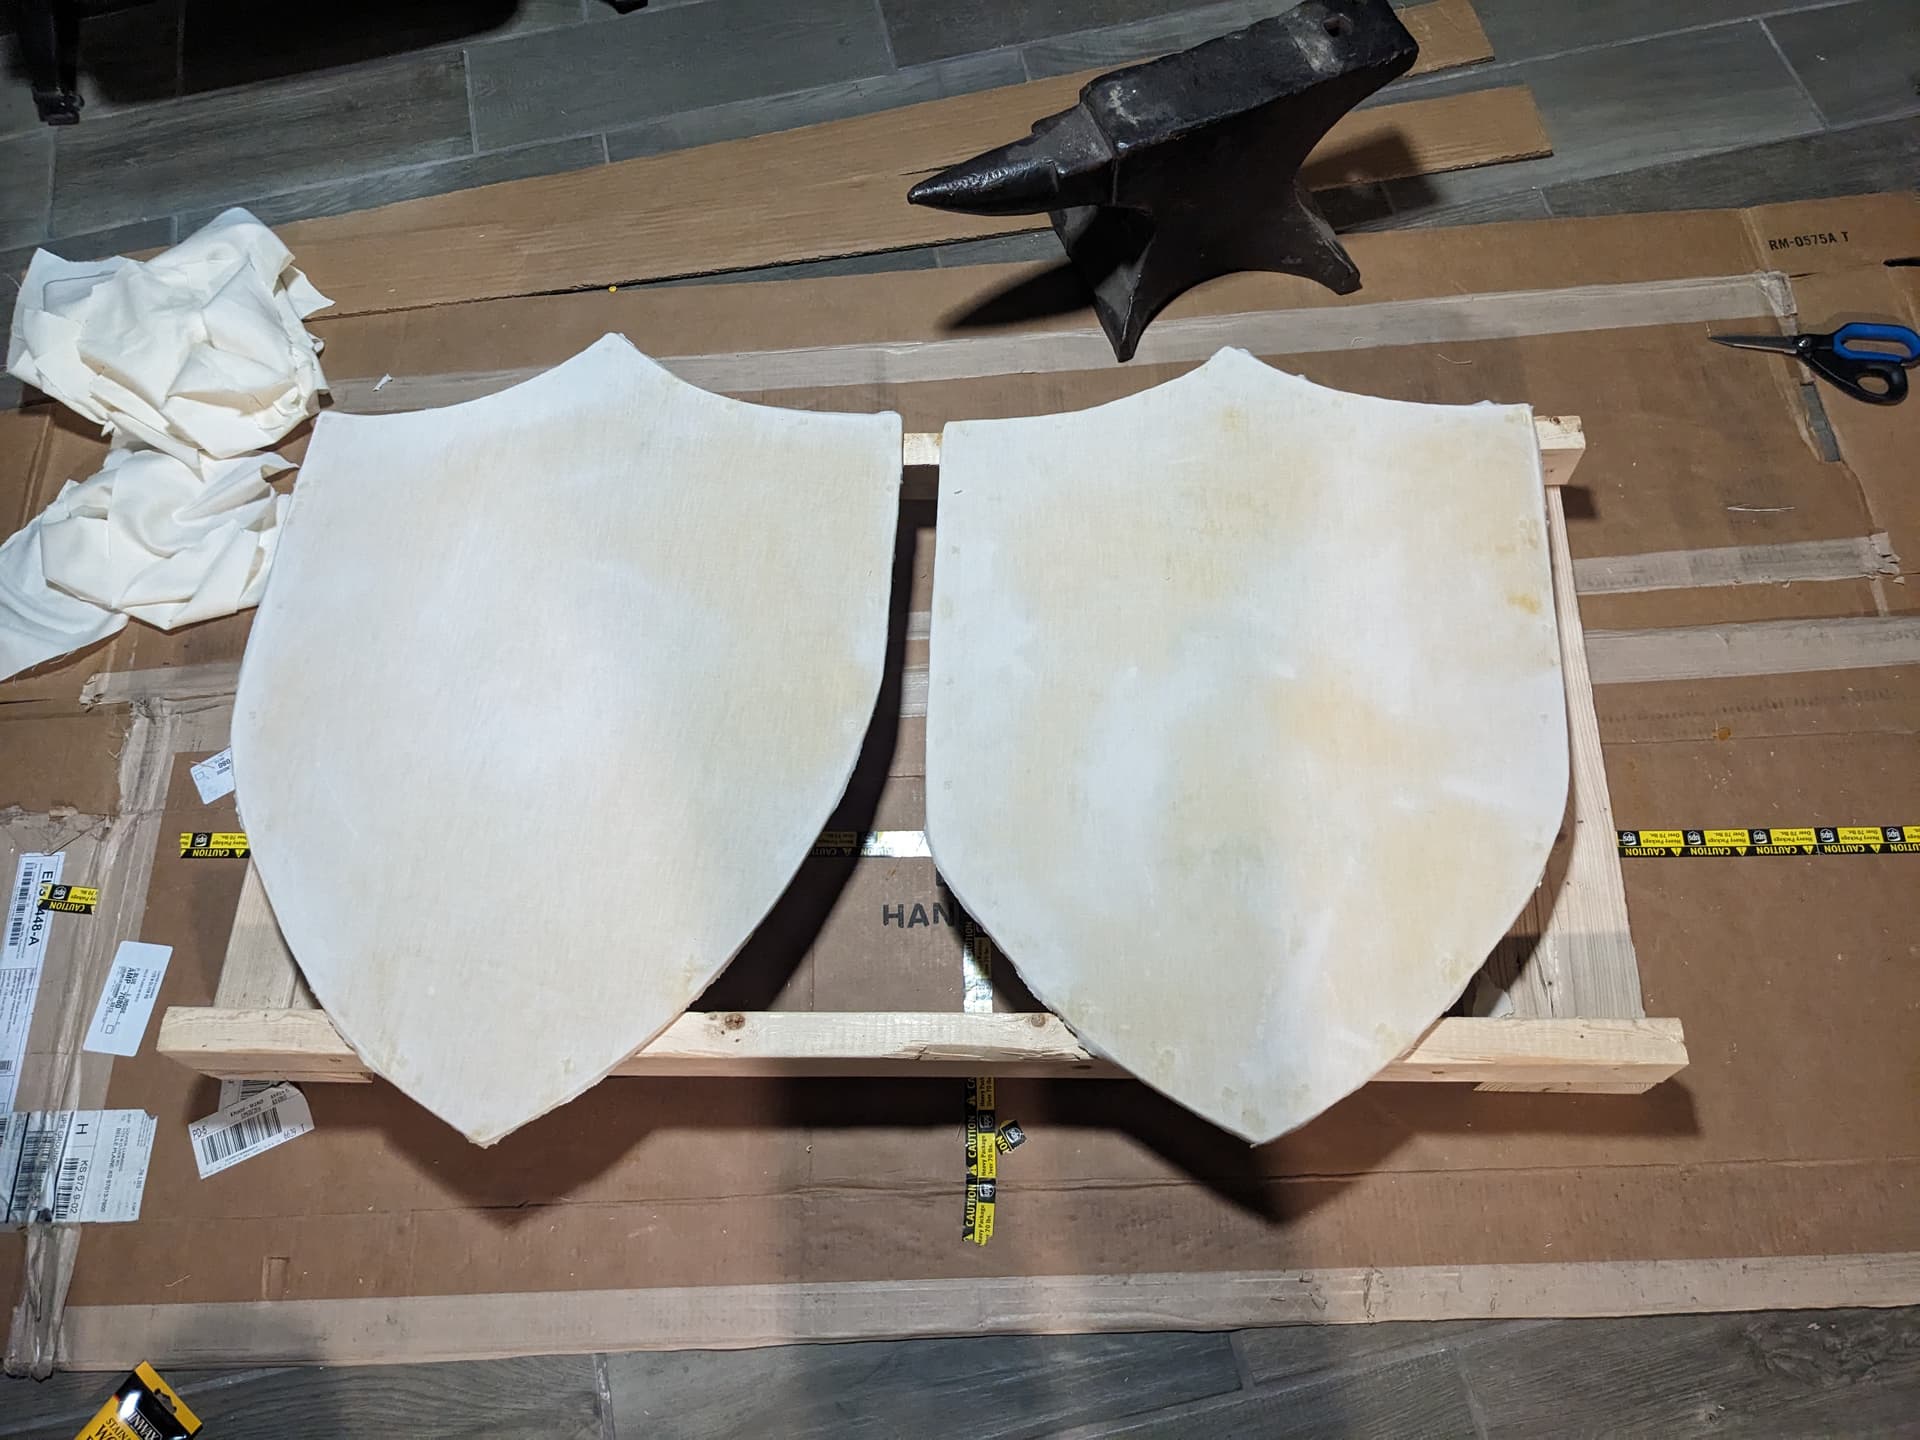
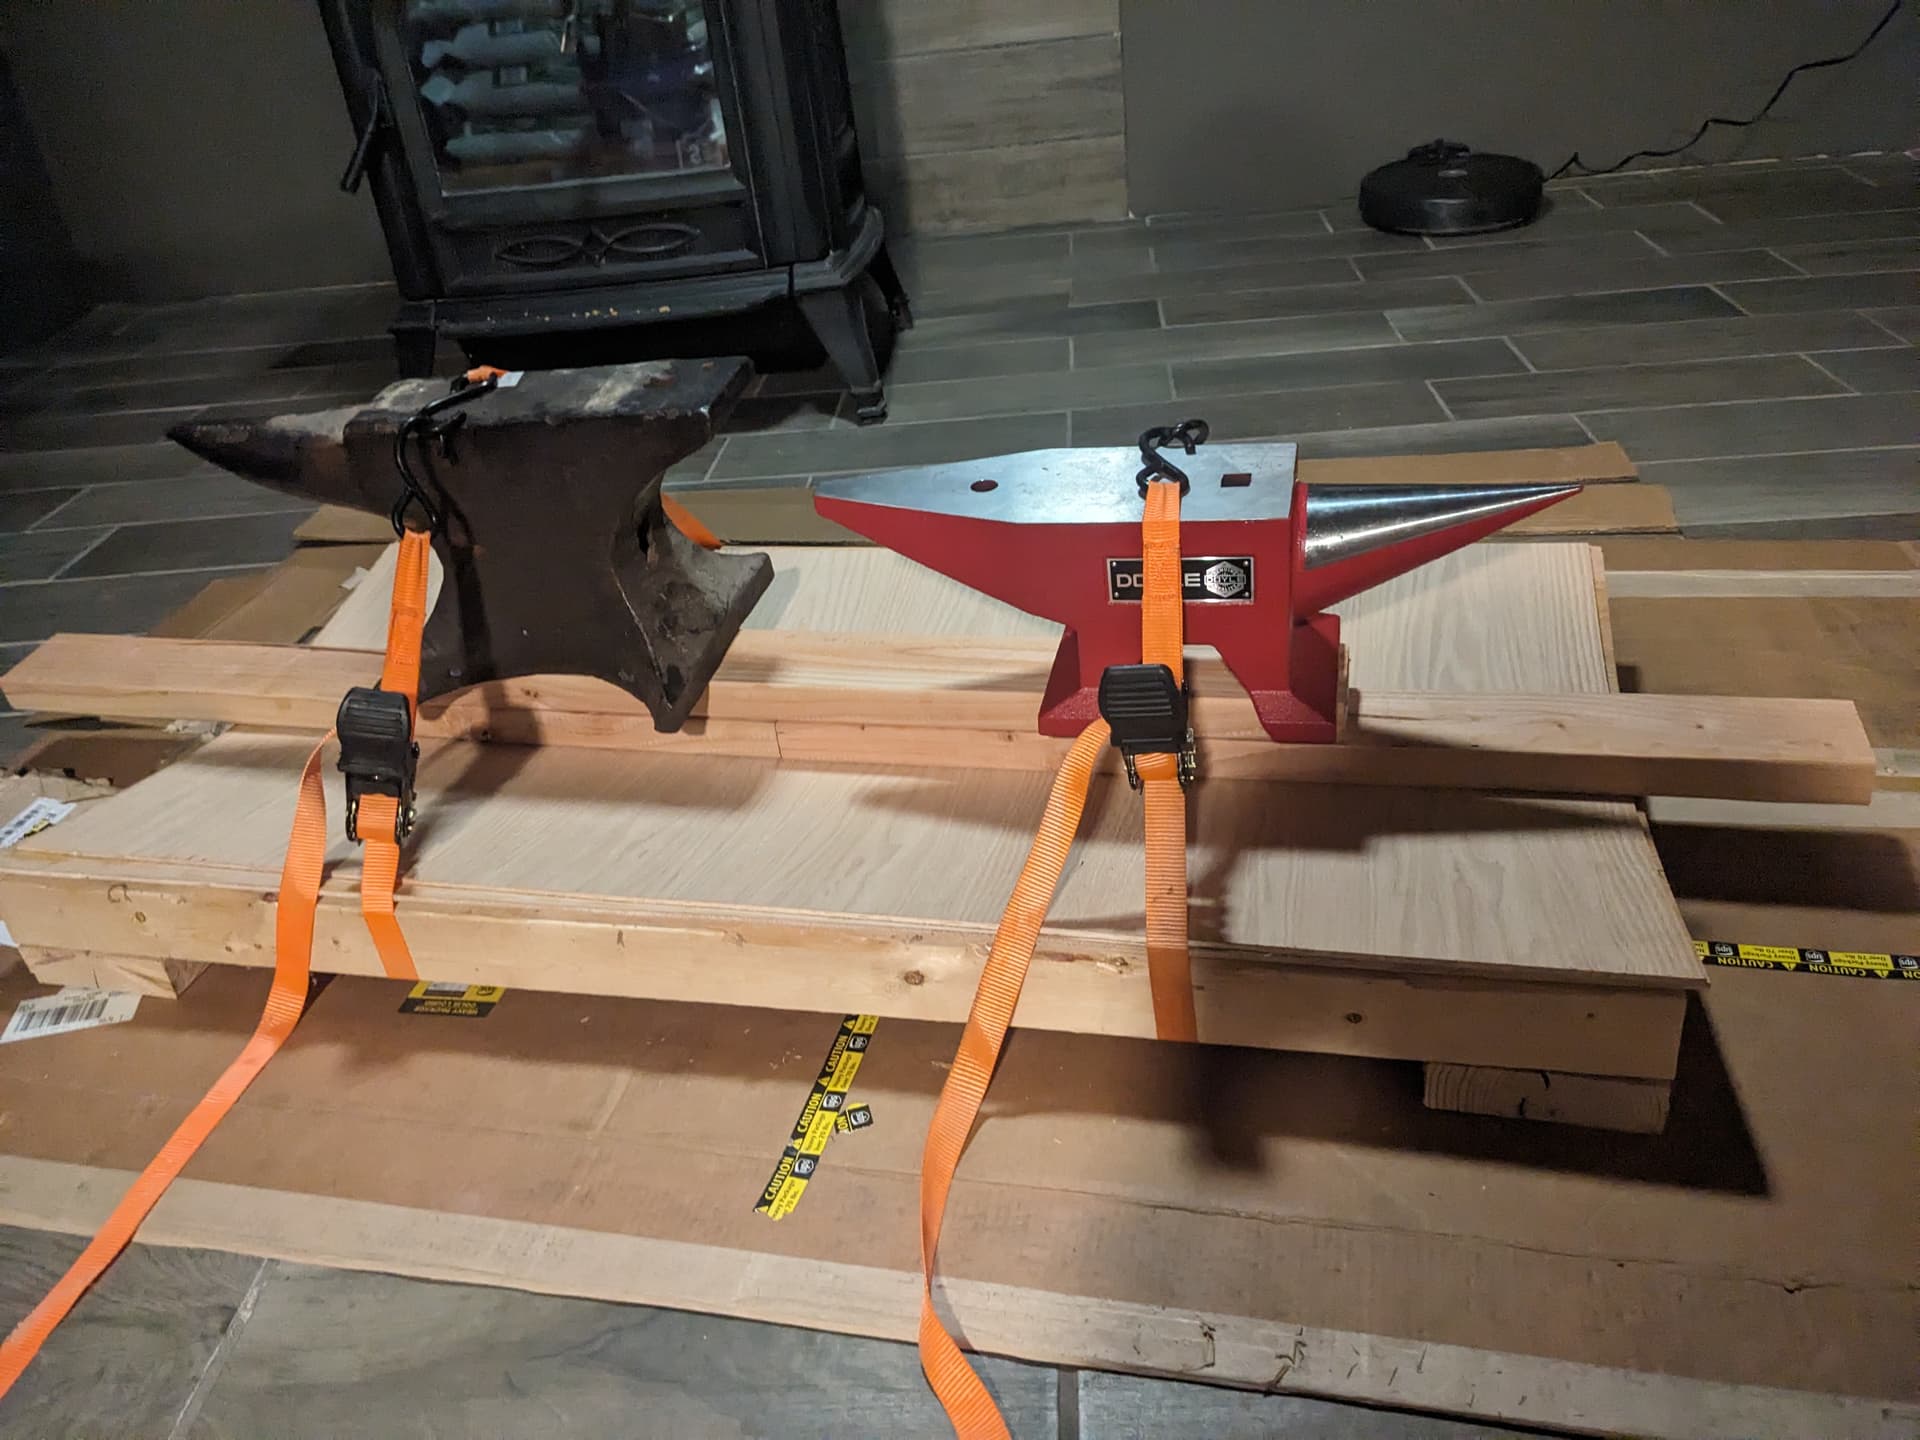
I have recently been wanting to try out fencing with full sized shields with the Blackhearts Fencing Club, so I am making one shield for myself and one for the club. This style is called a heater shield, although that name is not contemporary to the period, the style was so ubiquitous that they would mostly just be called shields at the time. These shields were often slightly curved along the width, the curved shape adds some rigidity (in the same way corrugations add strength to cardboard) and make it so things like spears, arrows, or thrusts from swords will more easily be deflected off to the side instead of digging into the shield.

The fist step I took was to cut 4 pieces of 1/4" oak plywood to roughly 2’x4’ with the grain running lengthwise on half and widthwise on the other half (this will be important for durability since the shields will see actual use, if they are just decorative the grain direction is irrelvant). My cuts were pretty sloppy, unfortunately the sawstop was down at the time I got my plywood and I cannot transport a large 4’x8’ sheet easily to bring it back after the saw was fixed so I had to clamp a straightedge to the board and use it as a guide for a circular saw, and the saw shifted on me a lot.

Next I made a bending jig that simply consists of two 4’ 2x3s stood up on edge spaced 2’ apart from outside edge to outside edge with a couple of scraps of 2x6 screwed across them to hold them parallel. The specifics don’t matter much here, the rails could be any nominally 2" construction lumber on its face if you didn’t mind the curve being a bit shallower (although much deeper than a 2x3 on edge would likely be too much curve and may crack while bending) and the cross boards could be anything you happen to have around.

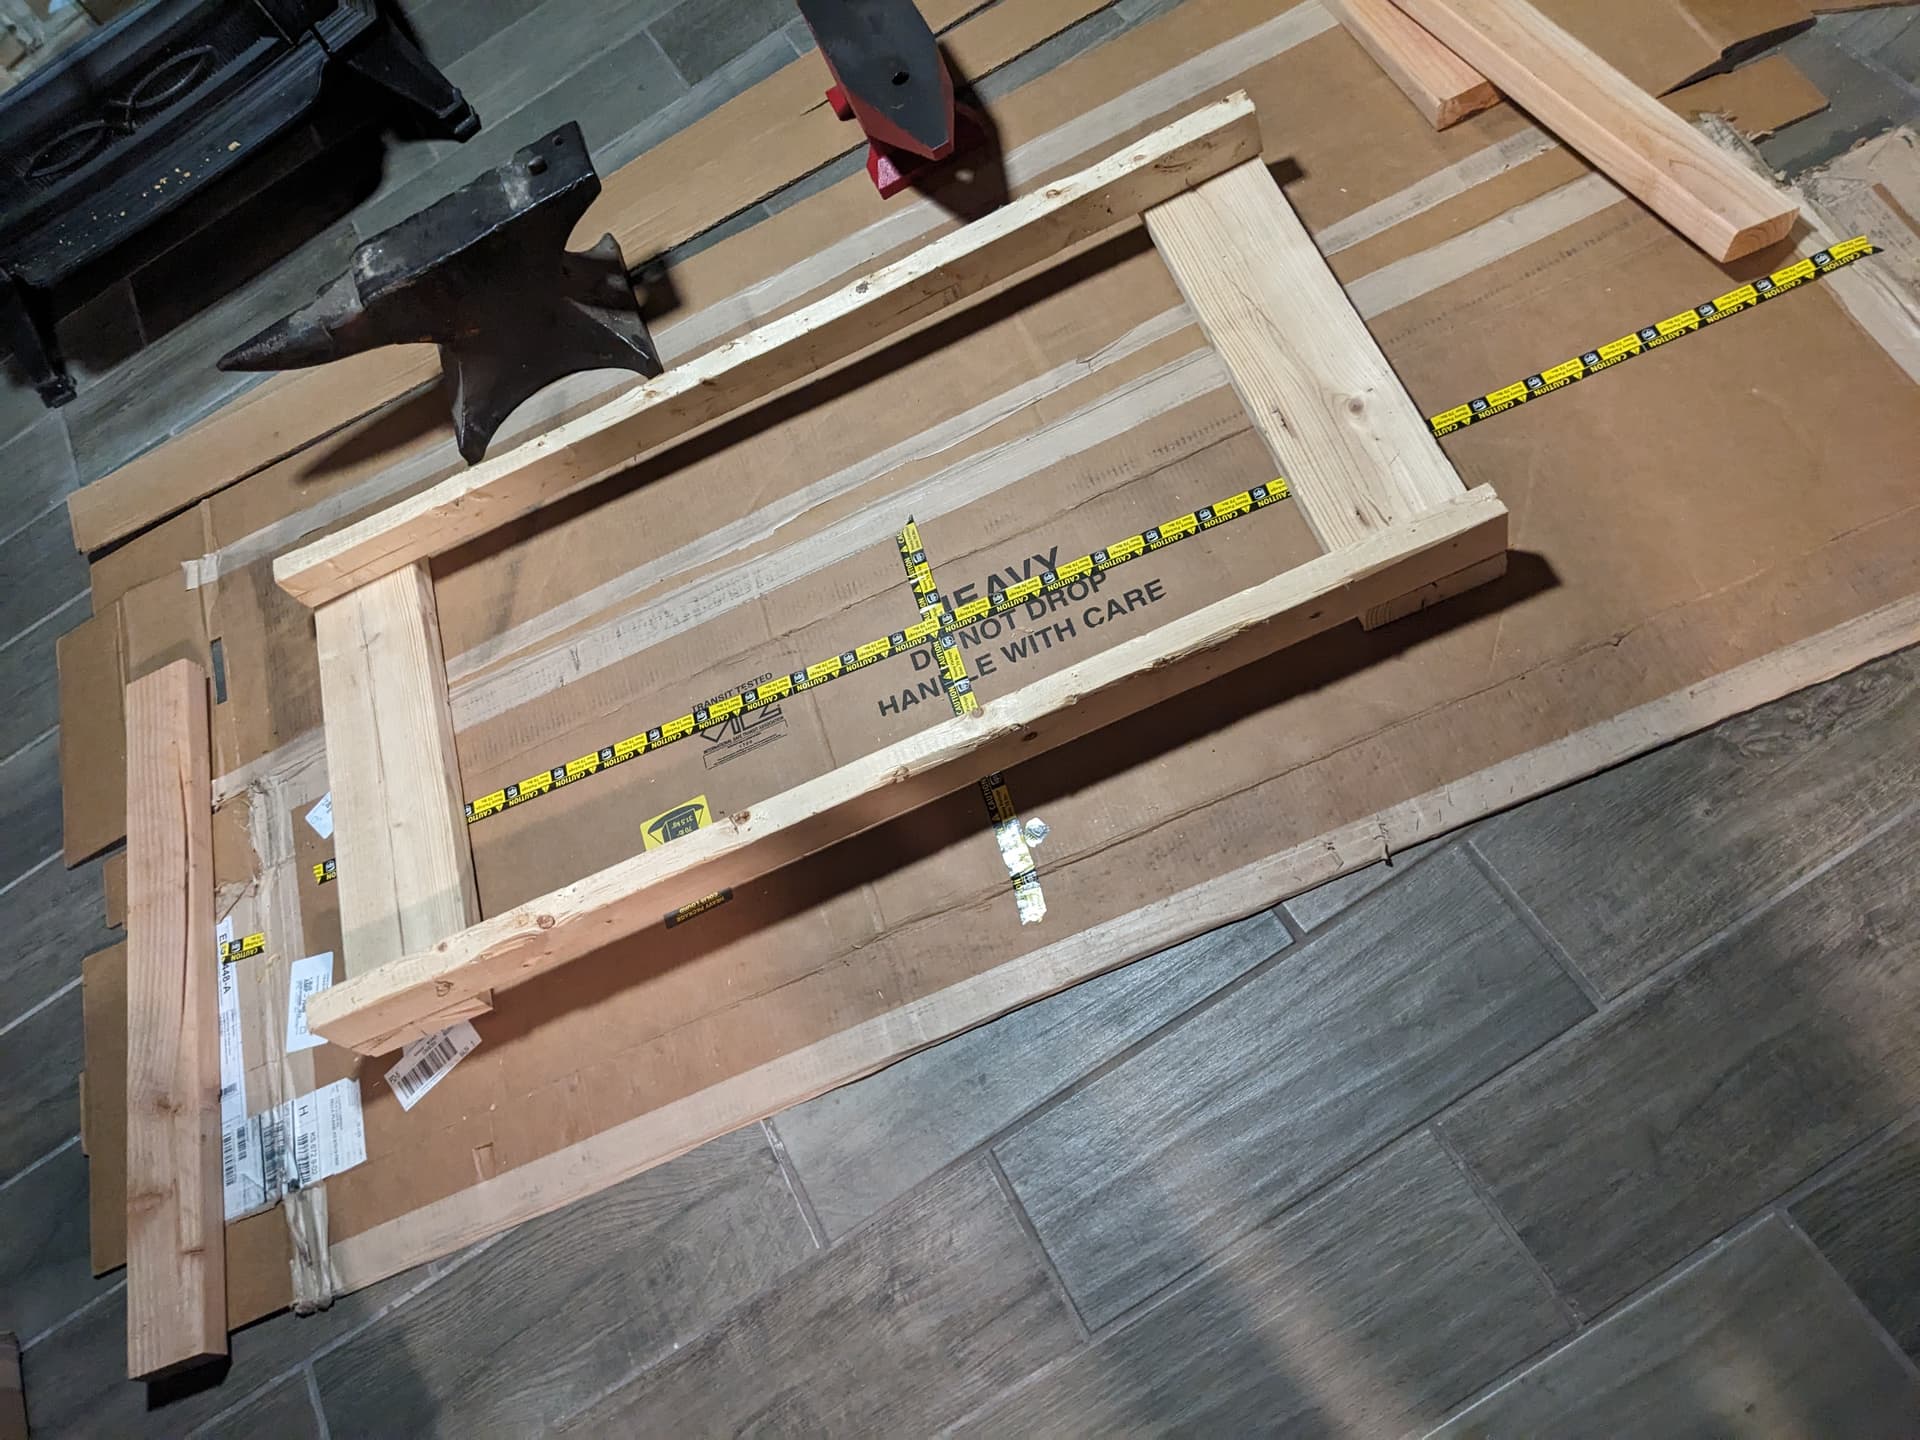
Next I laid one of my pieces of plywood with the grain running lengthwise onto the jig, spread a layer of wood glue over the whole surface, then stacked one of the pieces with the grain running widthwise on top, then I put a board down the middle and stacked as much weight as I could quickly find on the board to curve the shield. The alternating grain direction helps with splitting resistance, if any thing hits one layer from any direction and bites in enough to apply a splitting force separating the grain it will quickly hit the next layer with the grain running in the opposite direction and meet a lot more resistance because the grain needs to be cut through or ripped apart with tension instead of merely forced apart. Unfortunately I didn’t have anything the proper length that wasn’t too wide, so I had to stack some shorter 2x4s I had laying around to distribute the weight, this caused issues later, if I did it again I would run to the store and buy another 2x4 to do it right. With the first attempt I didn’t have enough weight to get the amound of curve I was looking for, so the second time I used some ratchet straps to help it along.

after gluing up both of my blanks I noticed that I had a lamination failure on the second one, which was more aggressively curved. I couldn’t squeeze the layers back together because the glue did bond on the sides and in t center along the length (the gaps were only at the ends, they didn’t run the full length, so the wood would need to stretch to fill that gap)

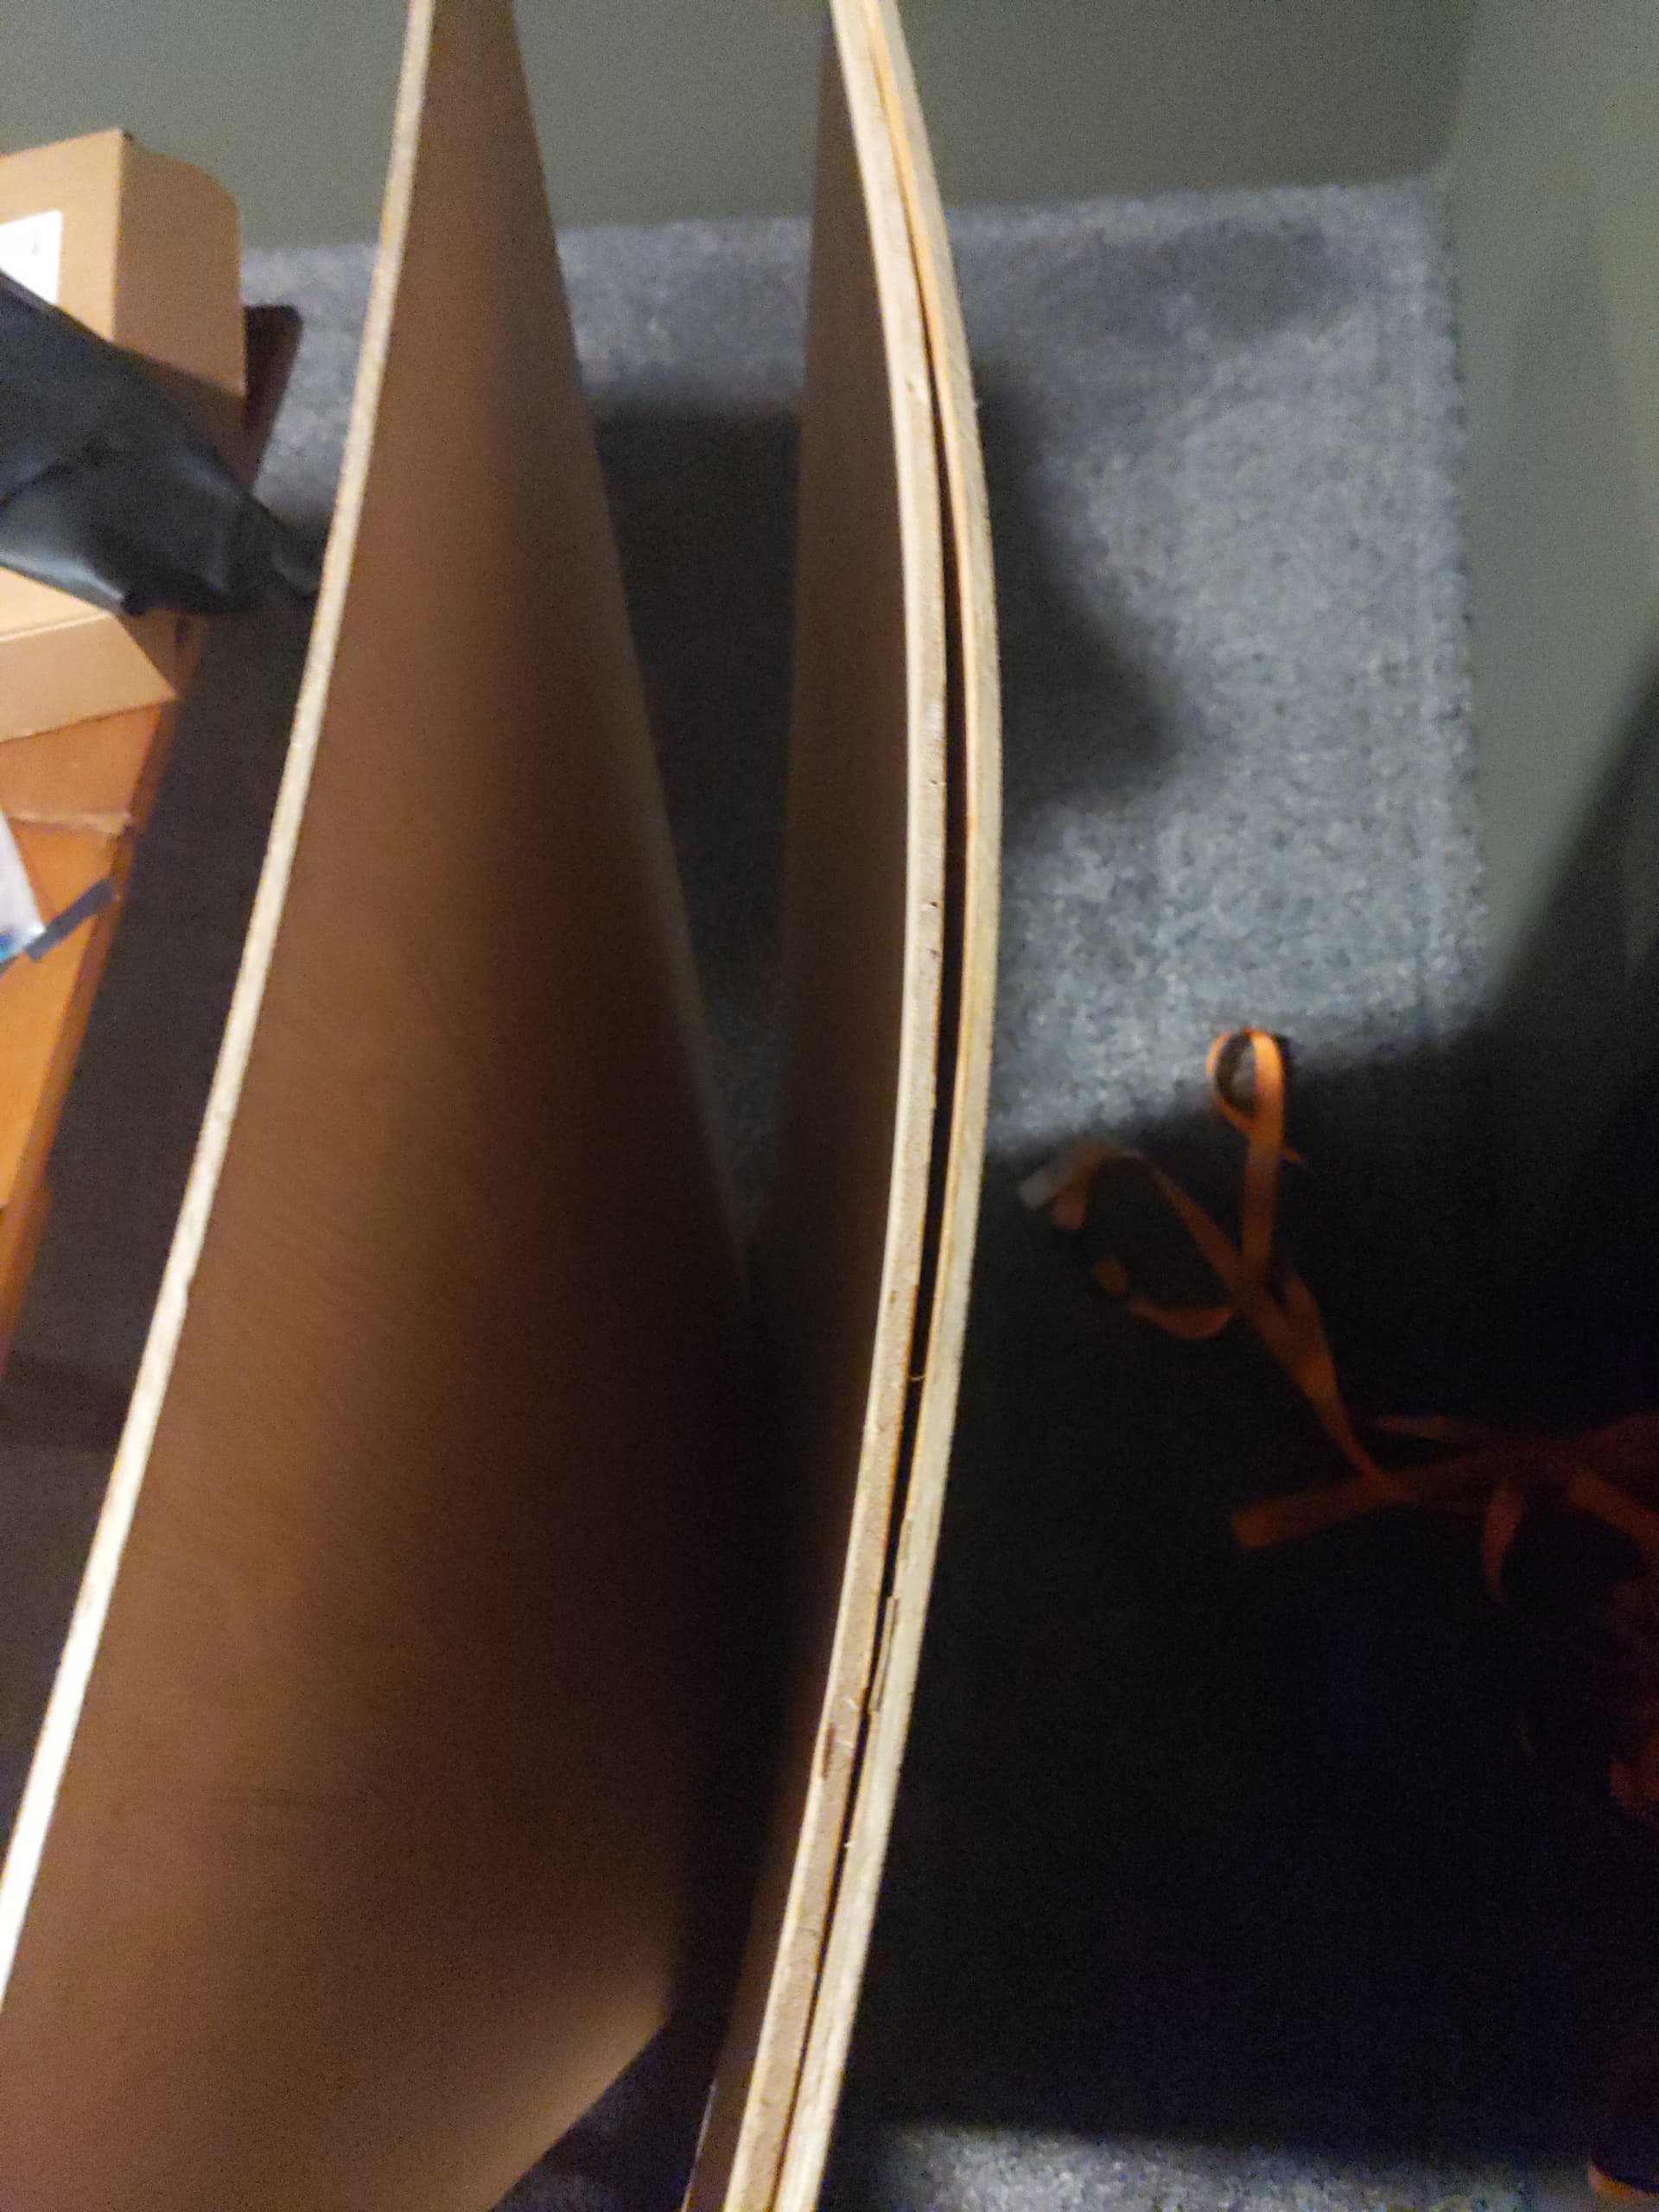
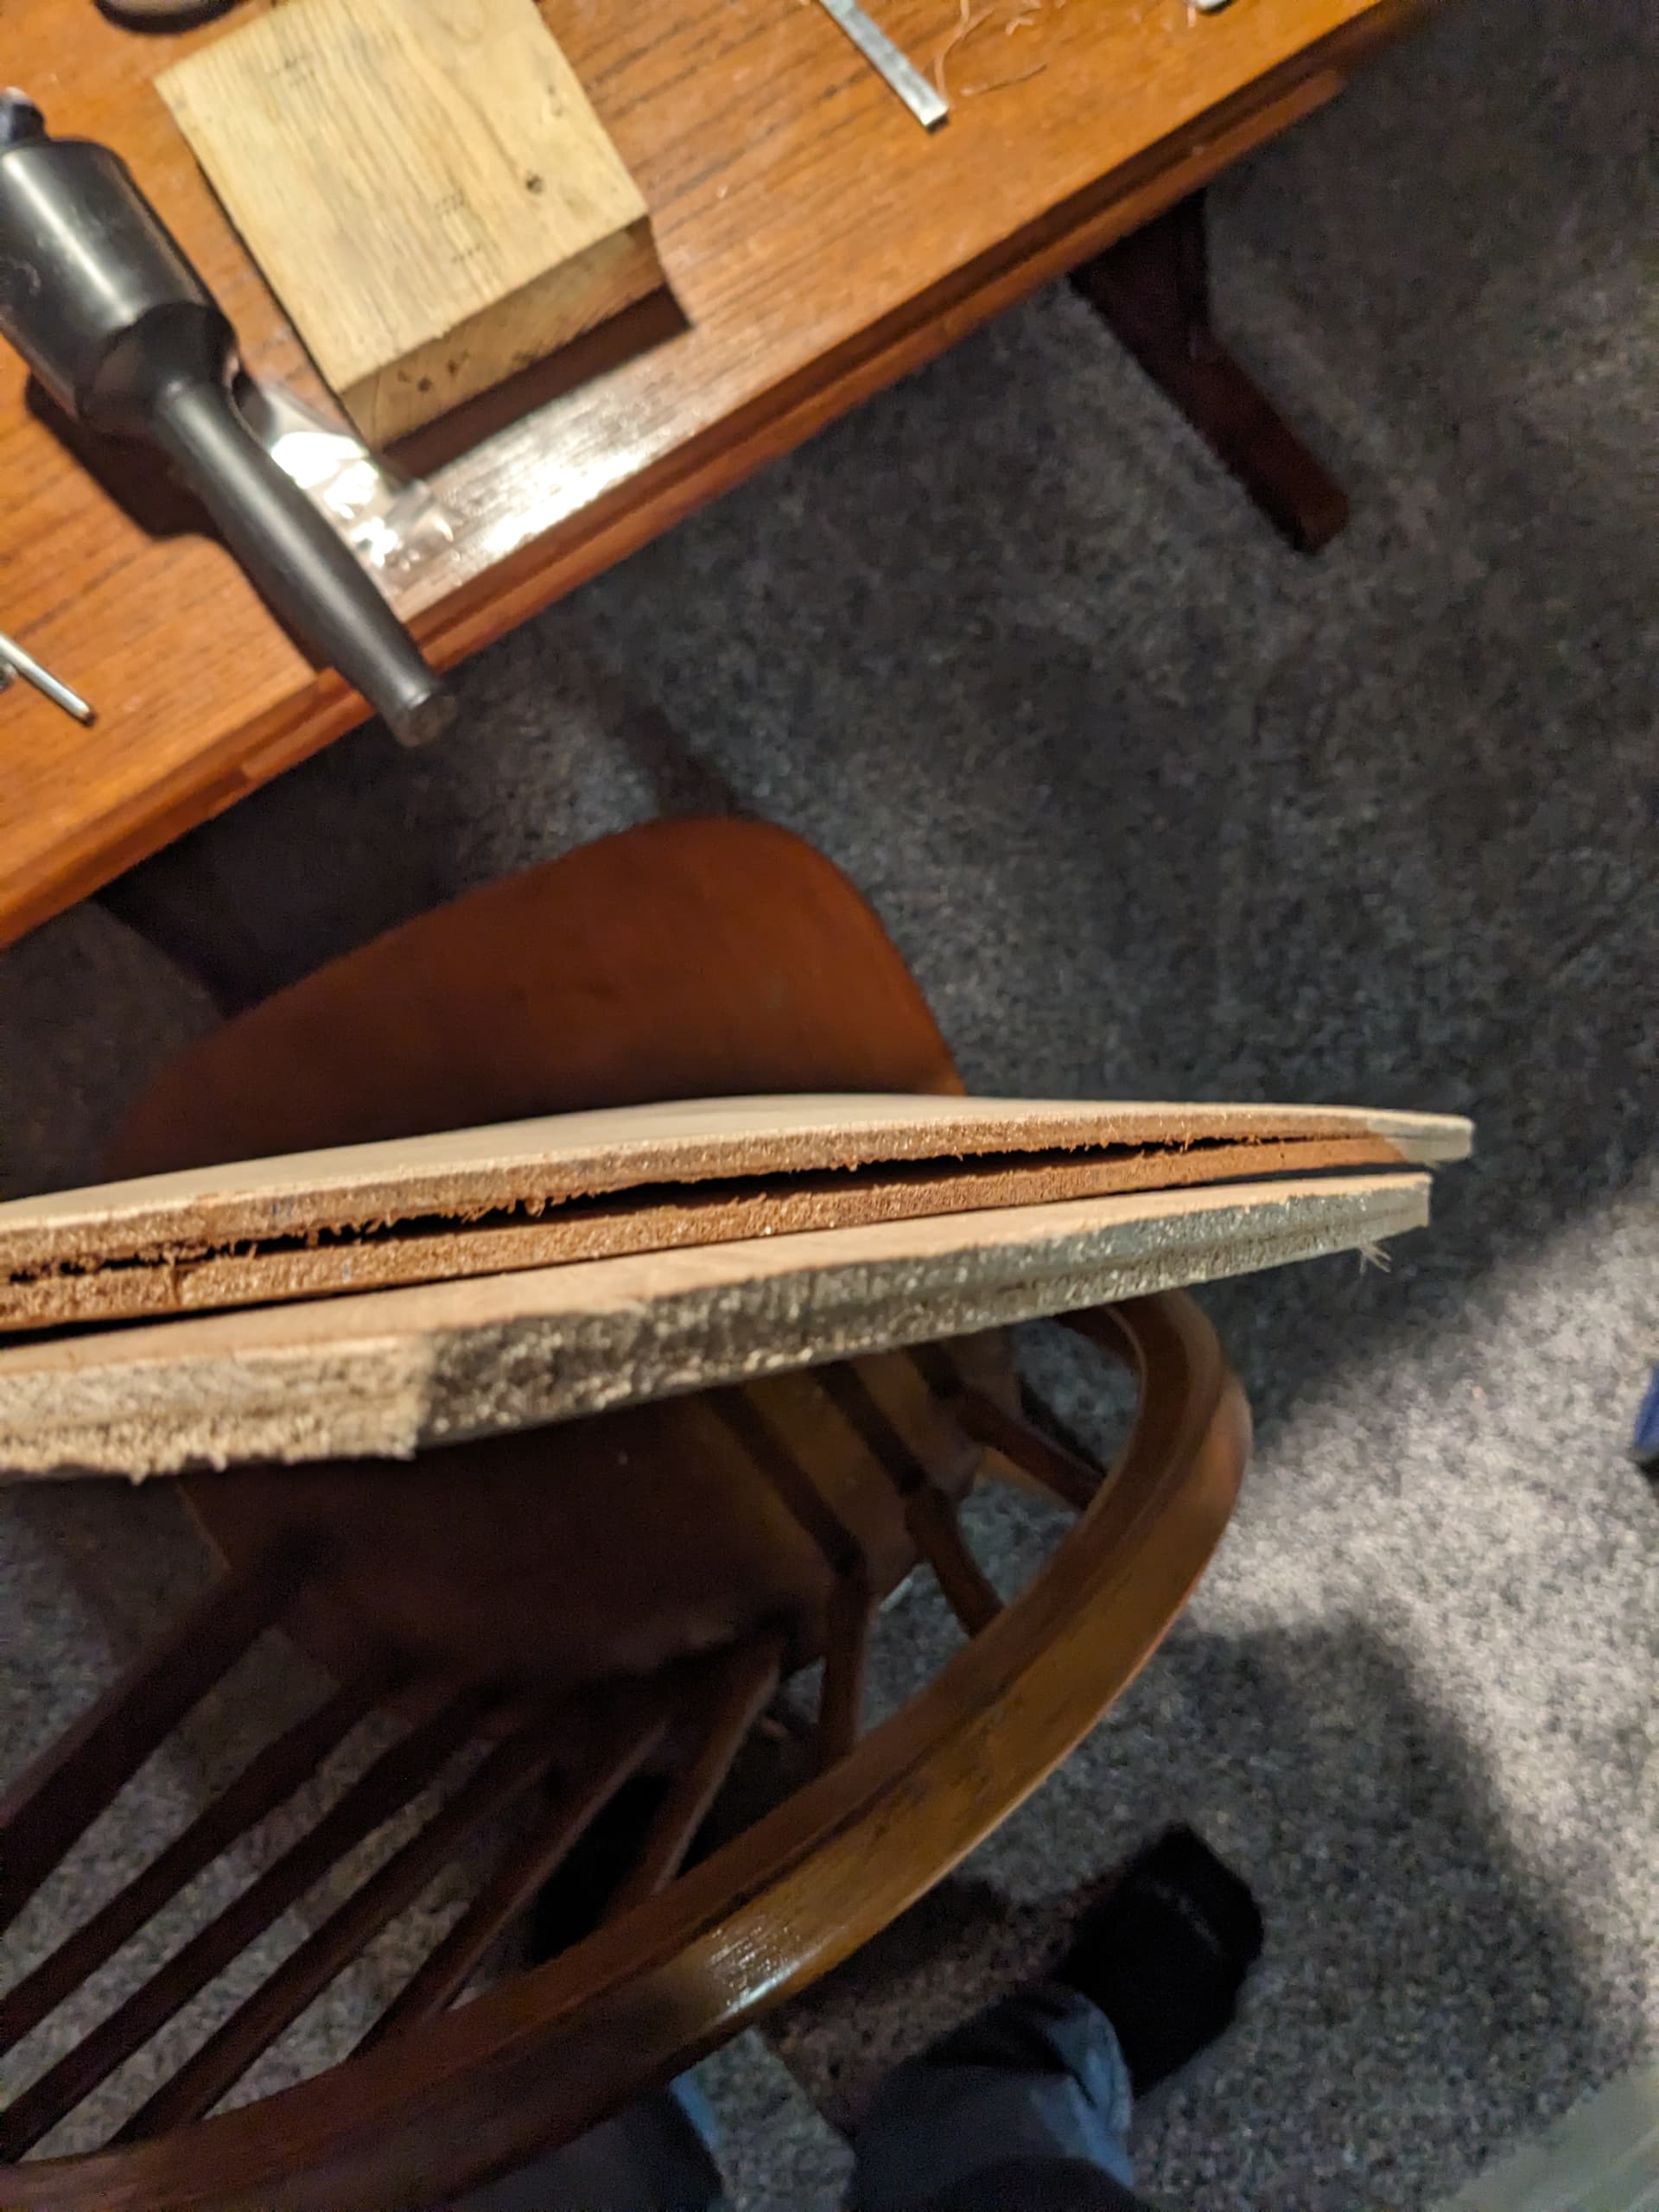
This was probably caused by my stack of short 2x4s instead of one properly running the full length, the force of the weight and ratchet straps squeezing down didn’t get spread out to the ends of the boards properly so the outsides of the bottom boards lifted up into a slight V shape, which allowed my layers to separate on the outside ends. I planned to try to fill in the gap with spray foam, but decided to lay out the outline and cut it to shape first so I wouldn’t need to get the spray foam as deep between the layers because that seemed likely to leave me with voids. Luckily after cutting some of the material off of both ends the gap on the top end of the shield closed up completely and on the other end it changed from one big gap running most of the width to two gaps but the center and sides were bonded, and this was much easier to fix because there was enough flexibility to squeeze the gaps closed. My picture isn’t great here because it was taken off center but I can’t go back and take another at this point so it will have to do.

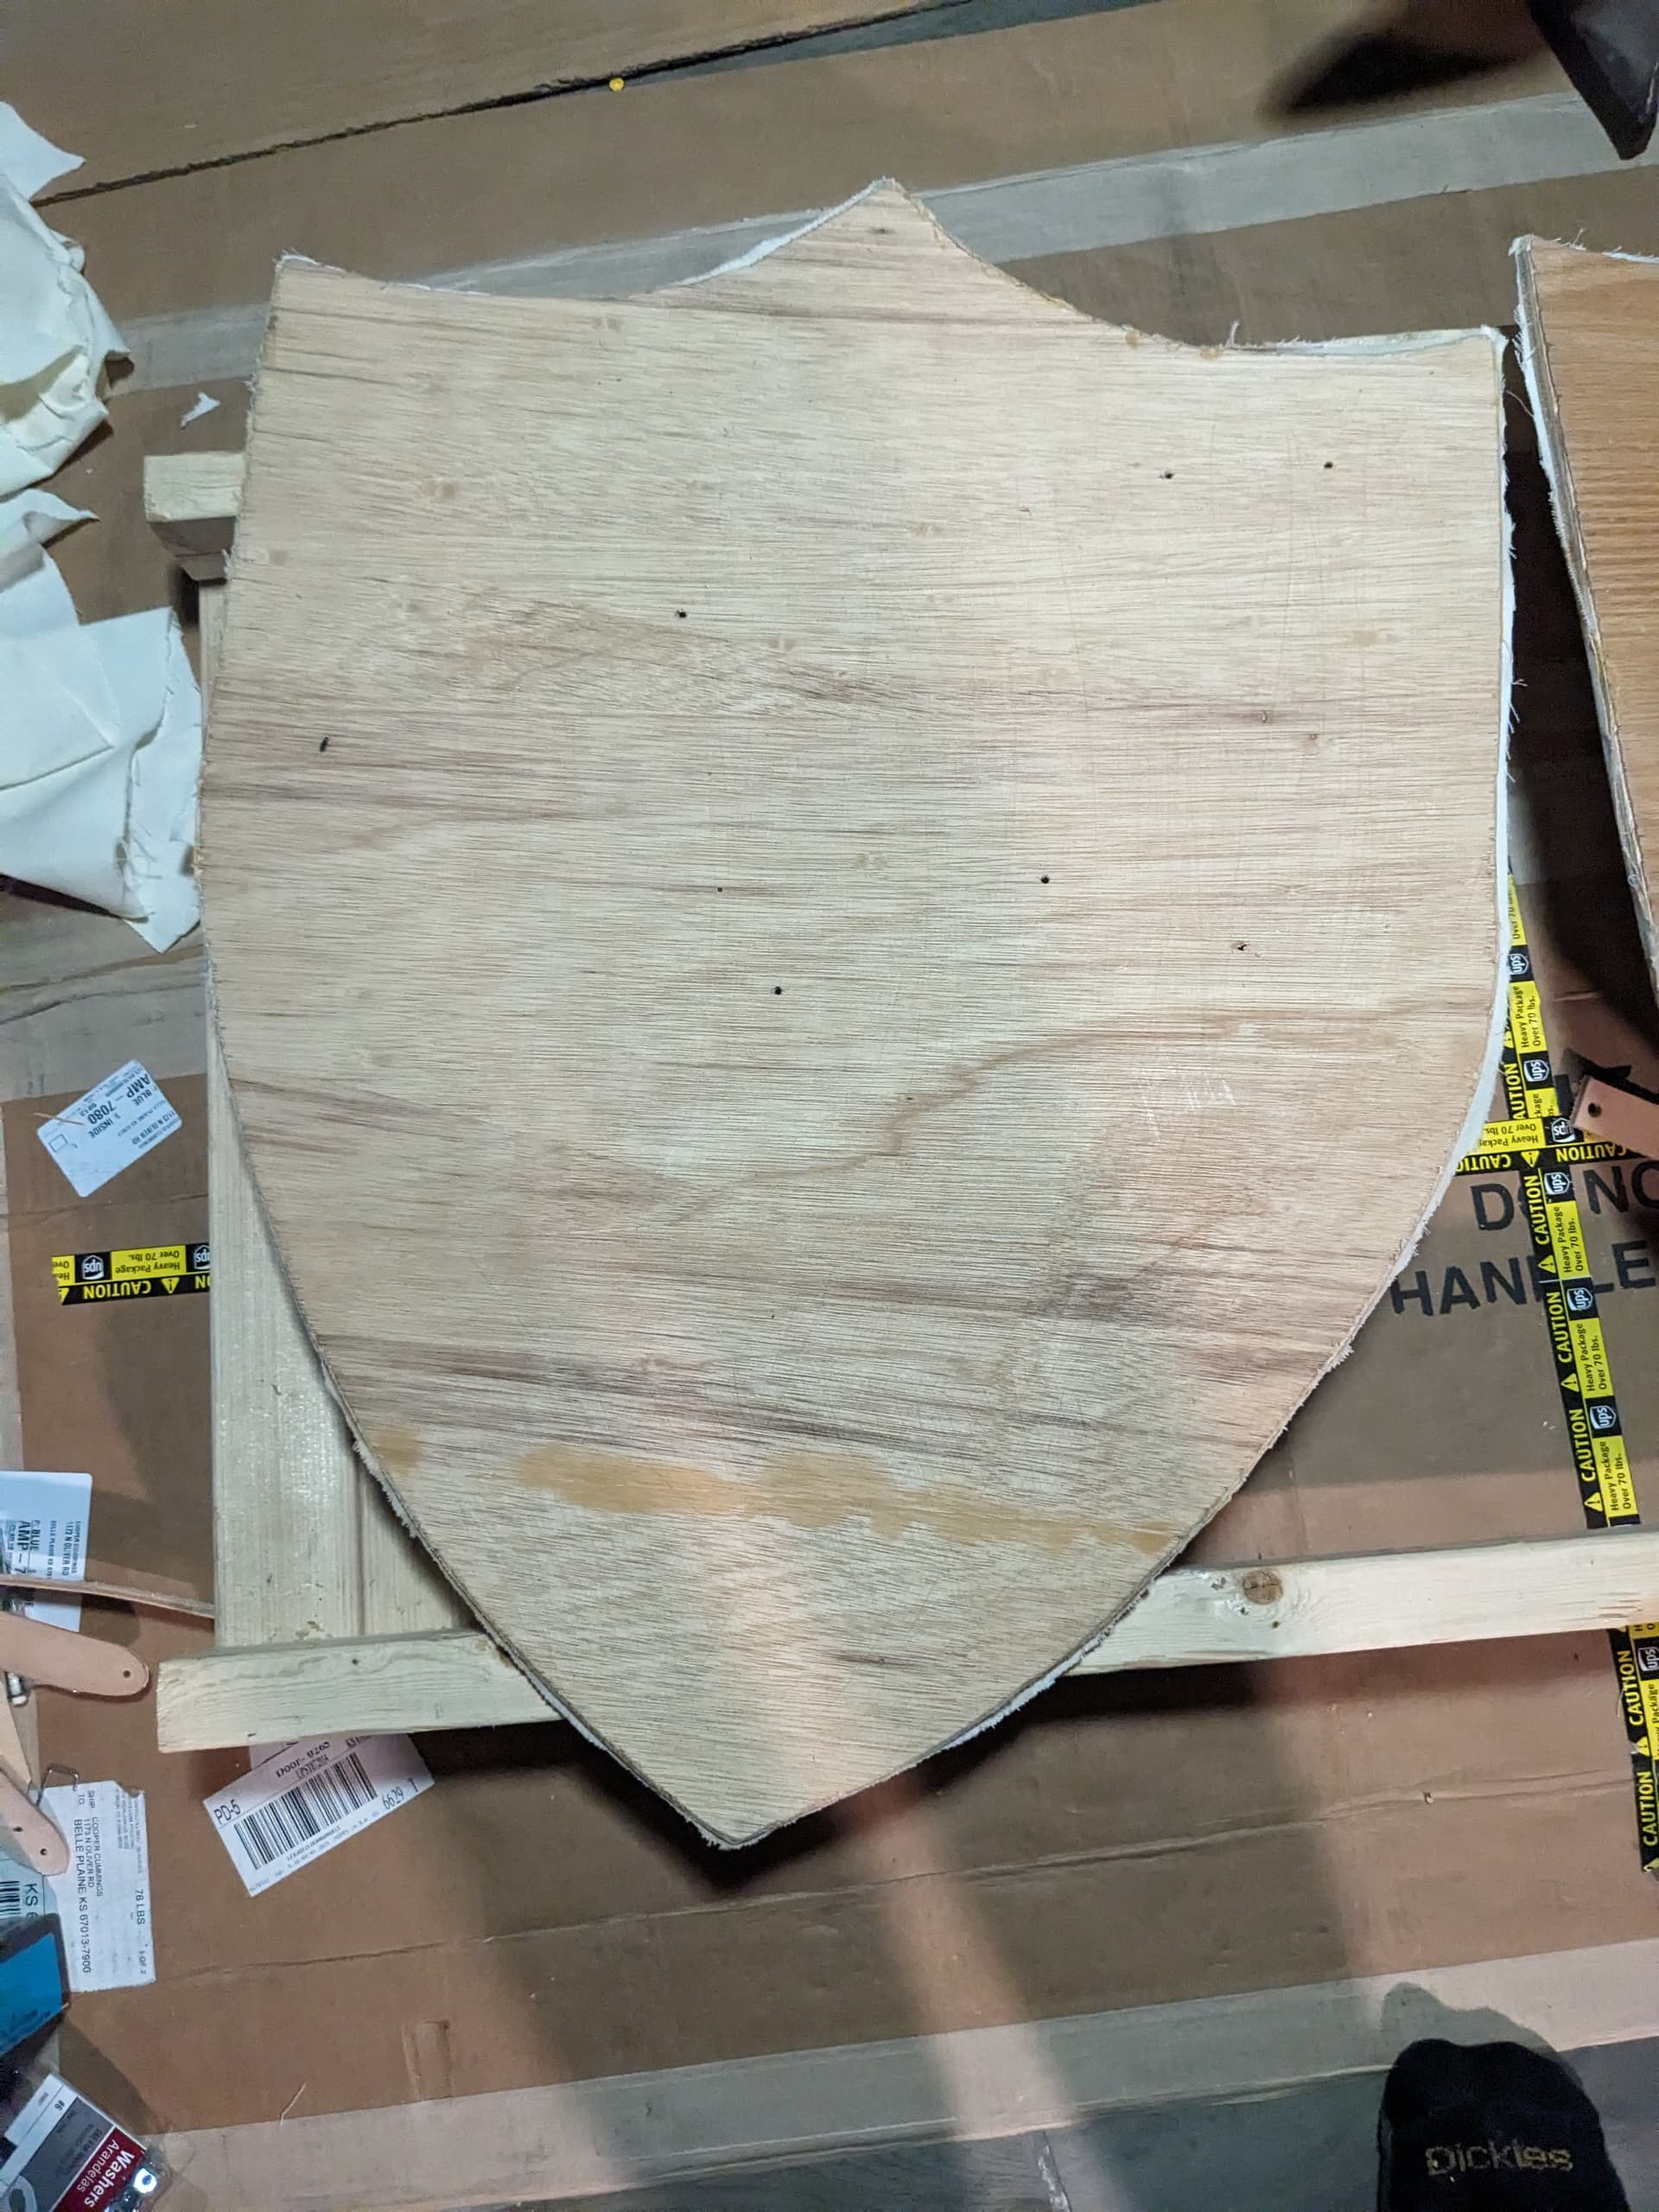
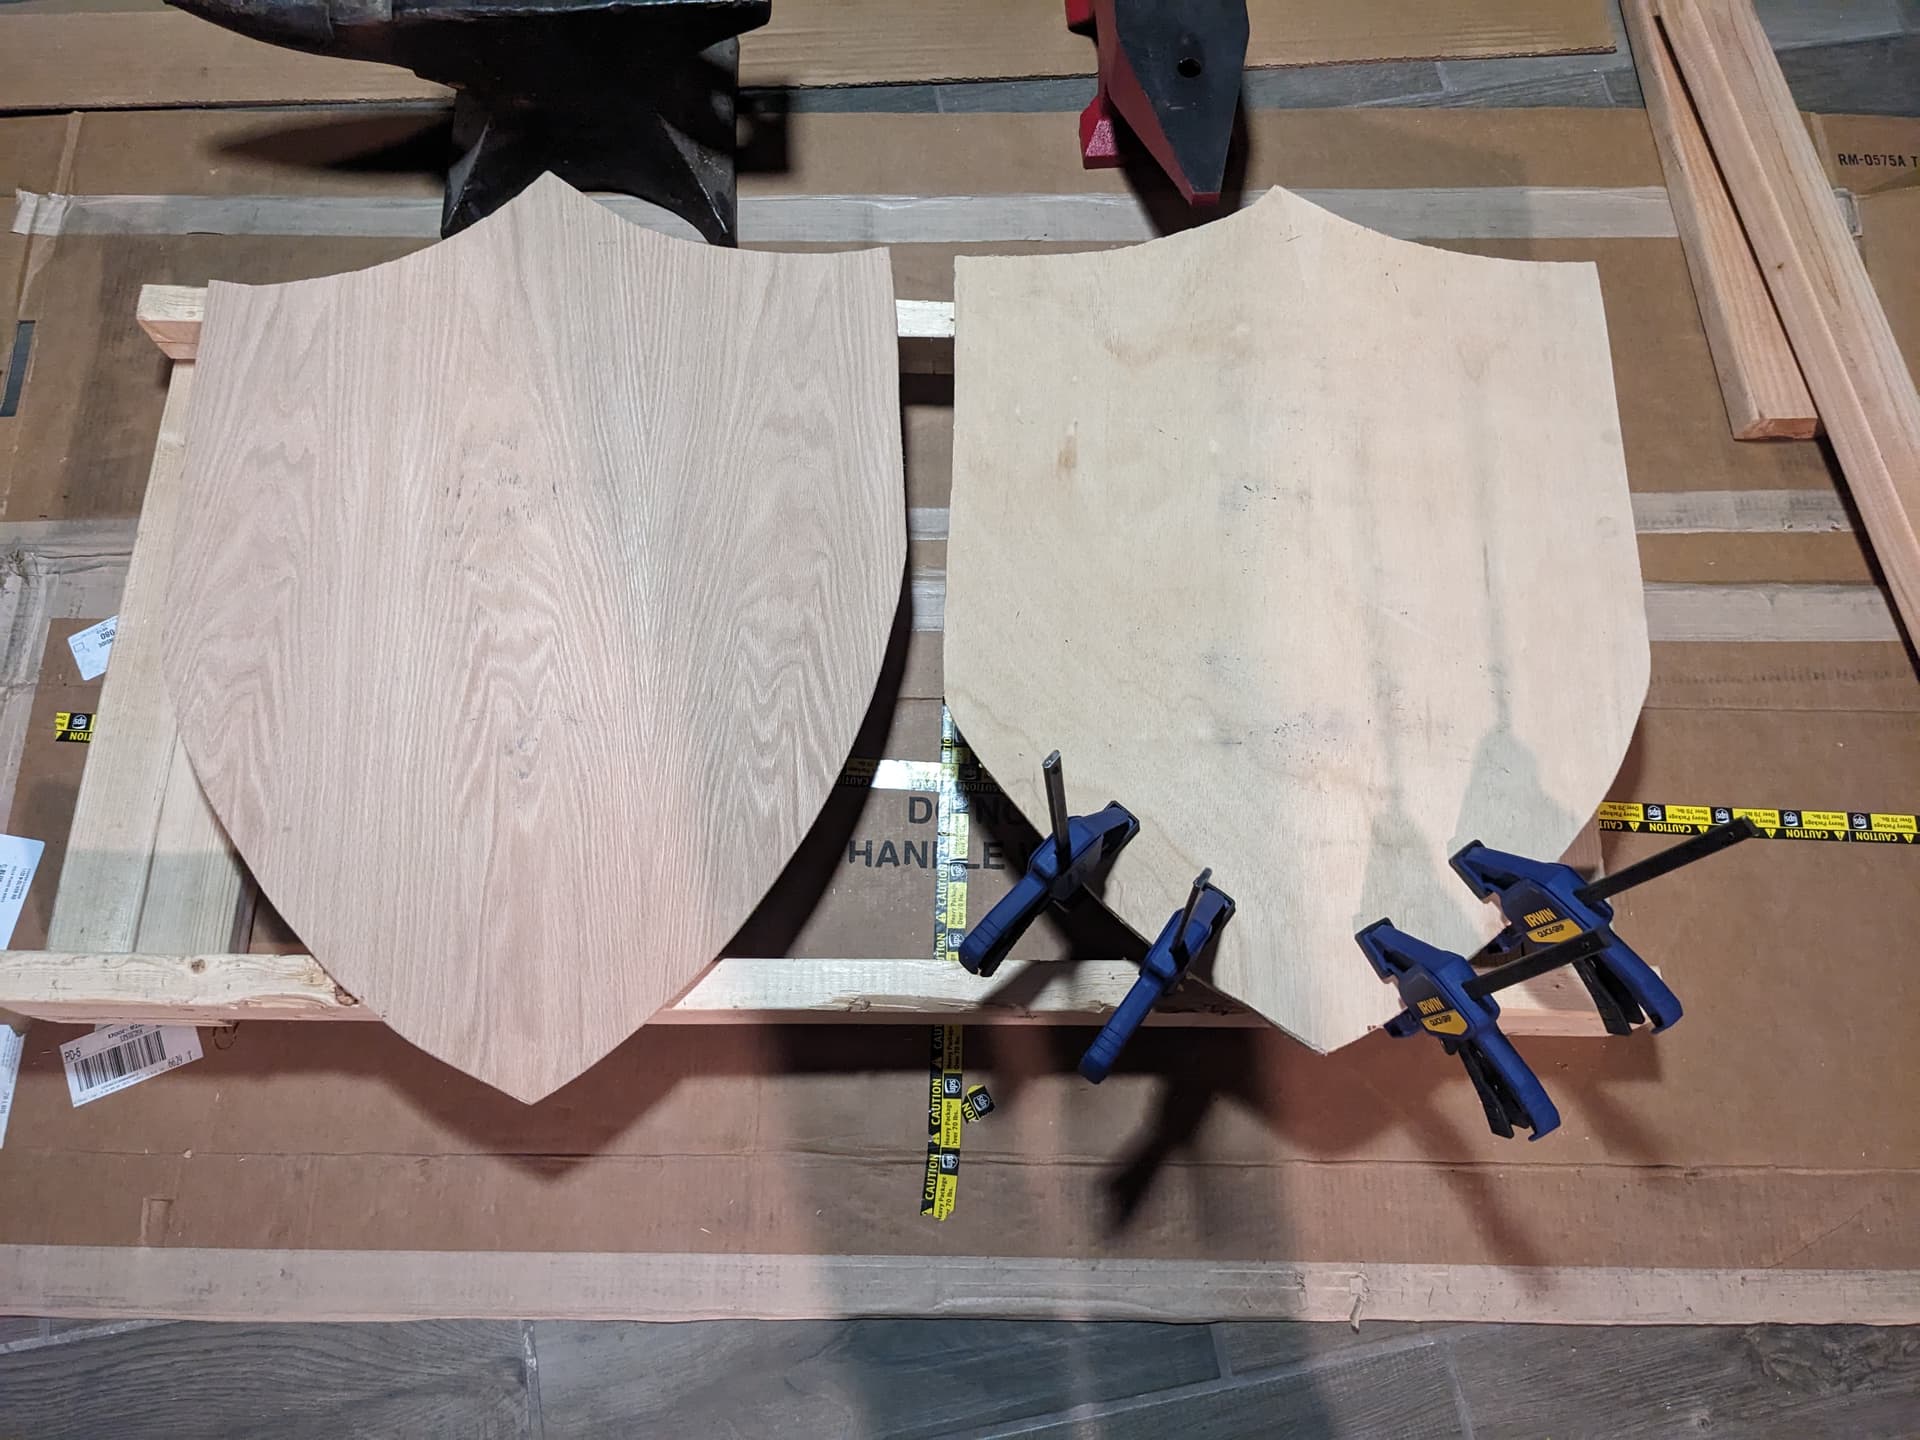
After cutting out the shape with a jigsaw I did some reshaping to clean up where the saw didn’t leave me with quite the shape I wanted and broke all the sharp edges with a saw rasp to keep them from breaking and so that they wouldn’t rub through some of the other parts that will be added later, then I dripped a lot of glue into my gaps and clamped them shut.

Now I am waiting on the glue to cure, which could be quite a while because the glue is so deep between layers.

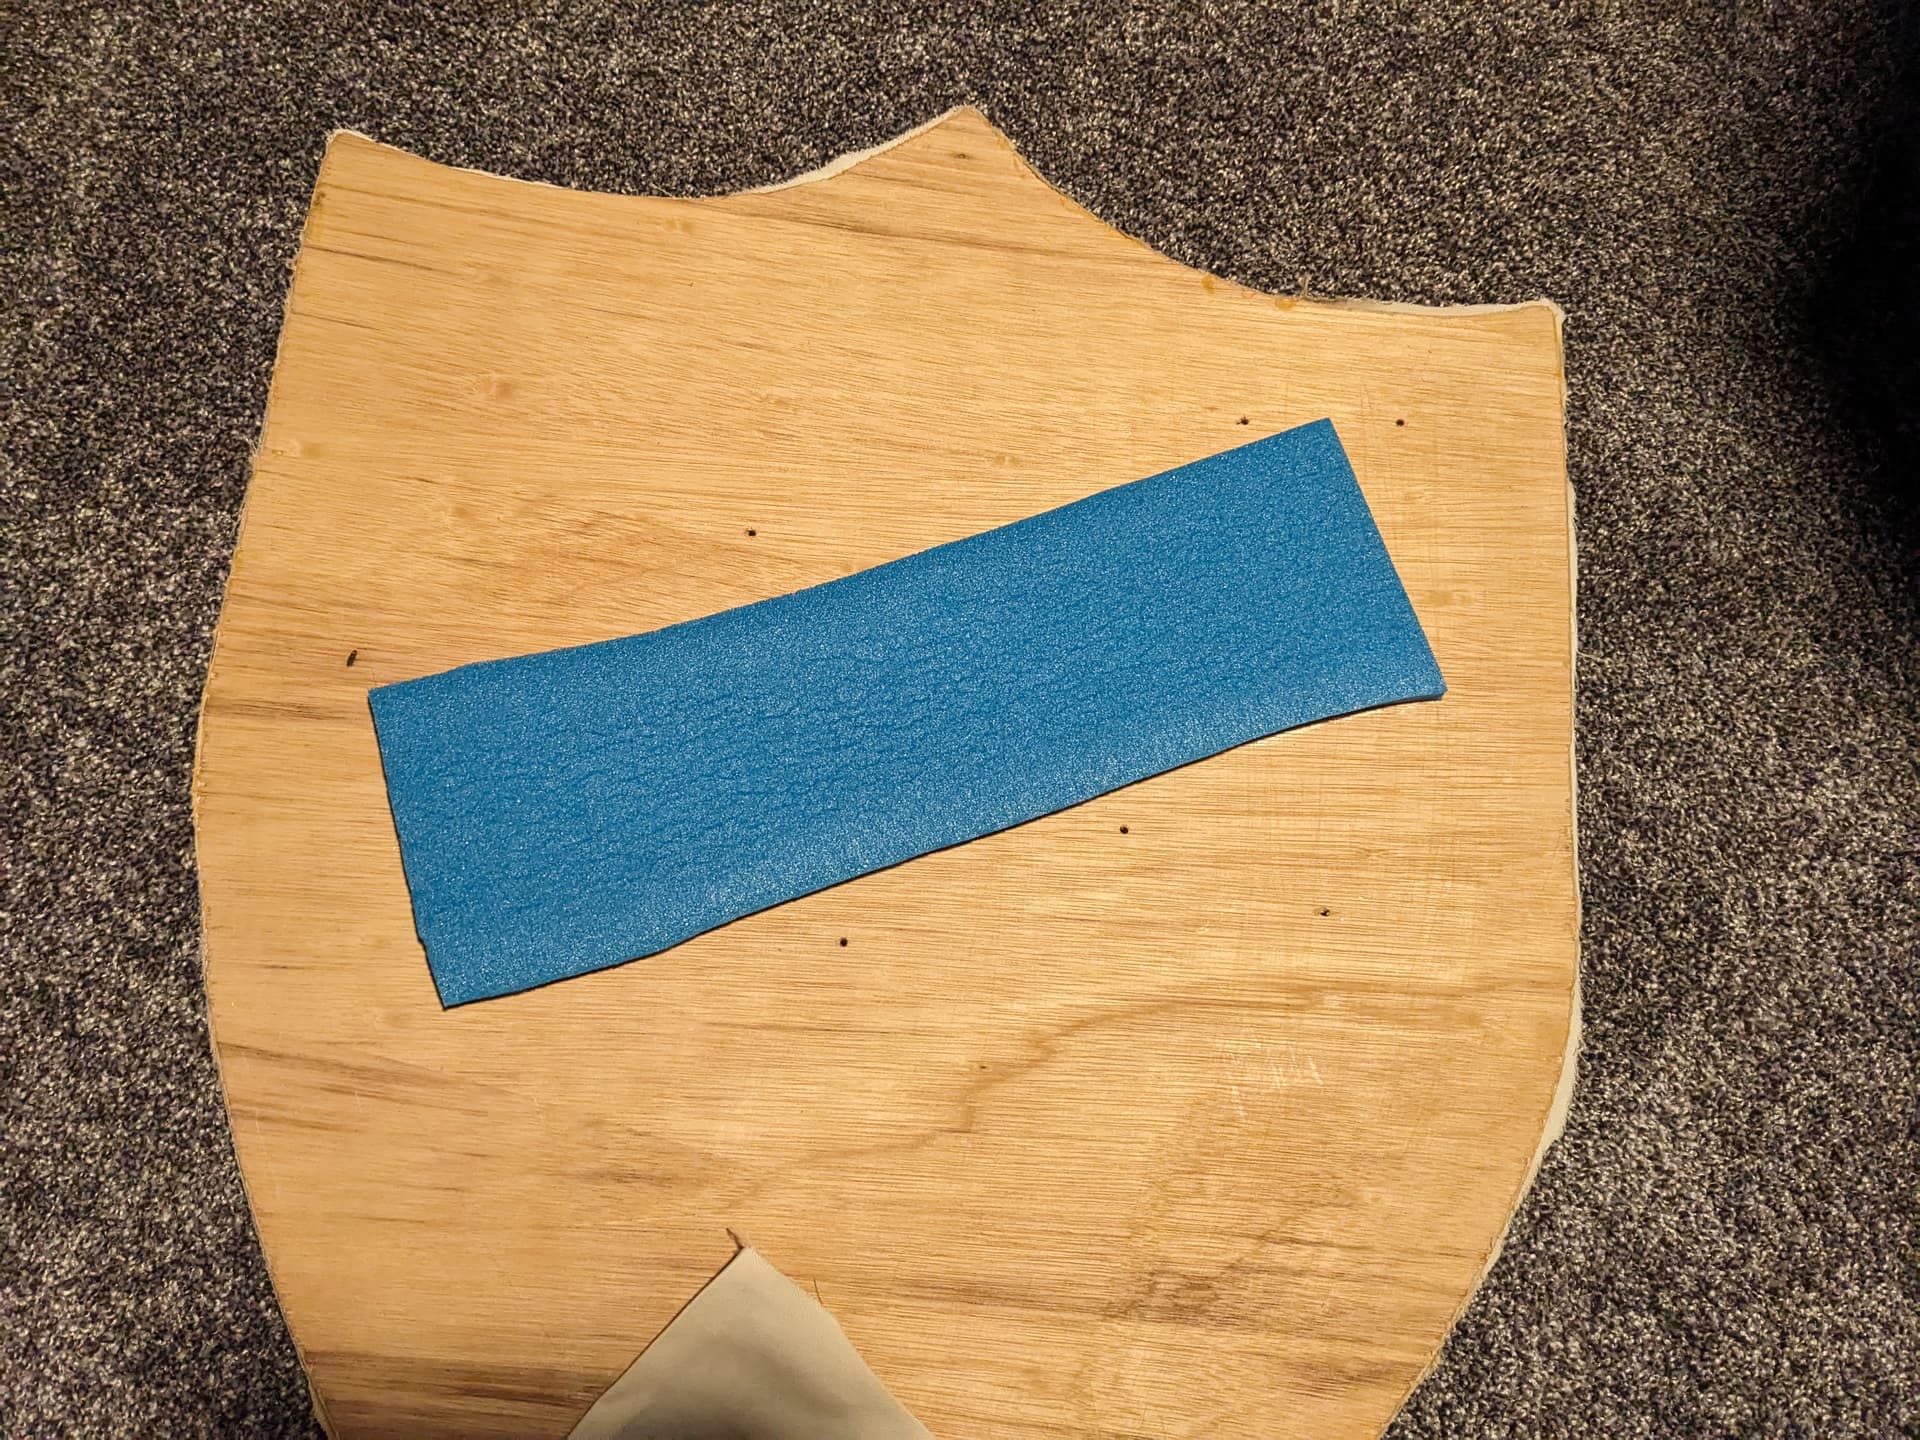
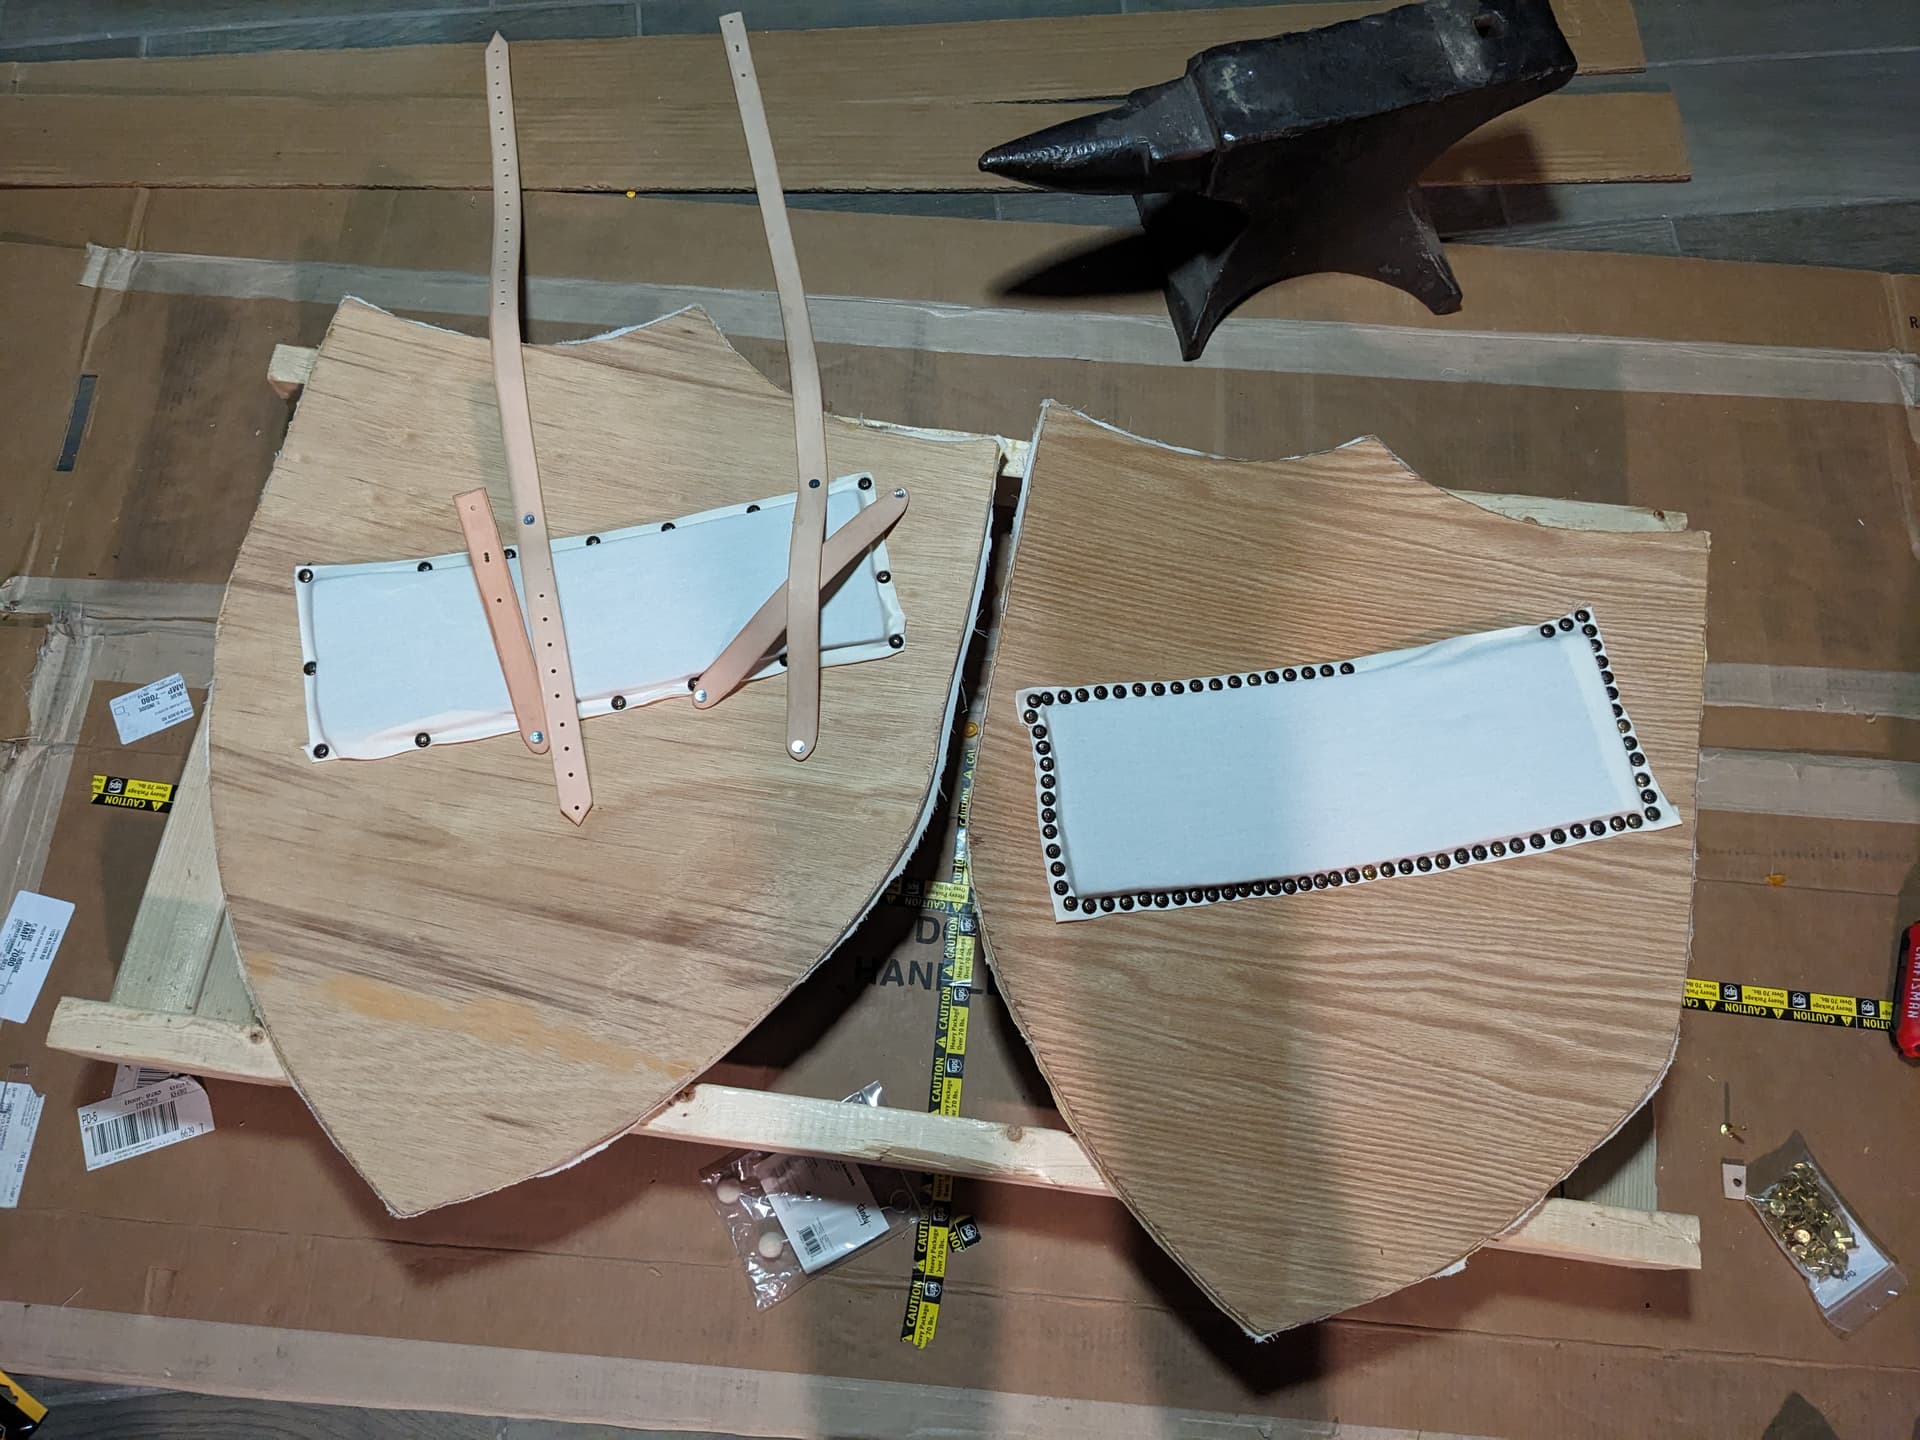
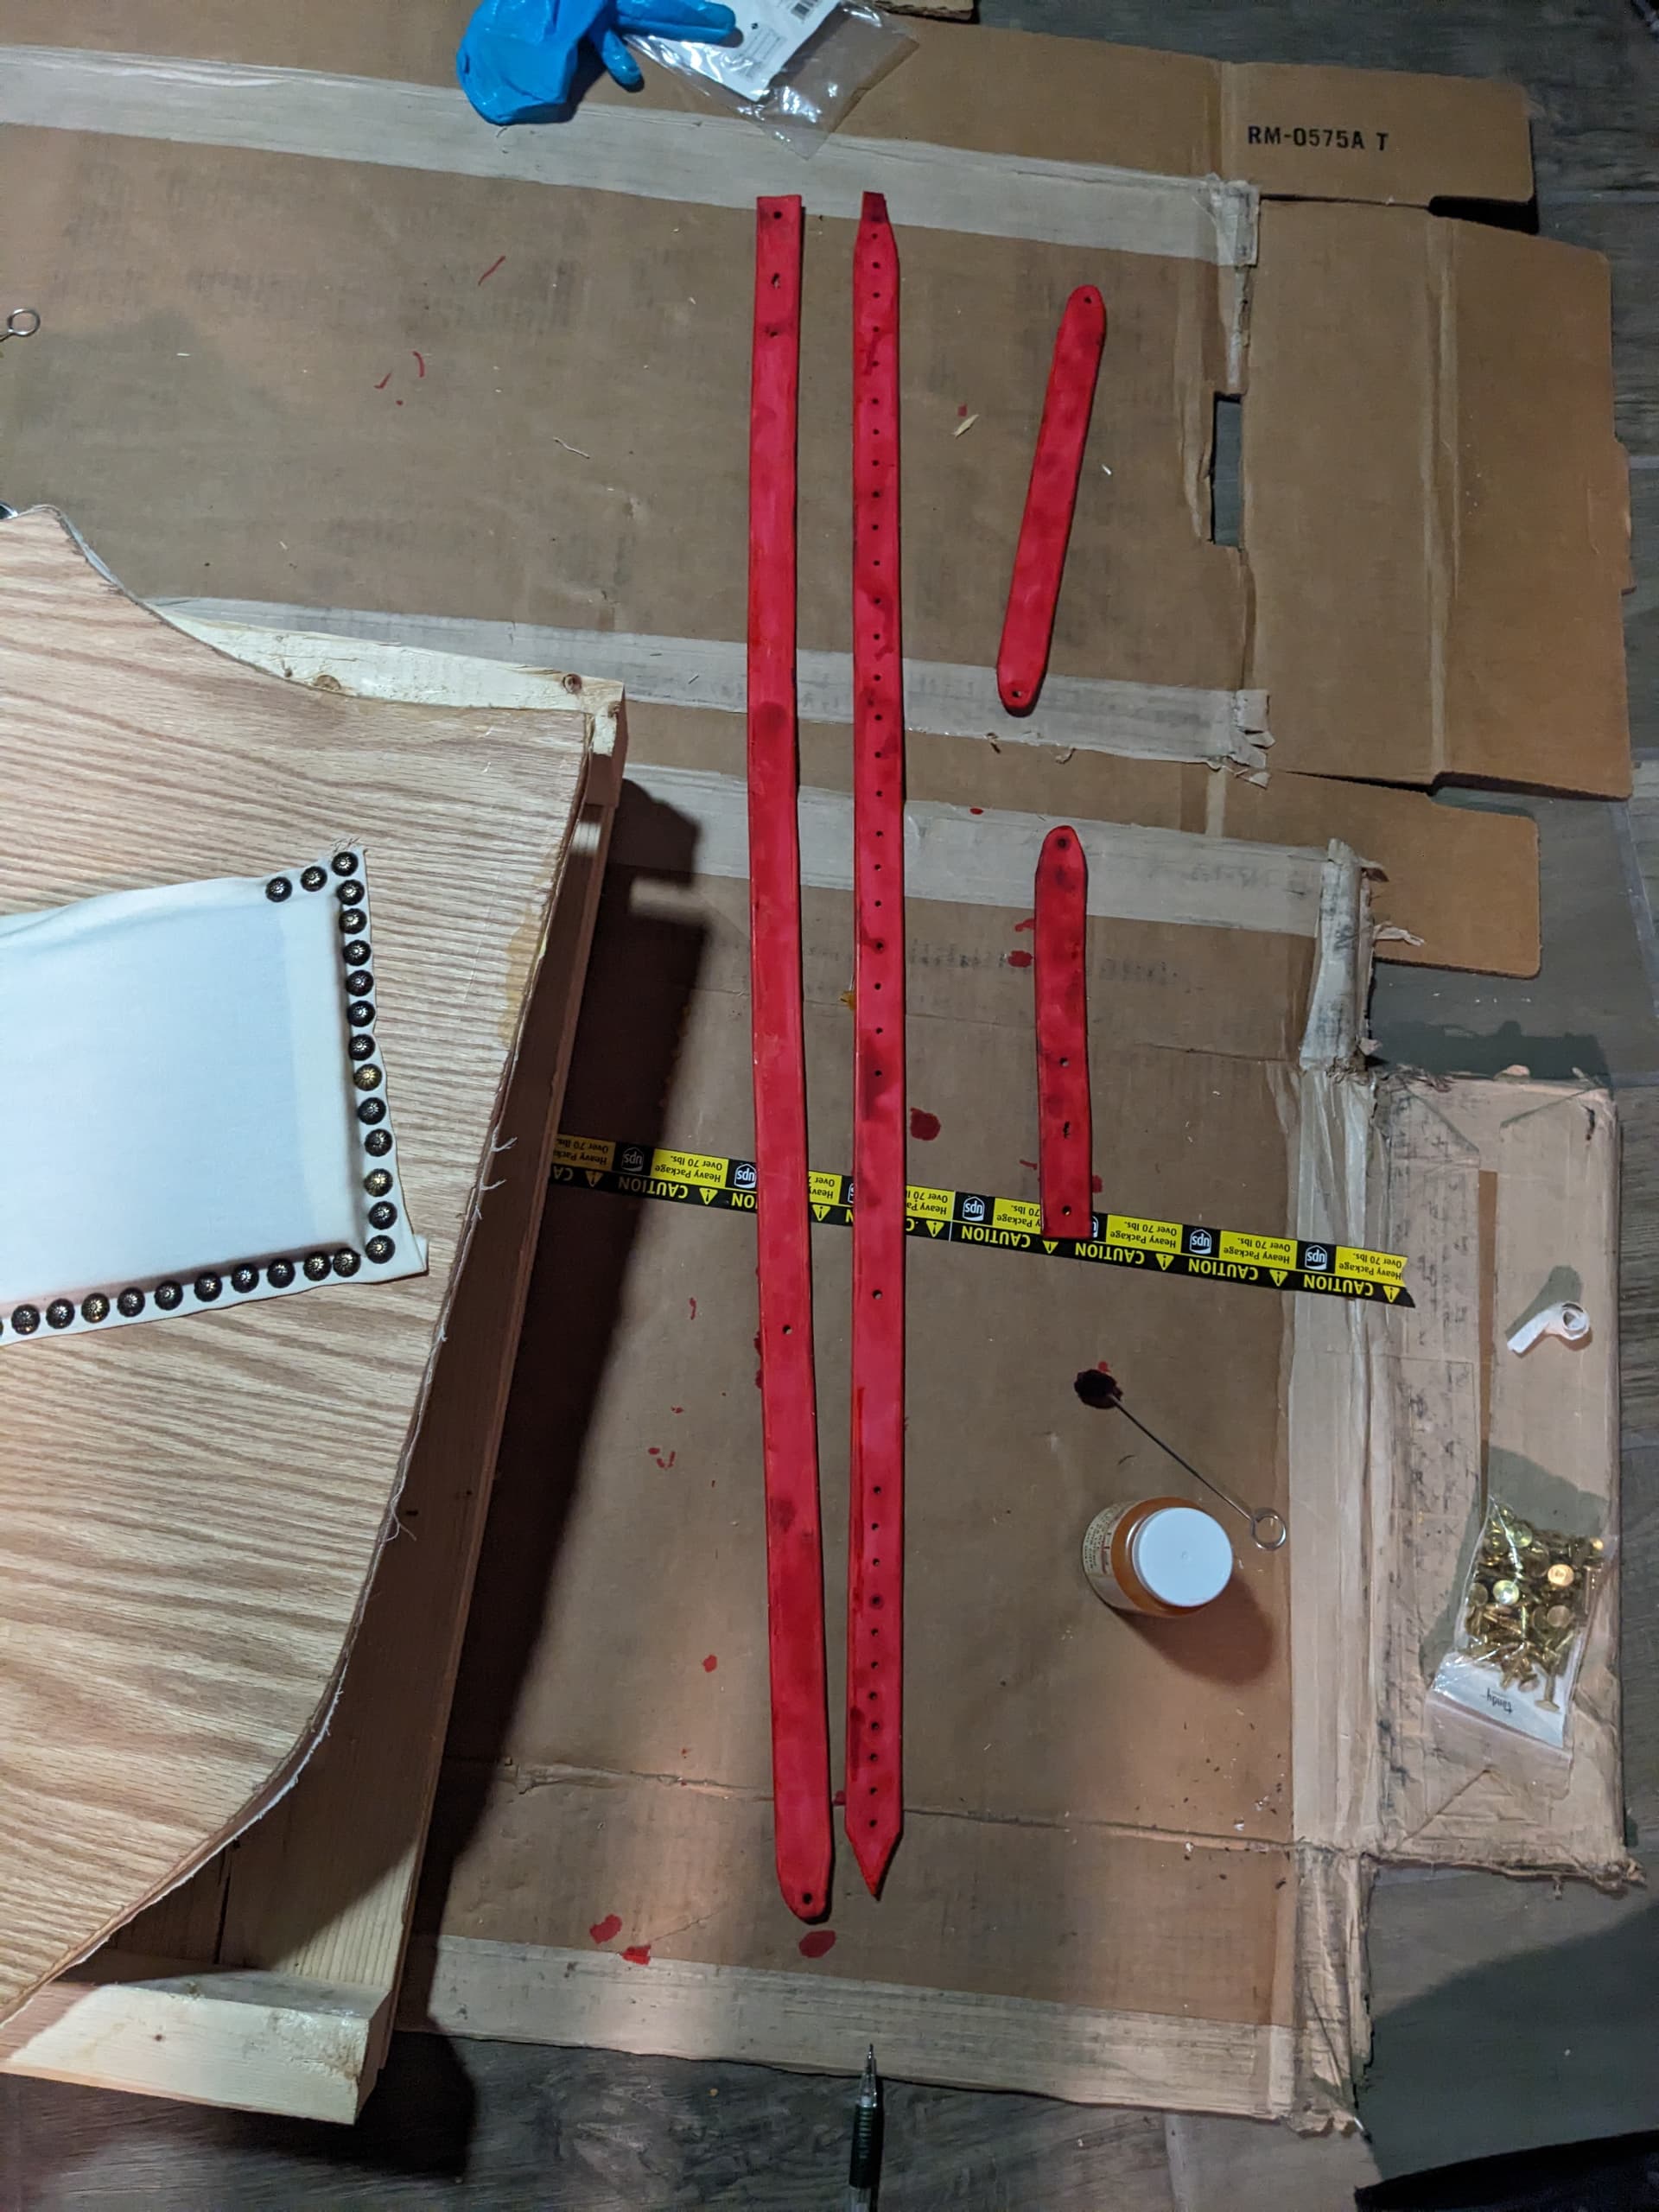
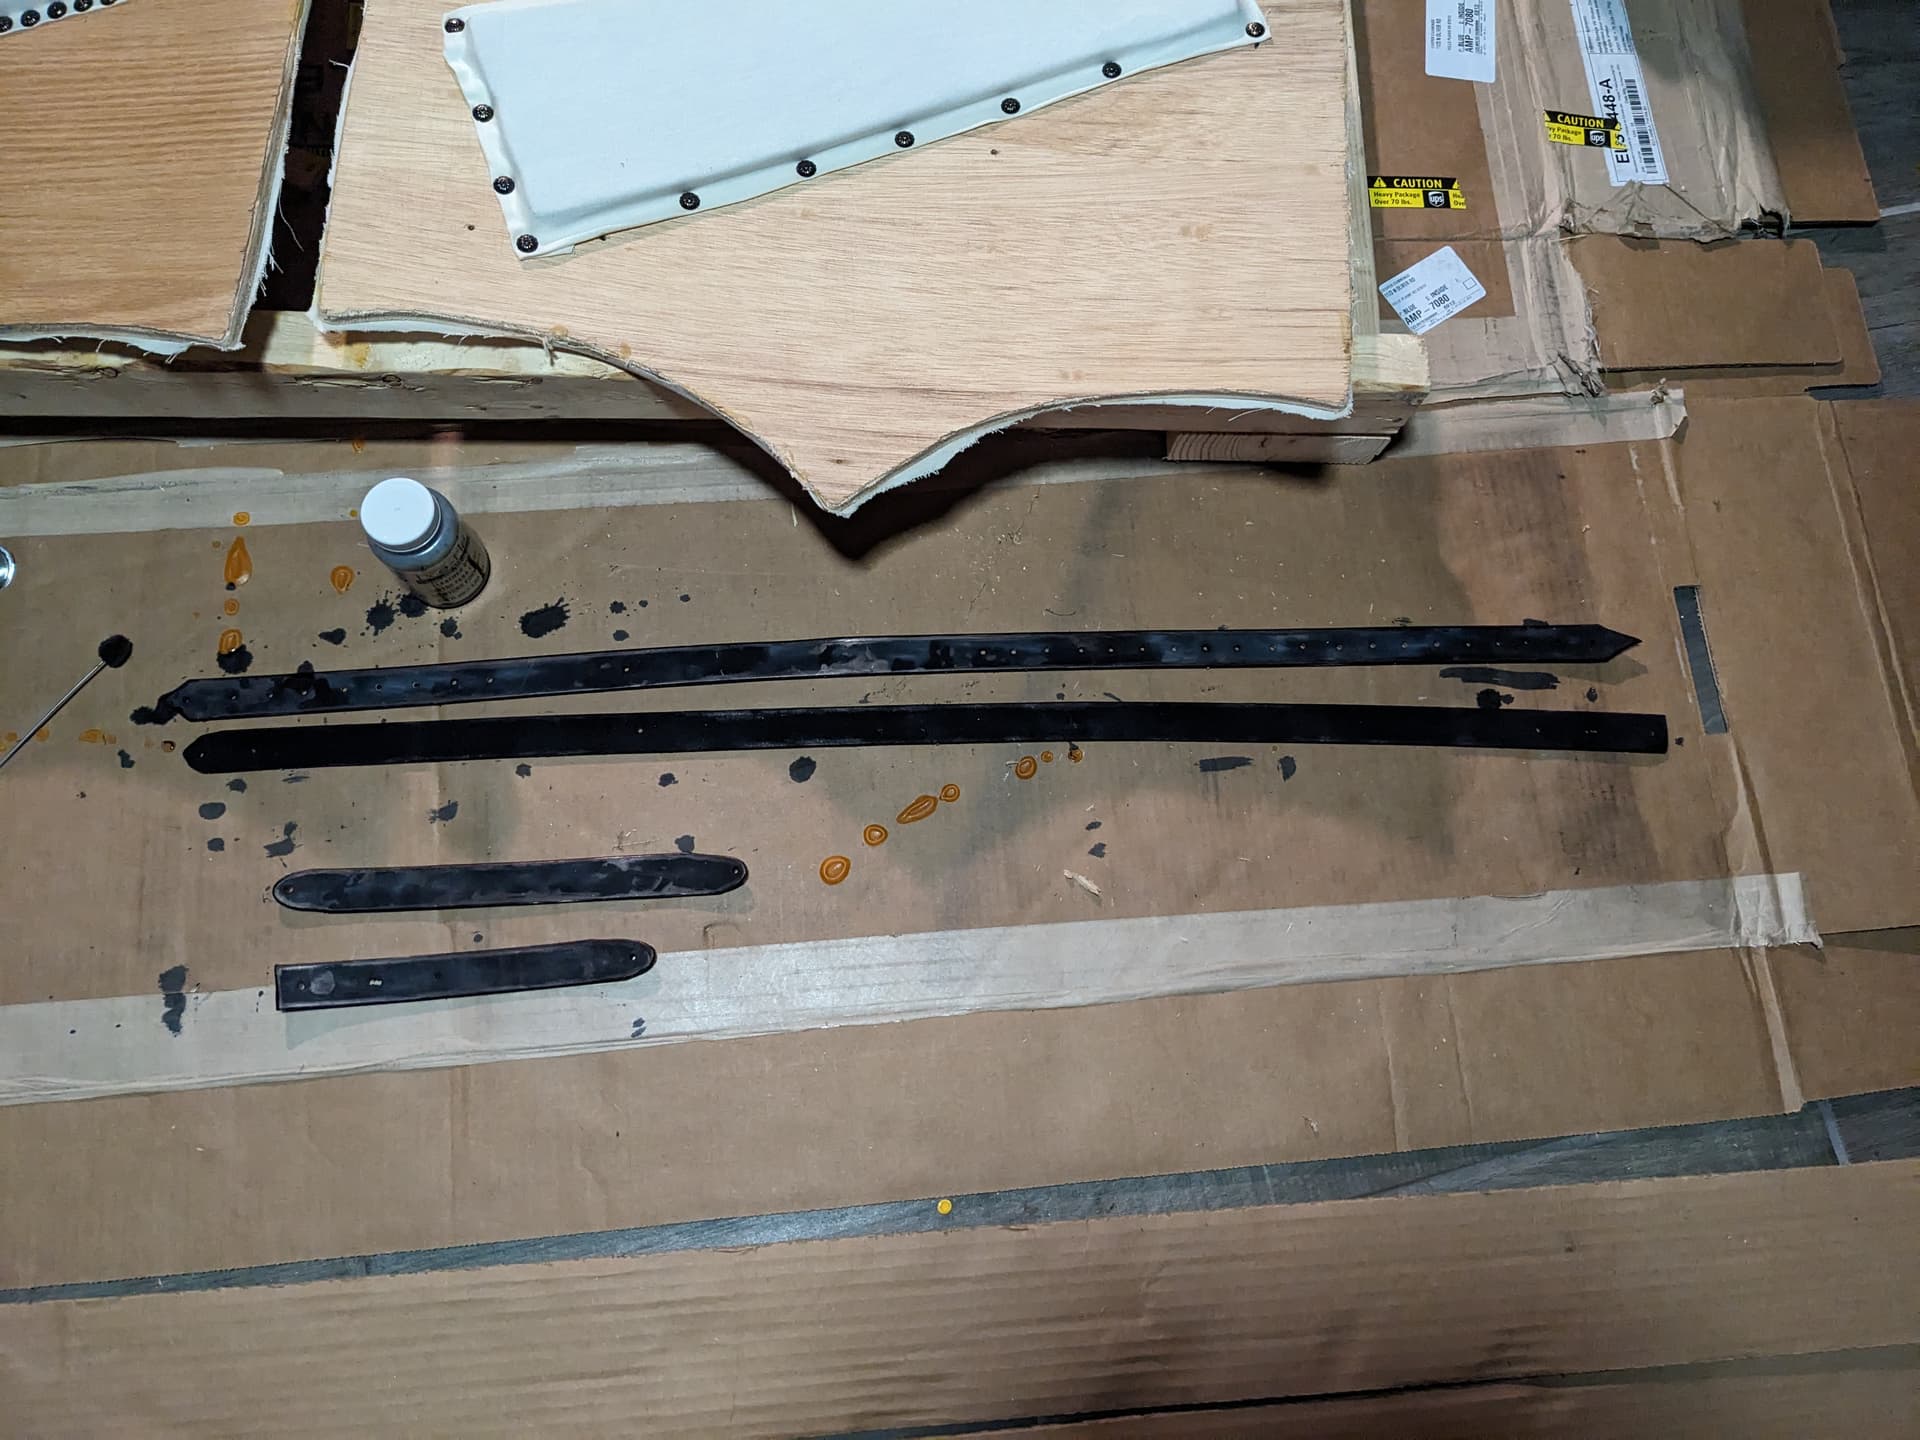
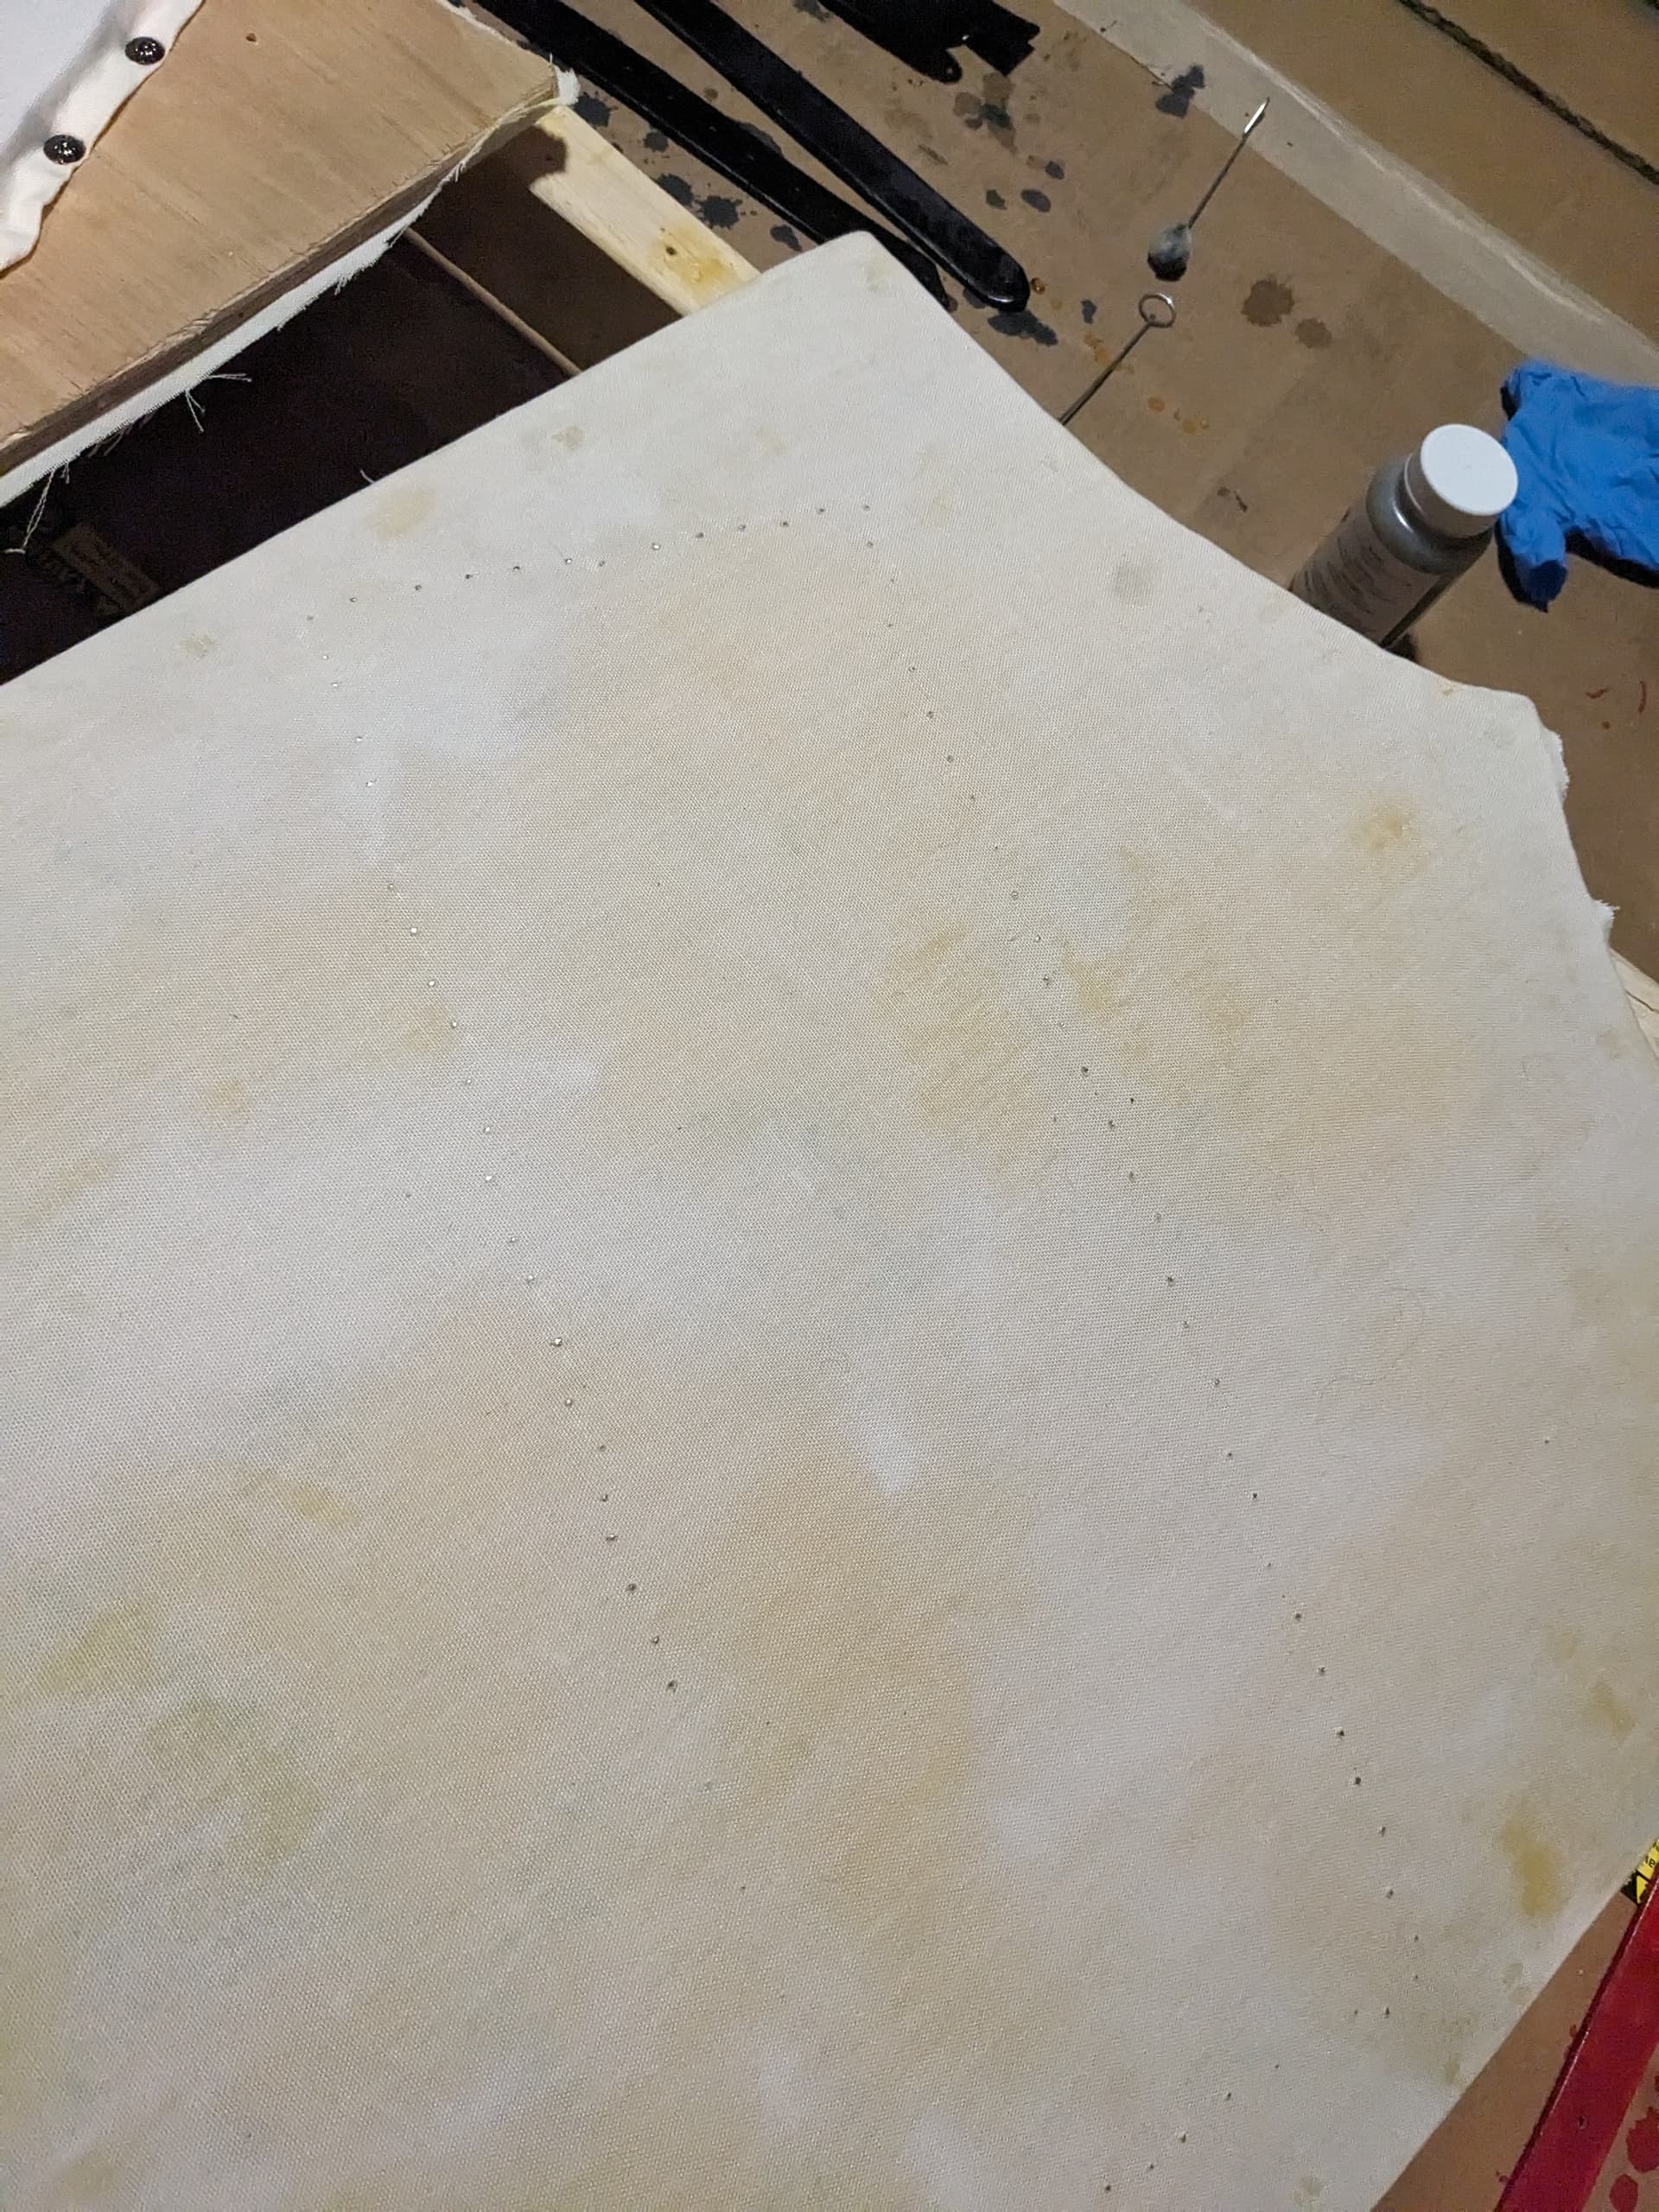
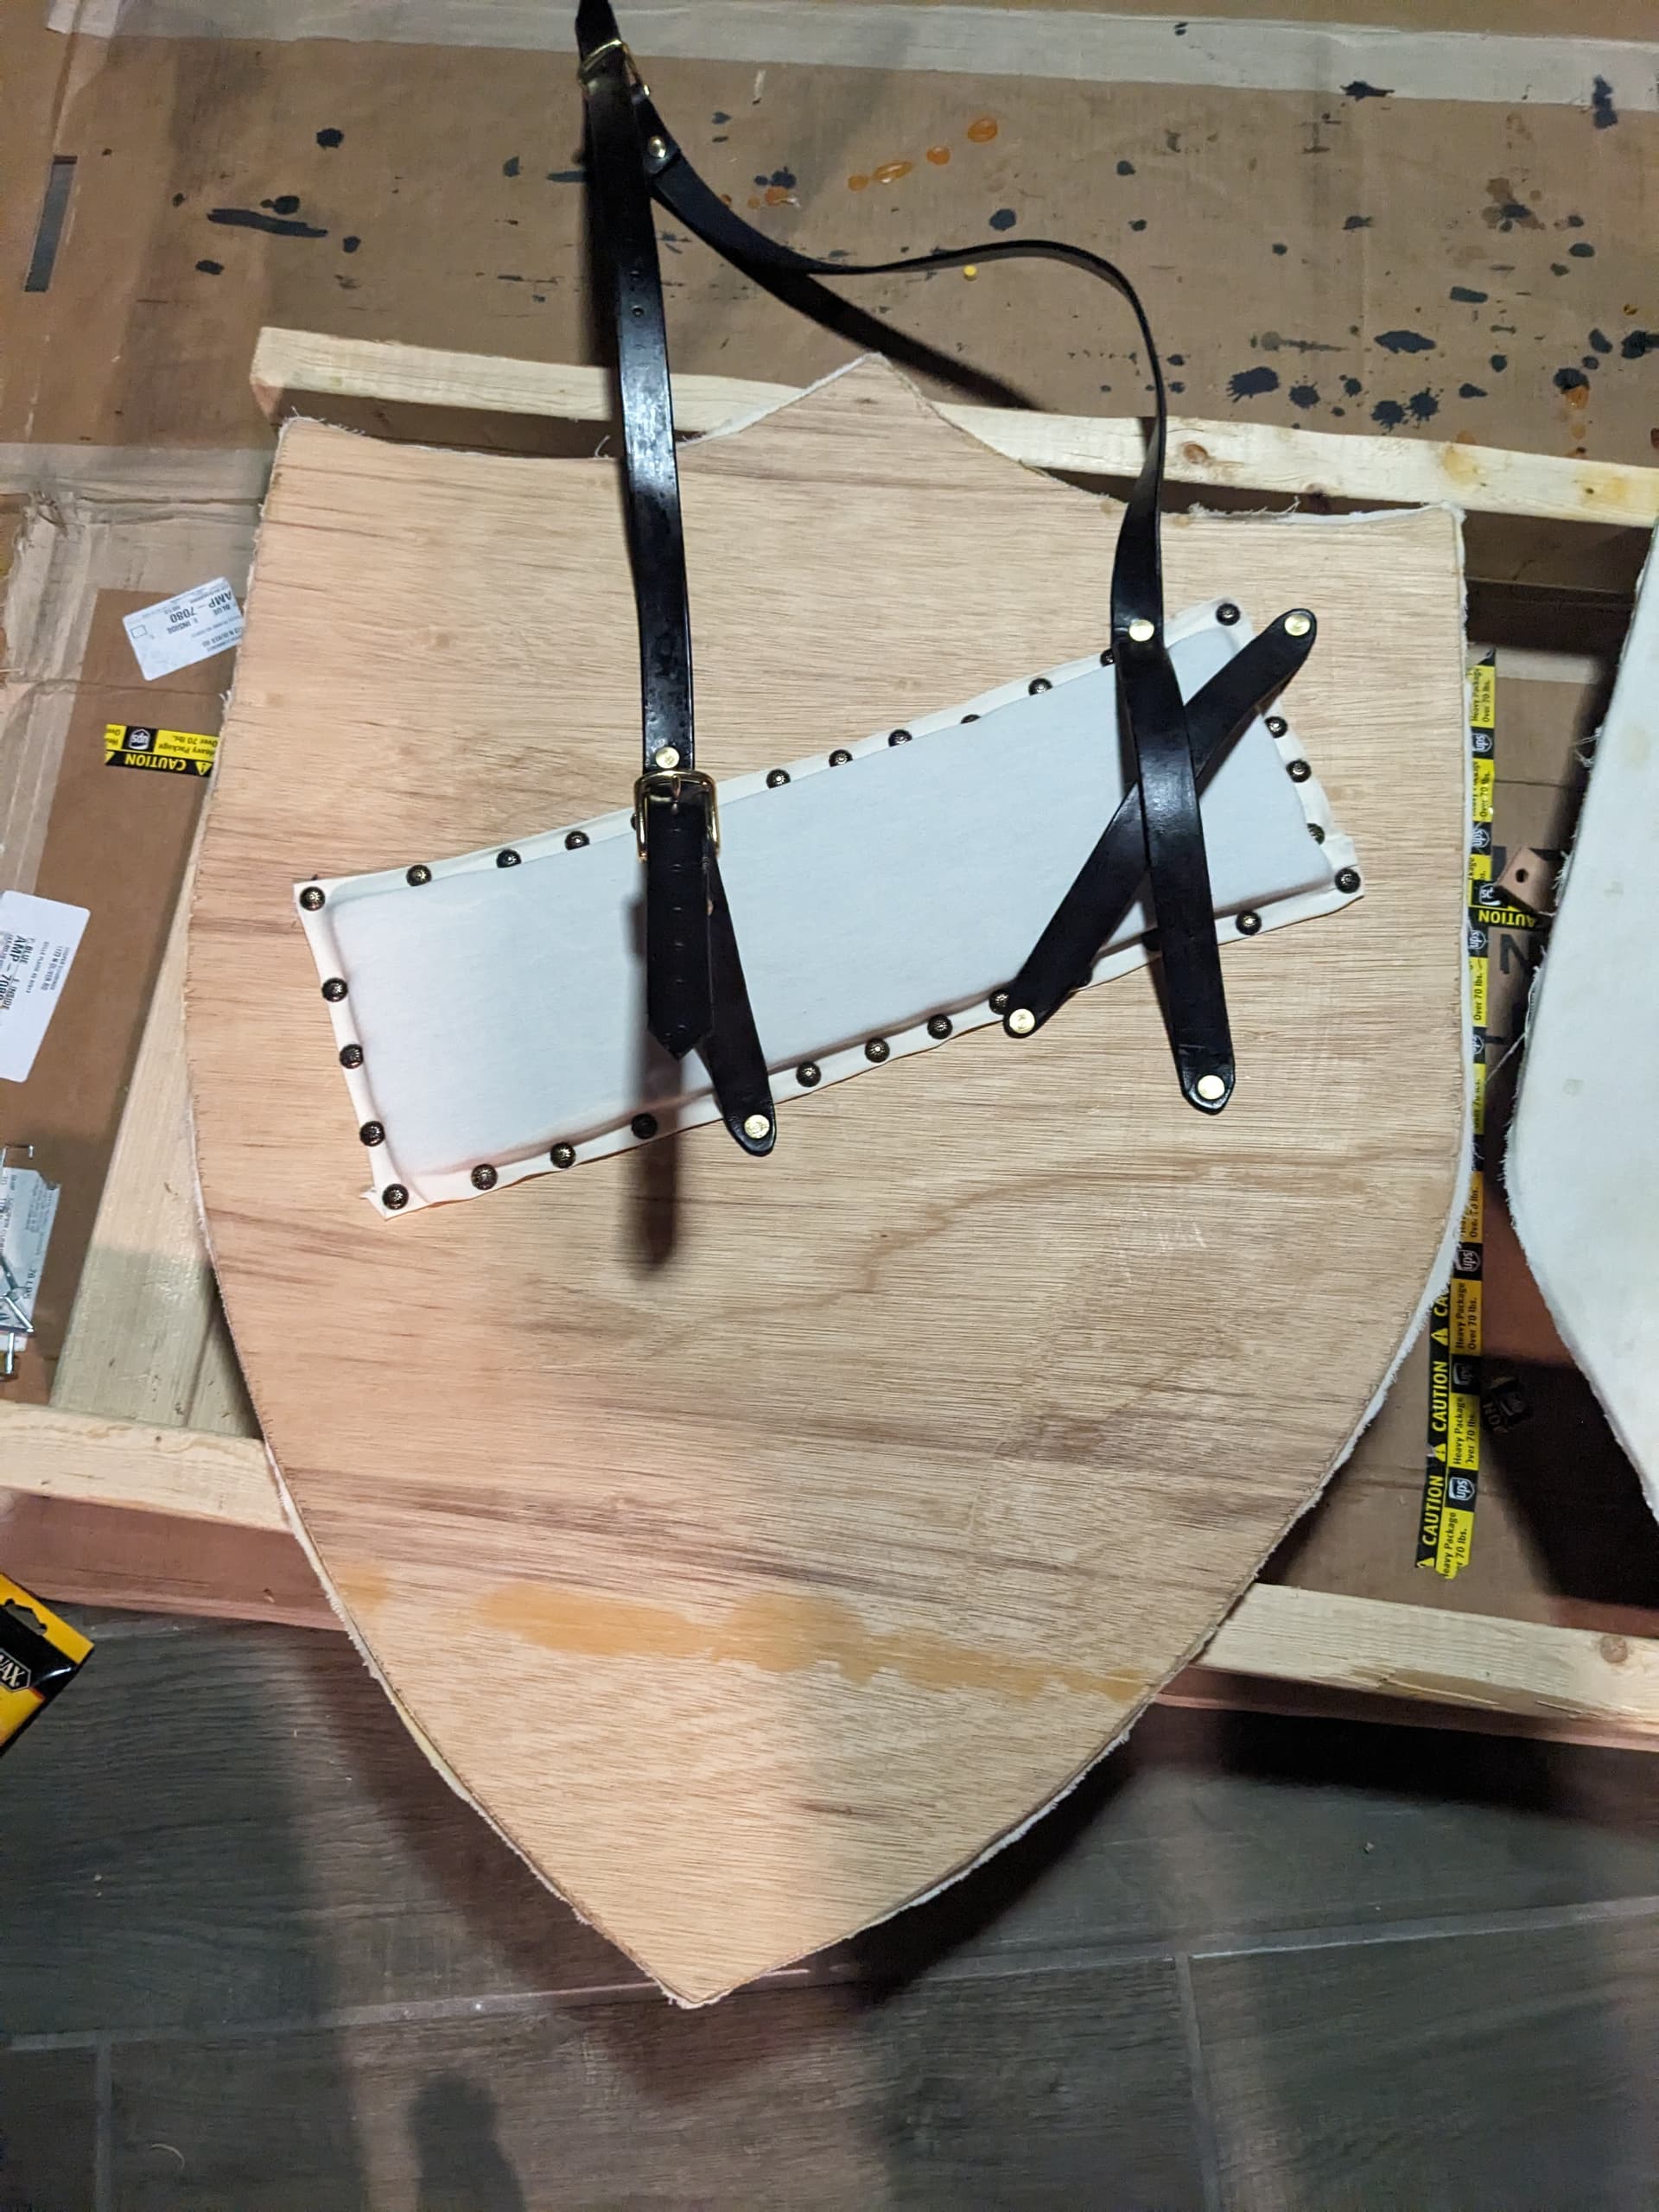
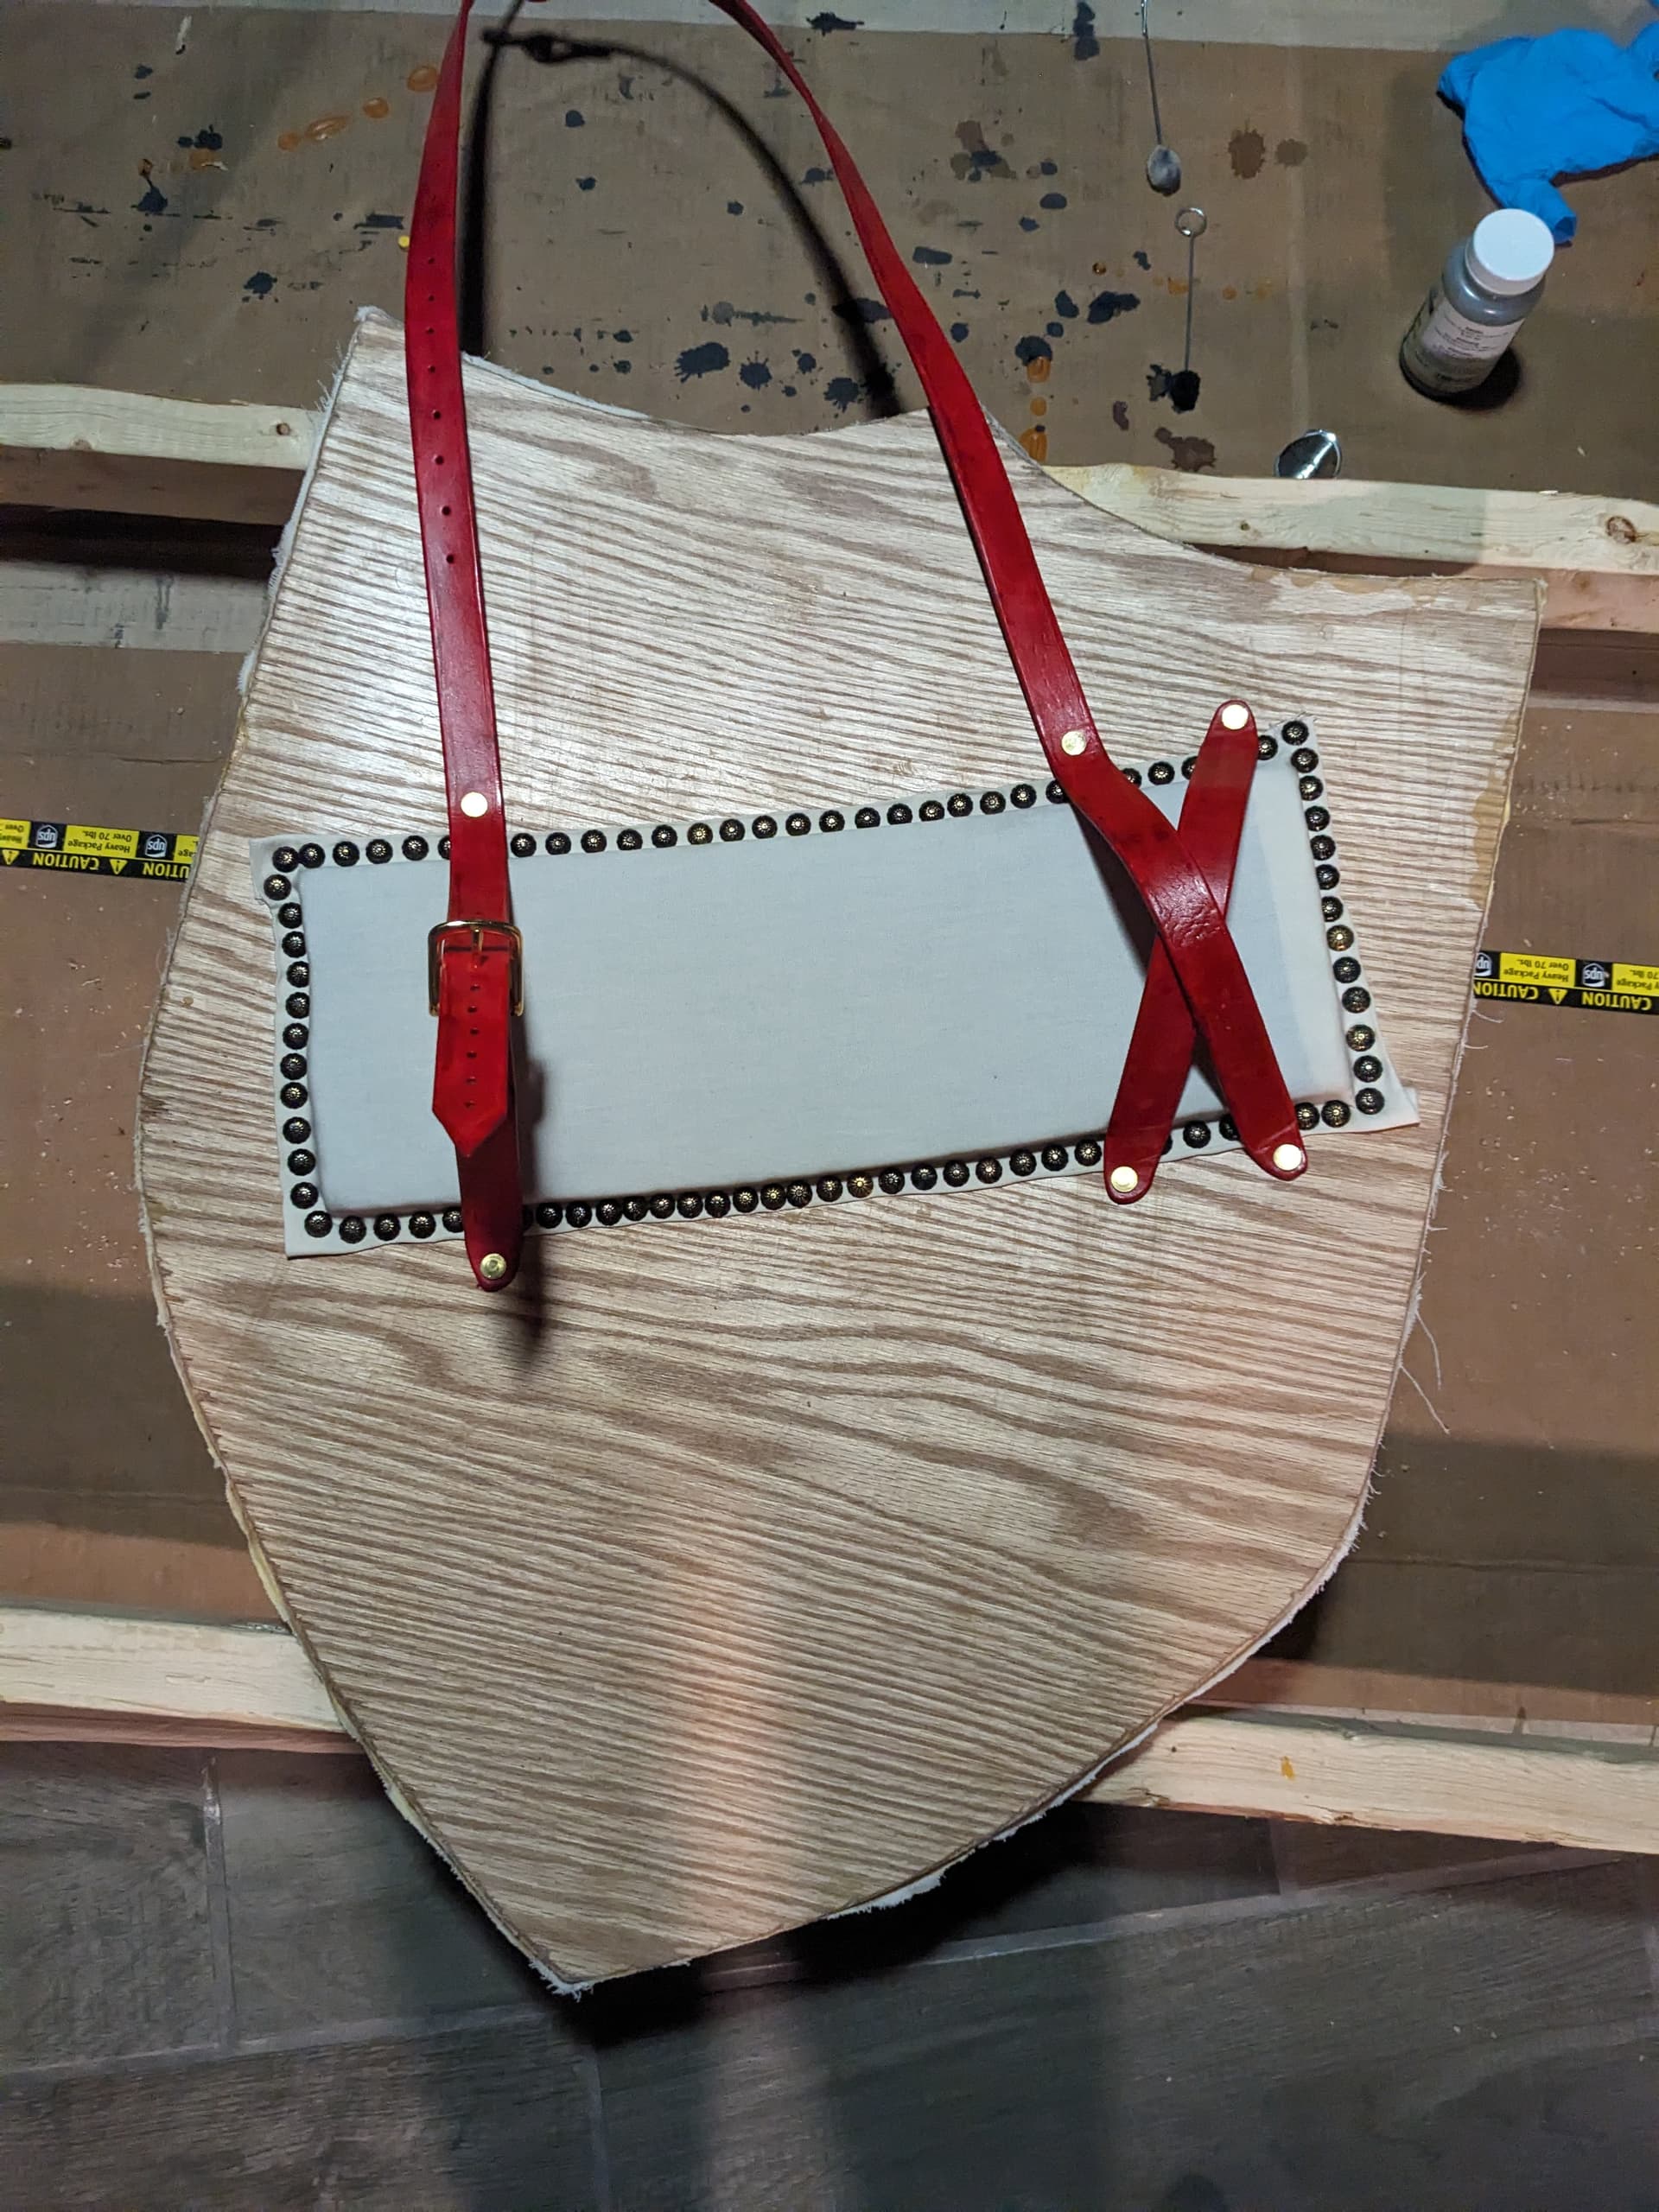
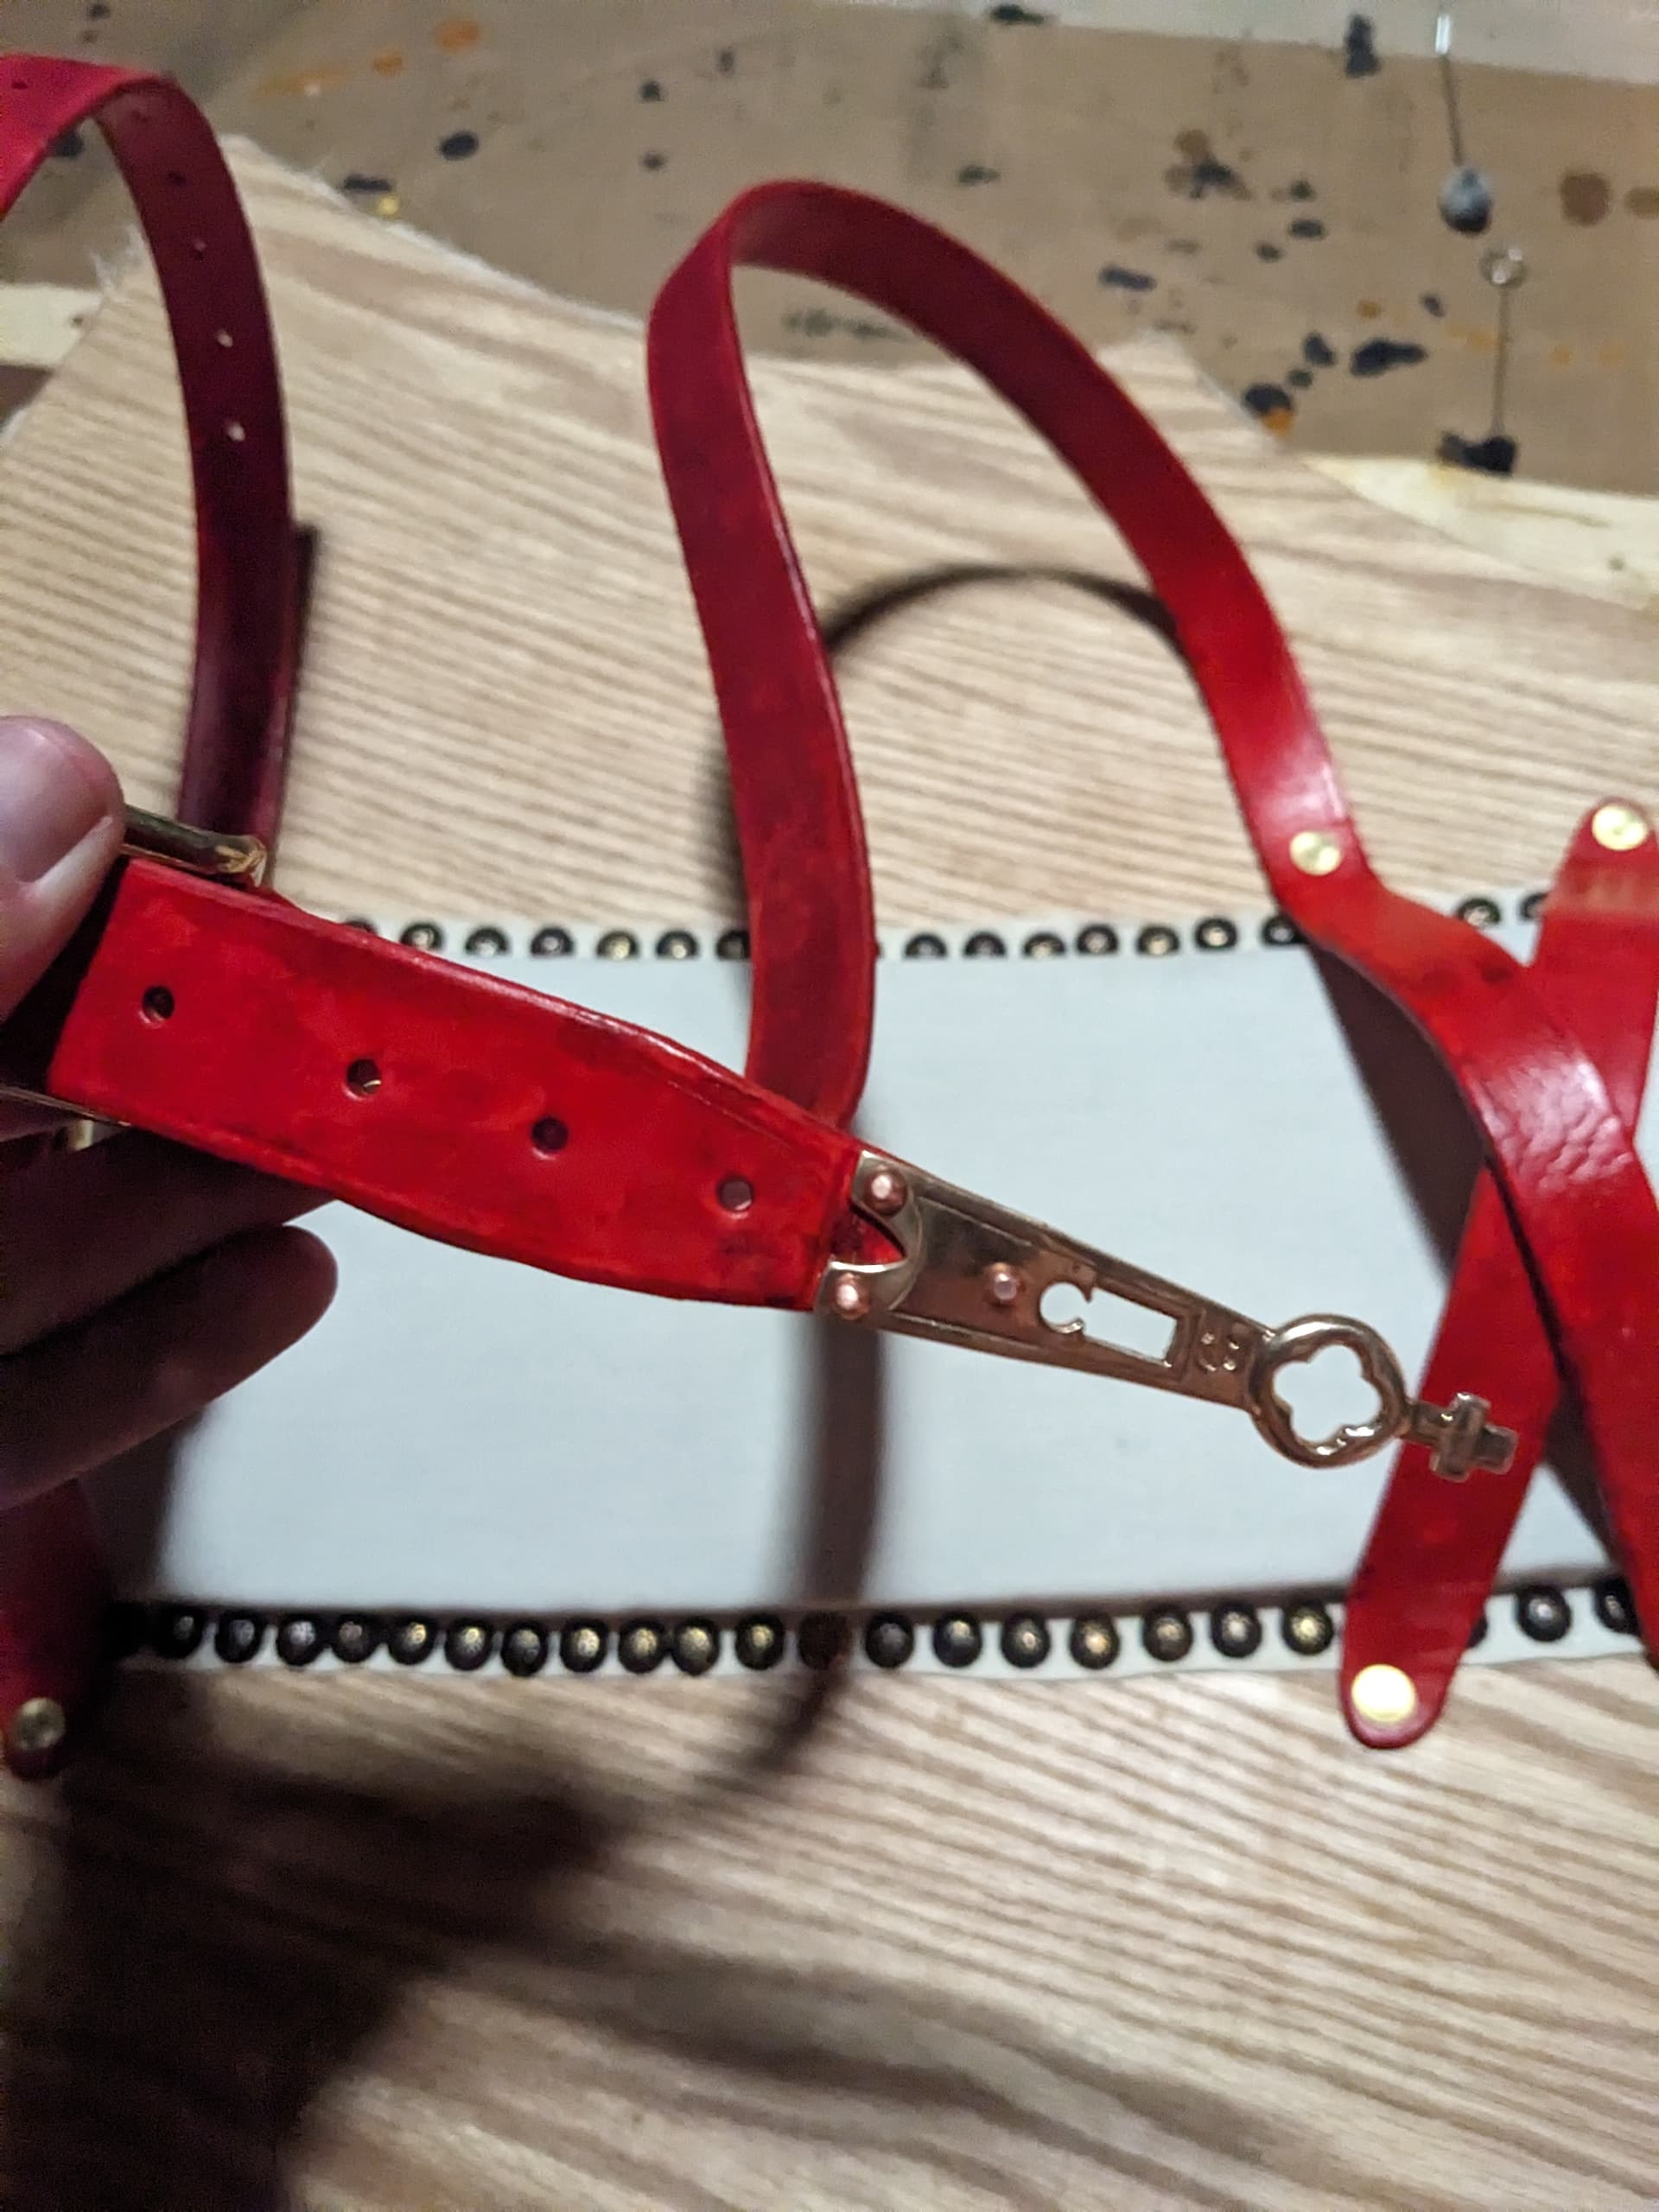
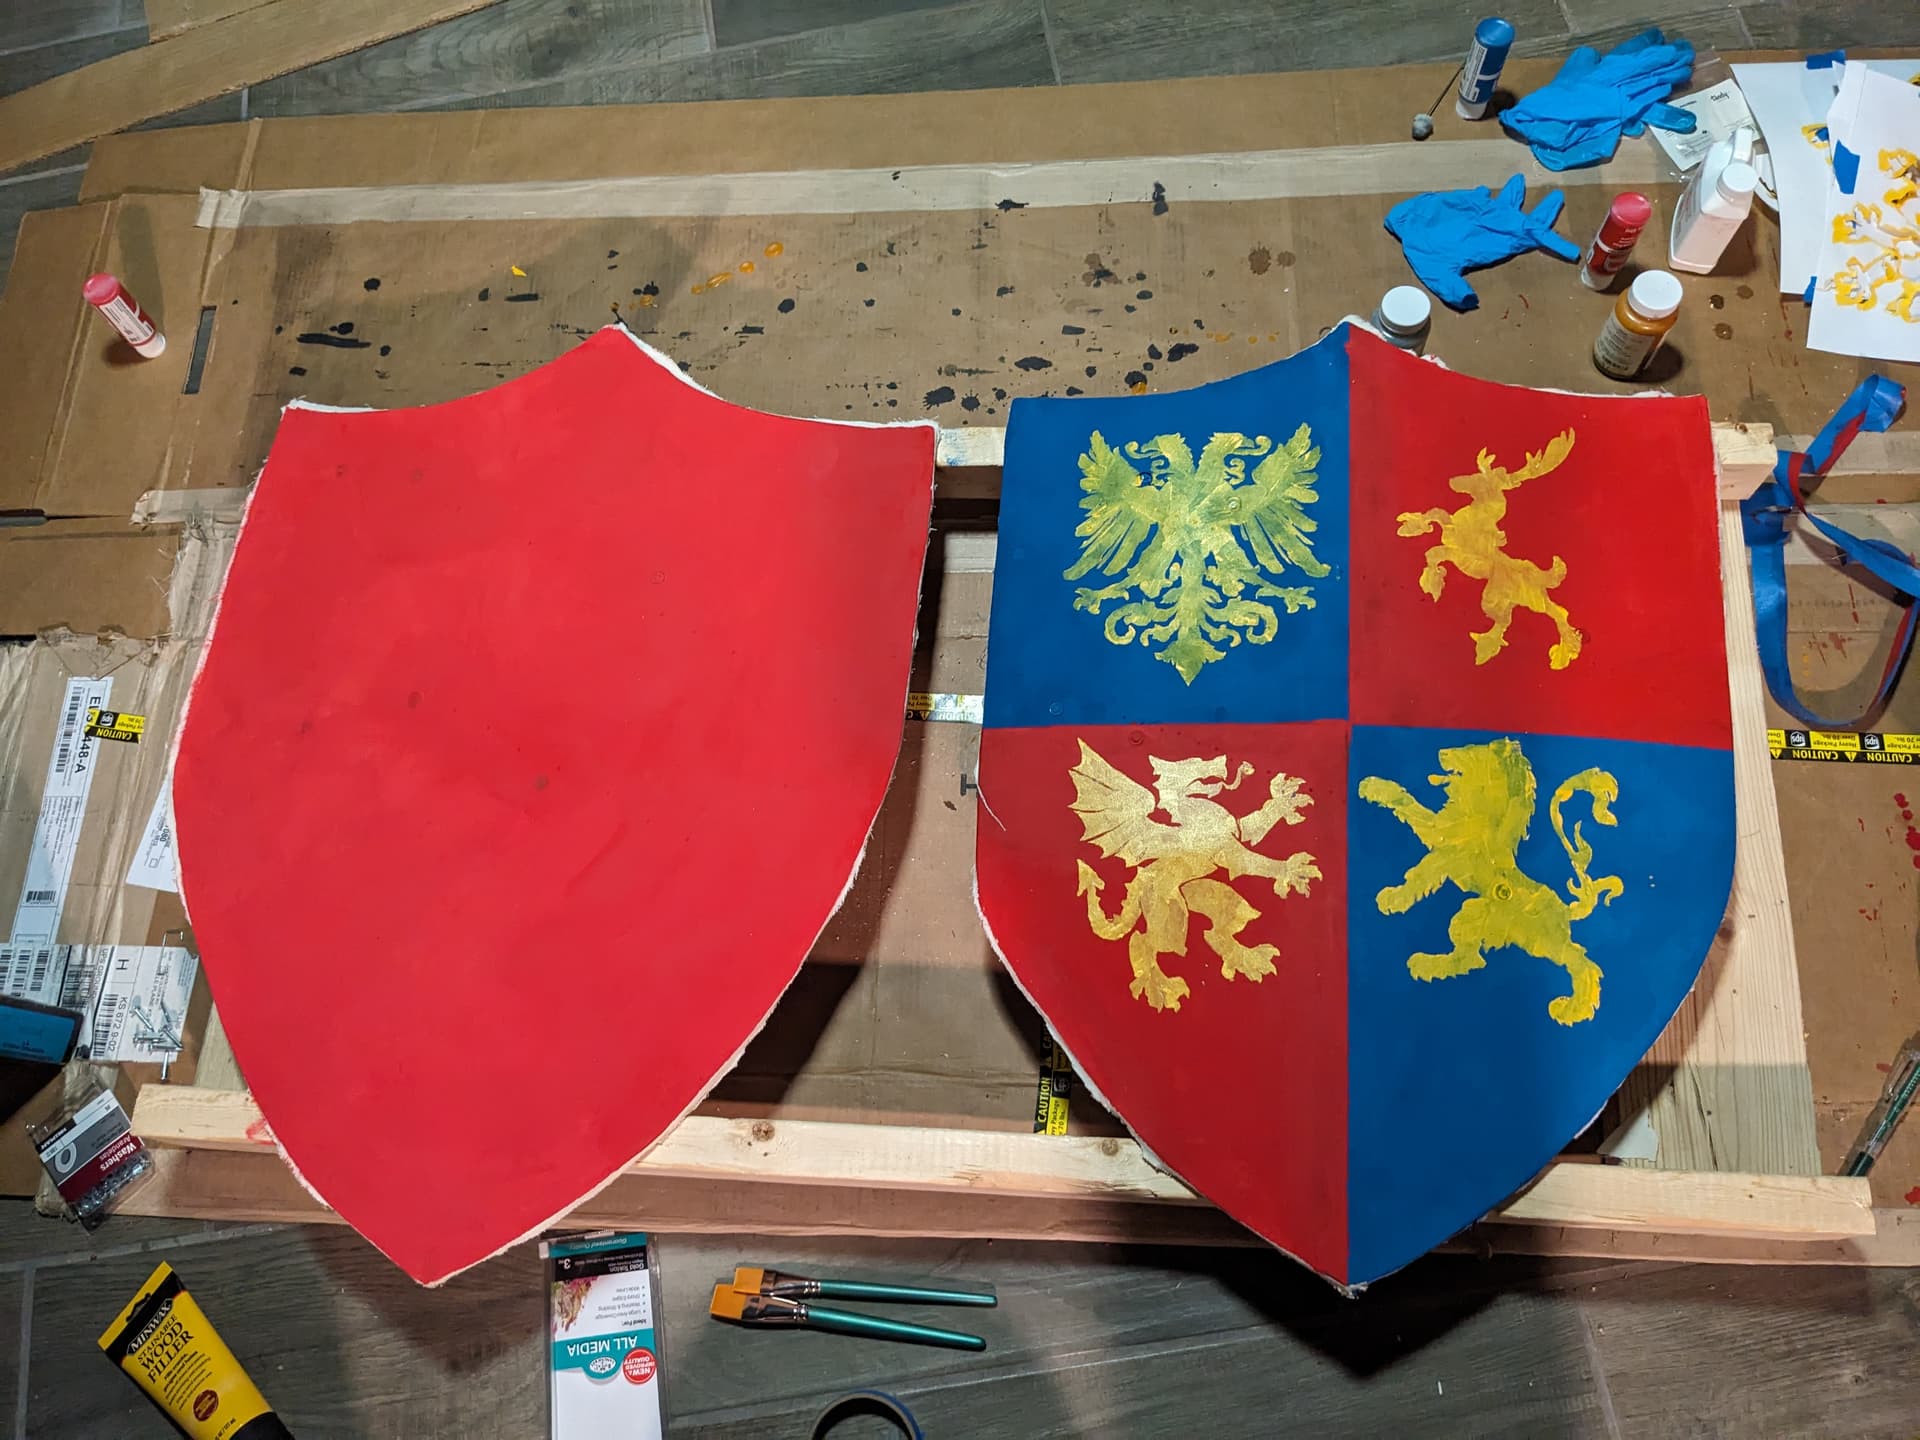
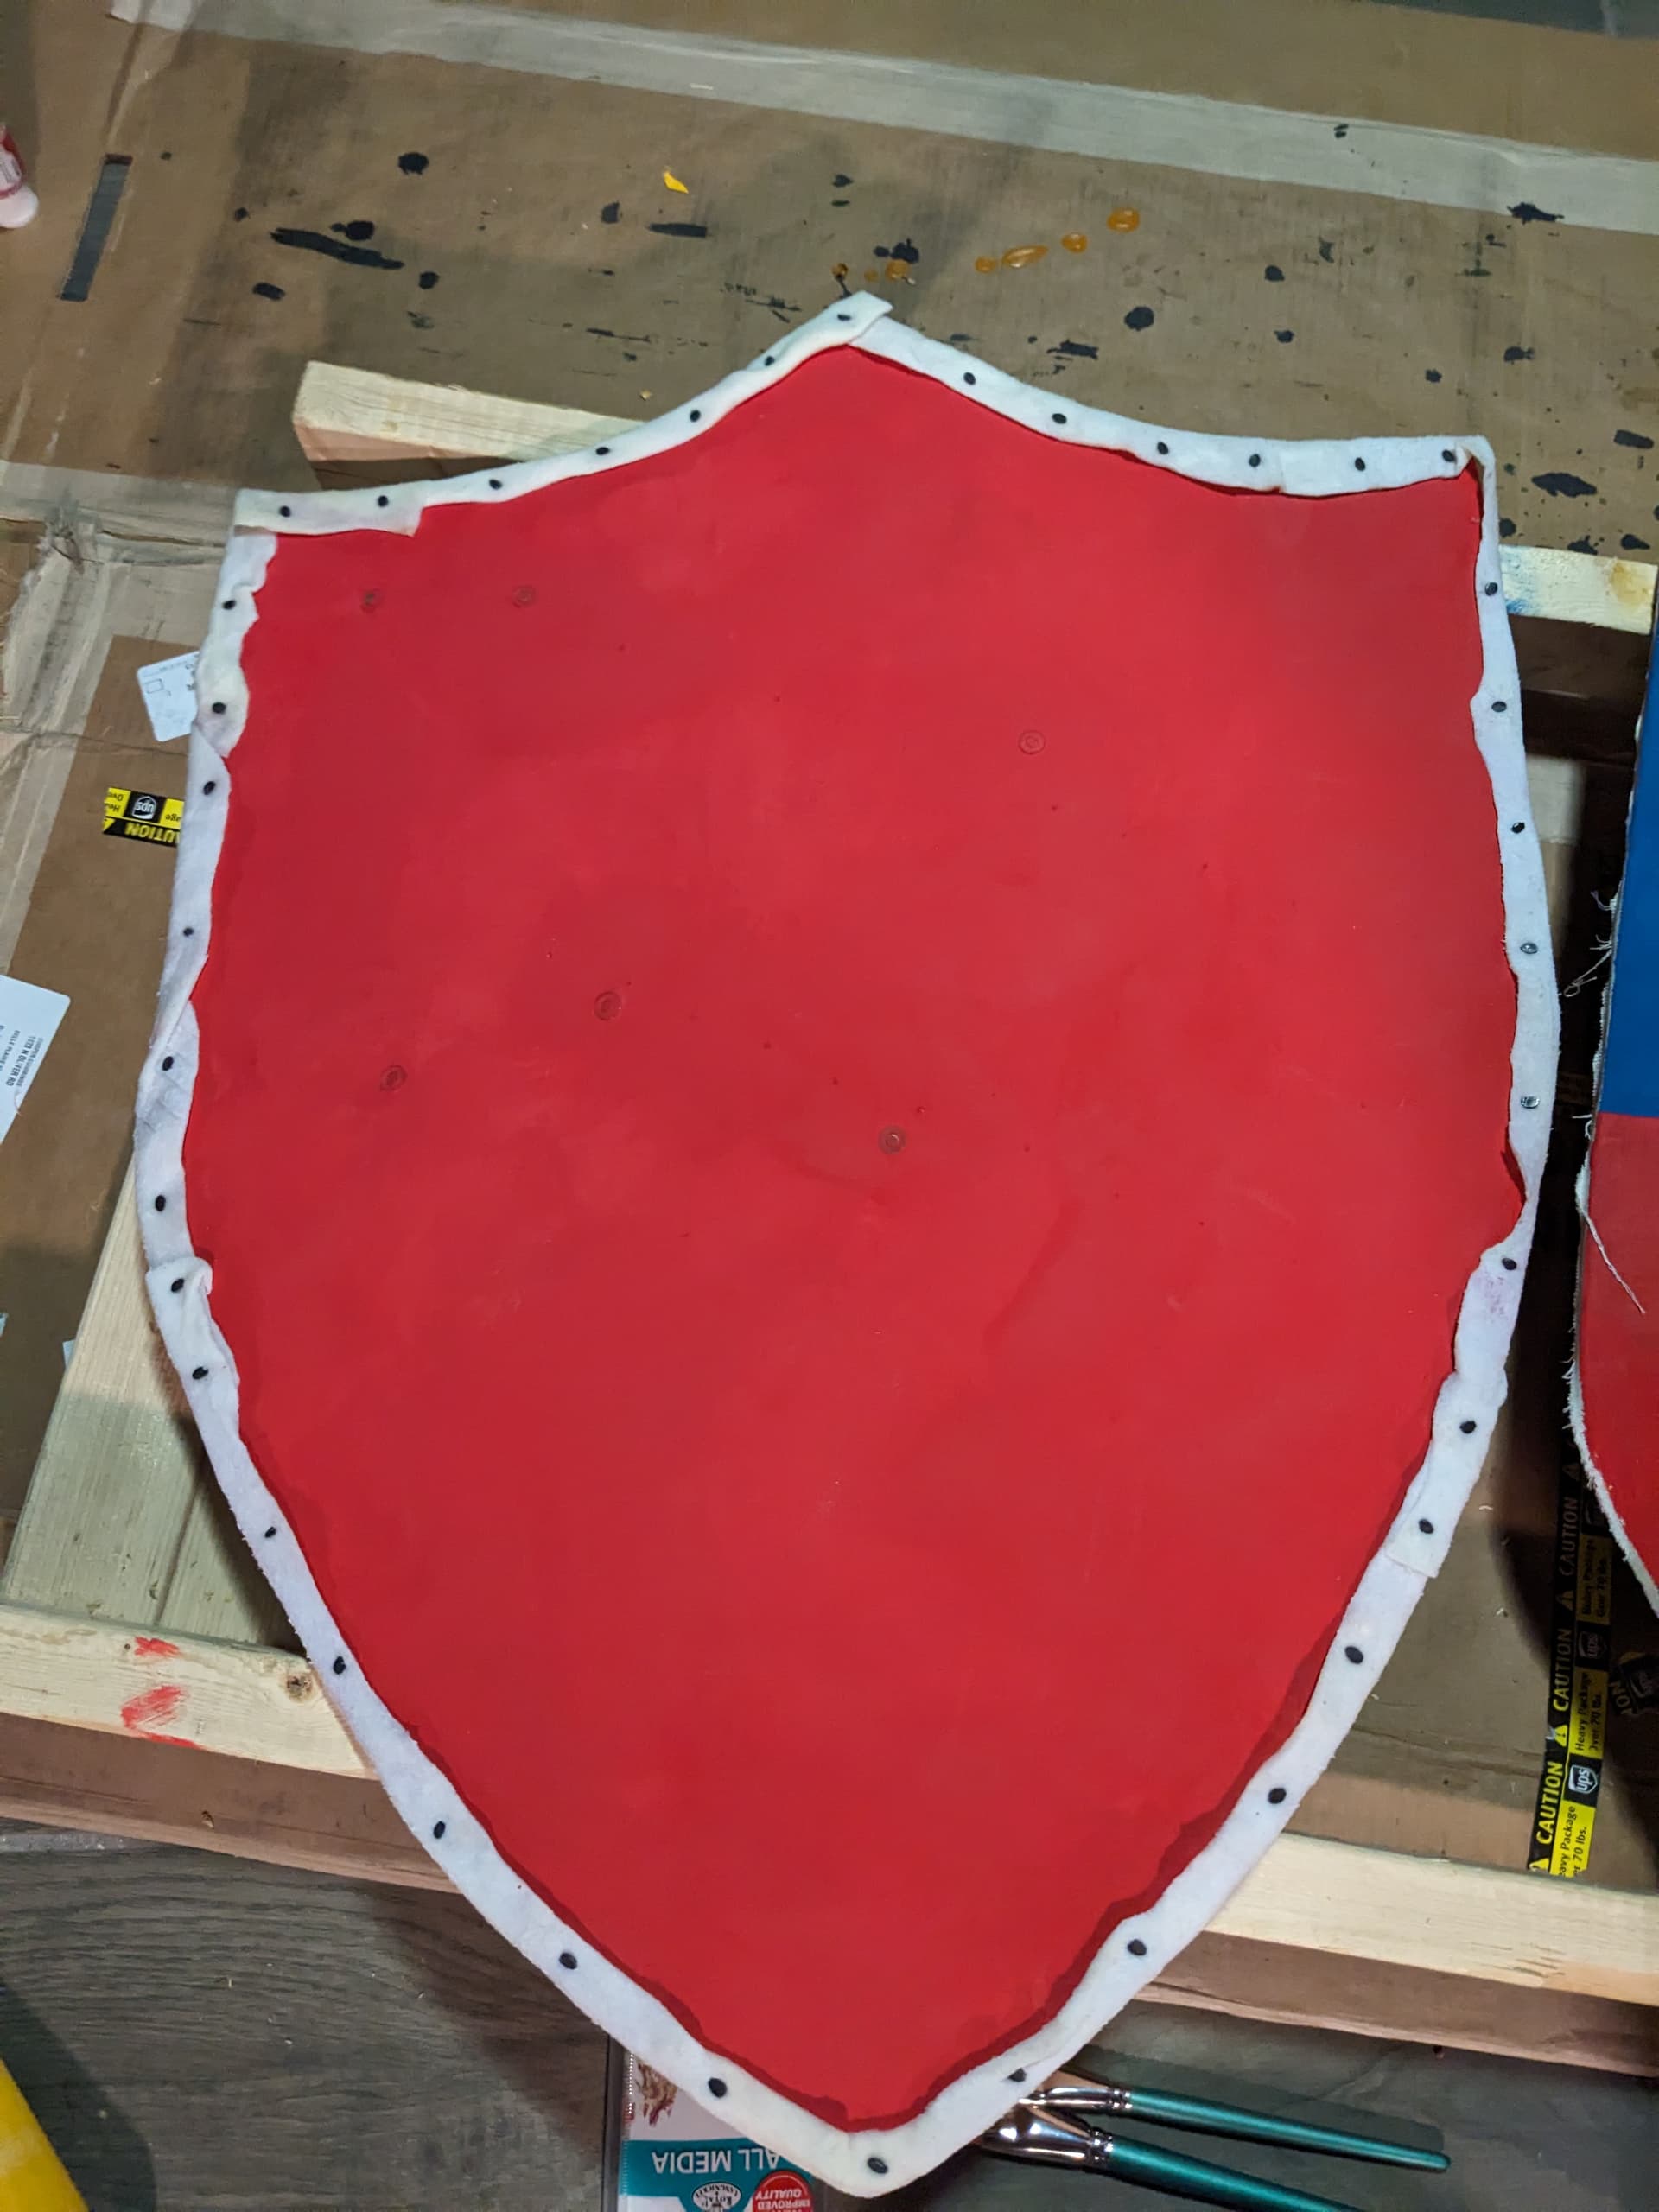
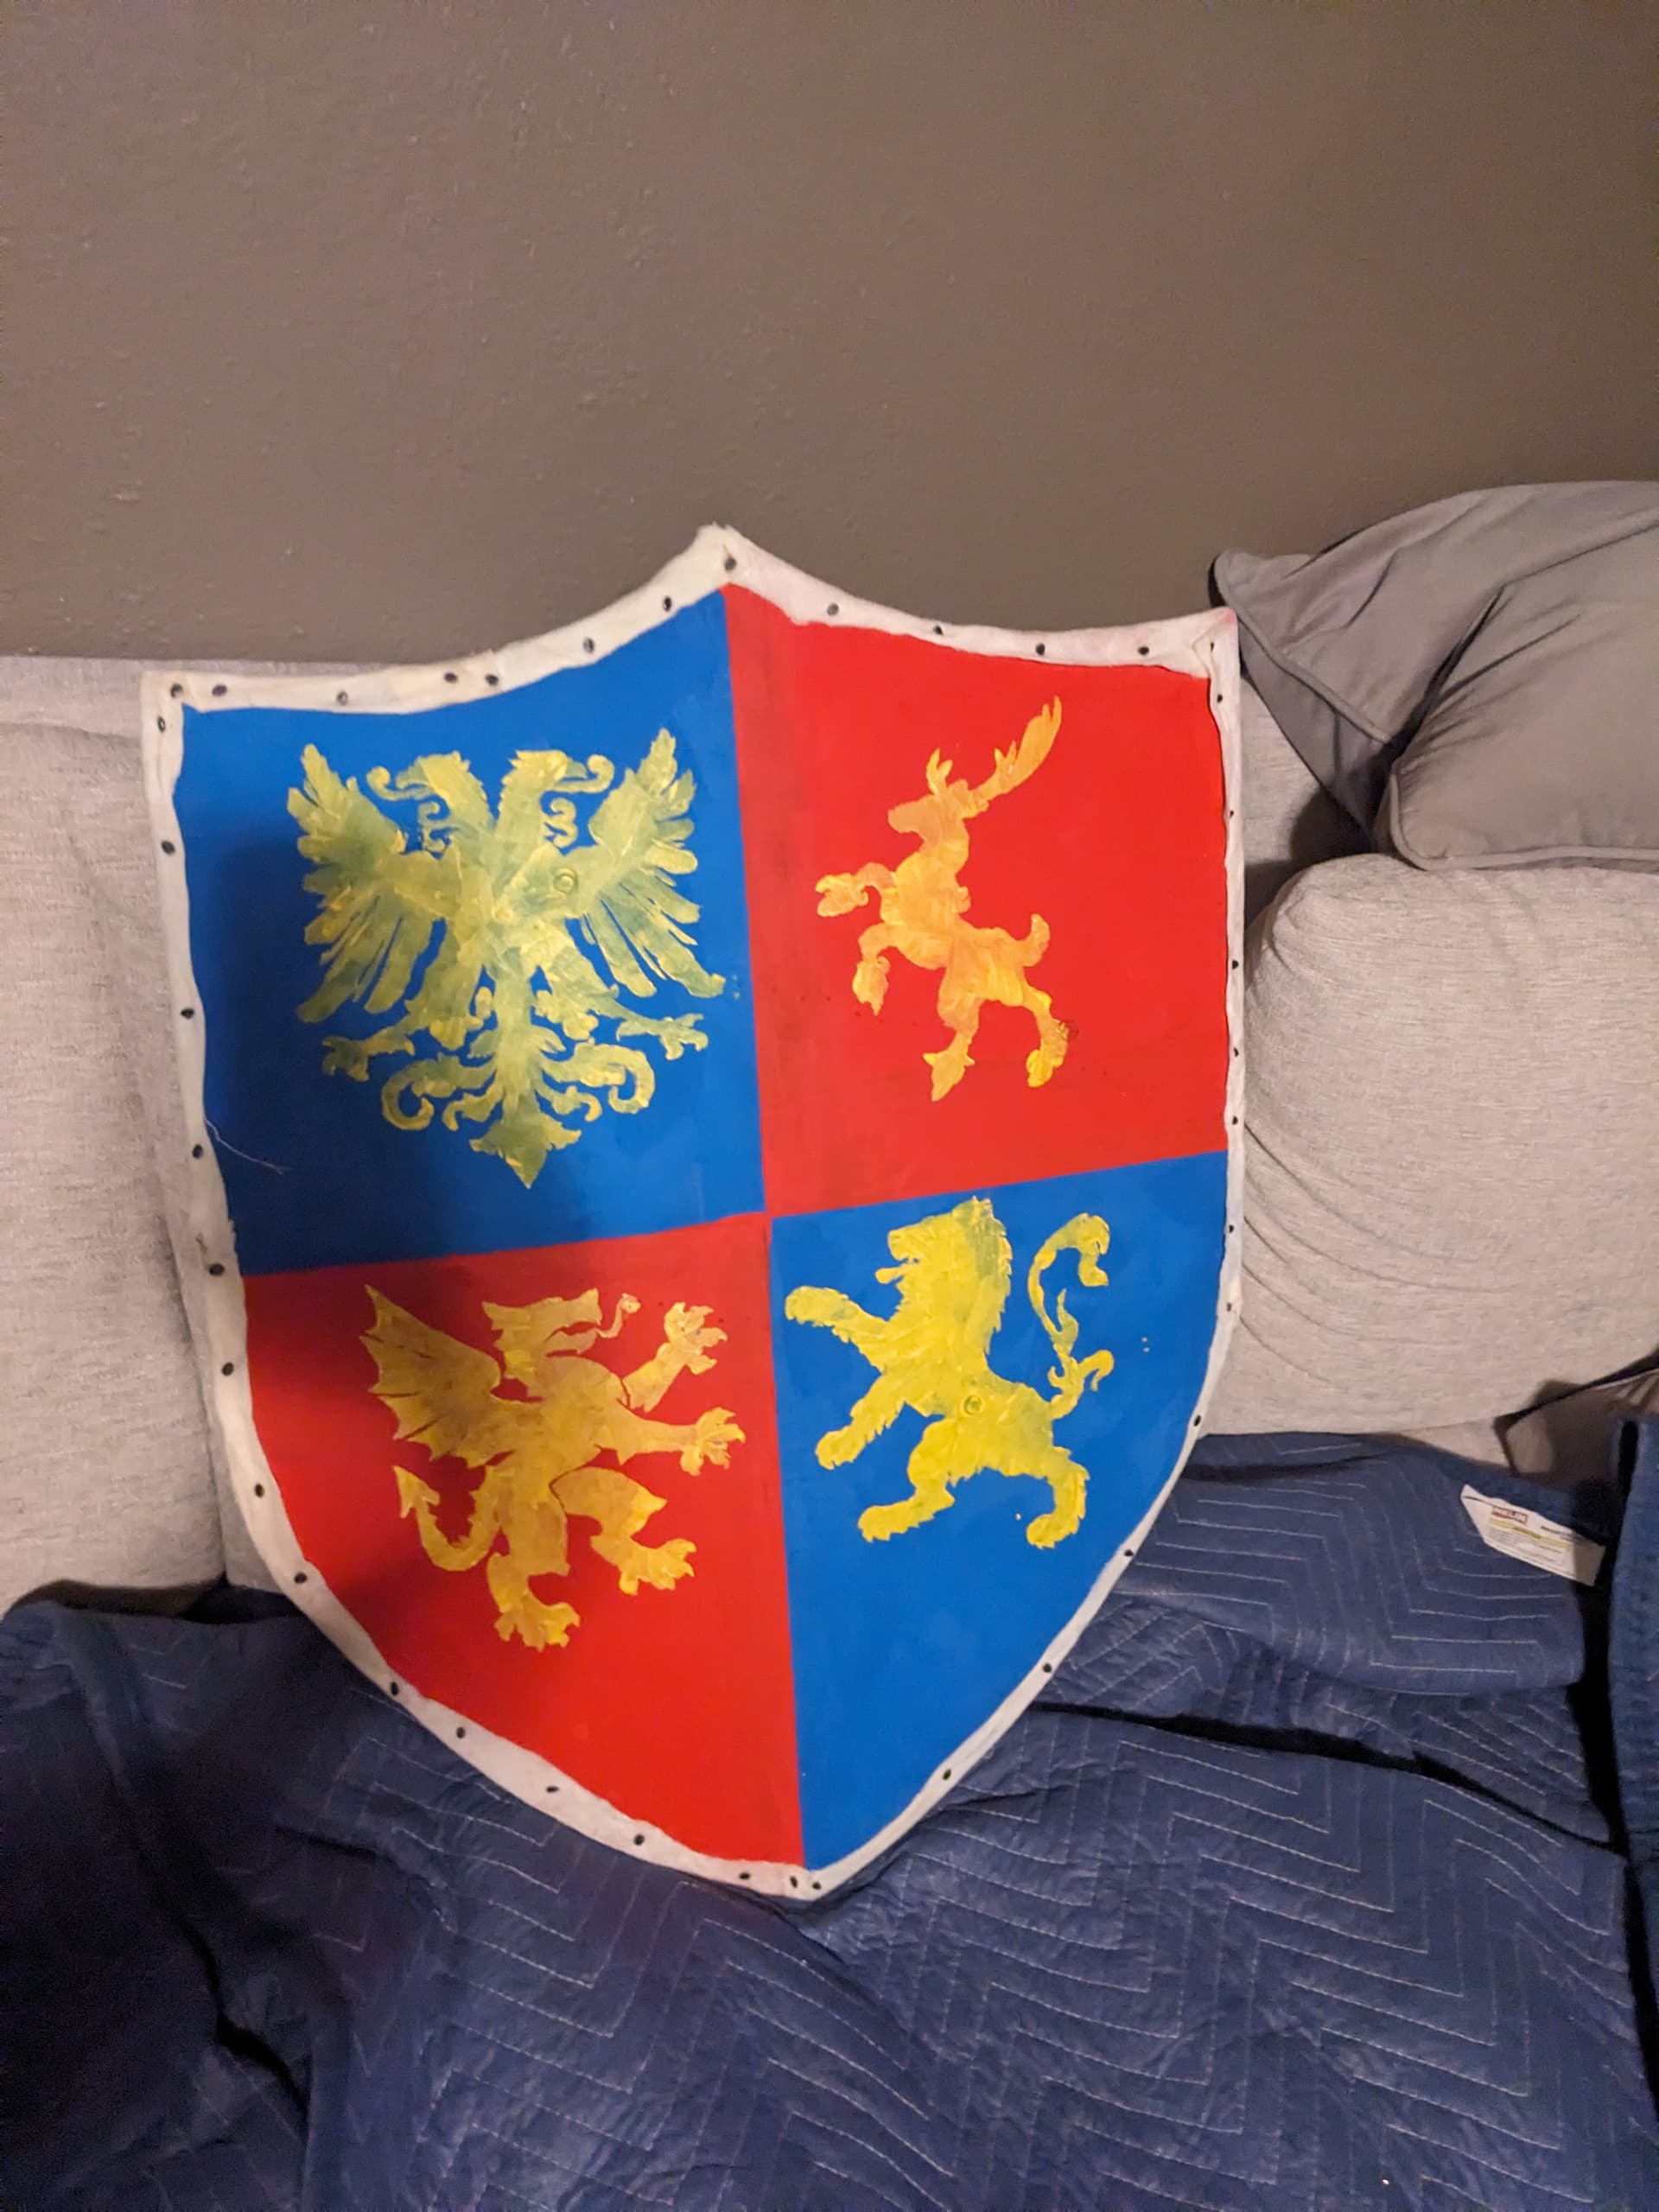
The next steps will be to glue a layer of canvas onto the outside face, which should help to further strengthen the shield and make it more paintable, then I will cut the appropriate straps and rivet them on, as well as tack on a pad for the arm with some upholstery tacks, then paint the surface, and finally I will wrap the edge with rawhide to further reinforce it against splitting

4 Likes

They look awesome!

1 Like

I made some decent progress over the weekend. Since my last post, I glued on a heavy cotton cloth onto the front face, which went fairly smoothly (when I looked into how to make these some of the guides noted that while canvas is ideal any rough cotton cloth will work, but to avoid cloth with synthetic fibers as some glues won’t stick to them). I spread a heavy layer of glue over the face, then stretched a large rectangle of cloth with a few inches of overhang on all sides over it, then carefully worked out all the creases and bubbles, then worked my way around the edges making sure the cloth was taught and securing them with spring clamps. A couple hours later, after the glue had just started to set up but still had a bit of workability I removed all the spring clamps, trimmed the excess cloth, and then noticed that the spring clamps had left indentations so I pressed the area around the indentations with my thumb to spread the glue into the indentations and smooth the surrounding area.

After that, I applied a finish to the wood surface on the back and started laying out the rivet hole placement for the straps. I just zoomed in on one this time, but even with the closer view it is hard to see the hole placement.

The next step was to attach some padding to help absorb the impact of anything that hits the shield. I just cut up a cheap camping mat for my padding, I could have done something more historically accurate but this will never be seen and more historically accurate padding materials would both be much harder to work with and would compress and lose their padding qualities eventually. Here I have glued it in place with some contact adhesive.

and after that I put a cloth cover over the padding. I have never done any sort of upholstery work before but I think it came out decent enough for a first attempt, and looking clearly handmade isn’t a bad thing on this project. I ran out of upholstery tacks a little before I finished it up, so I will have to pick up another one the next time I go by the store. Also the tacks are a bit long and poke through a tiny bit (less than 1/16") so I am going to have to grind the tips flush for safety before I get around to painting. The one on the left will be donated to the club, so it only has the minimum amount of tacks needed to secure the cloth and keep any flaps opening up, I went a bit fancier with the one that will be my personal one. The club likes to keep its loaner gear fairly simple, both to keep costs down and to encourage people to get their own equipment, so that will be fine.


This picture shows where the straps are going to end up. You grab the X shape with your left hand and then an adjustable strap tightens around the forearm near the elbow, but the buckle can’t go on until the straps have been dyed and sealed, which is also when I will rivet the straps to the shield. The long tails will also buckle together to form a strap around the neck, which helps to carry some of the weight when in use, and allows the shield to be worn on your back instead of carrying int everywhere.

And here are the straps after being dyed but before it has had time to dry. The splotchy spots may fade away as it dries or I may need to do additional coats to get an even color, but I will have to wait to find out. The black straps will go to the club shield and the red will go to mine.


3 Likes

I made a bit more progress today, I got more tacks, finished putting the tacks in mine and used up the extras on the club shield,


Then I very carefully balanced one of my forging hammers on its face and a tack head on top of that so I could piened over the protruding ends of the tacks so they won’t poke or scratch anyone (they will also hold somewhat better this way but I don’t expect it to be much of a difference)


and the straps are now dyed and finished and I have mounted them up.


My bolt cutters won’t get close enough to the shield face to trim the rivets that hold the straps to the shield, so I will have to trim those with a cut off wheel on my dremel tomorrow when the sun is out, then I can set the rivets and they will be ready to paint.

You can tell the edges are rough in some of the pictures, this will not be an issue, I will be wrapping the edges in rawhide, but the paint will go on first so I don’t have to paint into corners all around the edges. but if I paint the background first I just need to go all the way to the edges and if I have any drips it doesn’t matter because they will be covered. It will also be easier for me to mask off sections.

2 Likes

I finished these up last weekend but forgot to post pictures. After I got the rivets trimmed and set I just needed to paint them and wrap them in rawhide. For mine I went with a quartered field, so I had to use masking tape to get started, a different club member is going to paint the blackhearts logo on the shield that I am donating to the club, so I just painted the field red for the background. After I got the field painted, I found images of heraldic symbols I liked online and printed them off then cut out the shapes with a craft knife to make stencils. The results weren’t the cleanest, if I had to do it again I would have used the vinyl cutter or laser cutter to make the stencils from something sturdier and less absorbent than paper, but they look decent enough at a distance and are going to take a beating so I am not too concerned with putting in more effort to repaint.


After the painting was done I soaked my rawhide, cut it into strips, and stretched them around the edges of the shield putting a tack wherever it was needed to keep the hide stretched while it dried, which was mostly about every two inches but was sometimes more particularly around corners or wherever the hide had a tendency to bunch up.


1 Like