Oh yeah!!! Let’s name her Rustin! When can we take a field trip to come and see her??? This is such a NEAT project!!
Just finished printing all the parts on saturday.
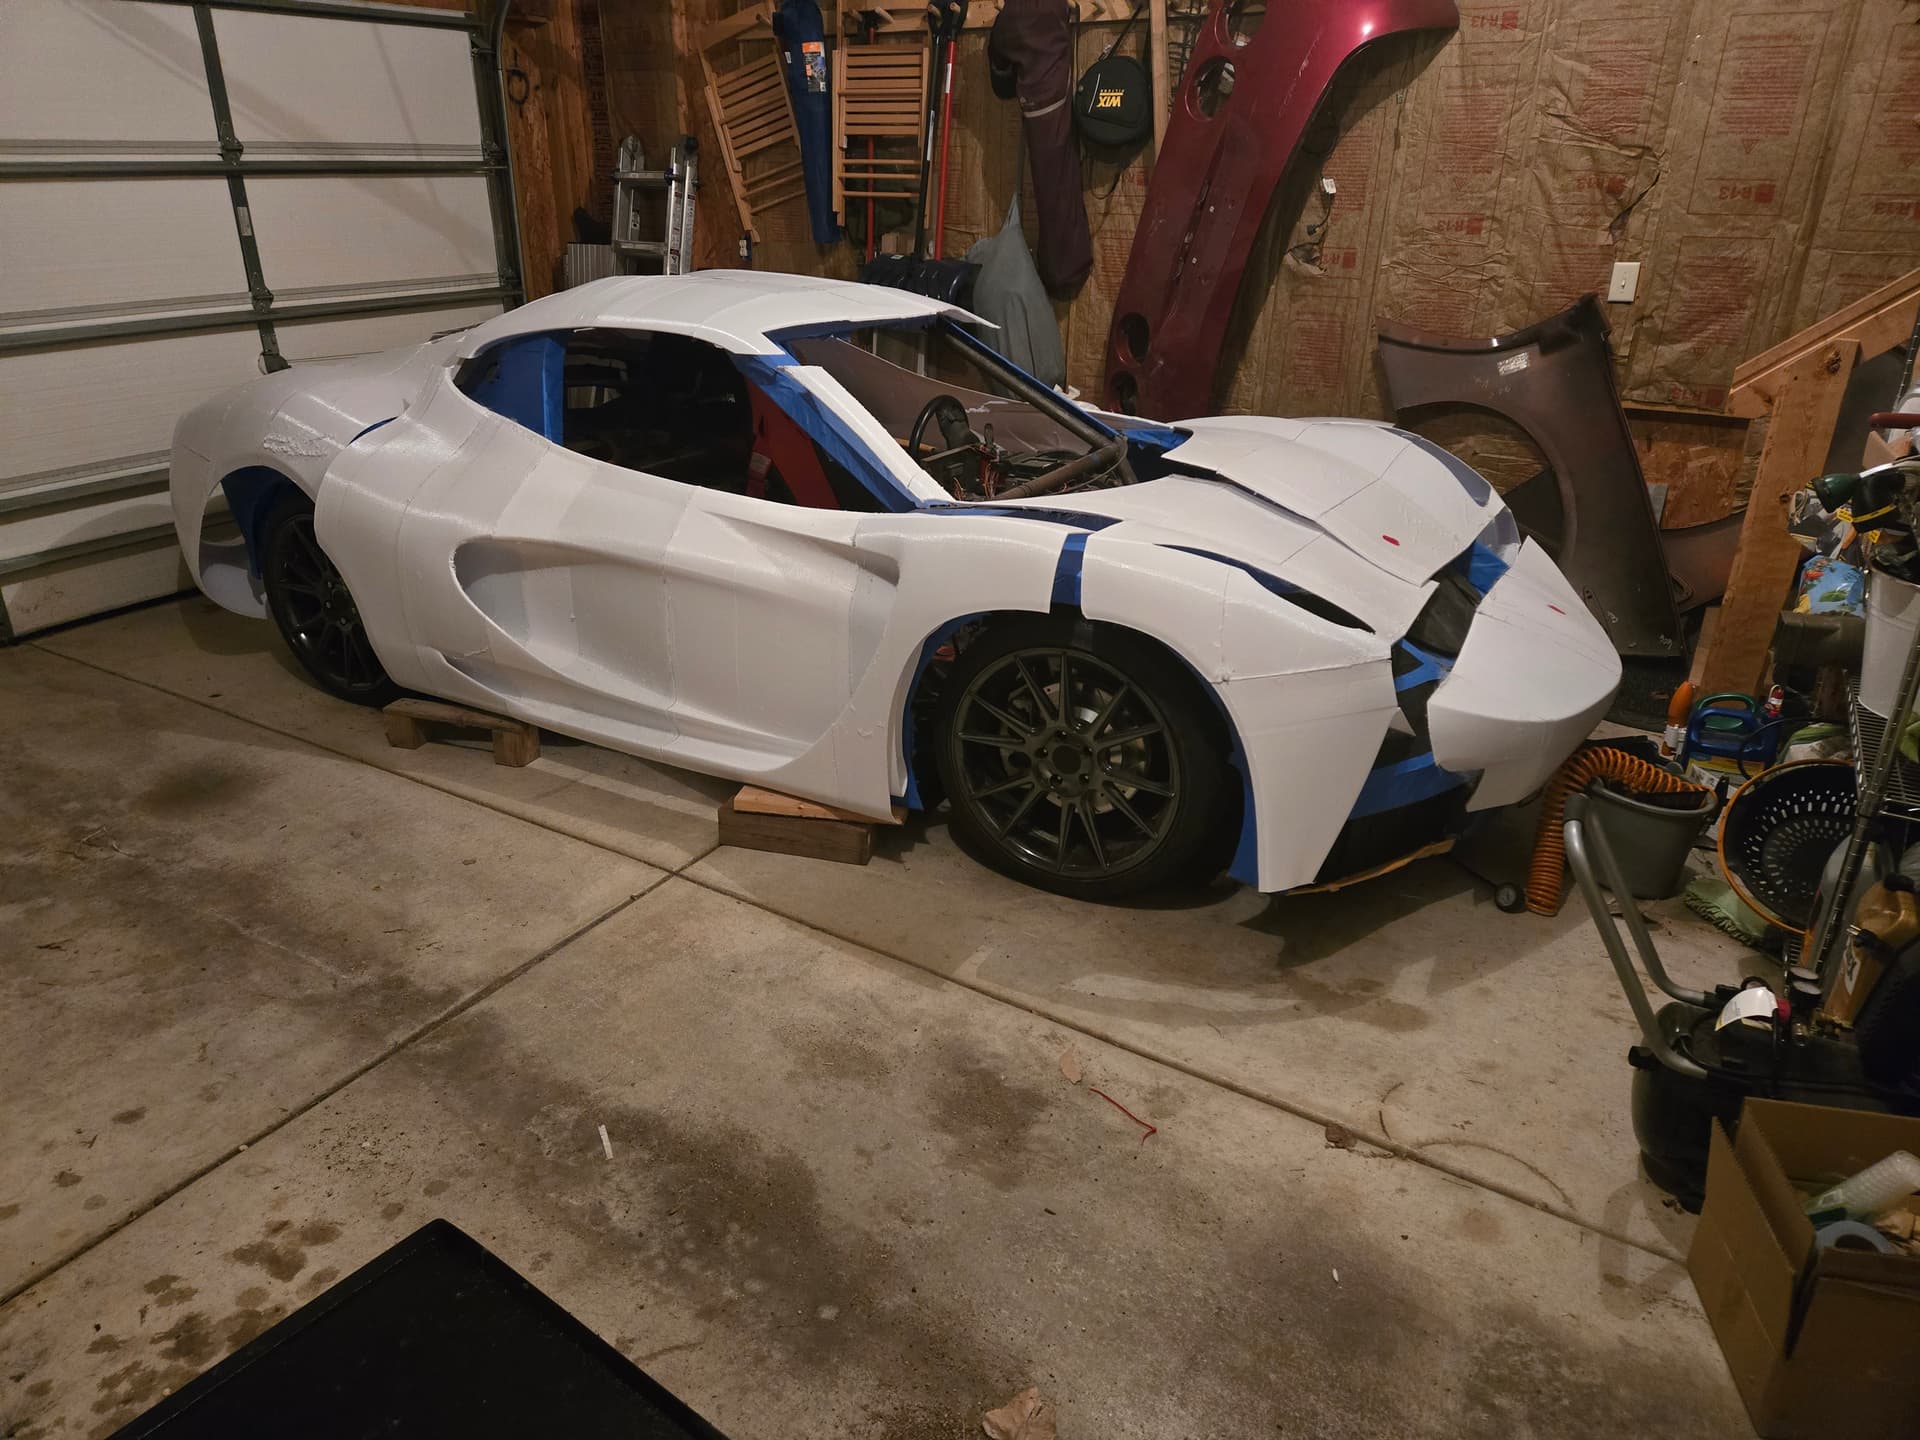
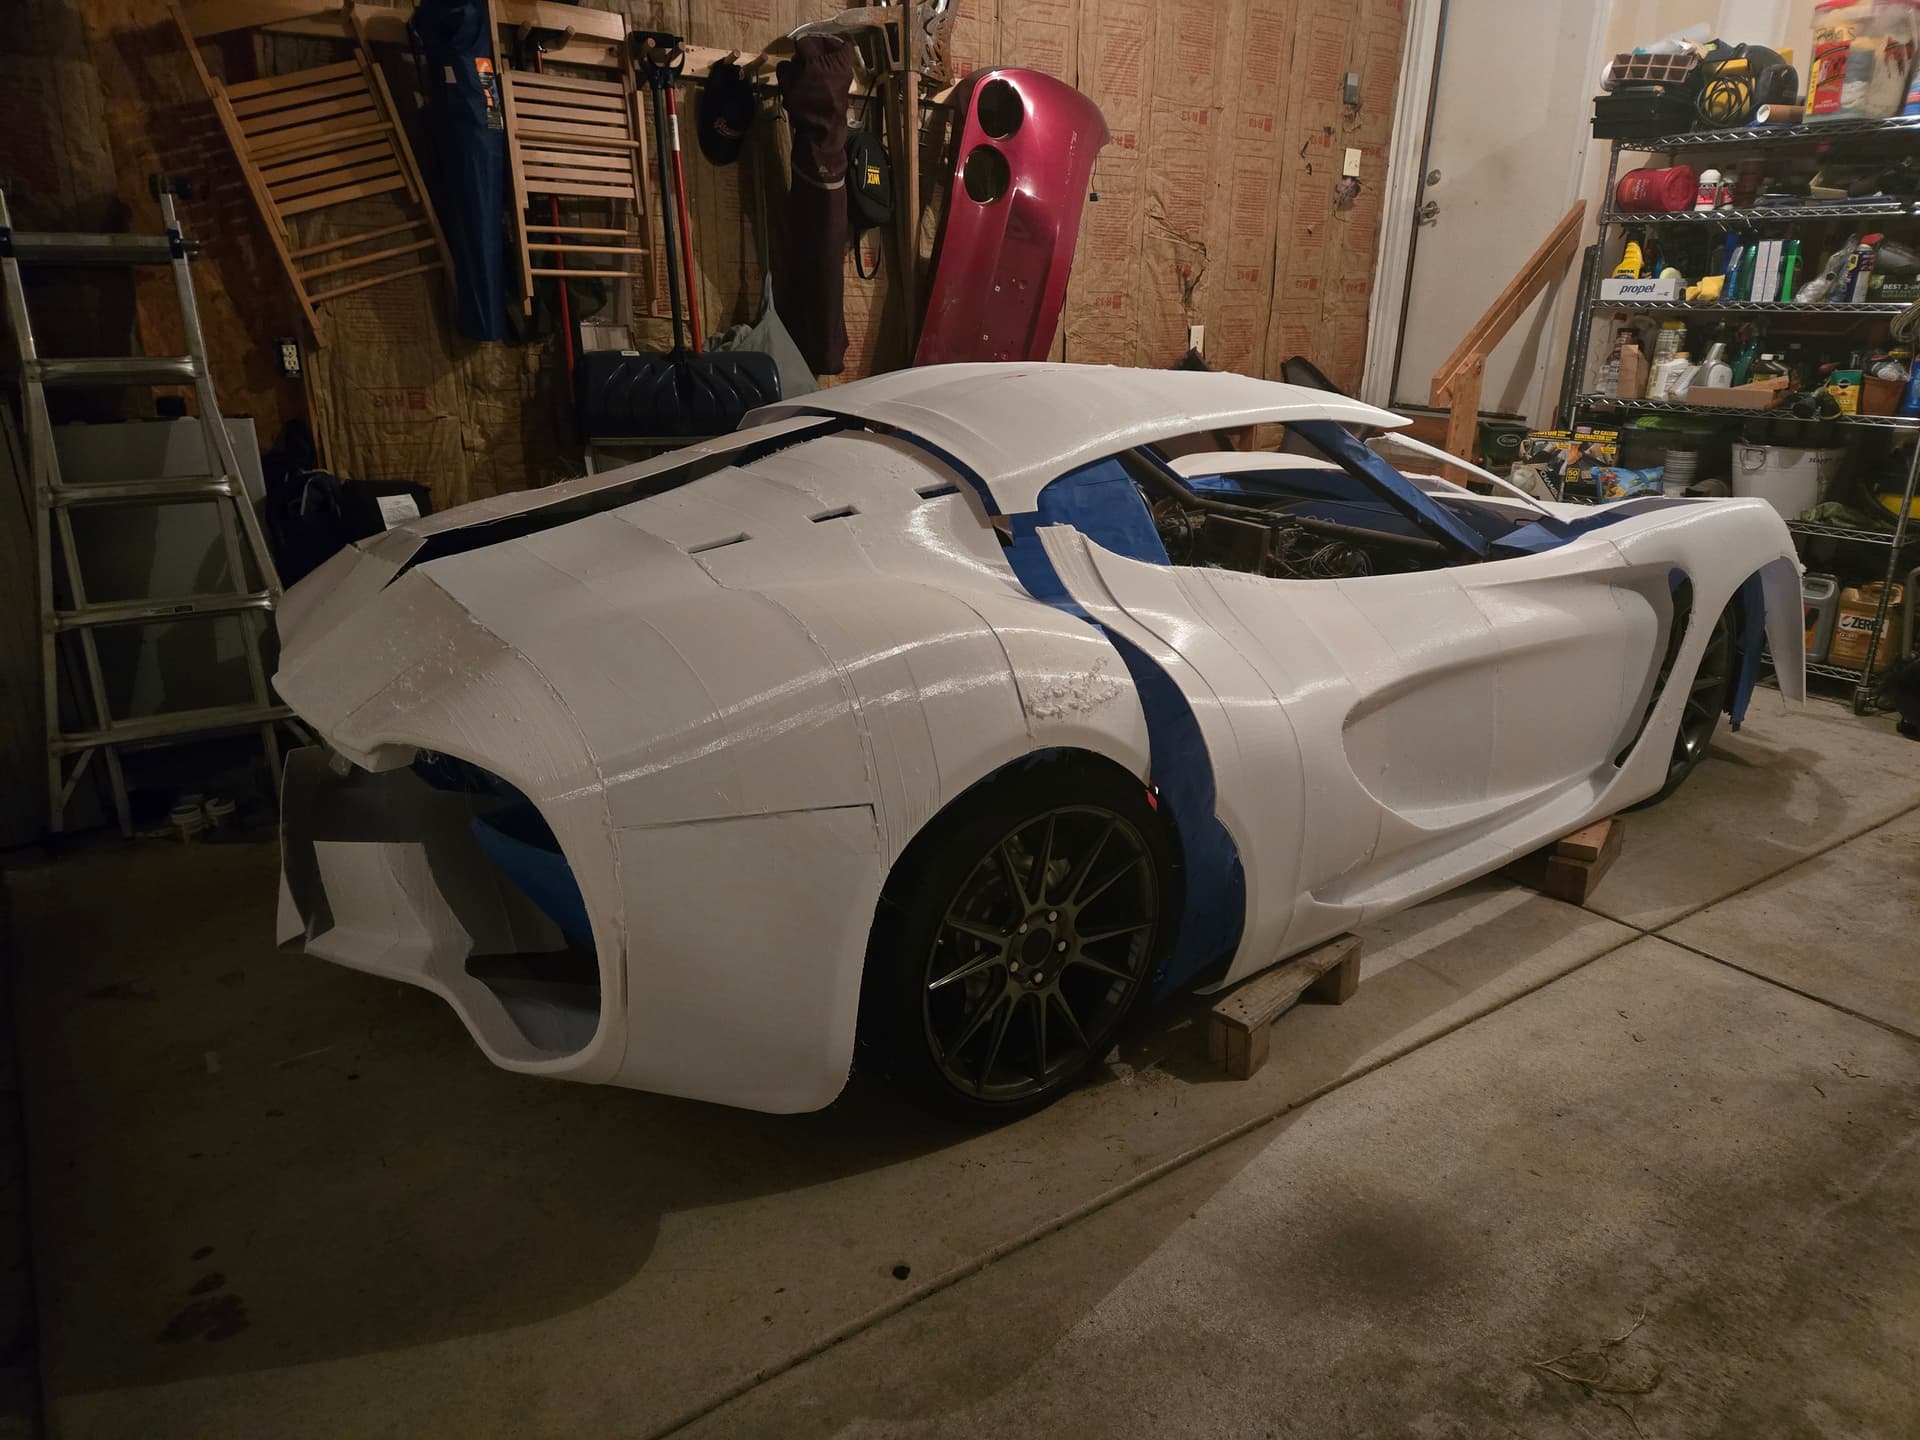
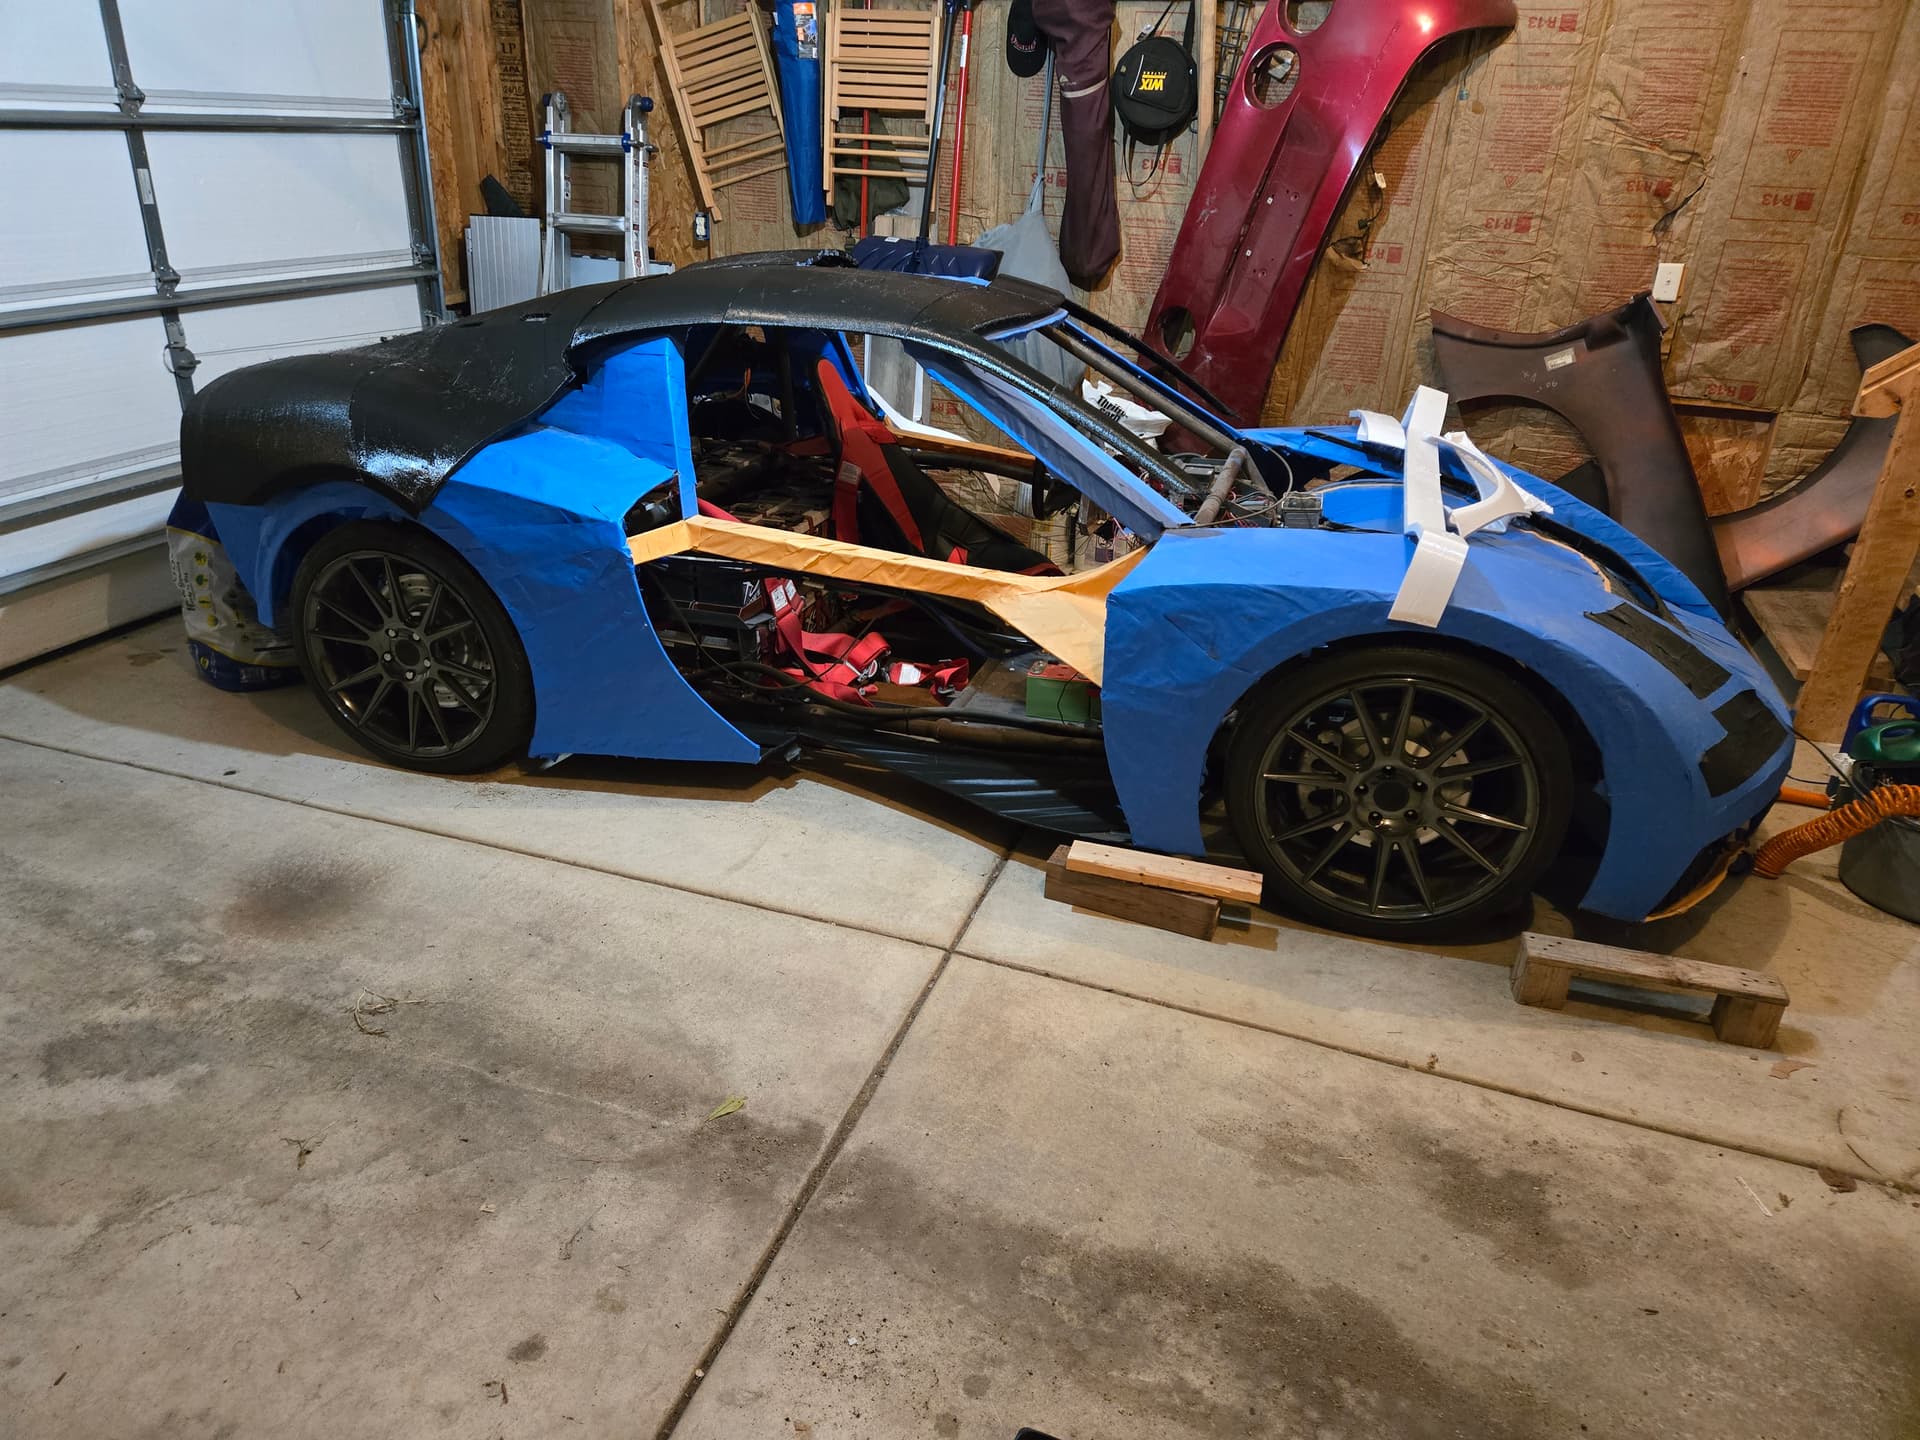
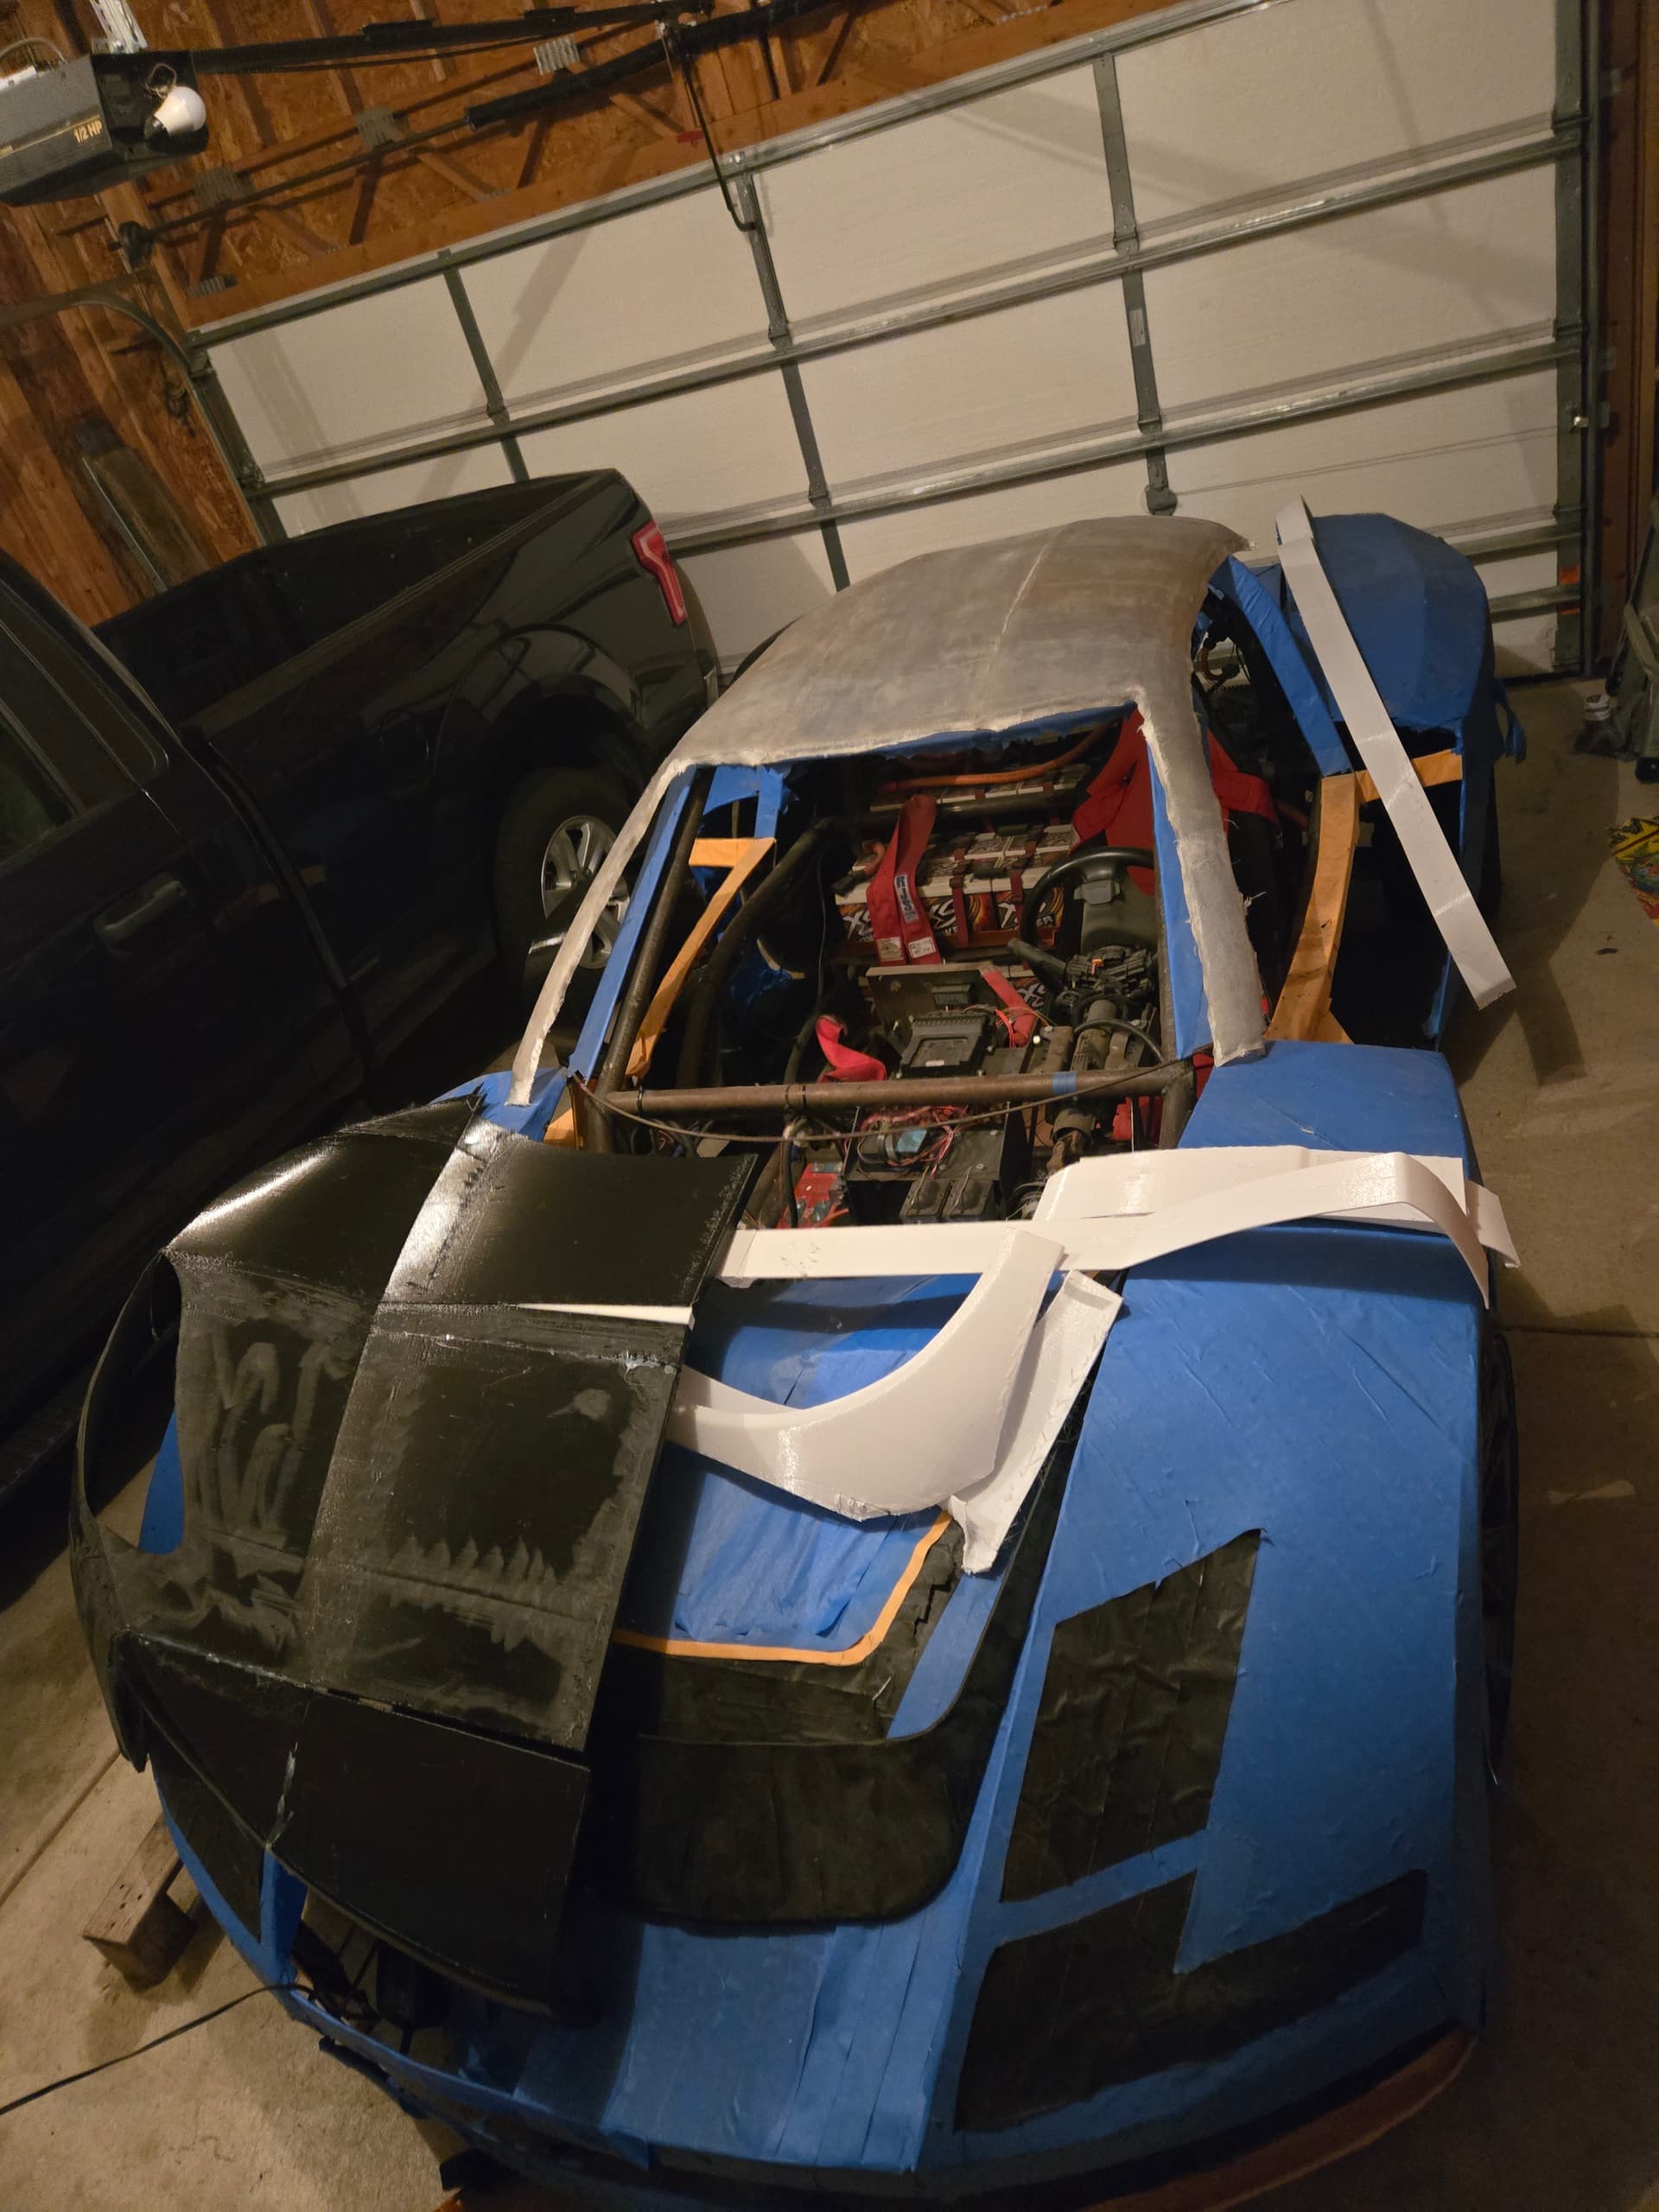
I’ve been calling her the 555 roadster. The intent was to keep the vehicle light and simple, but very capable, just like the 555 integrated circuit. I do not have badging designed up yet, but given how she looks now, the badging may have to have a bit of Ferrari flair.
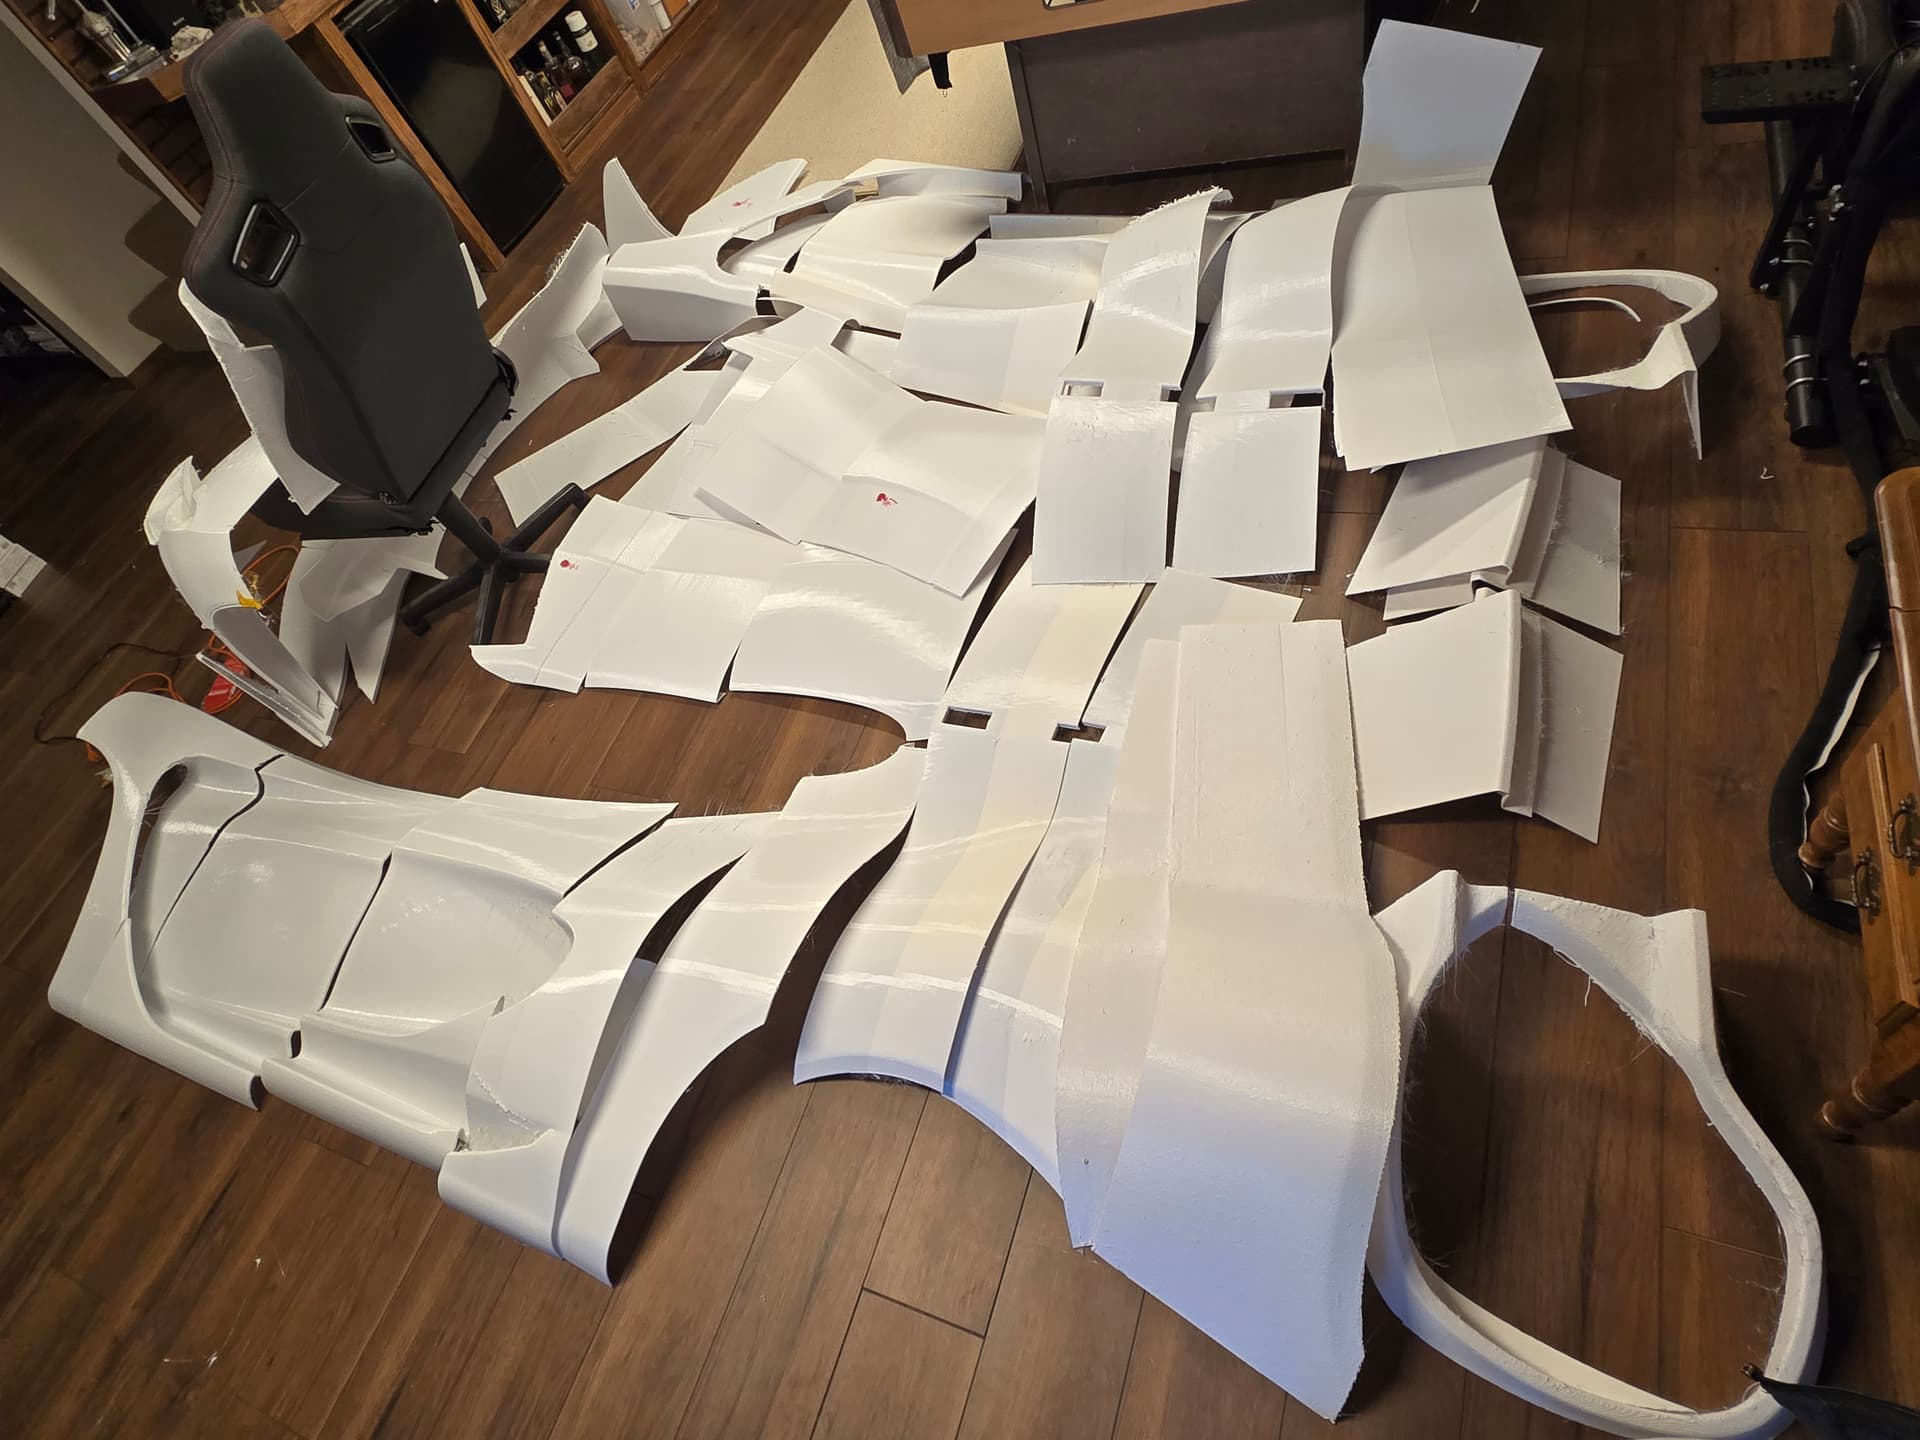
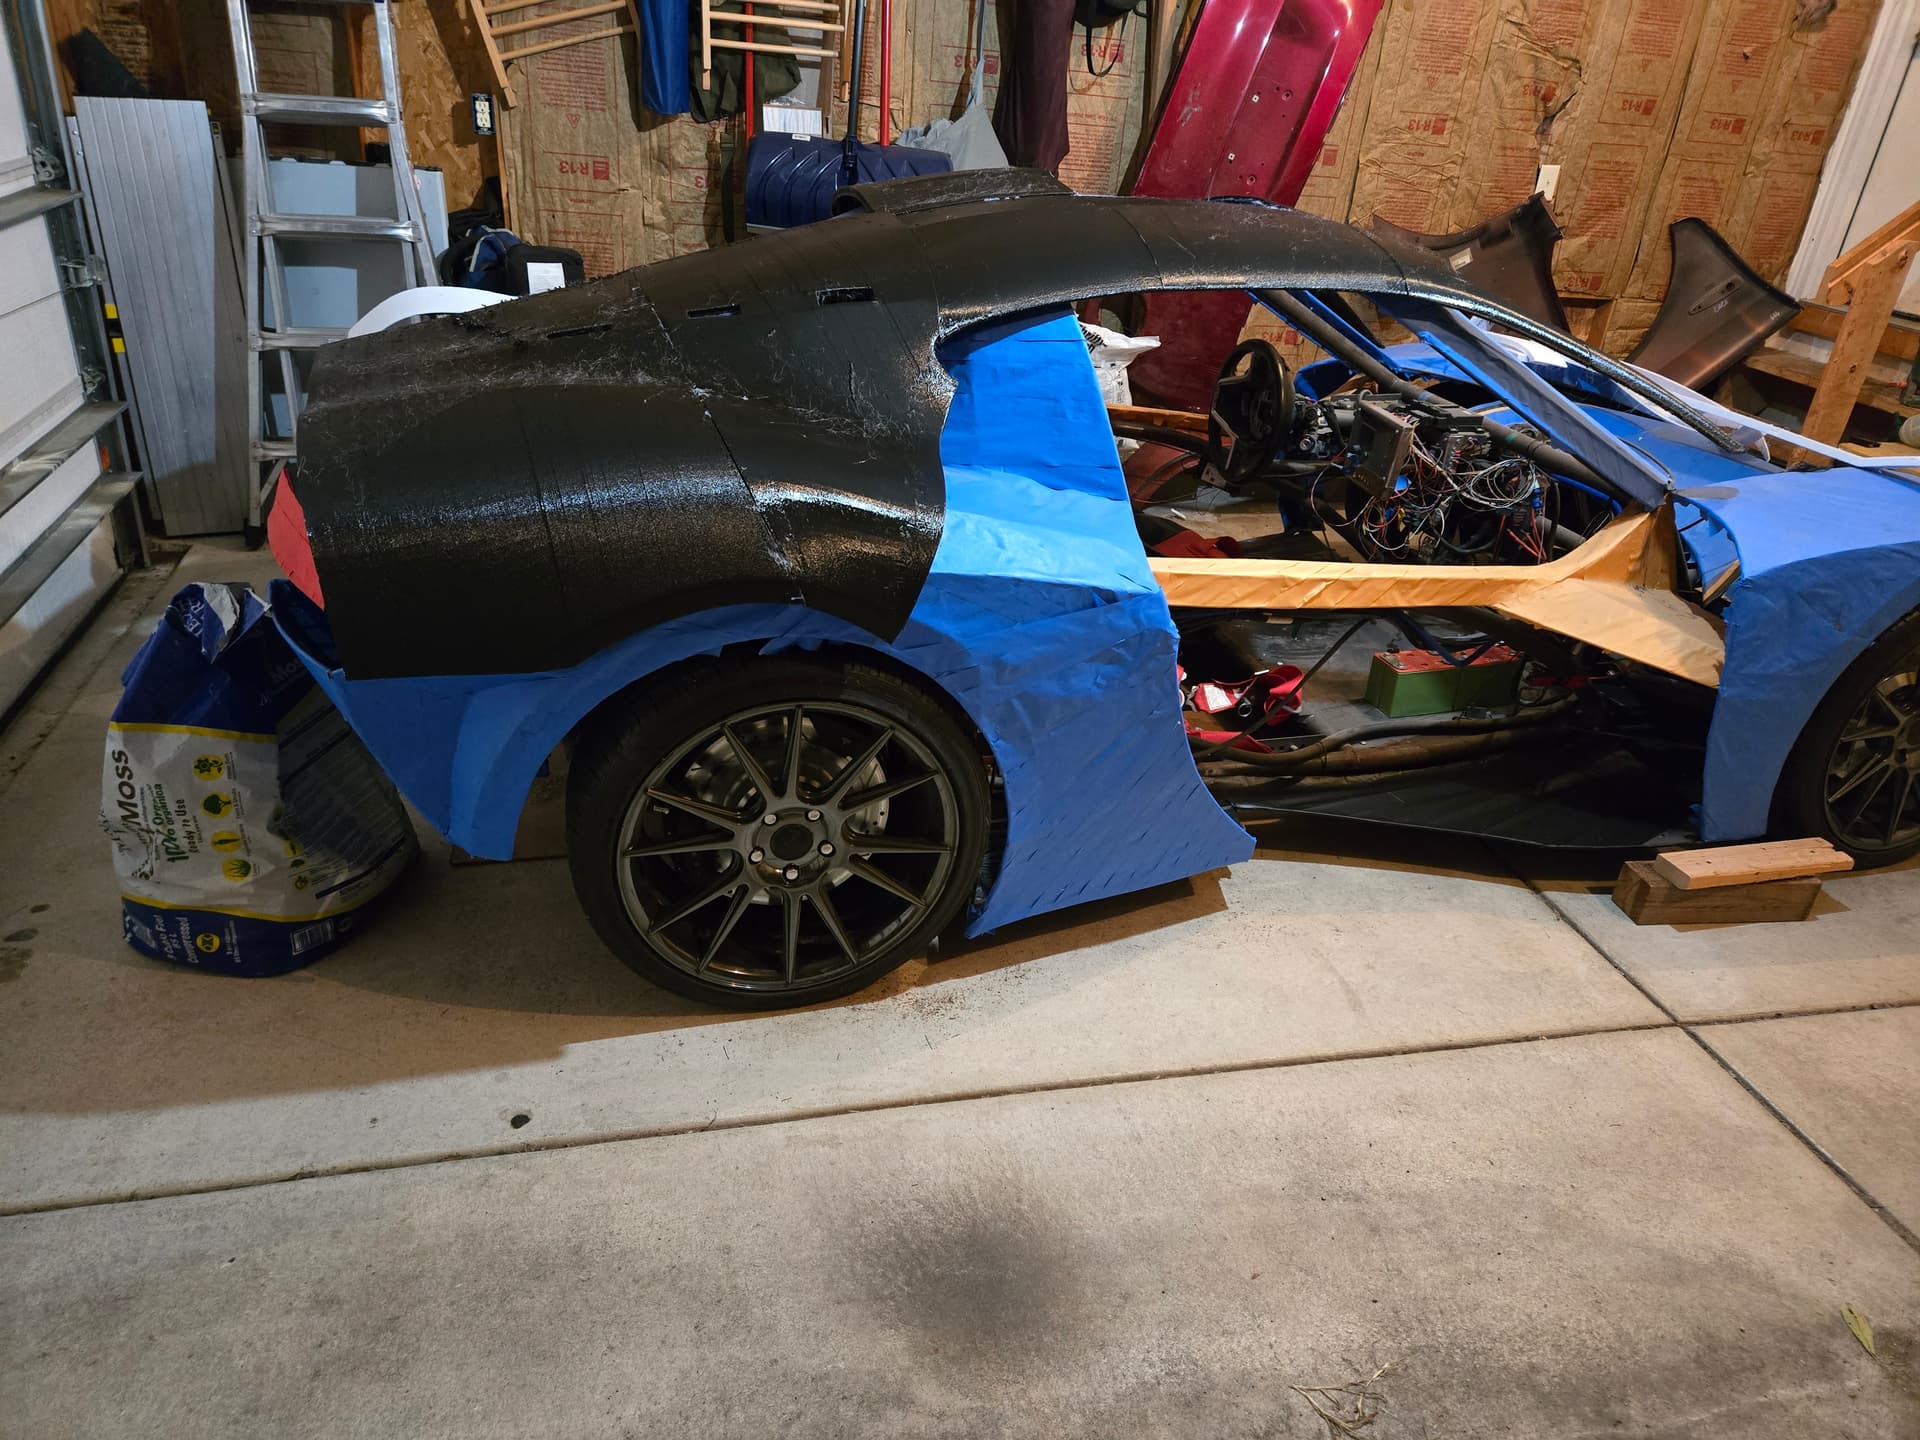
I also just finished hot gluing and test fitting panels this evening. I’m excited for how all the panels look, but i think i’m gonna have to 3d print the molds instead of pulling molds off these panels now. The curvature on some of the prints weren’t quiet right (possibly due to some wobble in how long and narrow these pieces were) so if i tried to take a mold off them, the final fiberglass part would have that same defect.
Soooo, back to another wacky round of printing, but at least i have a good idea on how to reprint them as molds.
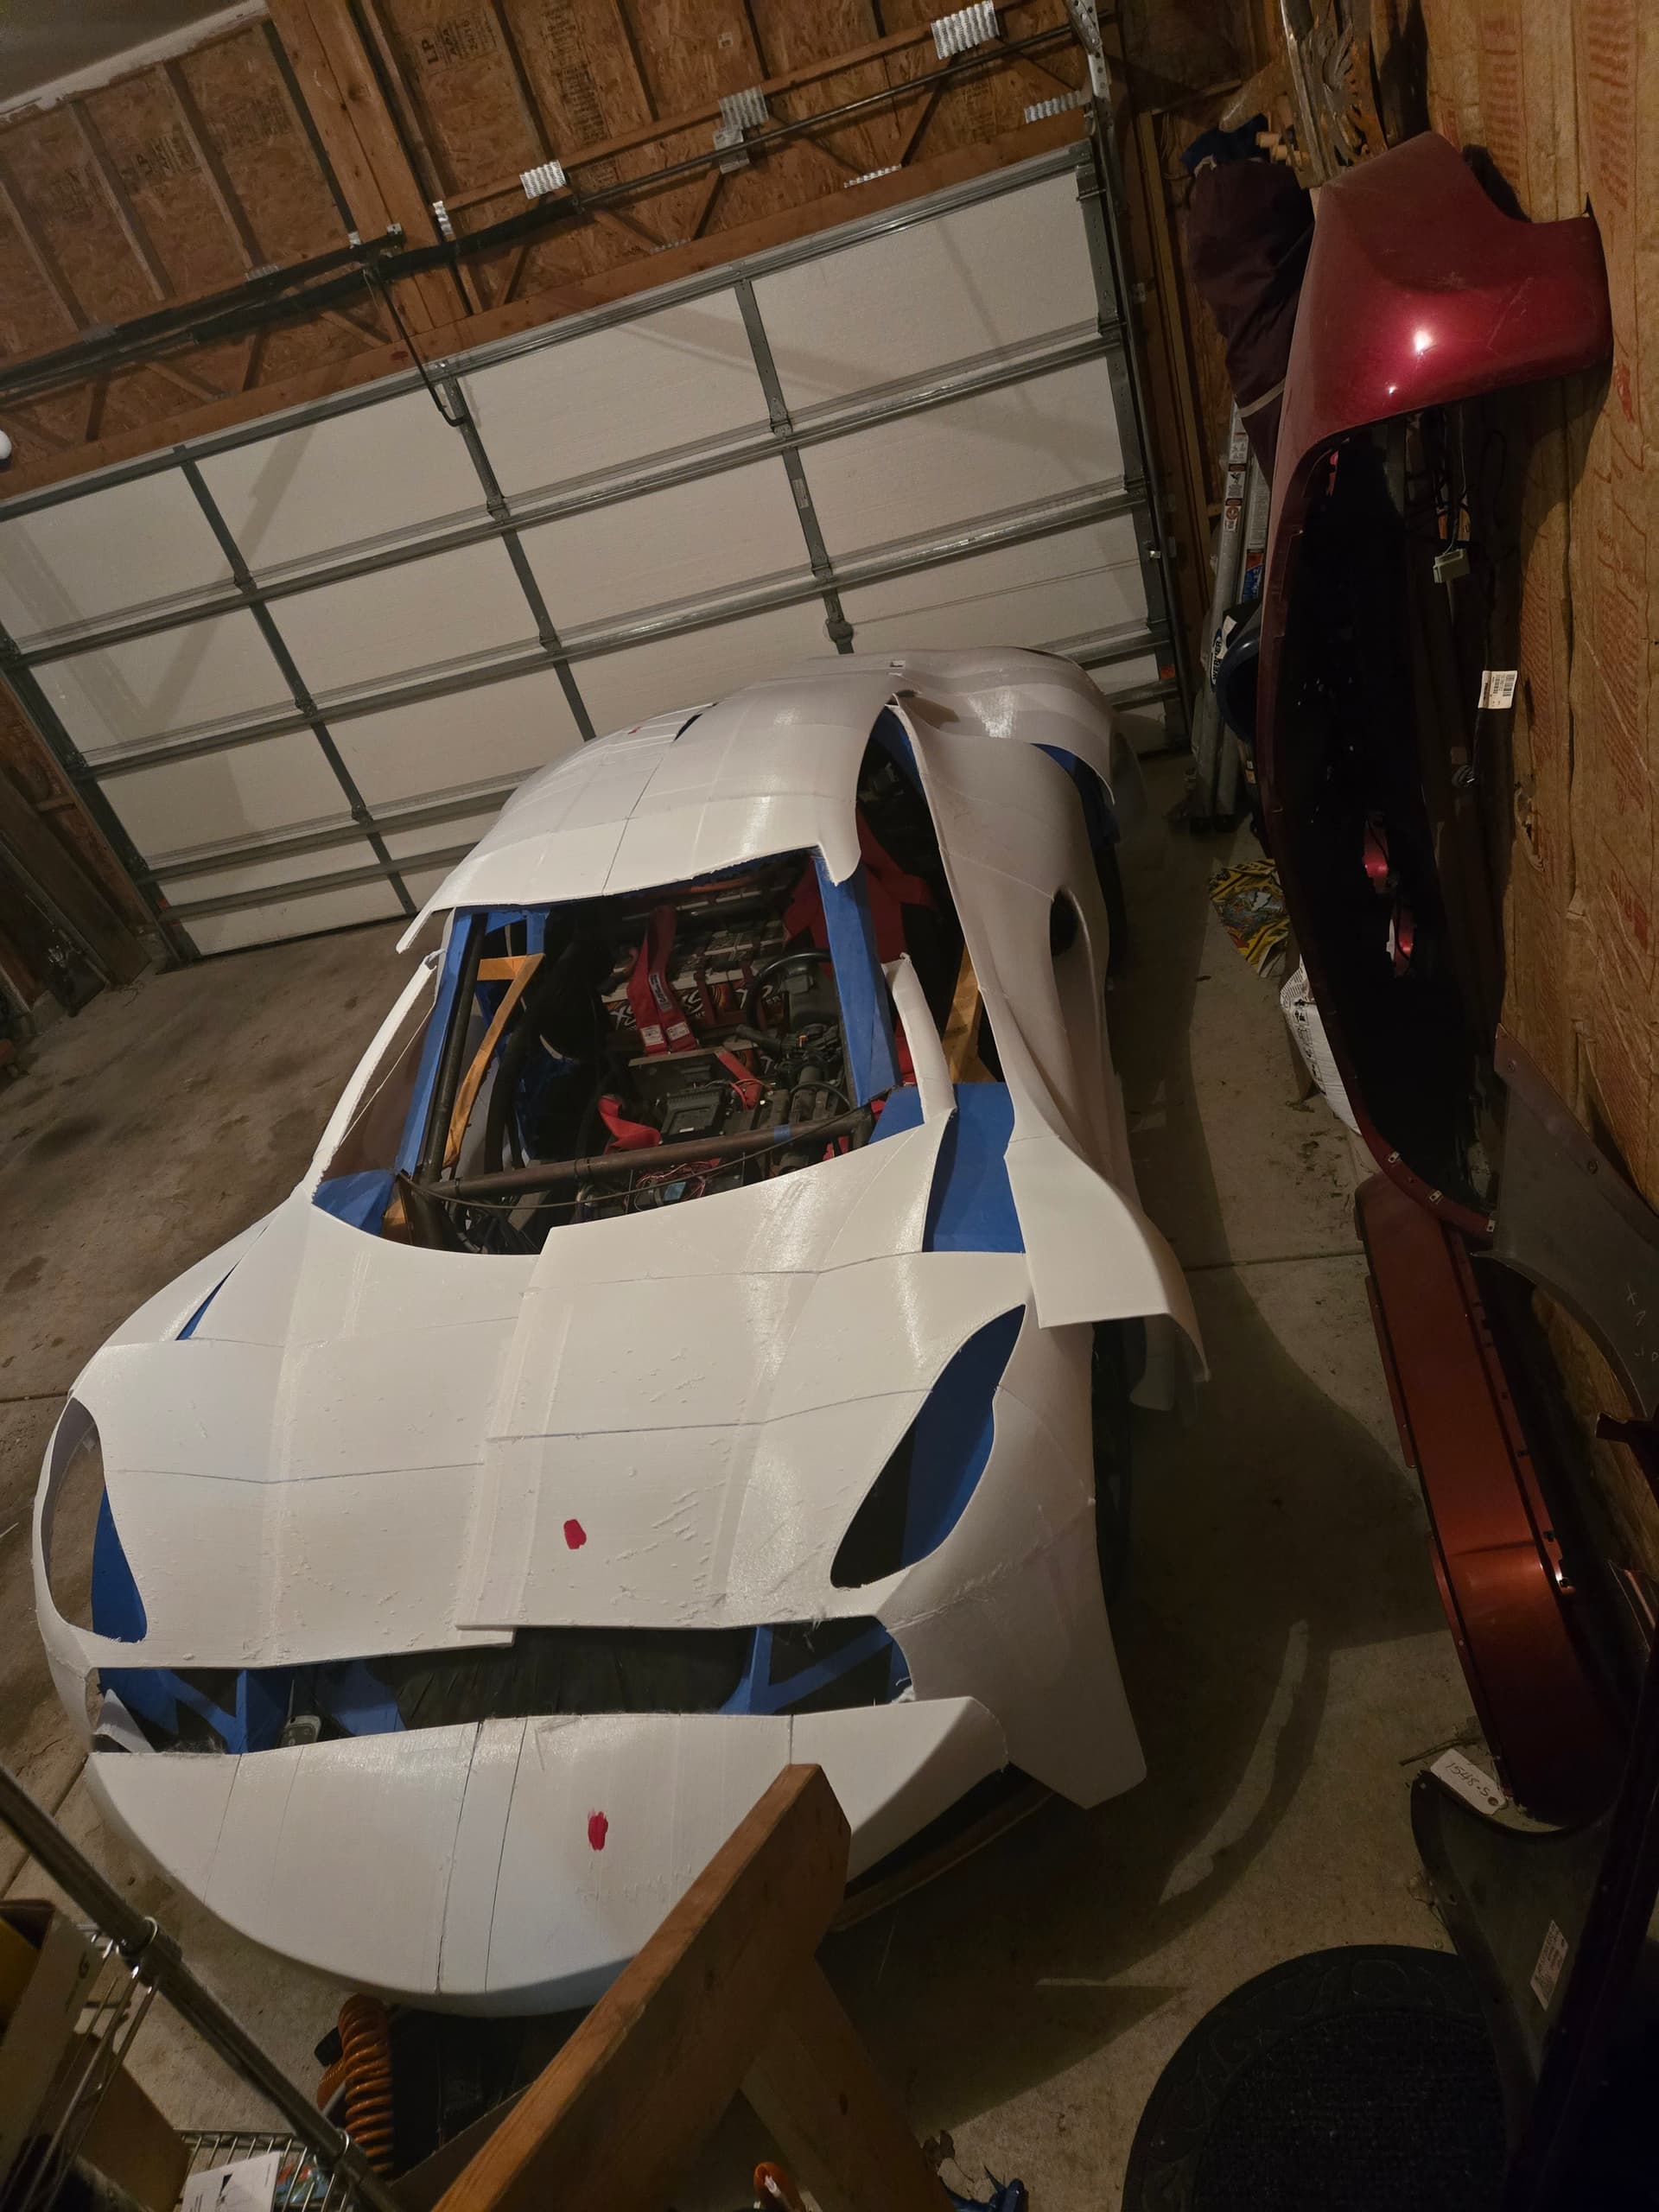
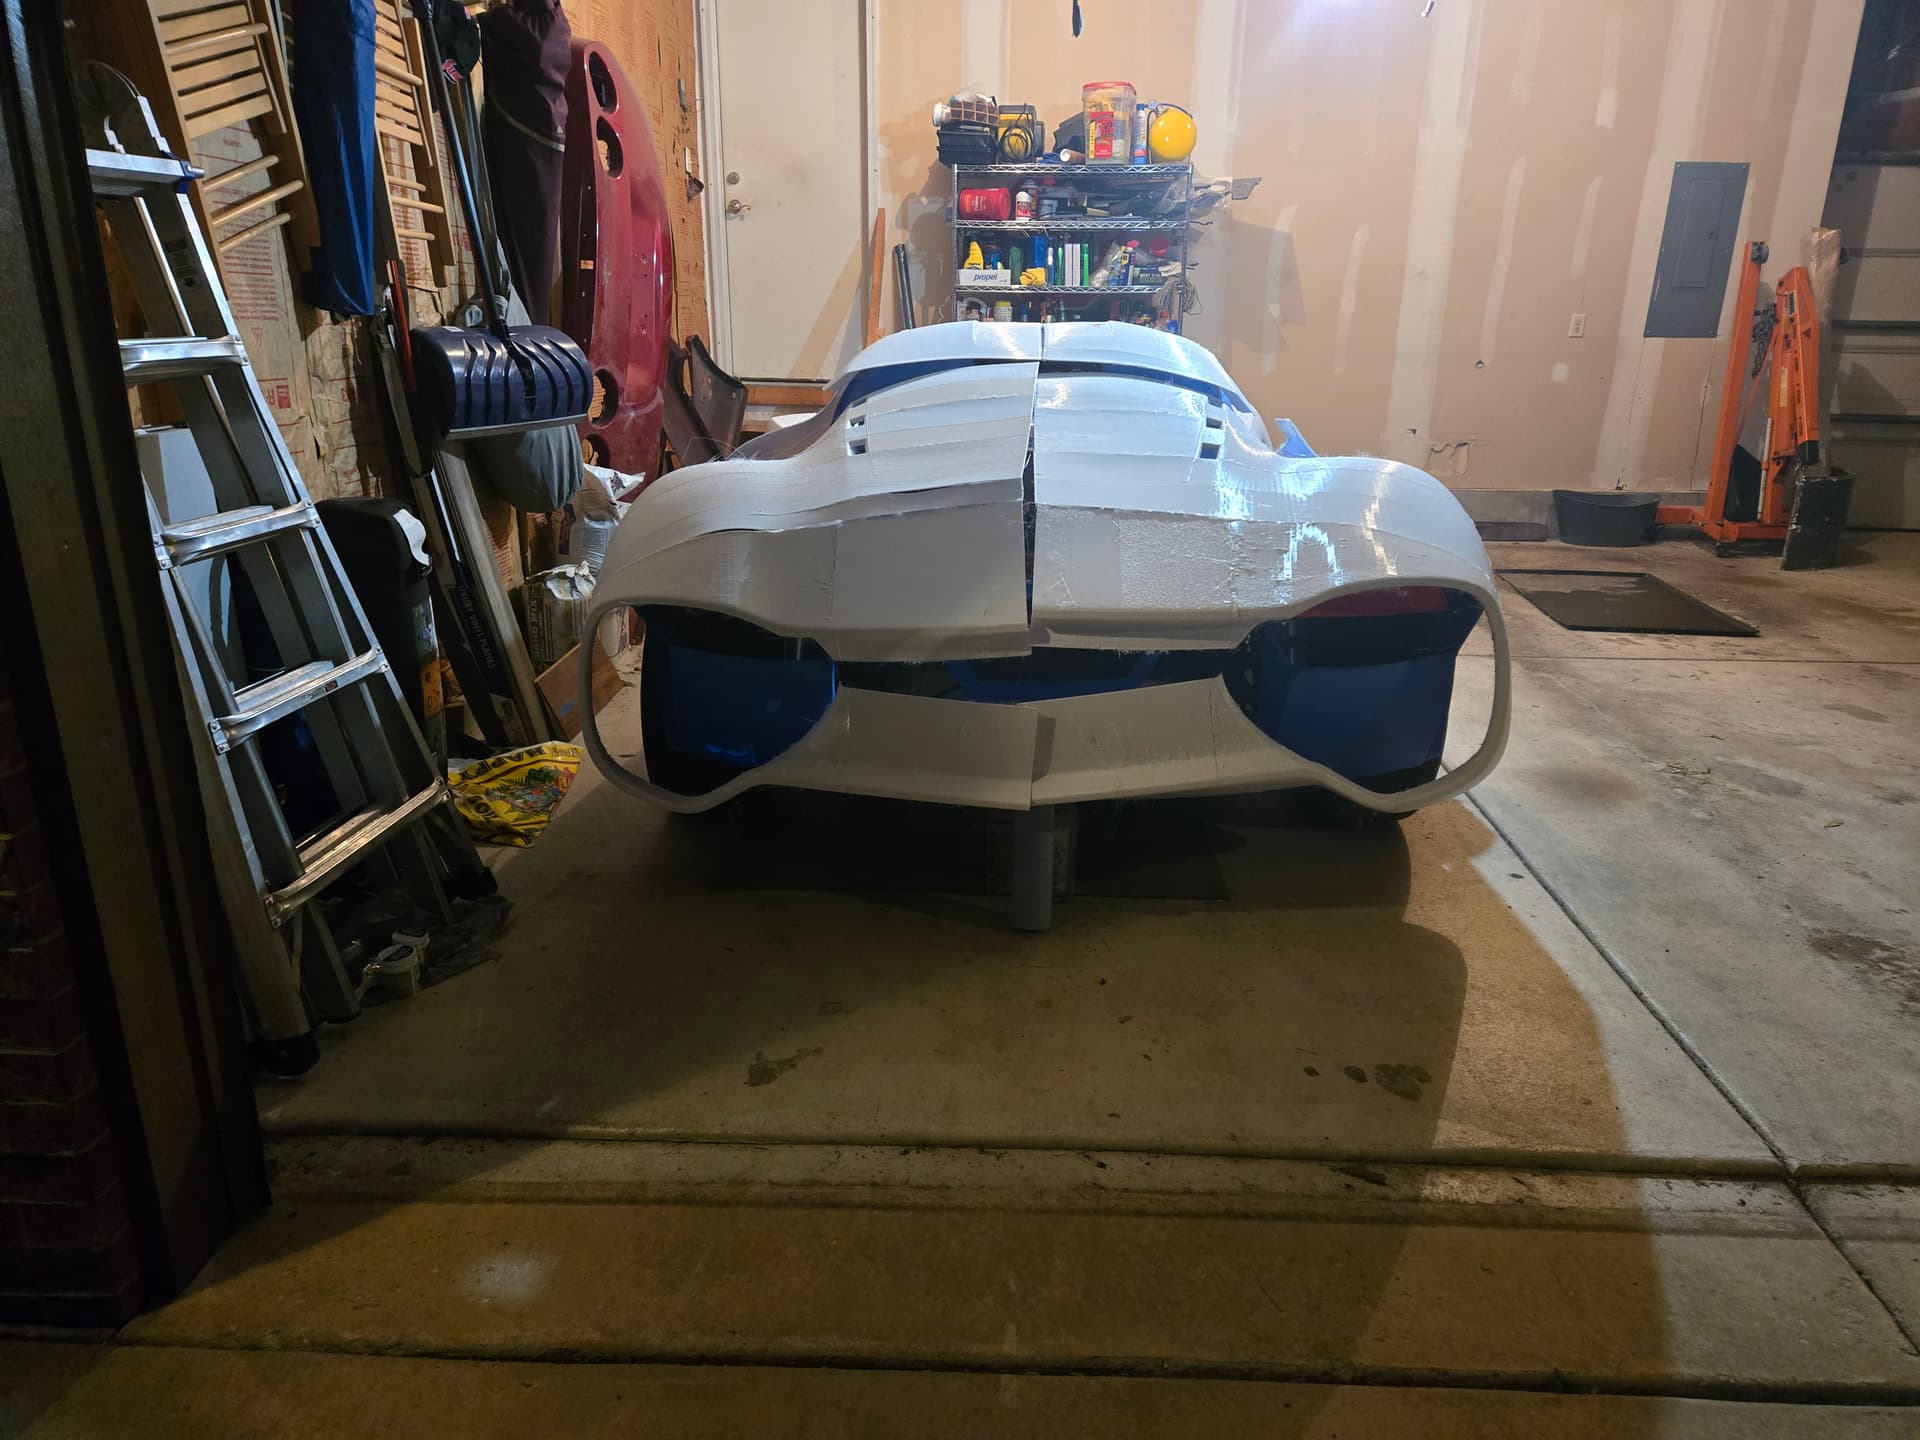
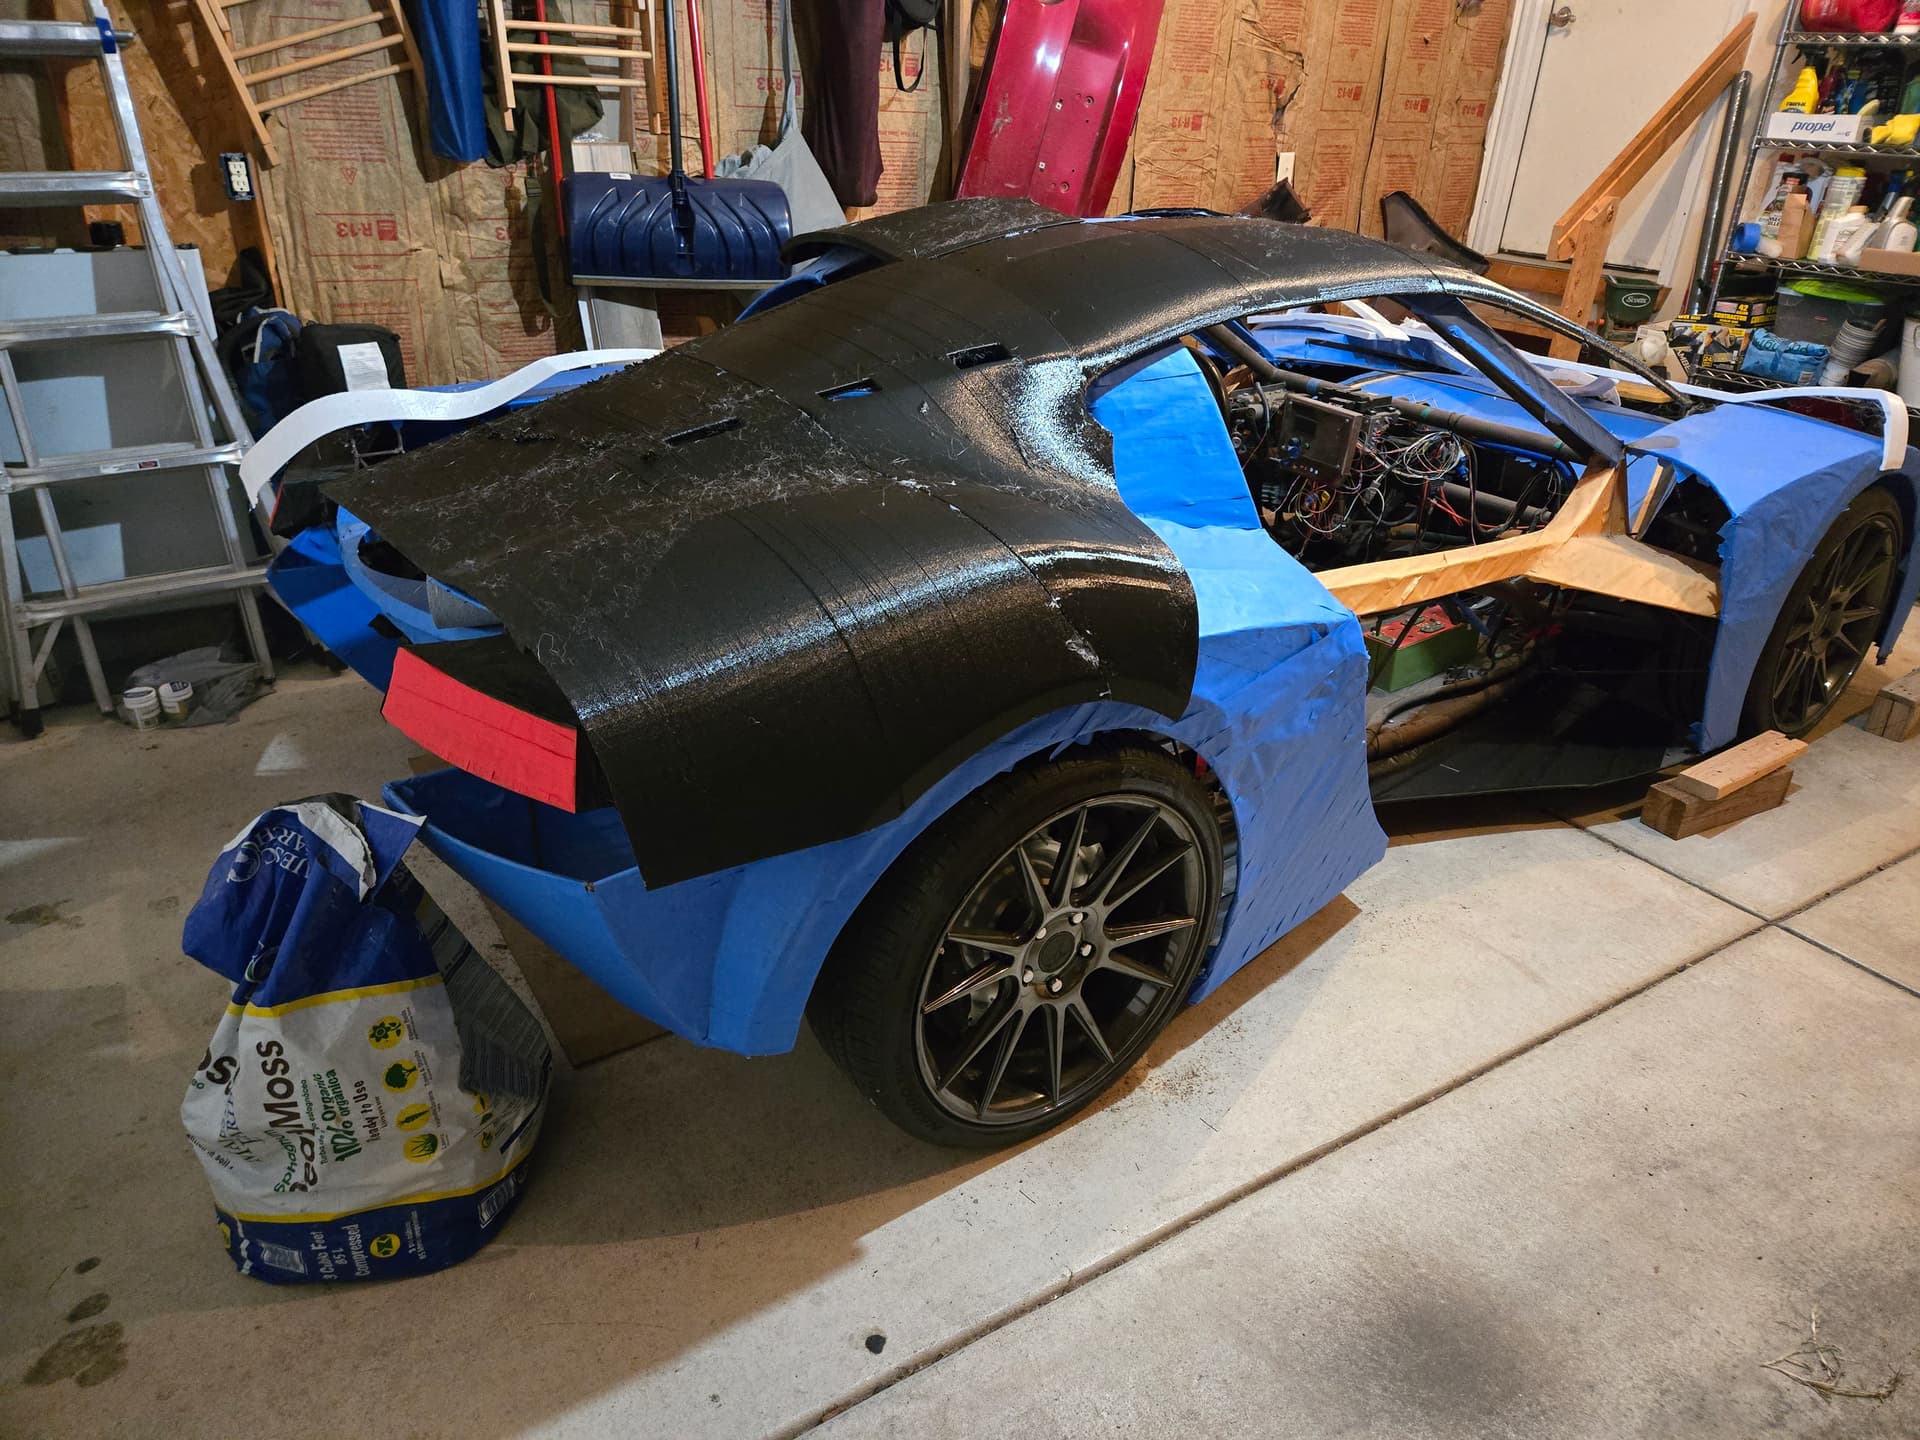
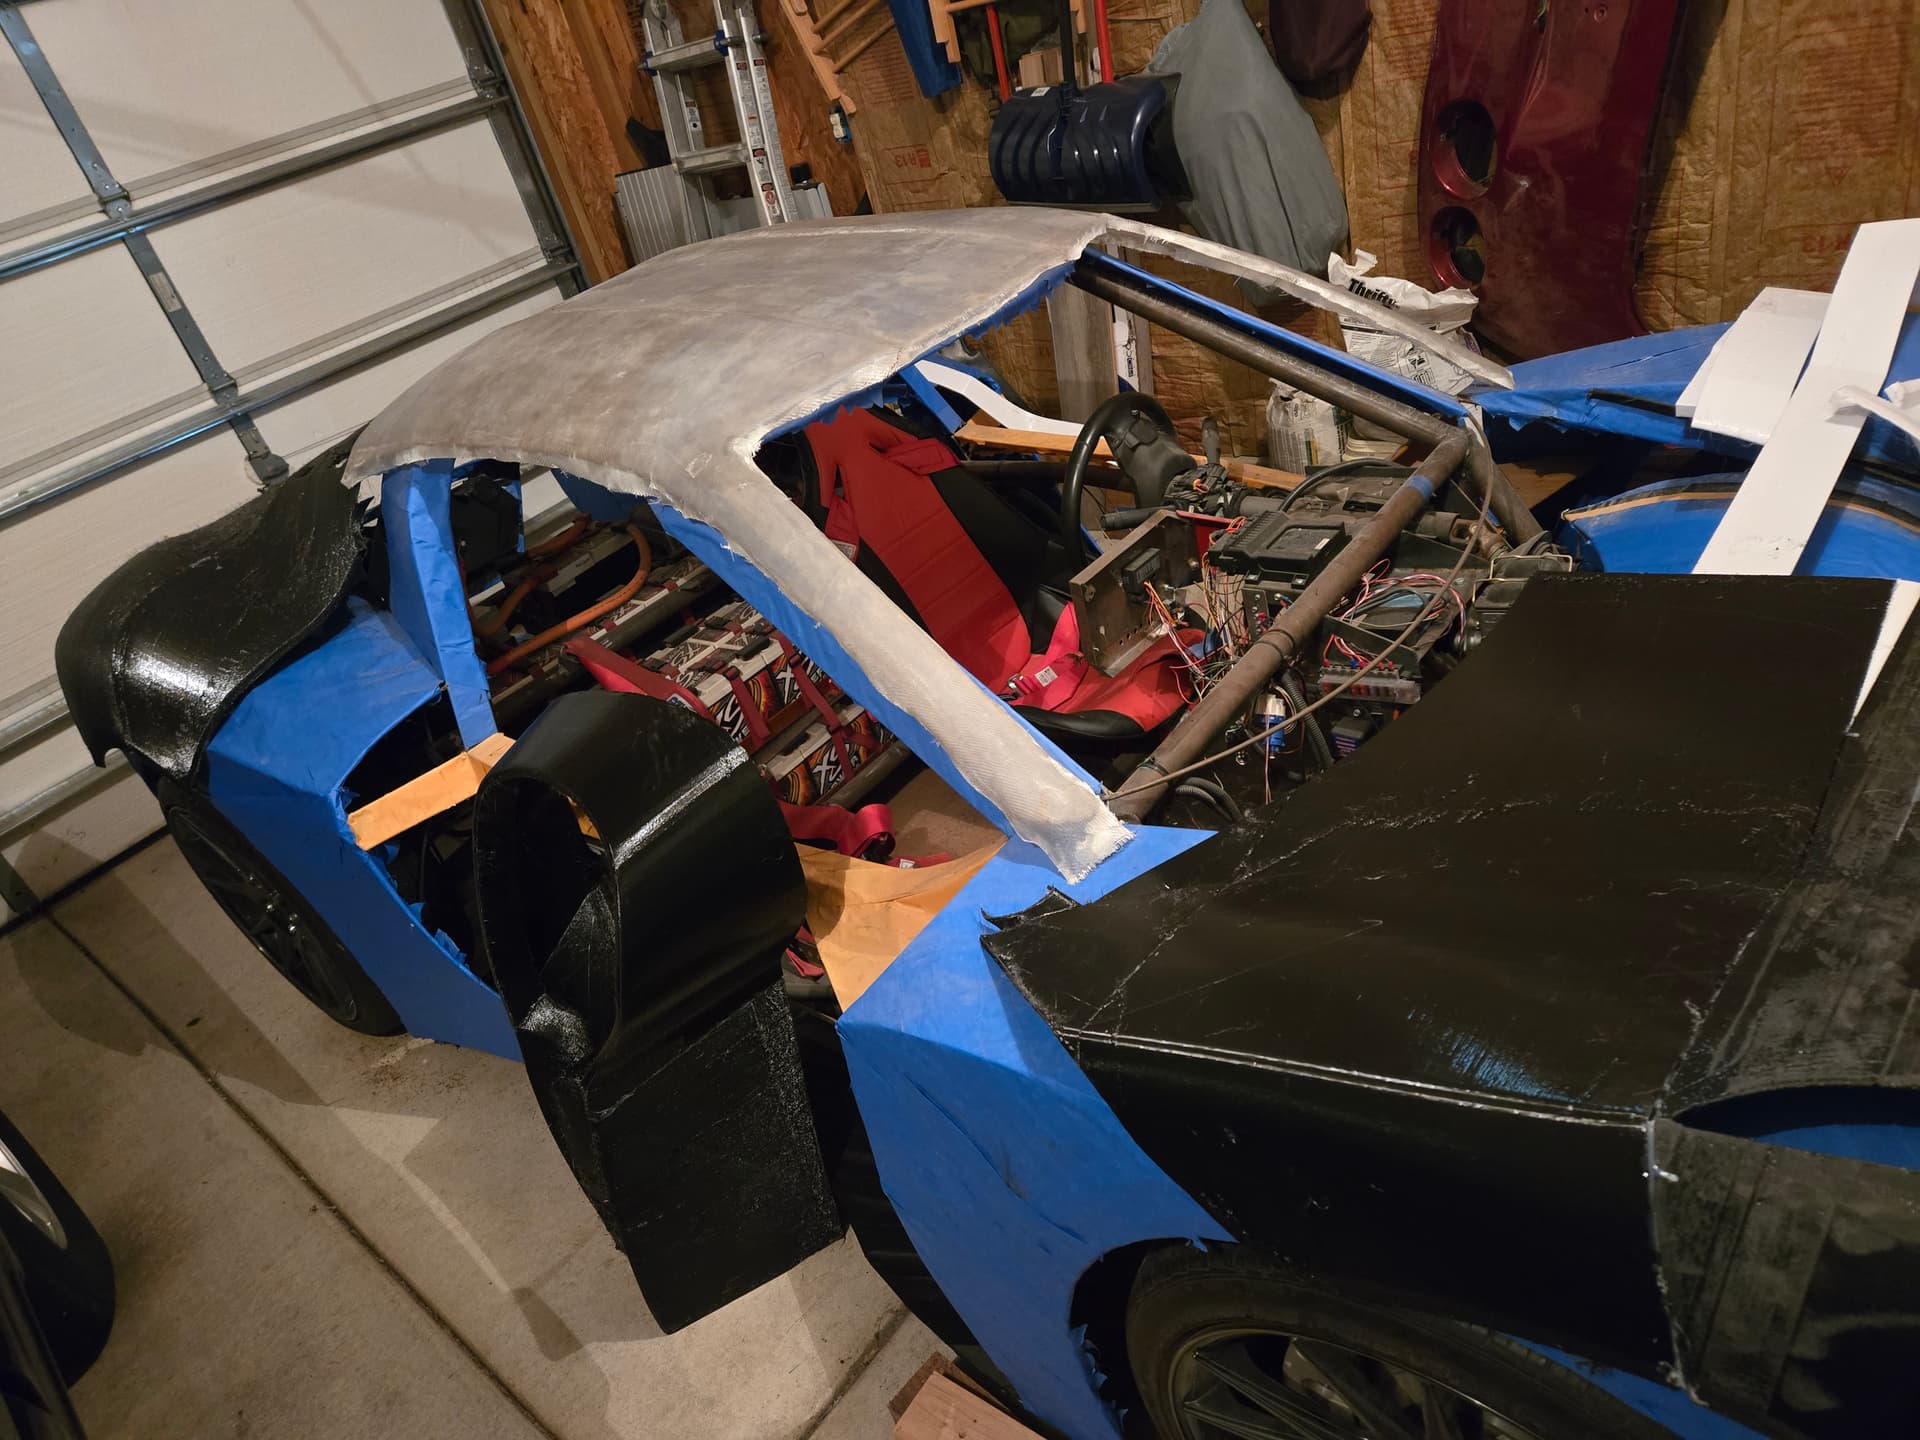
And unfortunately, i had some problems in the back. With how thin and wide the pieces were, they didn’t want to stay in shape, and in one spot, the panel snapped while trying to move it into place. So, also reconsidering the design a little to remove some of the super long and flat surface.
Have you thought about making interchangeable bodies and other car parts? I had some thoughts about car design. I think it would be cool to have cars that have standard parts… like options for control panels or different bodies or different styles of glove box.
They do something similar to that on smart cars. There’s also the new Slate Auto that is trying to release a ~$20k ‘truck’ that can be easily swapped with some accessory parts between a truck, SUV, and utility vehicle.
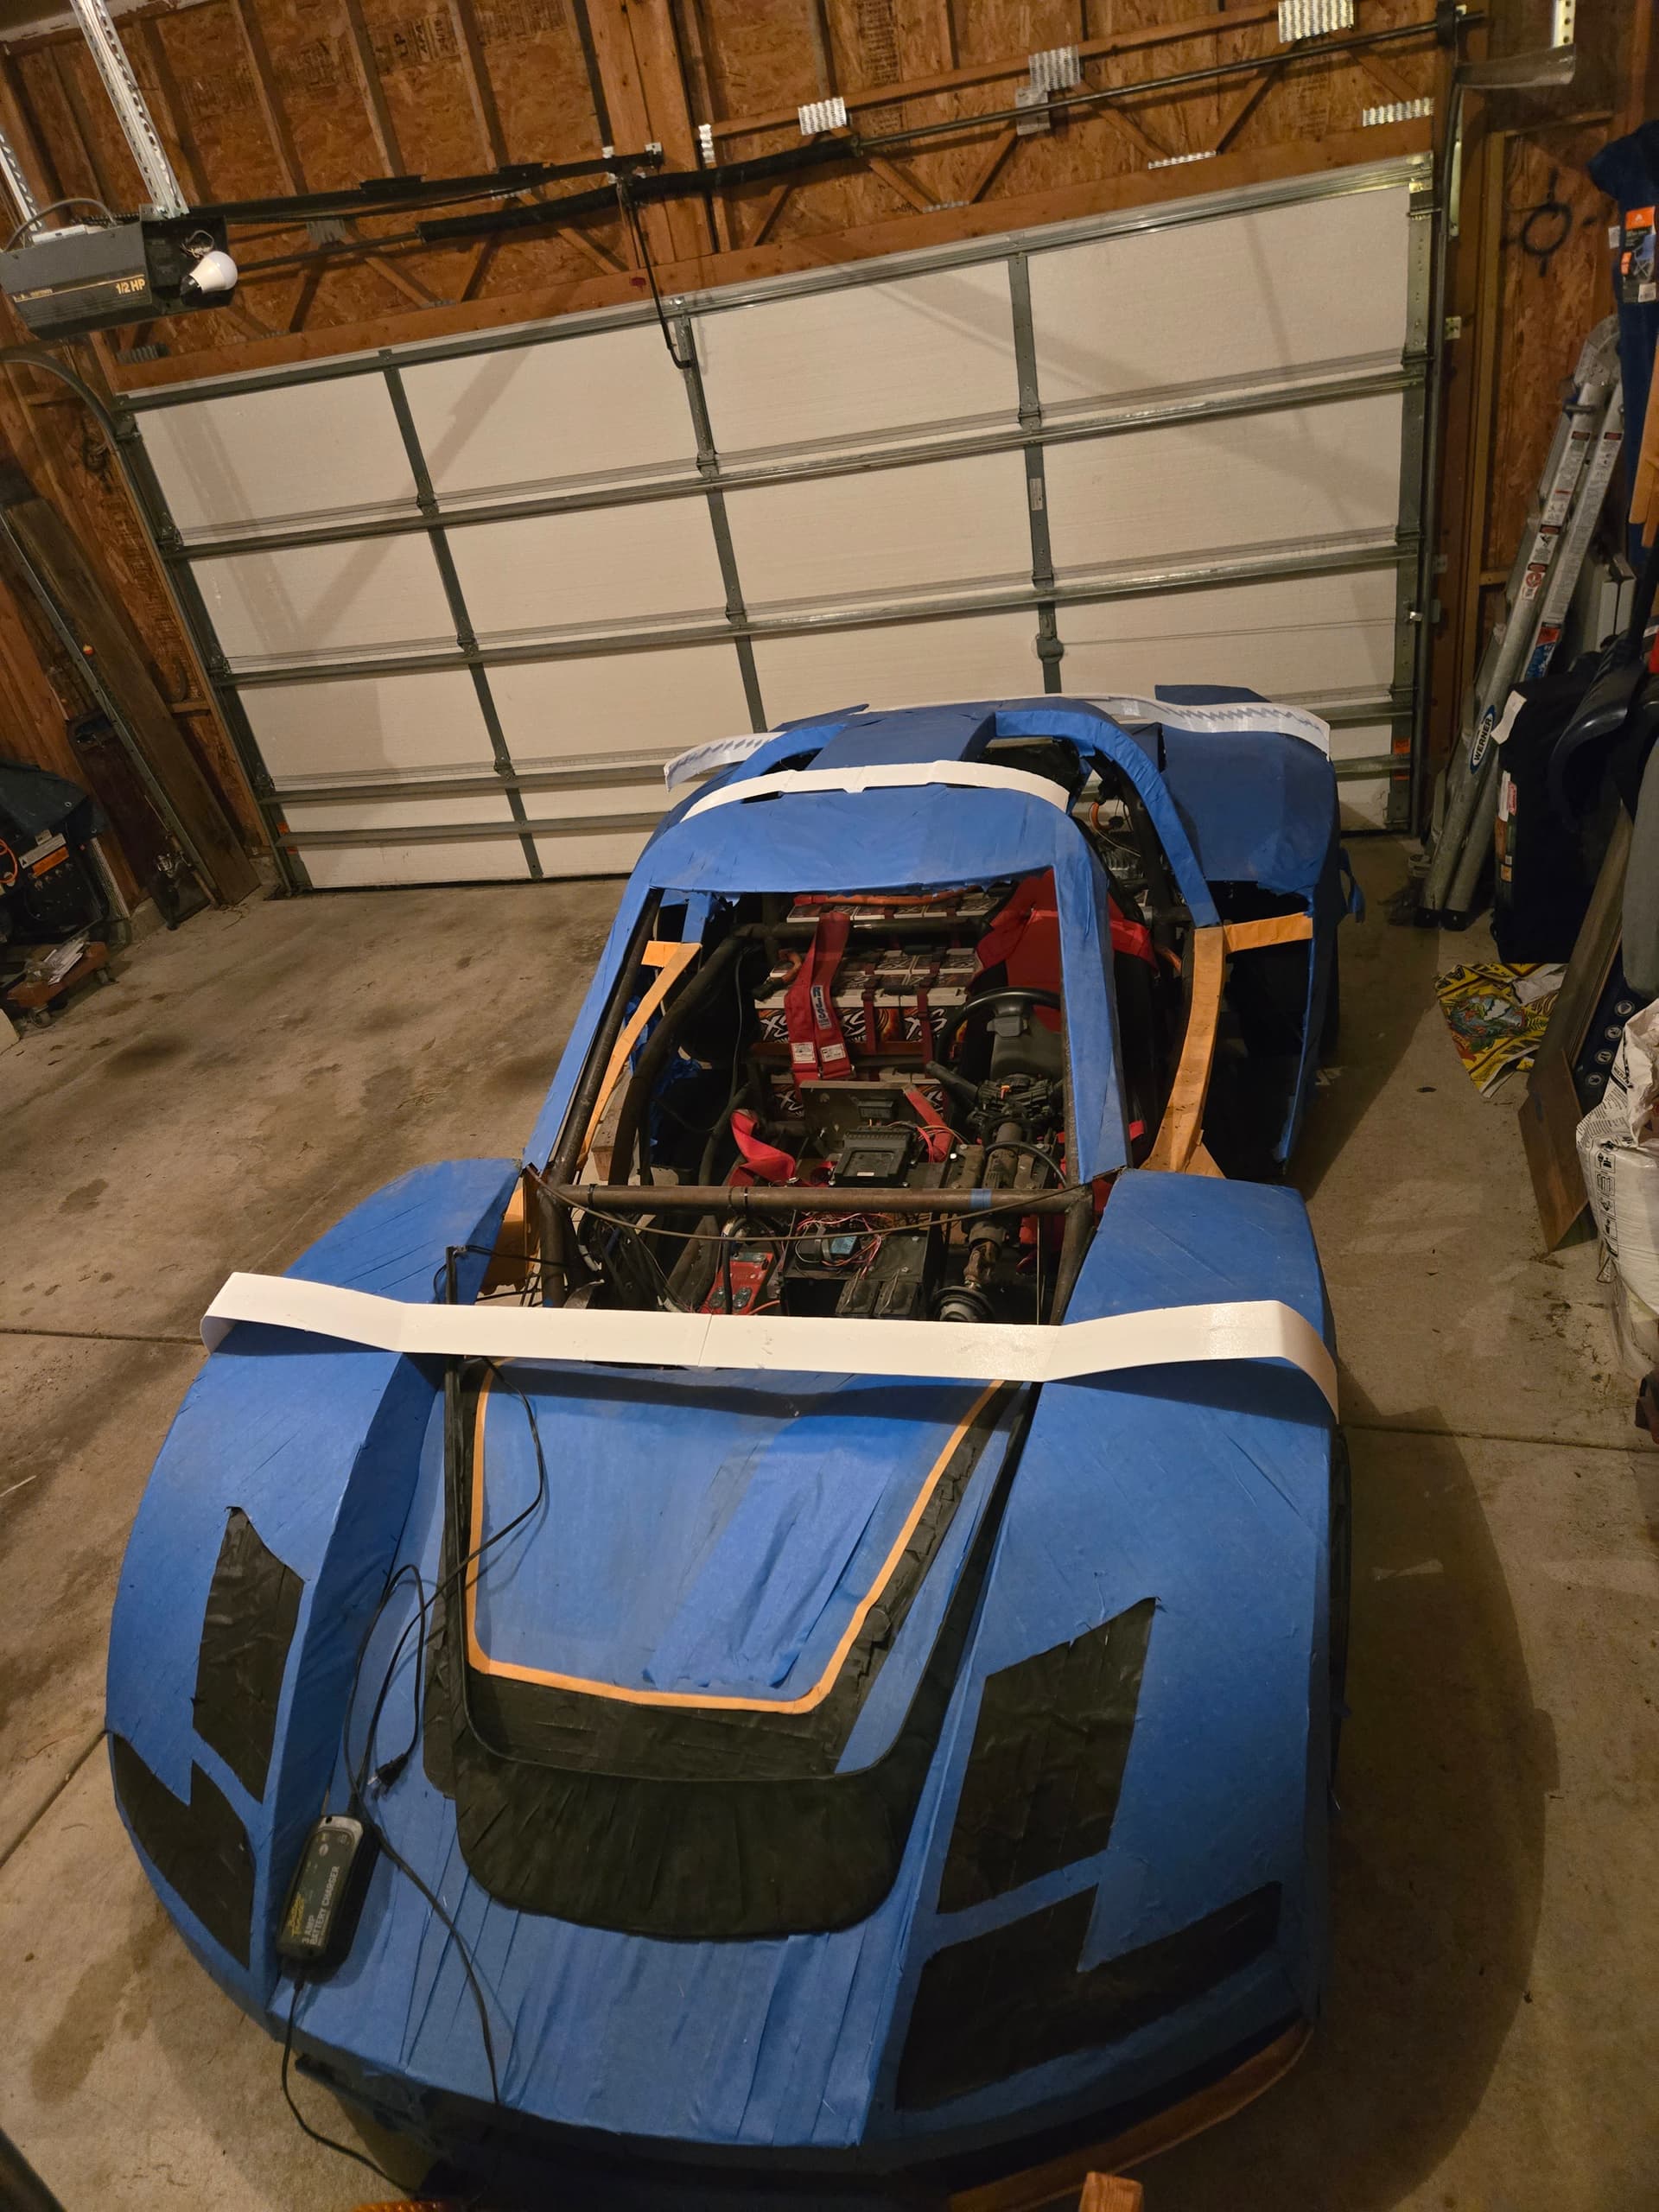
With the way i built the frame work on the roadster, and the placement of the drivetrain, i probably wouldn’t be able to do something as radical as what Slate is proposing, maybe a small cargo box but definitely couldn’t go SUV on this one. Lol
Well, realized i printed the body at the wrong scale… soooo… i’m printing all of the panels, again. -sigh- it’s an expensive booboo, but at least if gives me the chance to implement some learning lessons.
There was a lot of overlap in the panels from side to side (which i could have just cut a sliver out of), but the problem was compounded by the length also being too long.
After realizing the body wasn’t the right size, i printed some test pieces to make sure the re-scaled body was right at 89% of the original print’s size.
After getting the scale figured out, i went back thru and changed how i cut up the body panels for printing. Before, i used bounding boxes in blender with boolean operations to create the pieces i needed to print. Instead, i used blender to chunk up the body in ways that i think i could end up parting a fiberglass panel at and then used Prusa Slicer to make printable chunks. In addition, i also thickened up interior surfaces like a set of ribs and spine to stiffen up the panels. These changes are giving me a higher success rate on the prints and also reducing the number of prints i need to glue together.

I’ve still got a lot to print, but i’m hoping that after working out a lot of bugs, this will go quicker and ultimately use less material.
Did some testing over the weekend checking out dofferent filler material and release agents for a fiberglass panel. Tried bondo, drywall spackle, epoxy resin, and tinfoil for fillers, and then paste wax (totally forgot johnson paste wax is no longer being produced) as well as petroleum jelly.
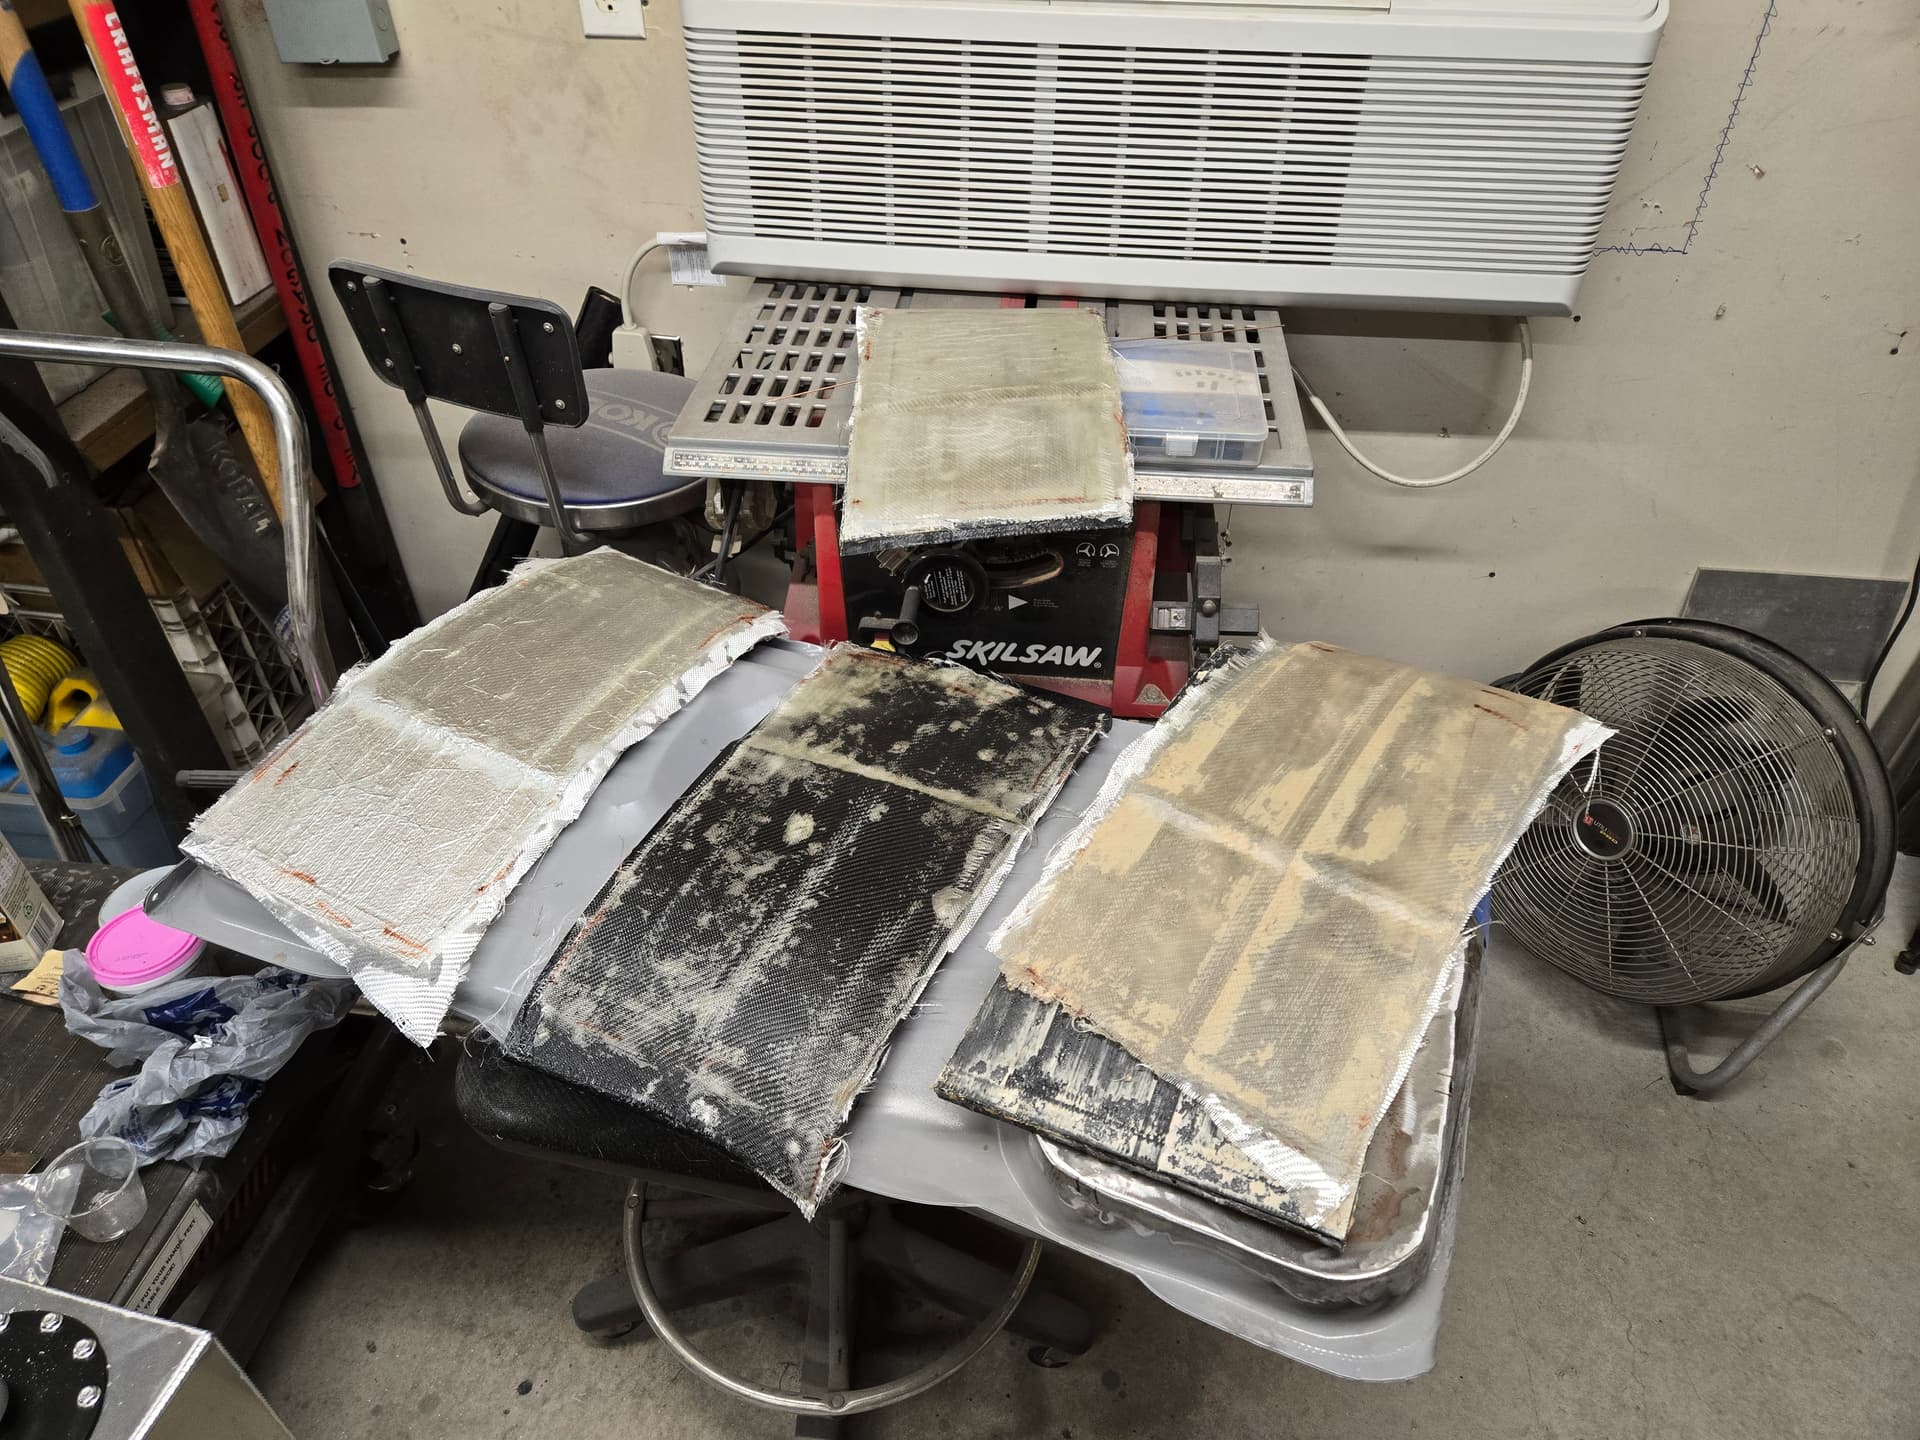
For some odd reason the resin panel with pretroleum jelly may have caused the epoxy resin not to cure. The other cases seemed to work fine, but i could tell the lines on the panel from the tinfoil.
I didn’t vacuum bag the parts for this go round because i was being cheap and didn’t want to pay extra for the bagging materials. I probably could have produced a stronger and lighter part that way, but i’m still happy with the finished parts.
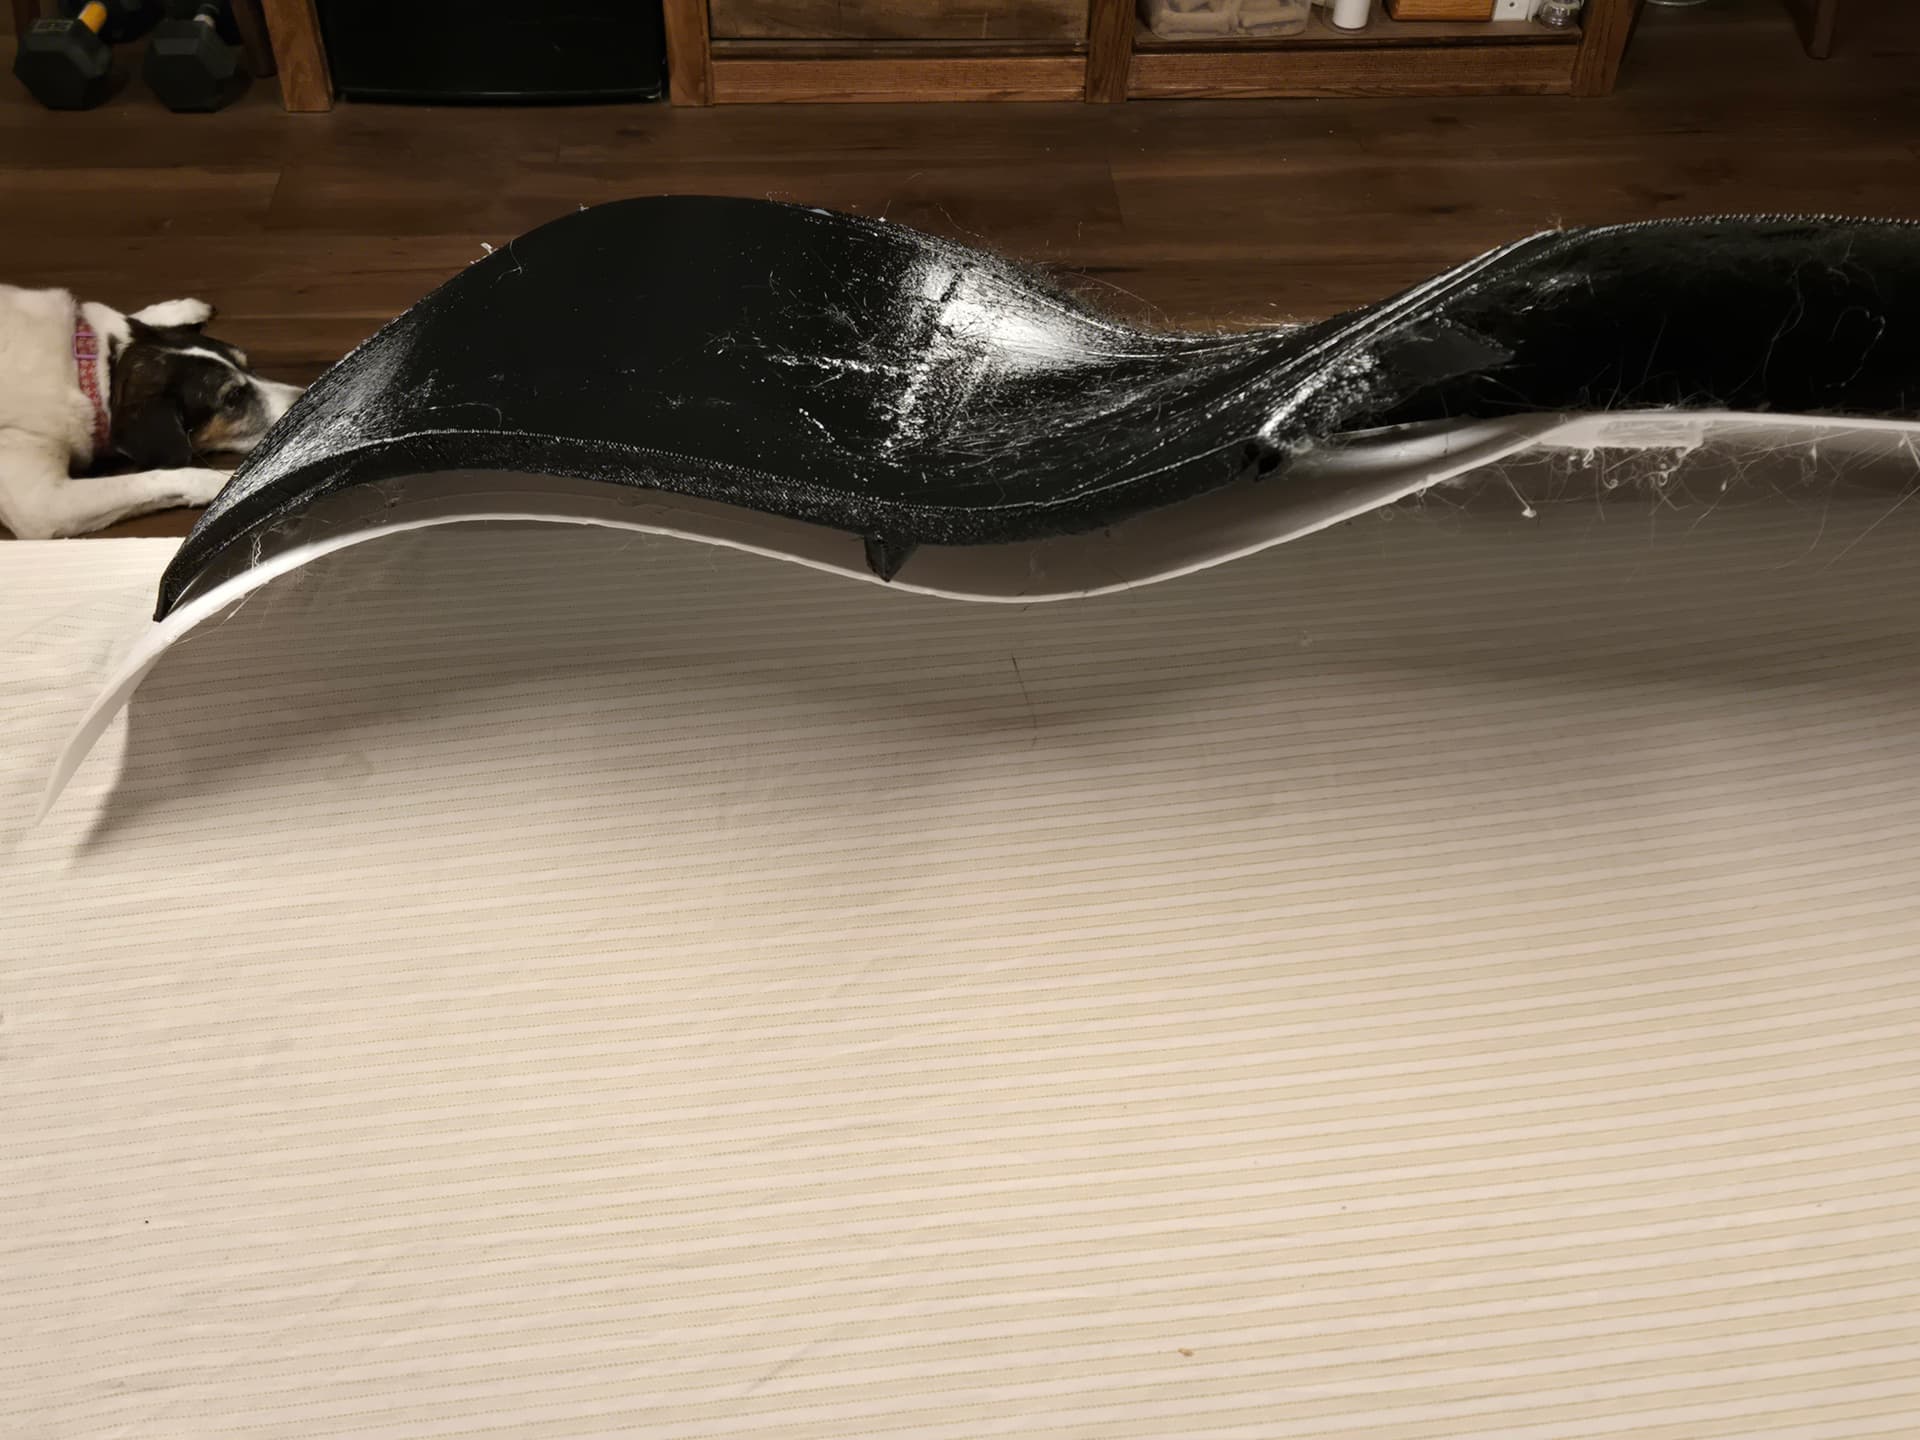
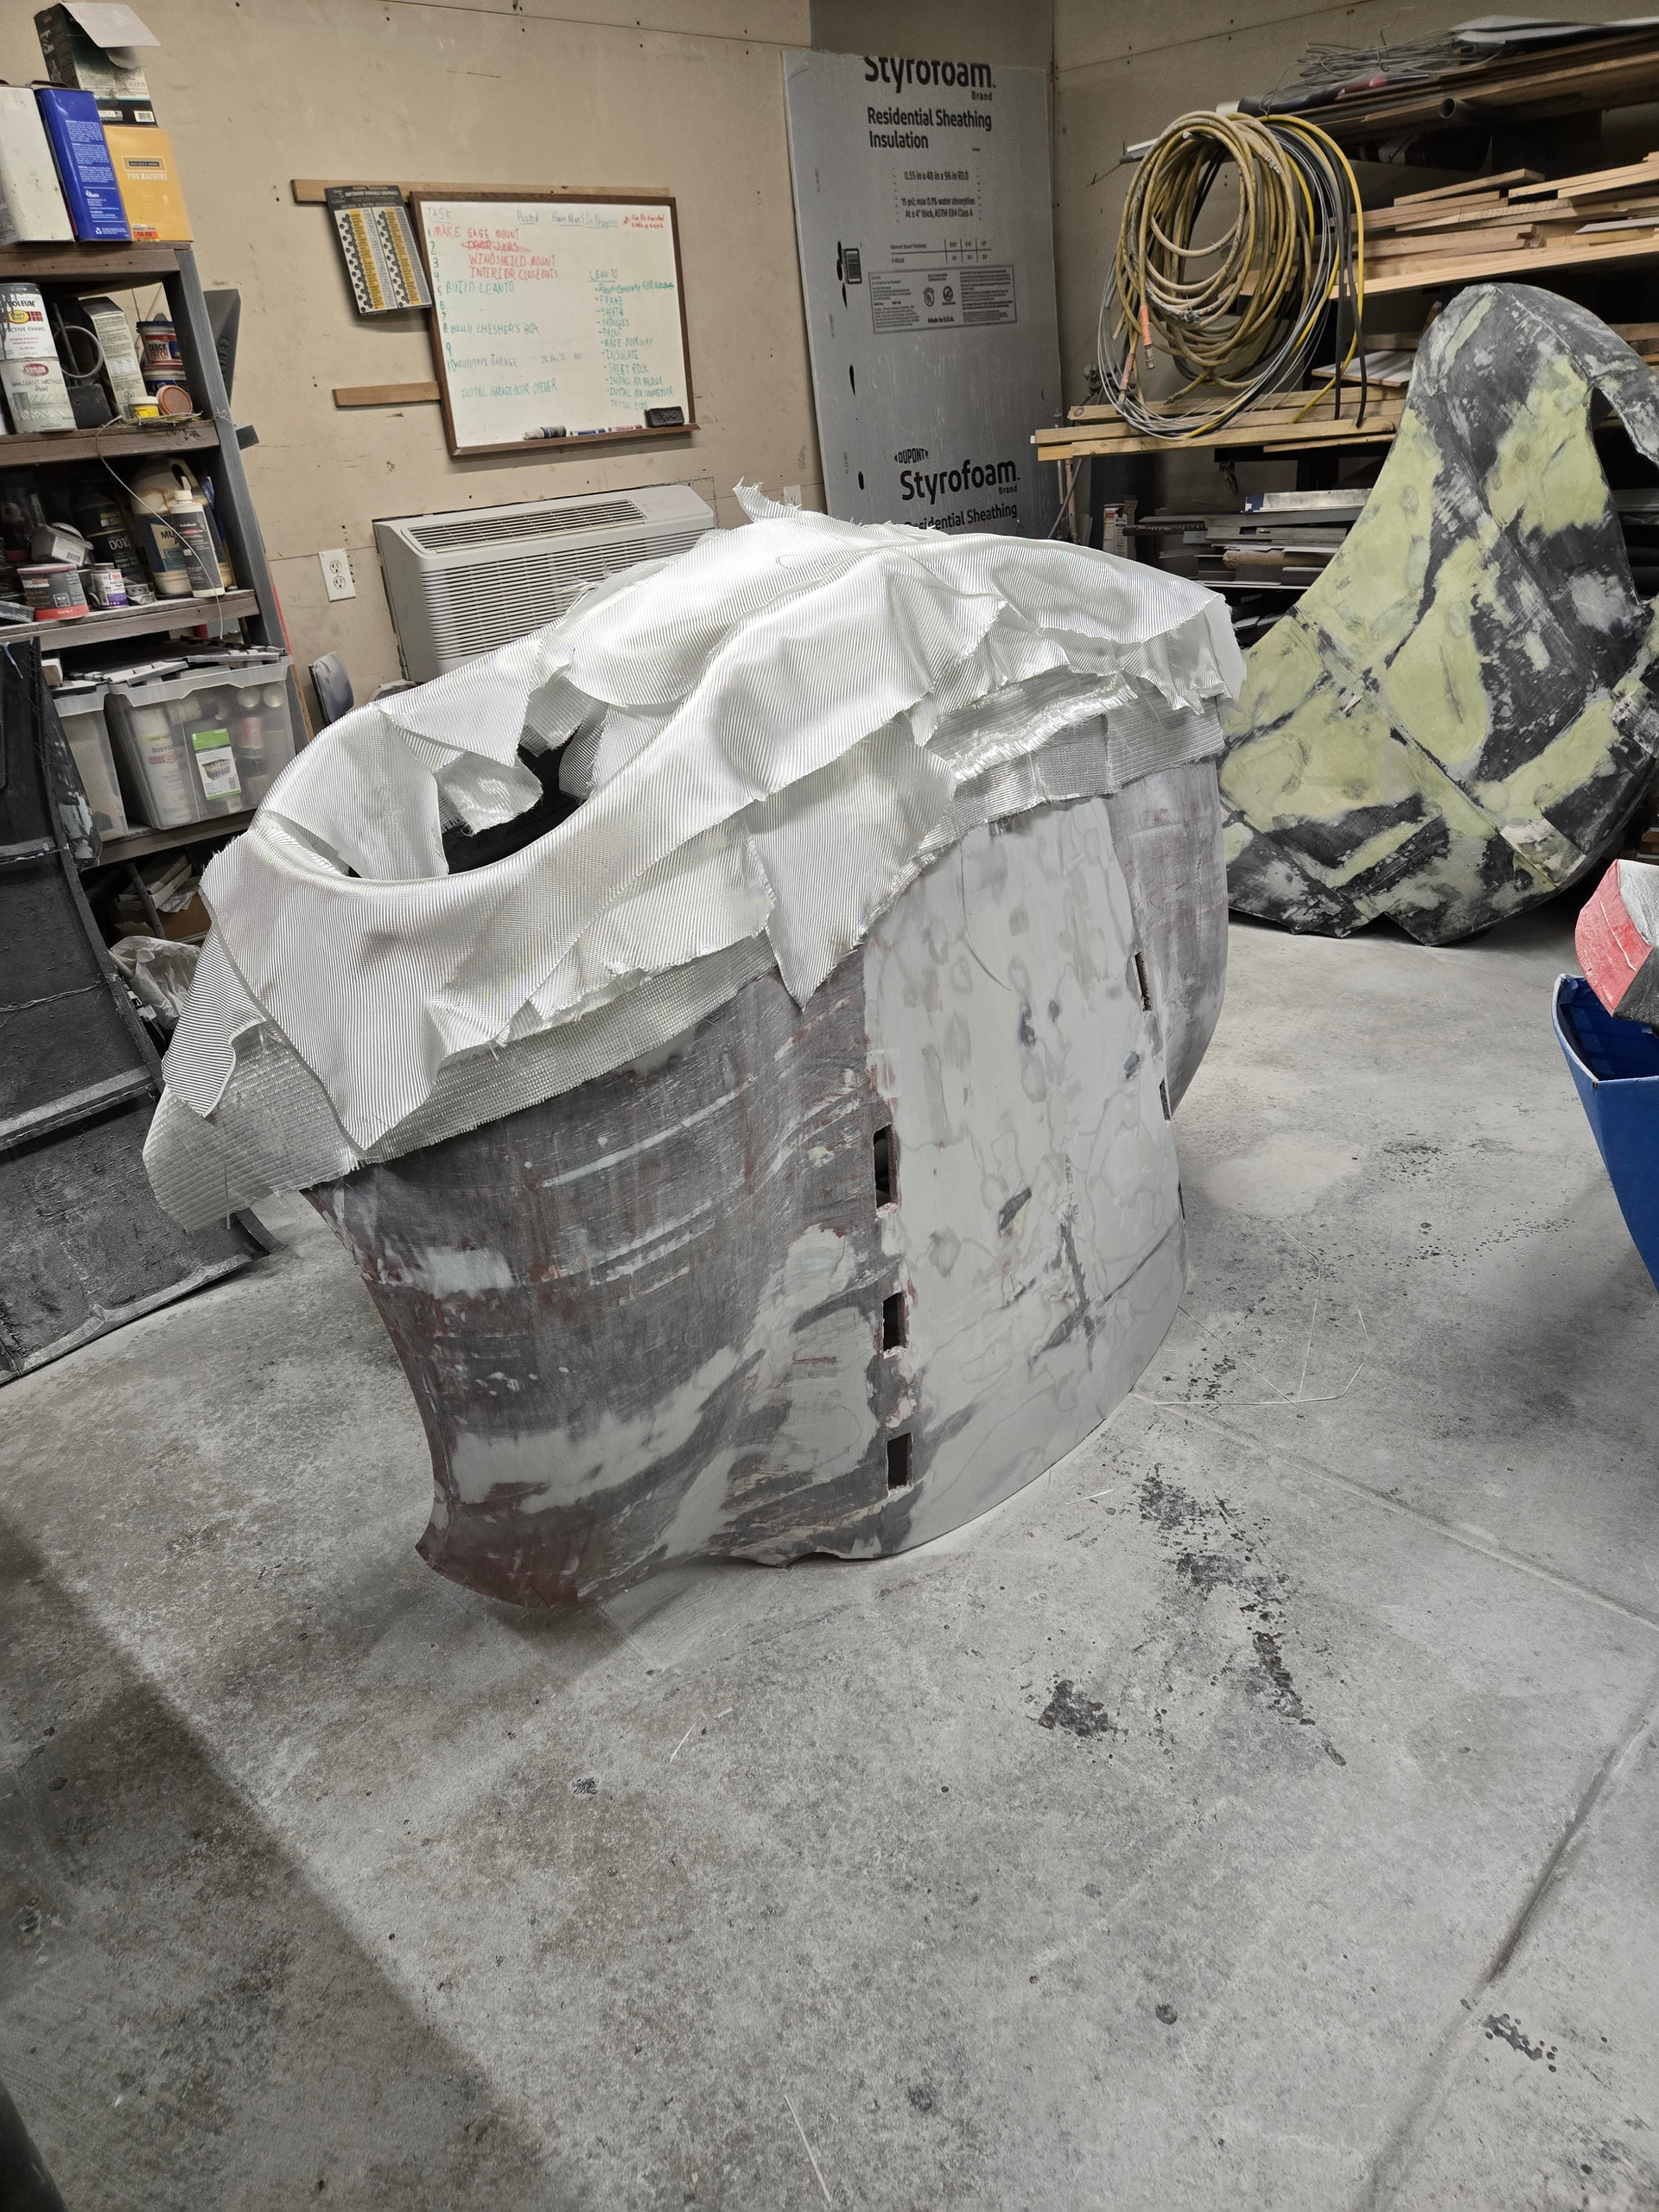
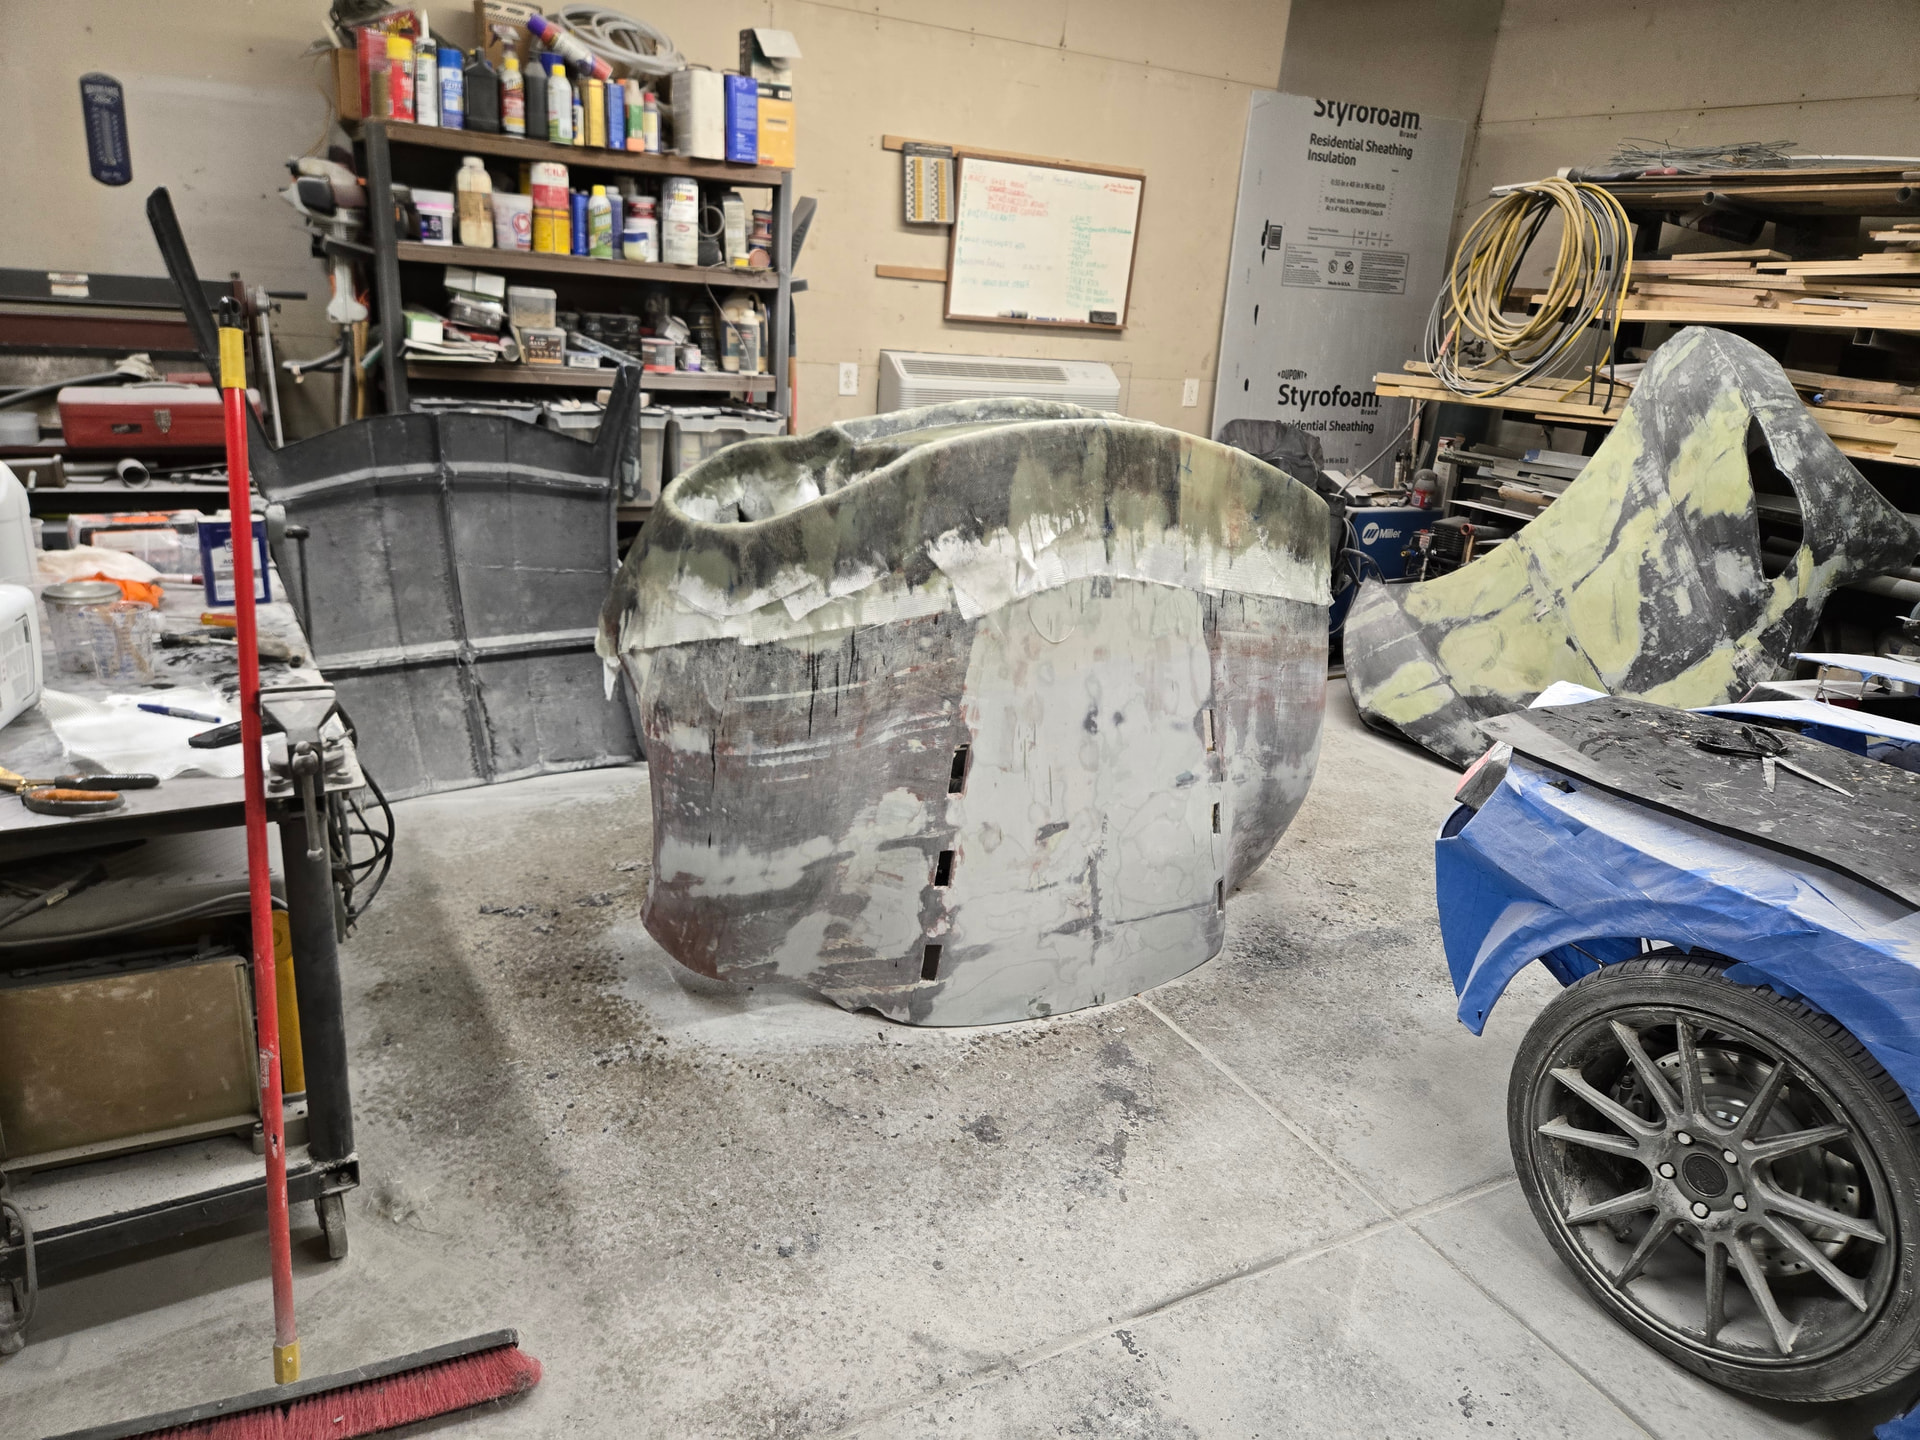
So with a decent answer from the tests, i starting sanding and filling gaps on the roof panel.
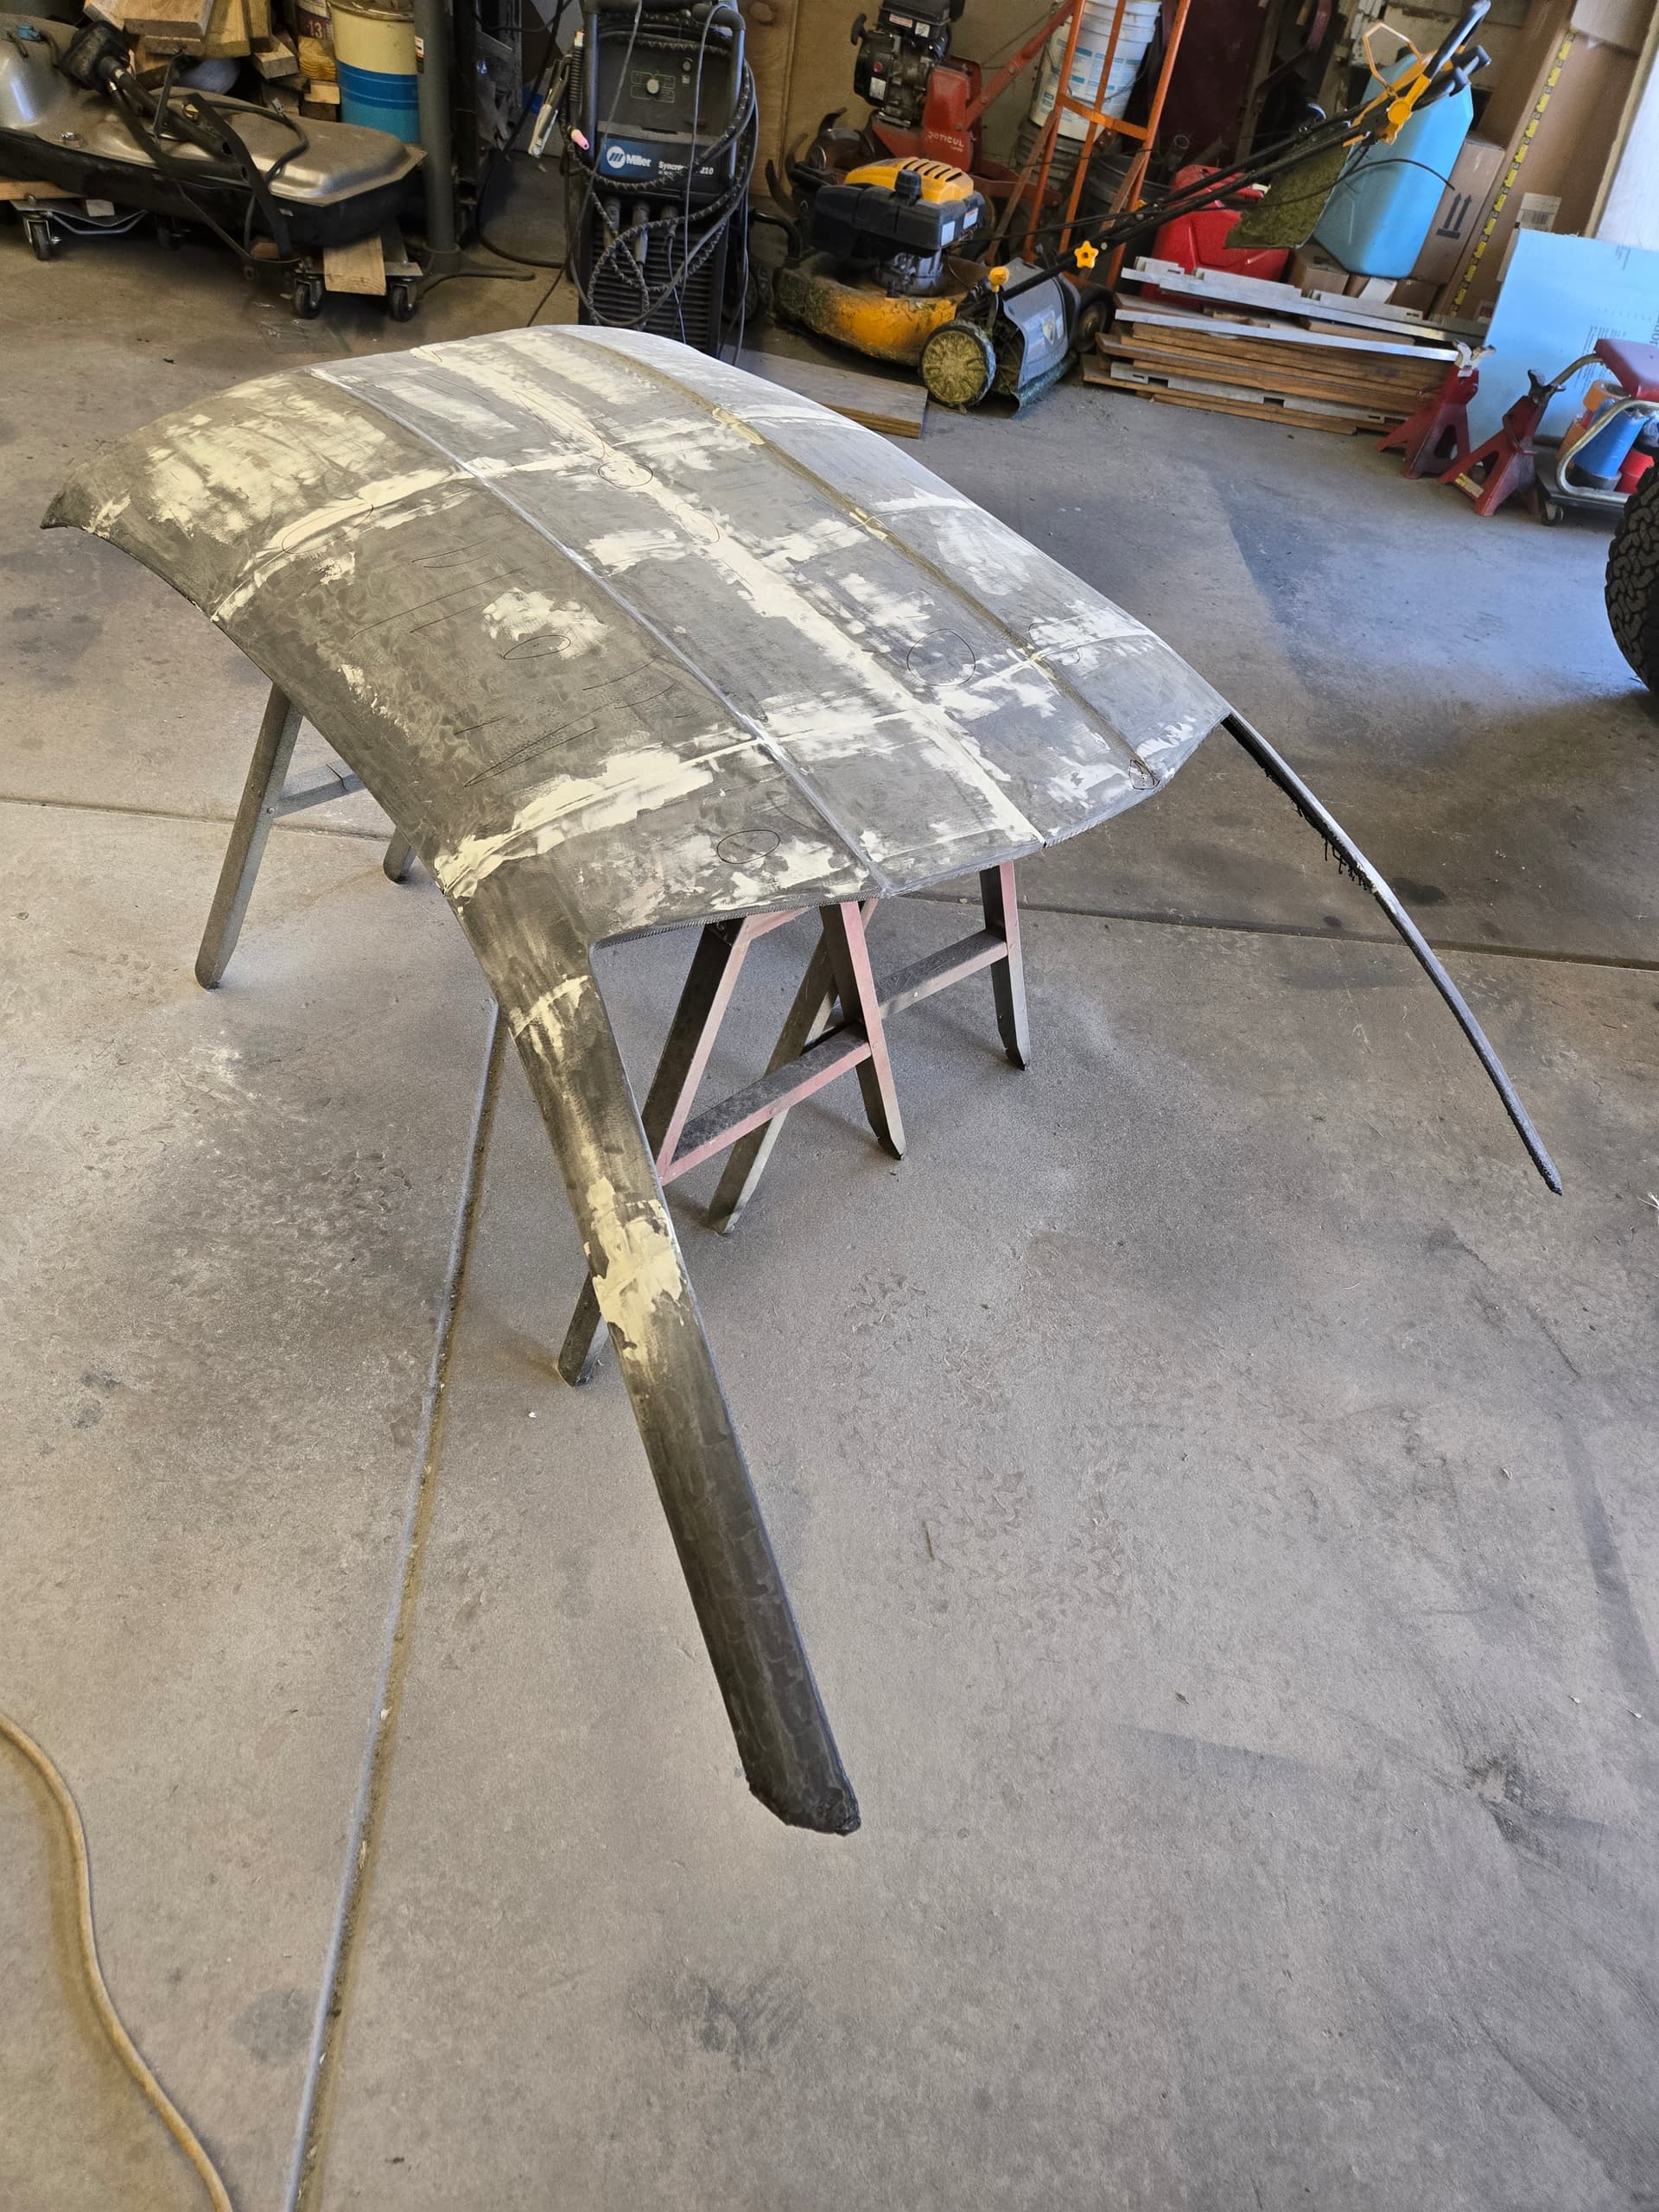
And then a now unsettling amount of paste wax (next test panels may be with the minwax version) polished in until the rags slid across the surface like it was glass.
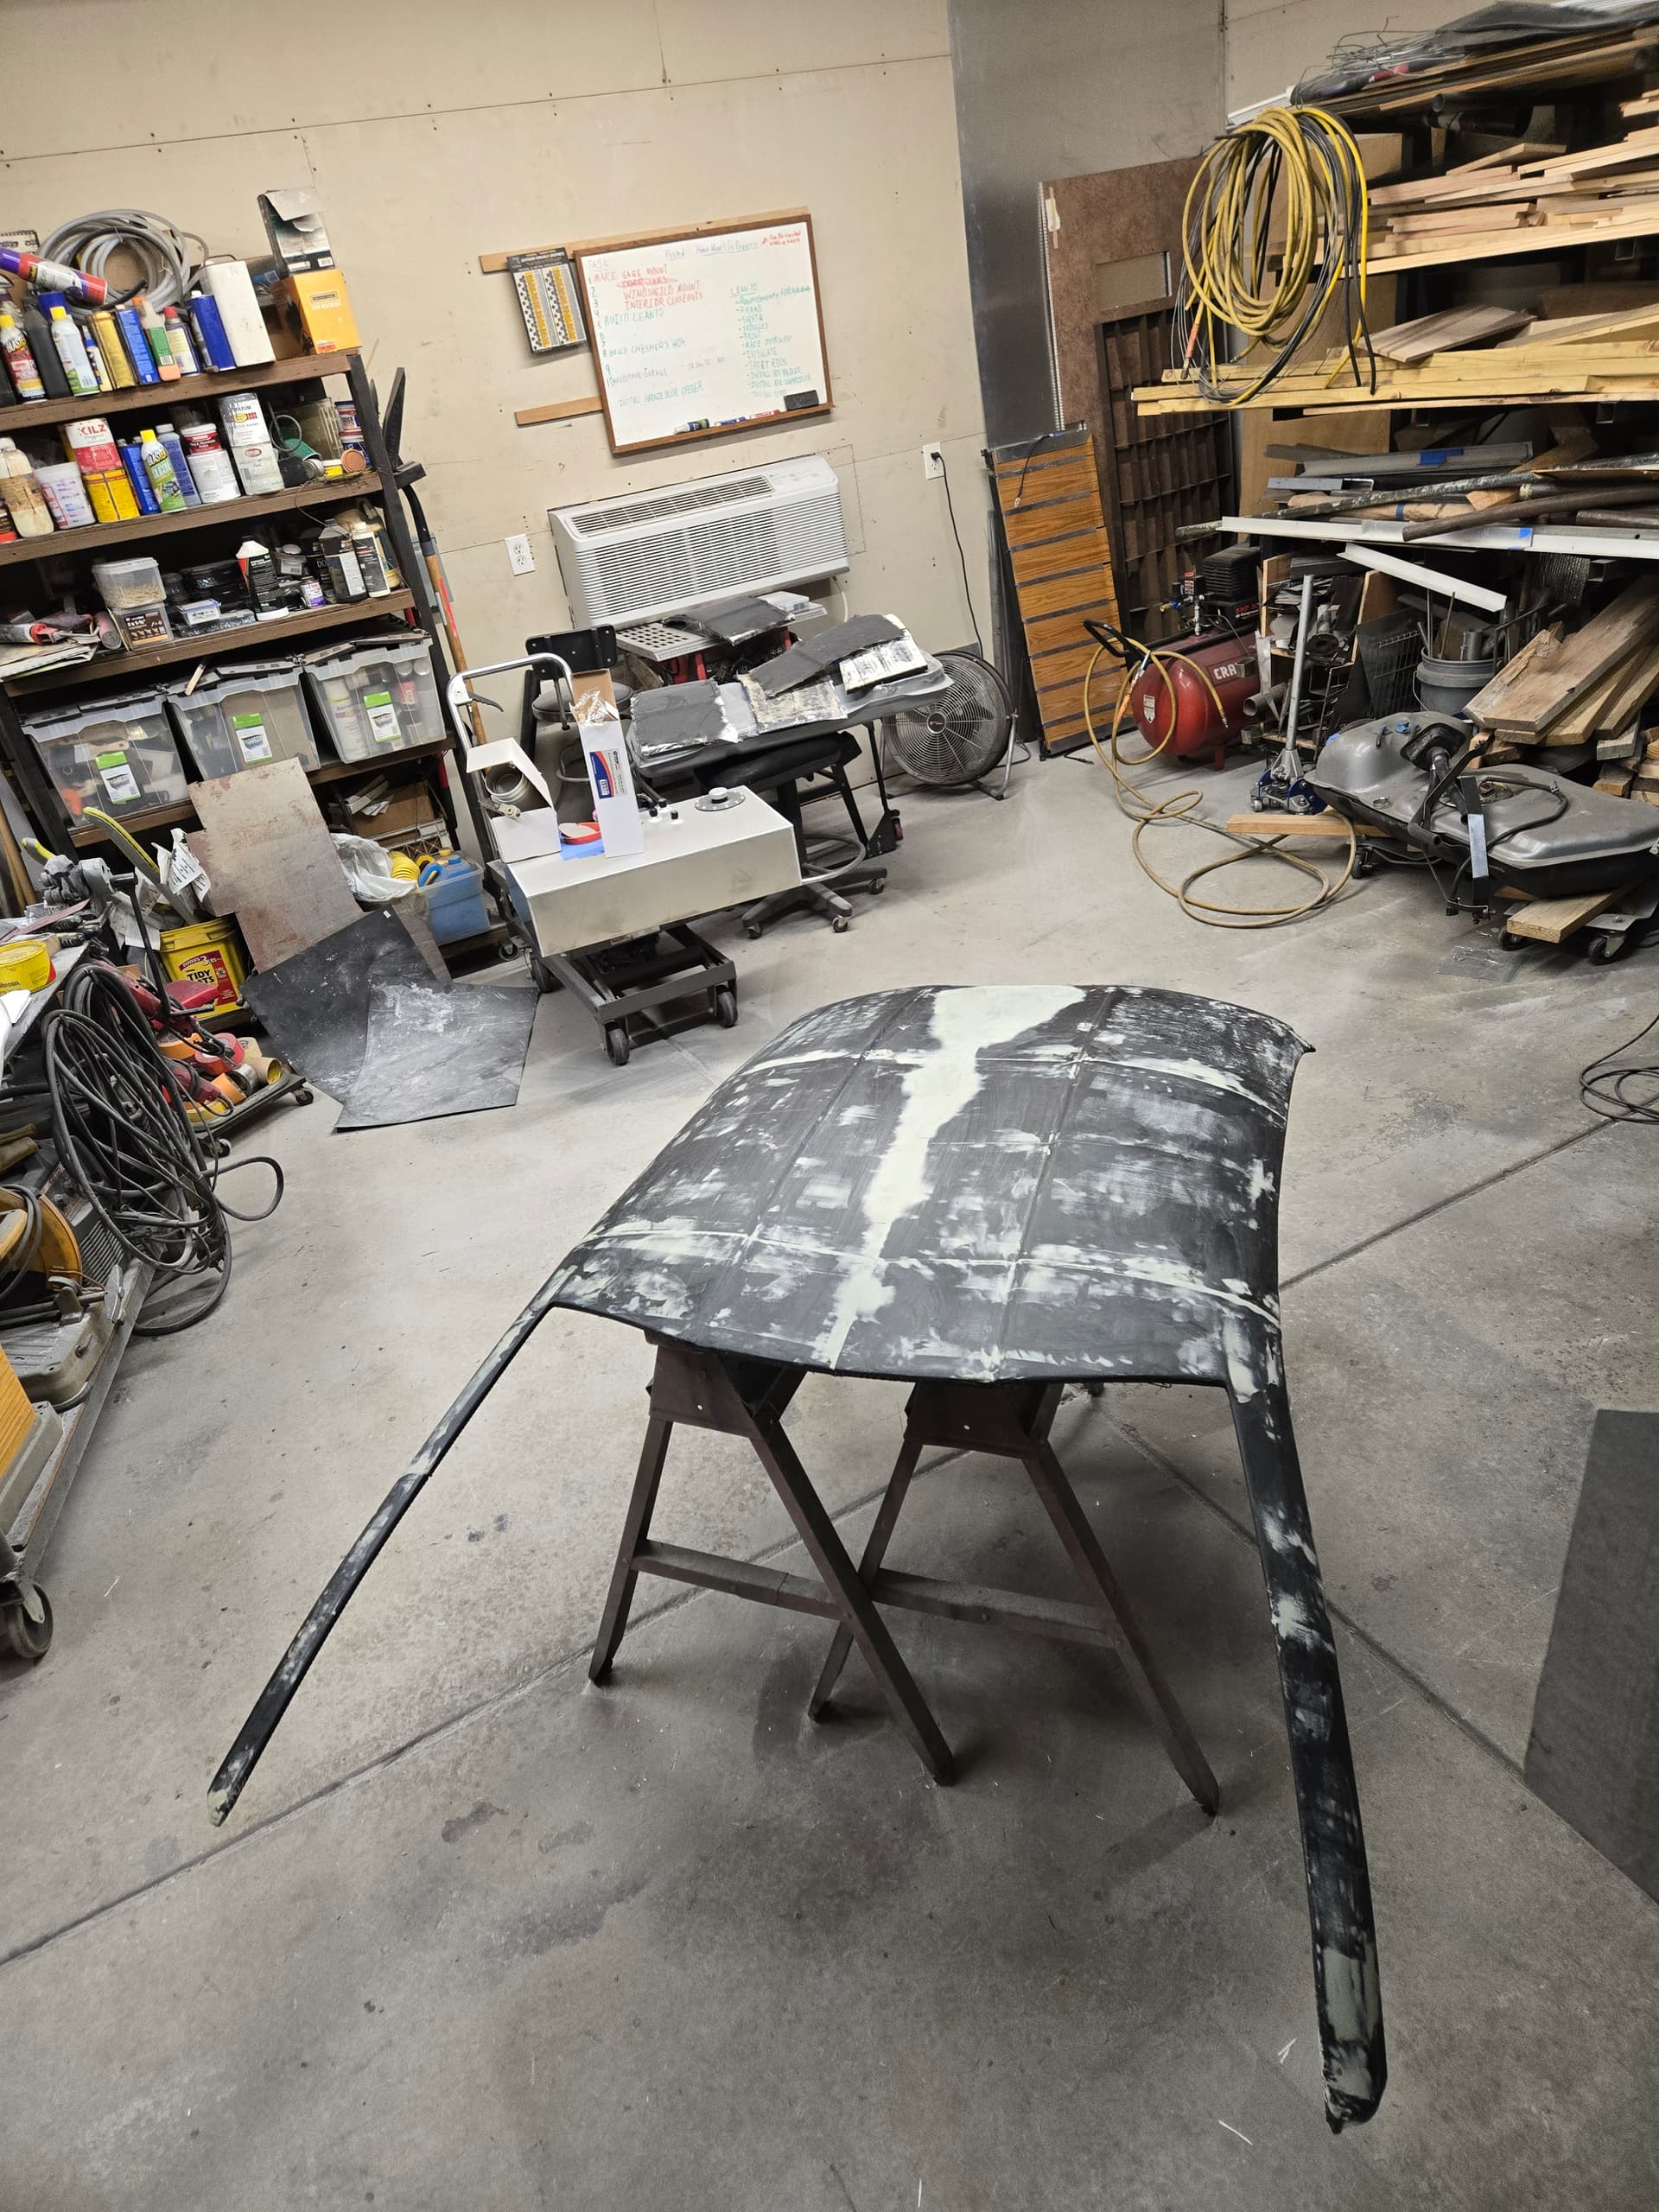
Followed by 2hrs of hauling ass to layup 5 layers or fiberglass twill.
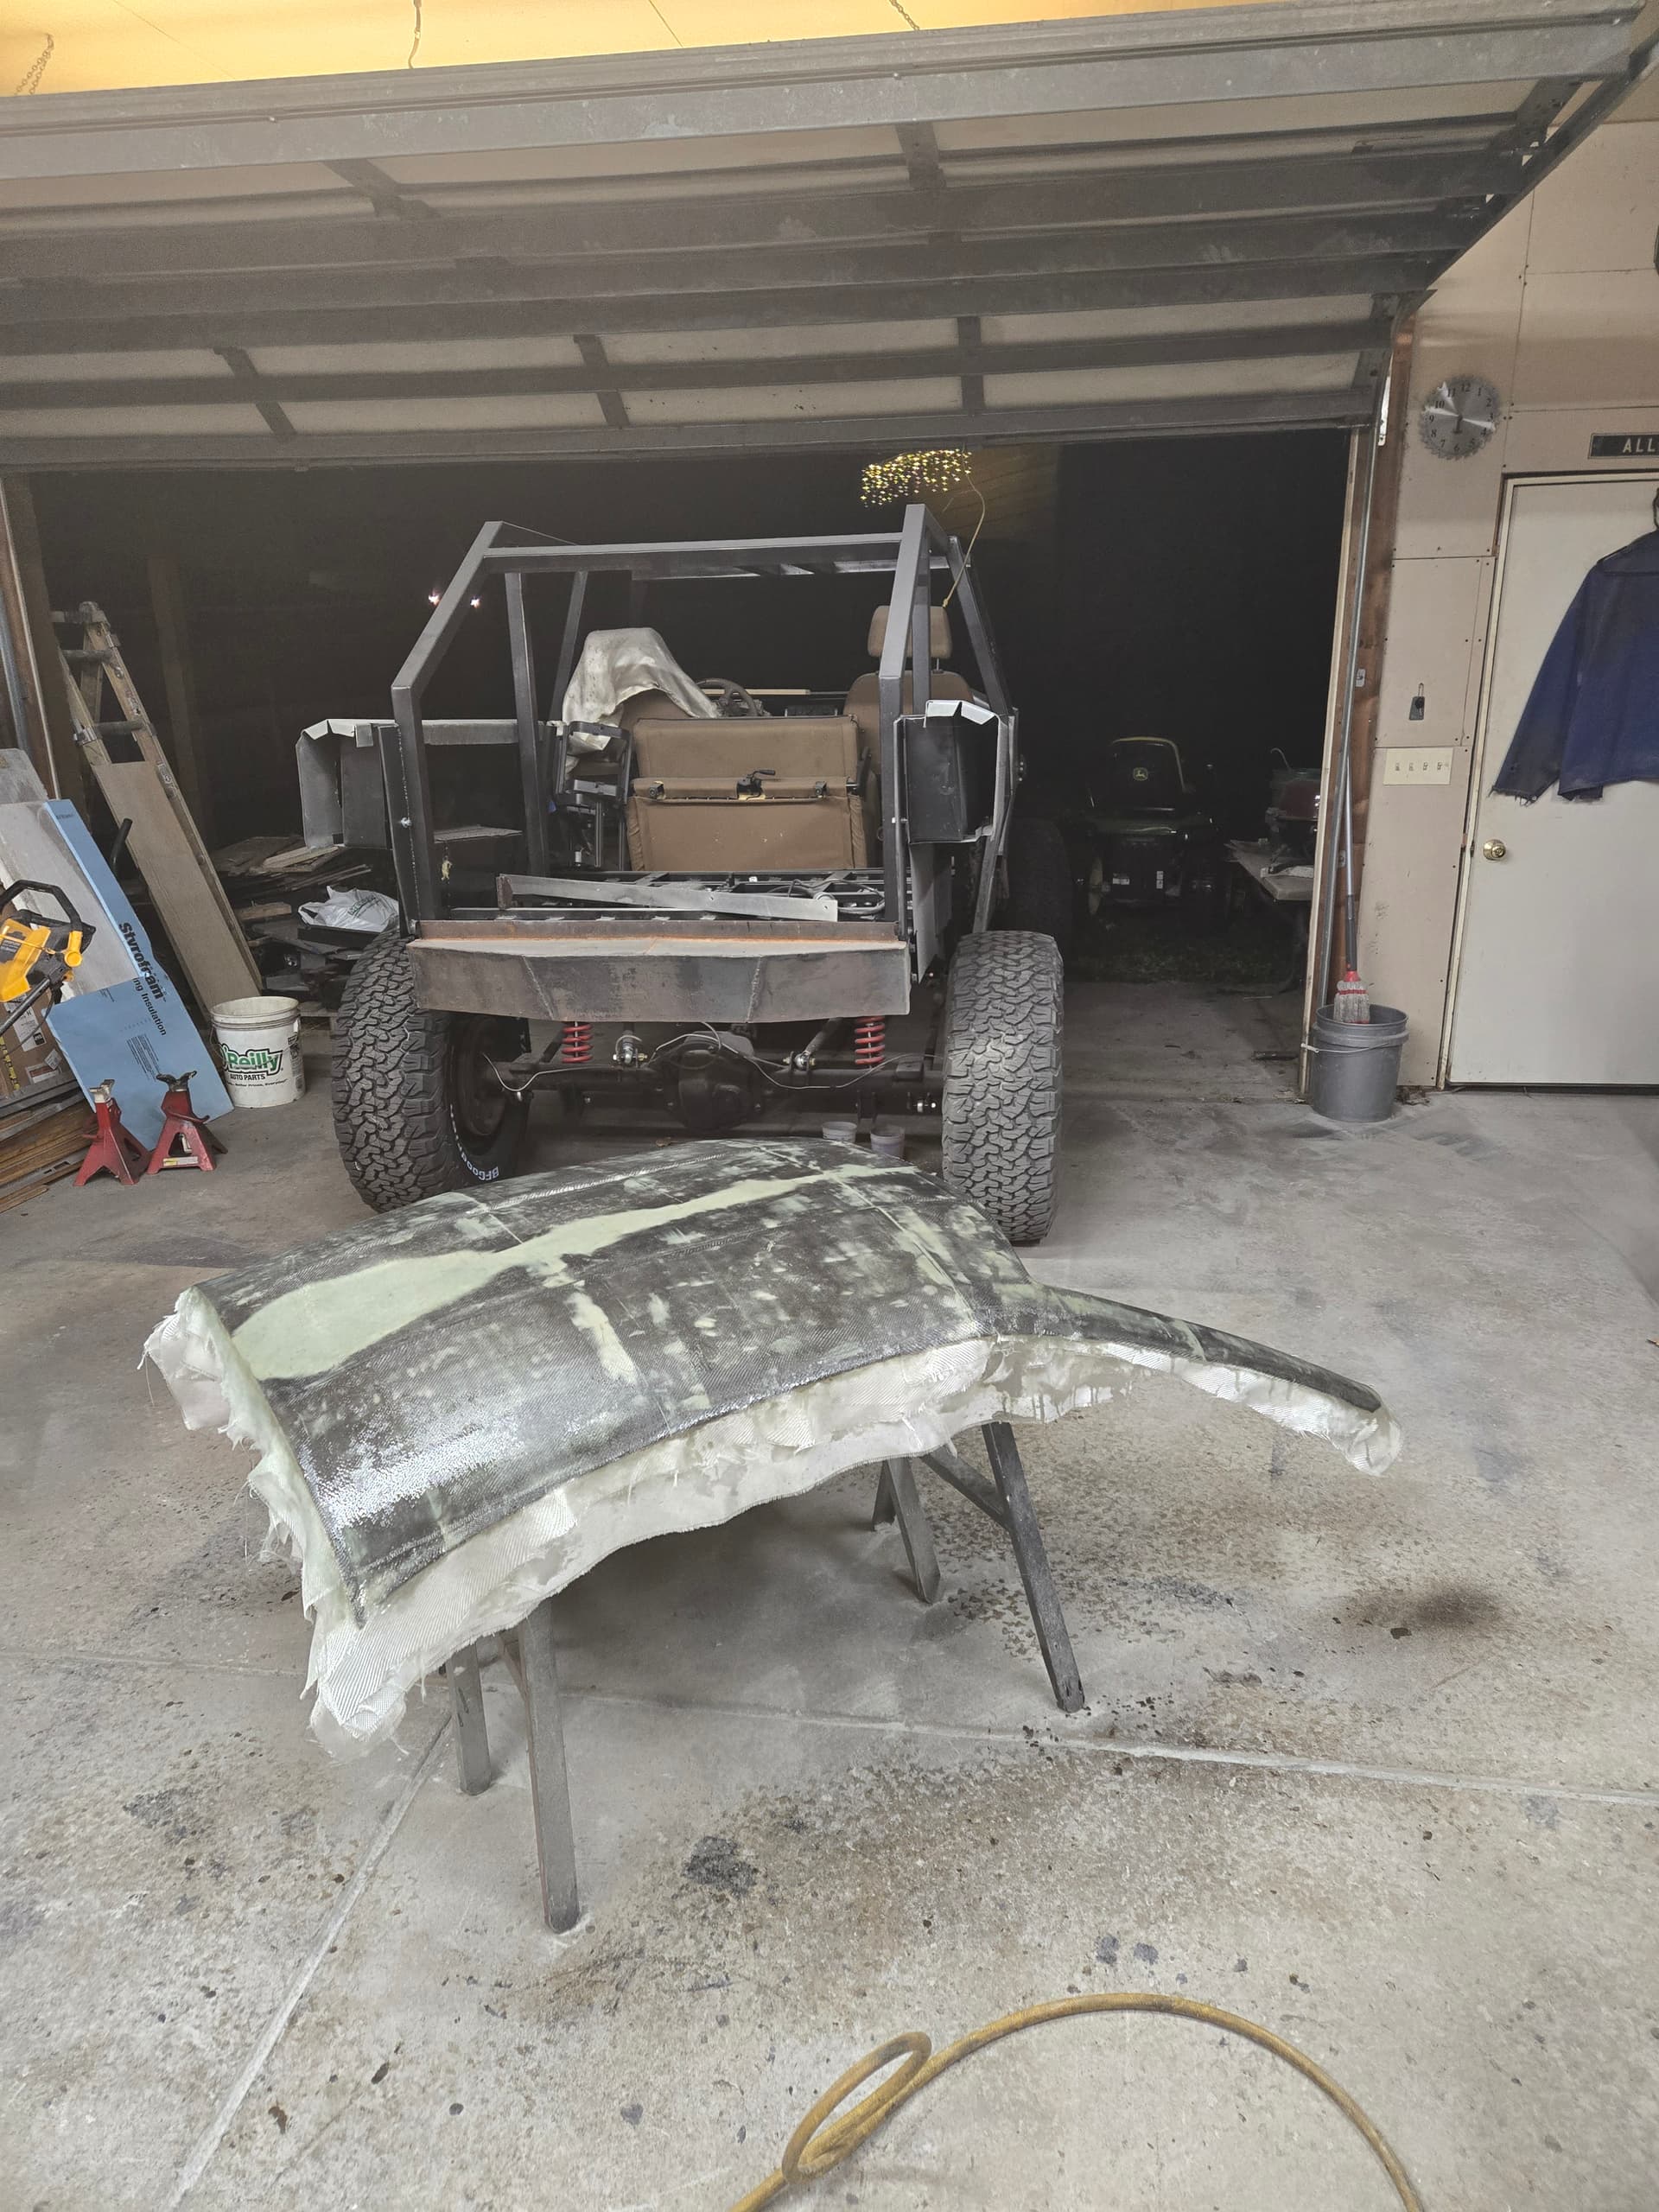
And then today, with some sliding around of a long spatula and steel rule, and dad’s help, we were able to pop the part free of the mold without much damage to the mold.

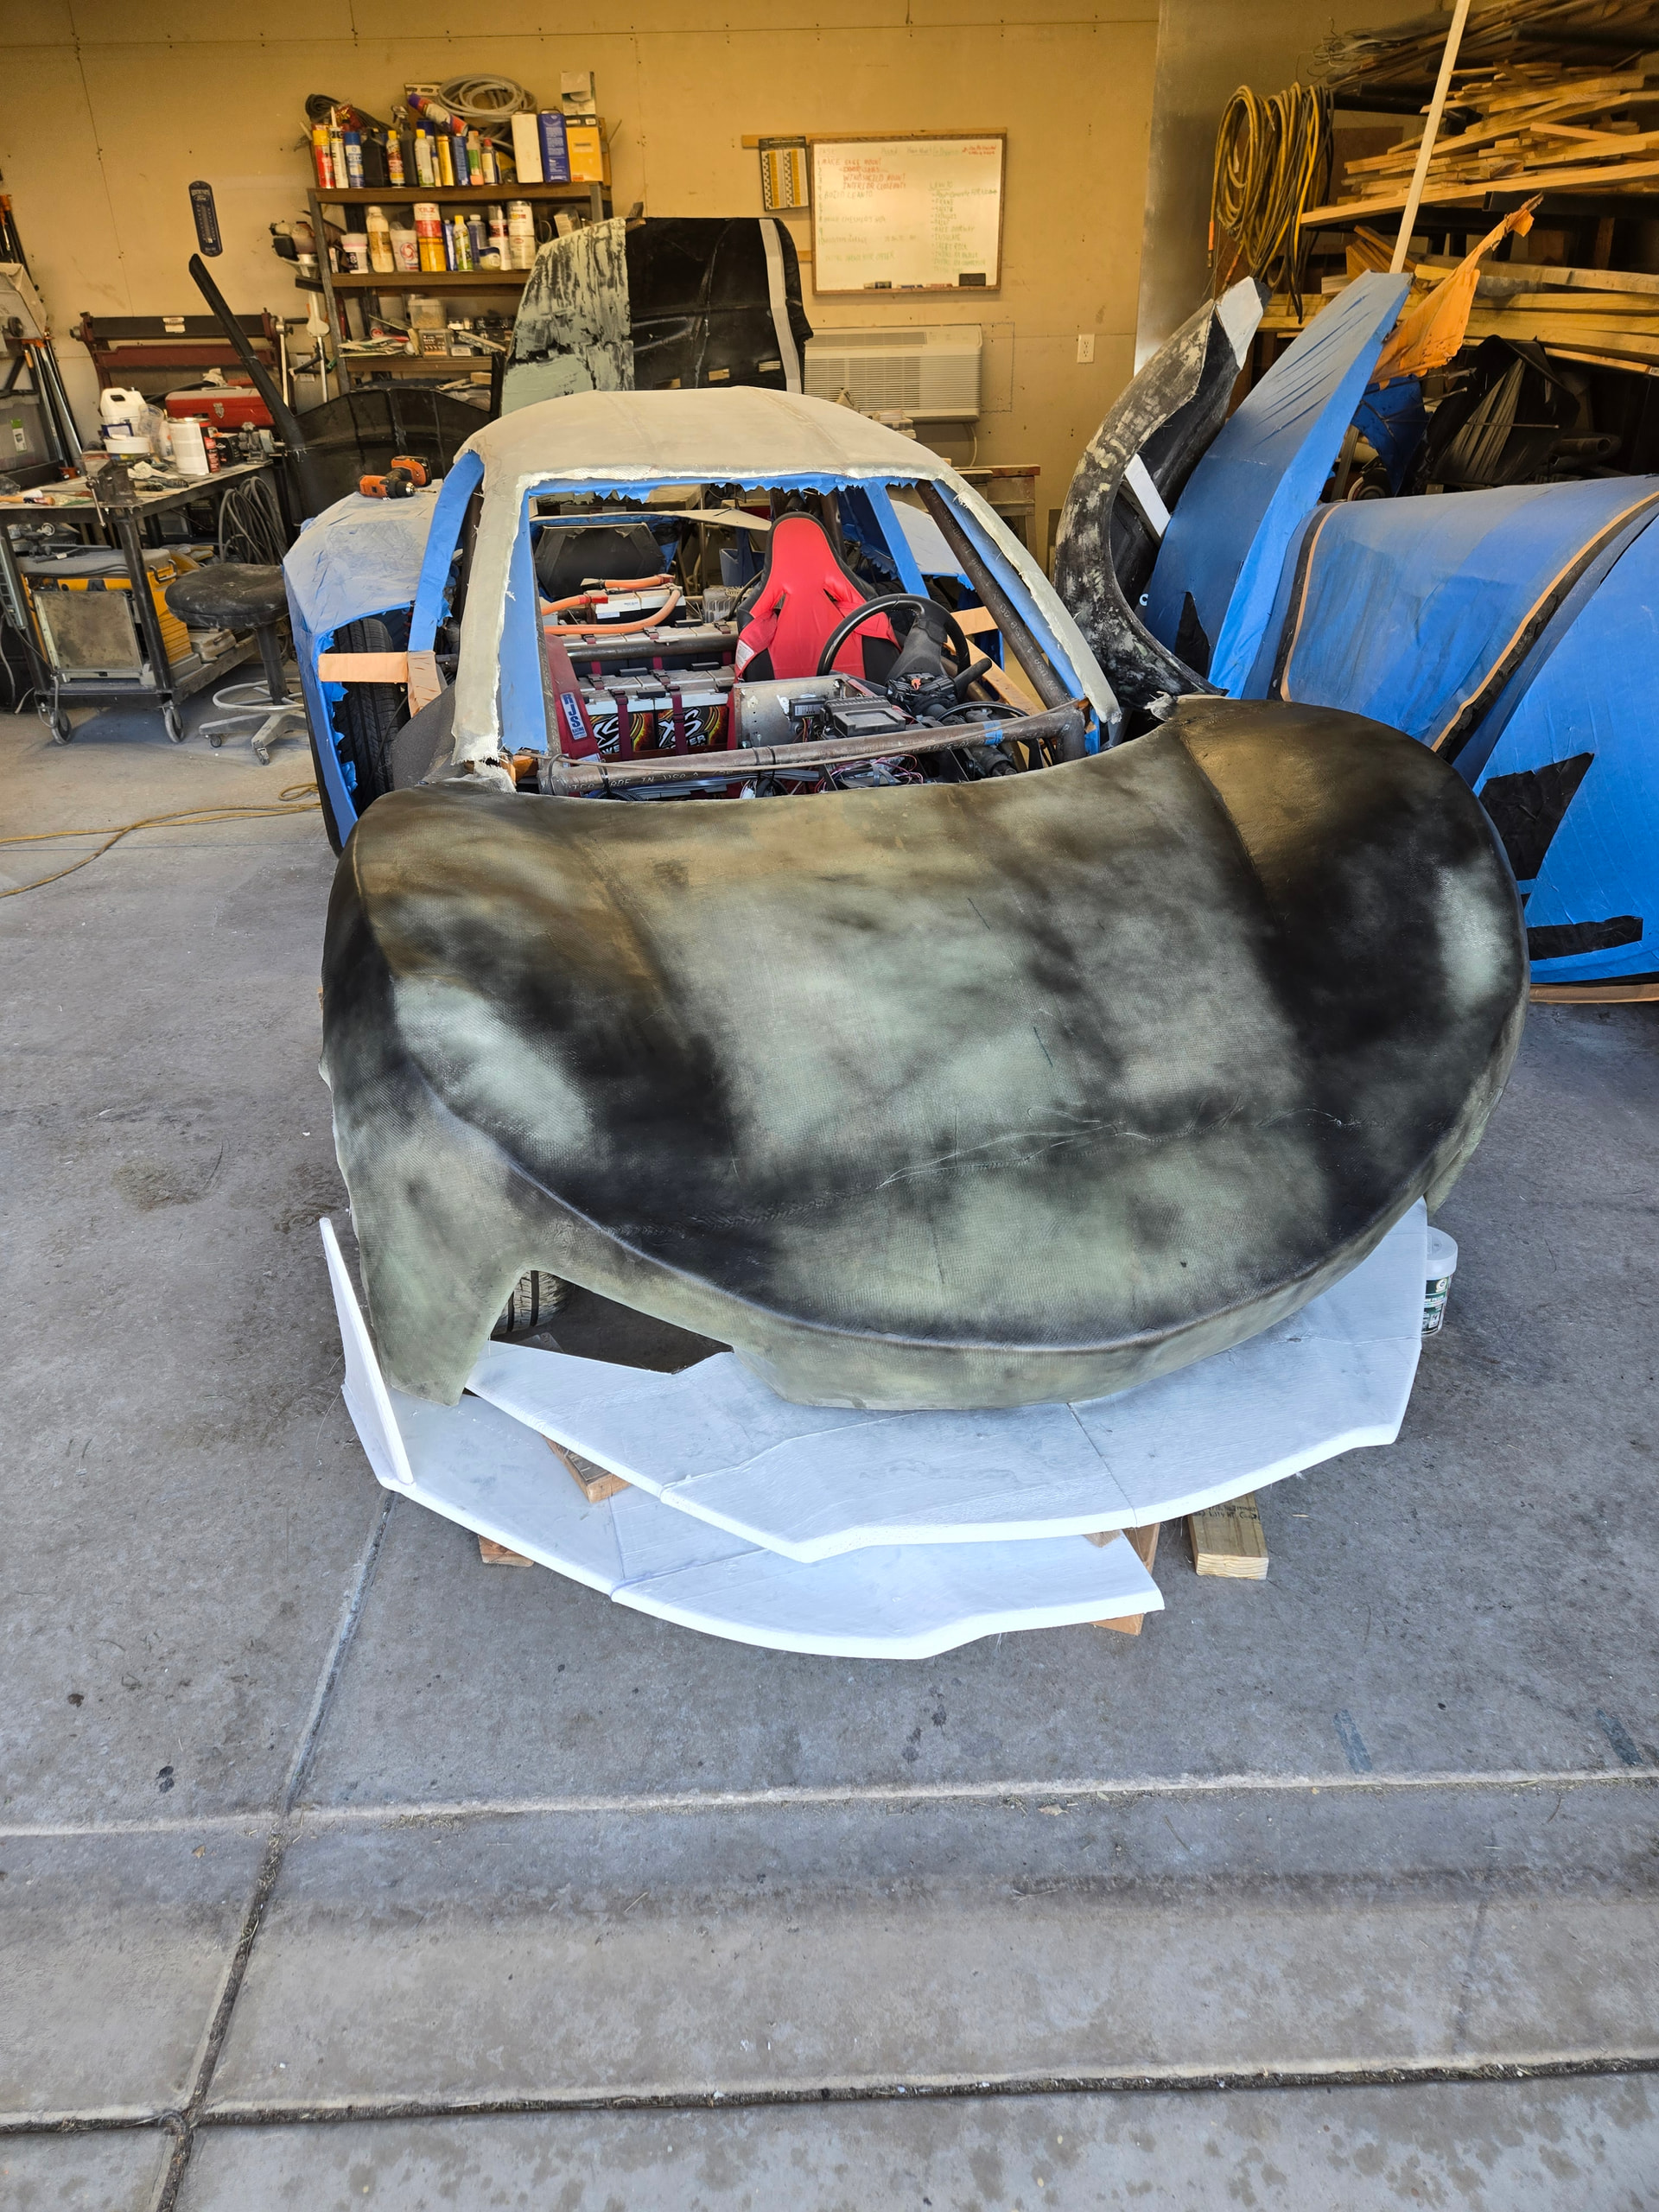
After some trimming, i placed the panel up on the roadster. I’m really happy with how the panel turned out.
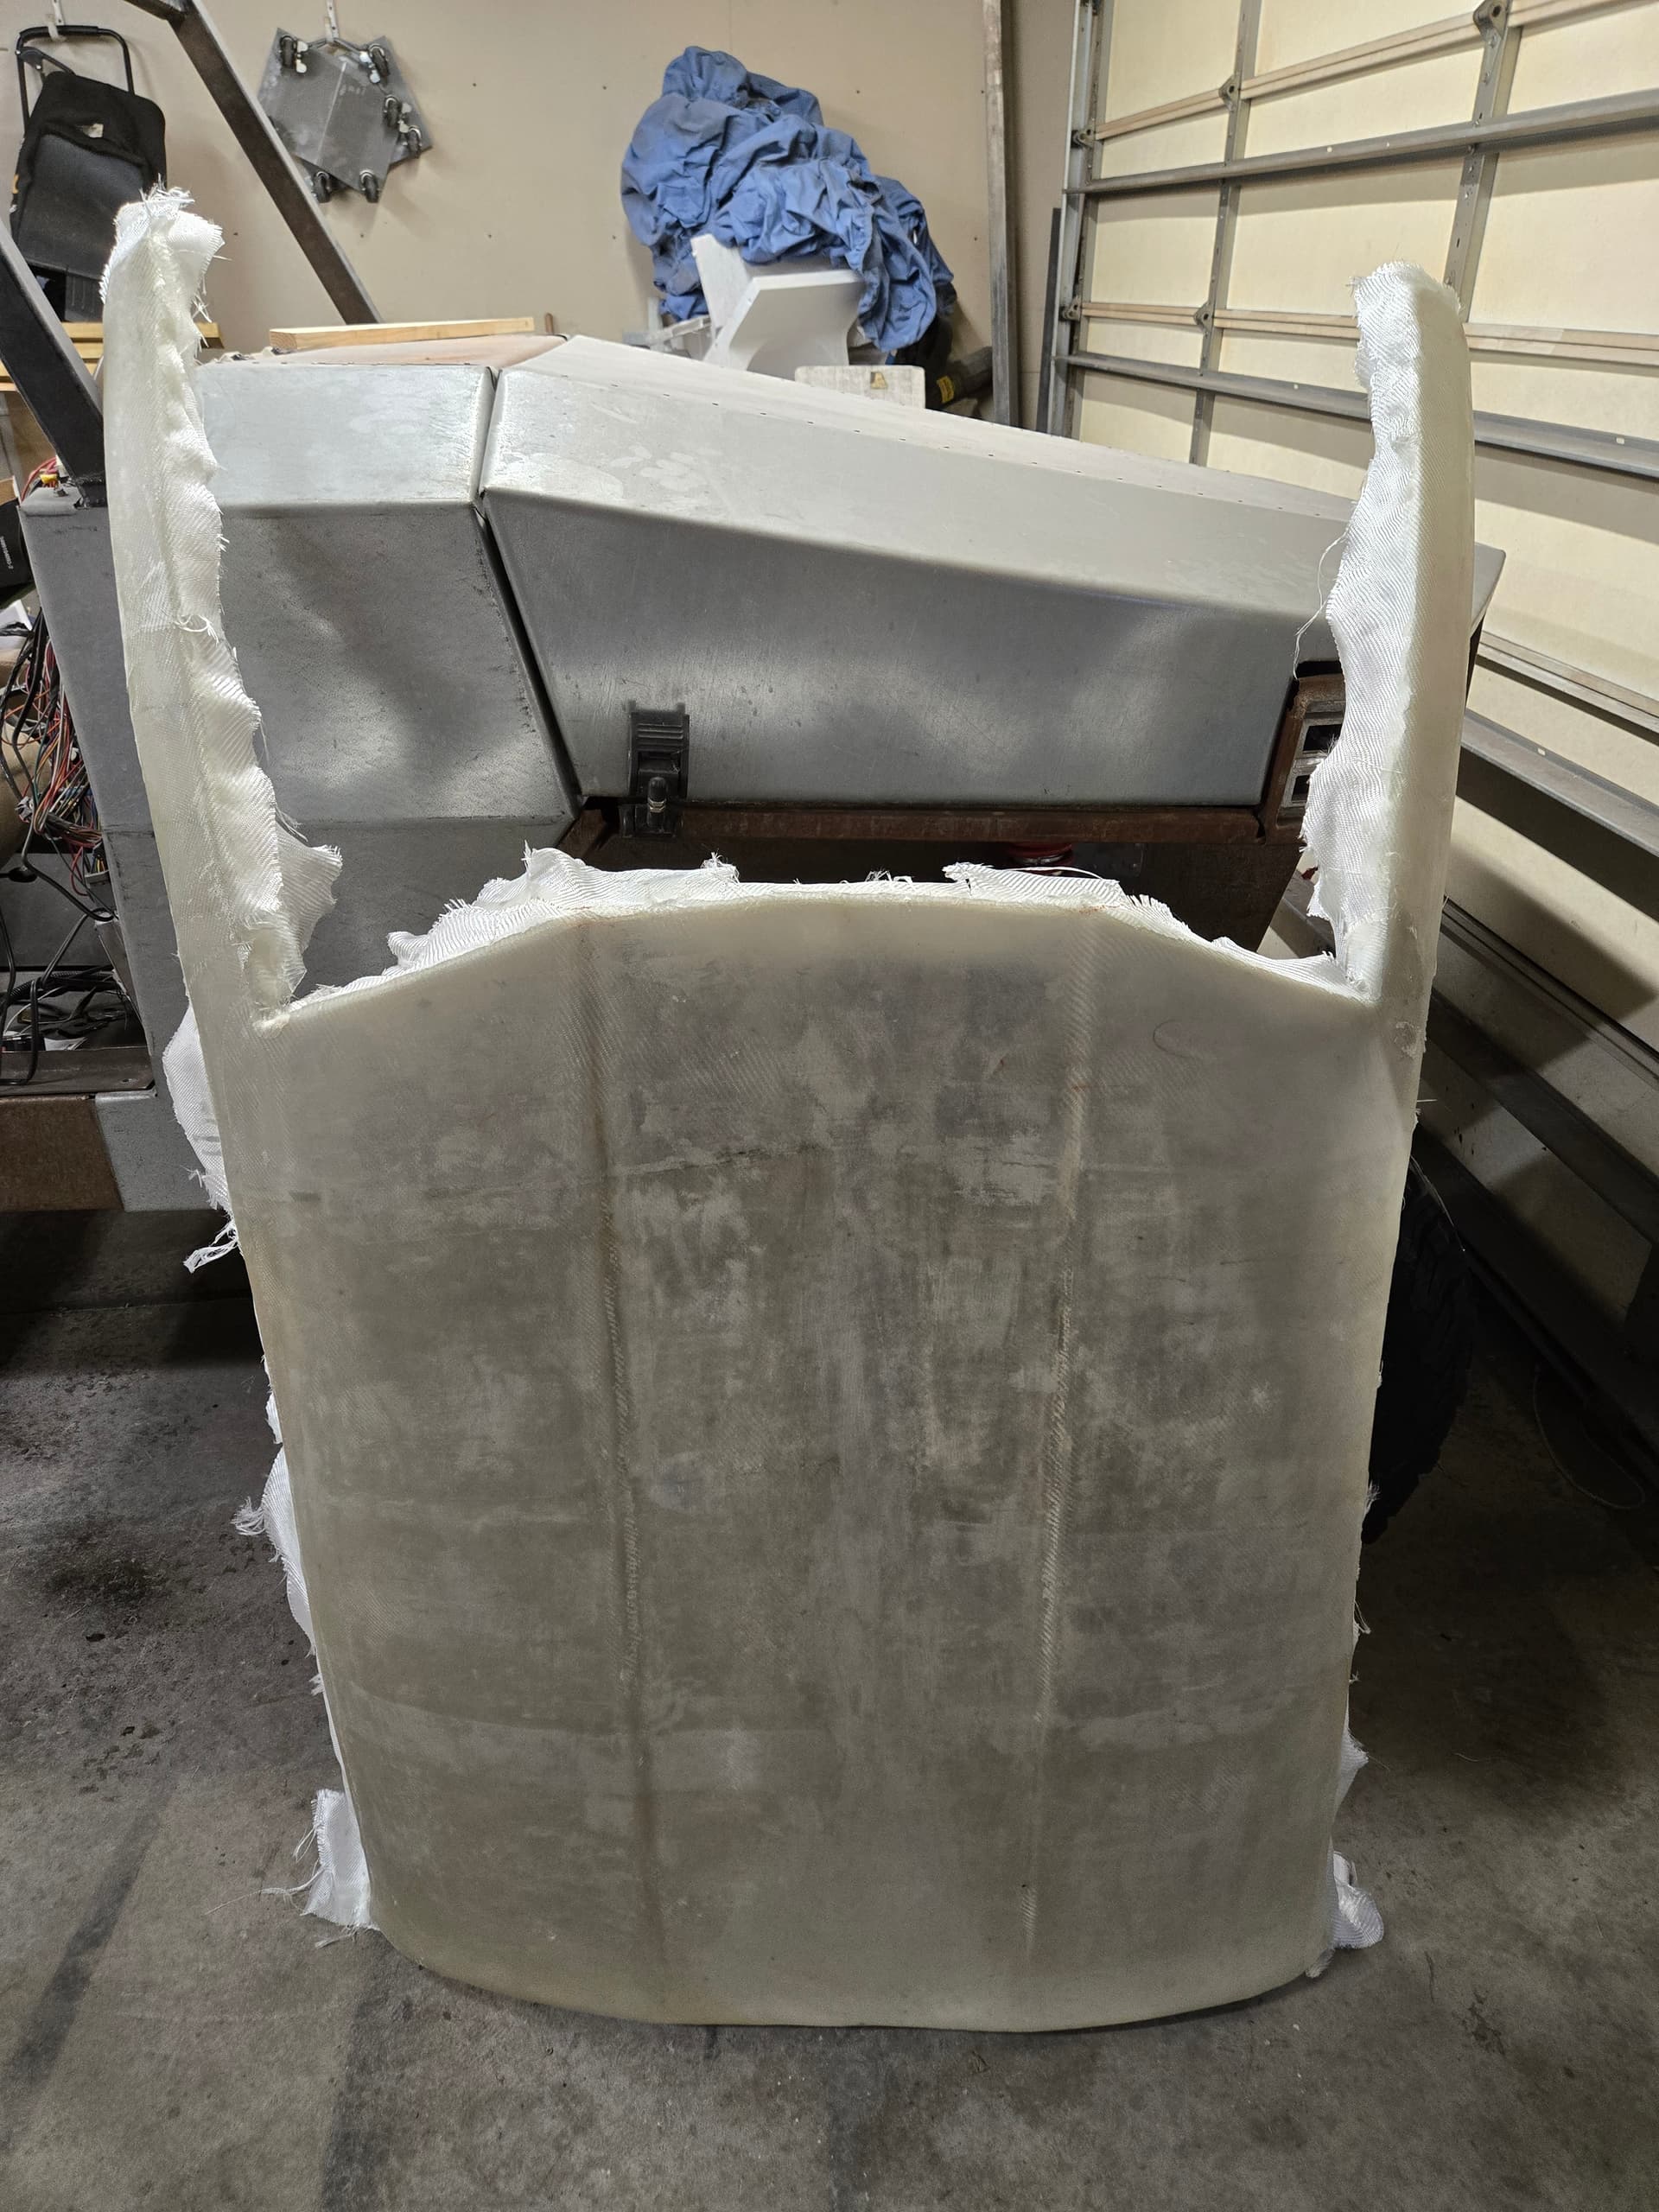
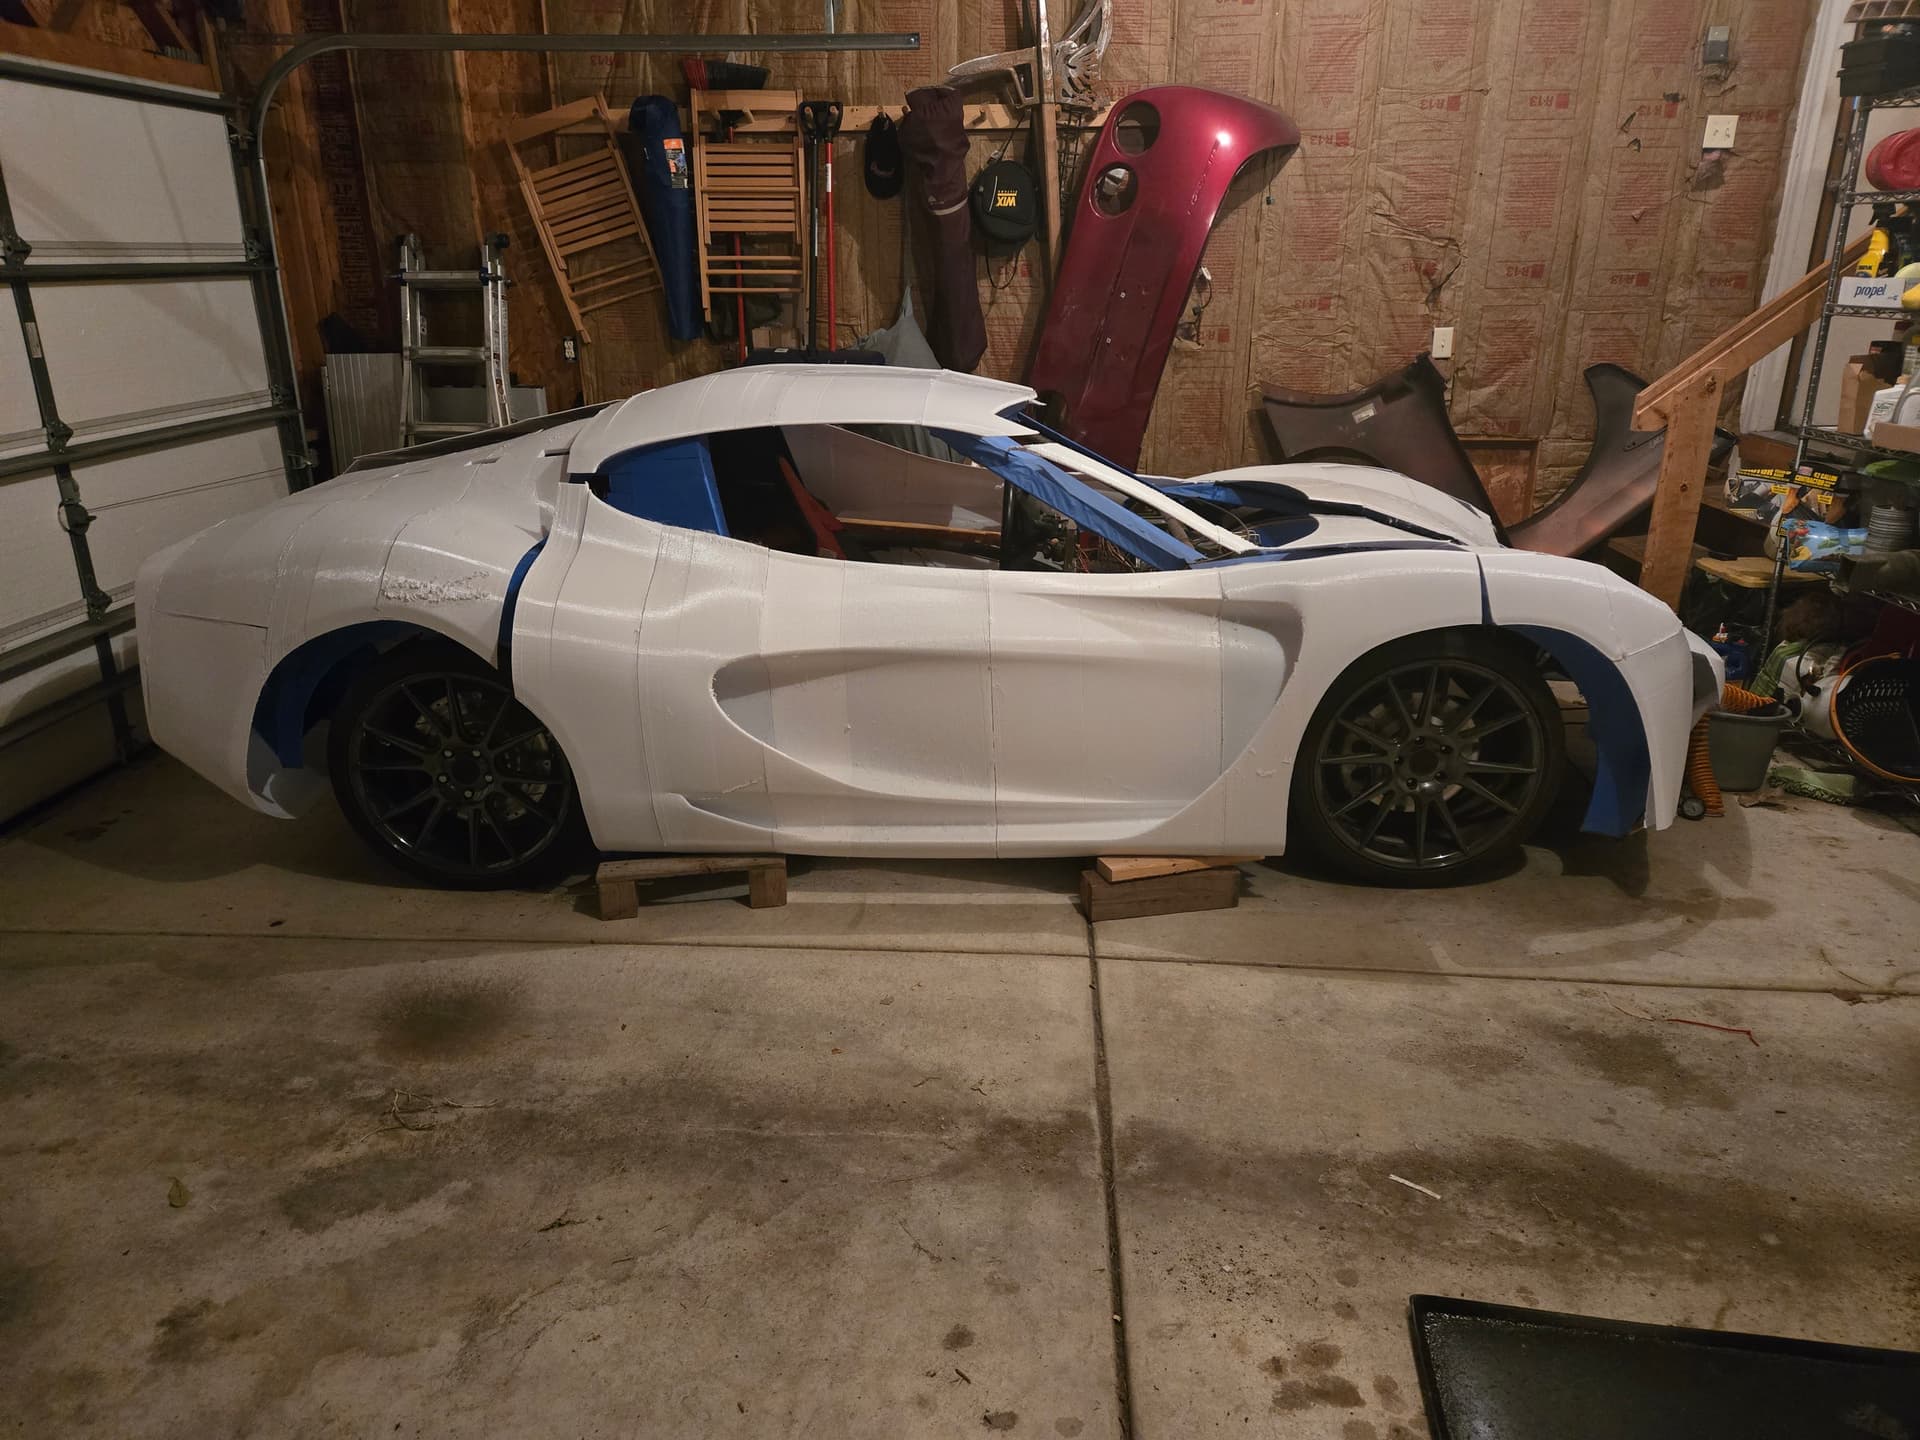
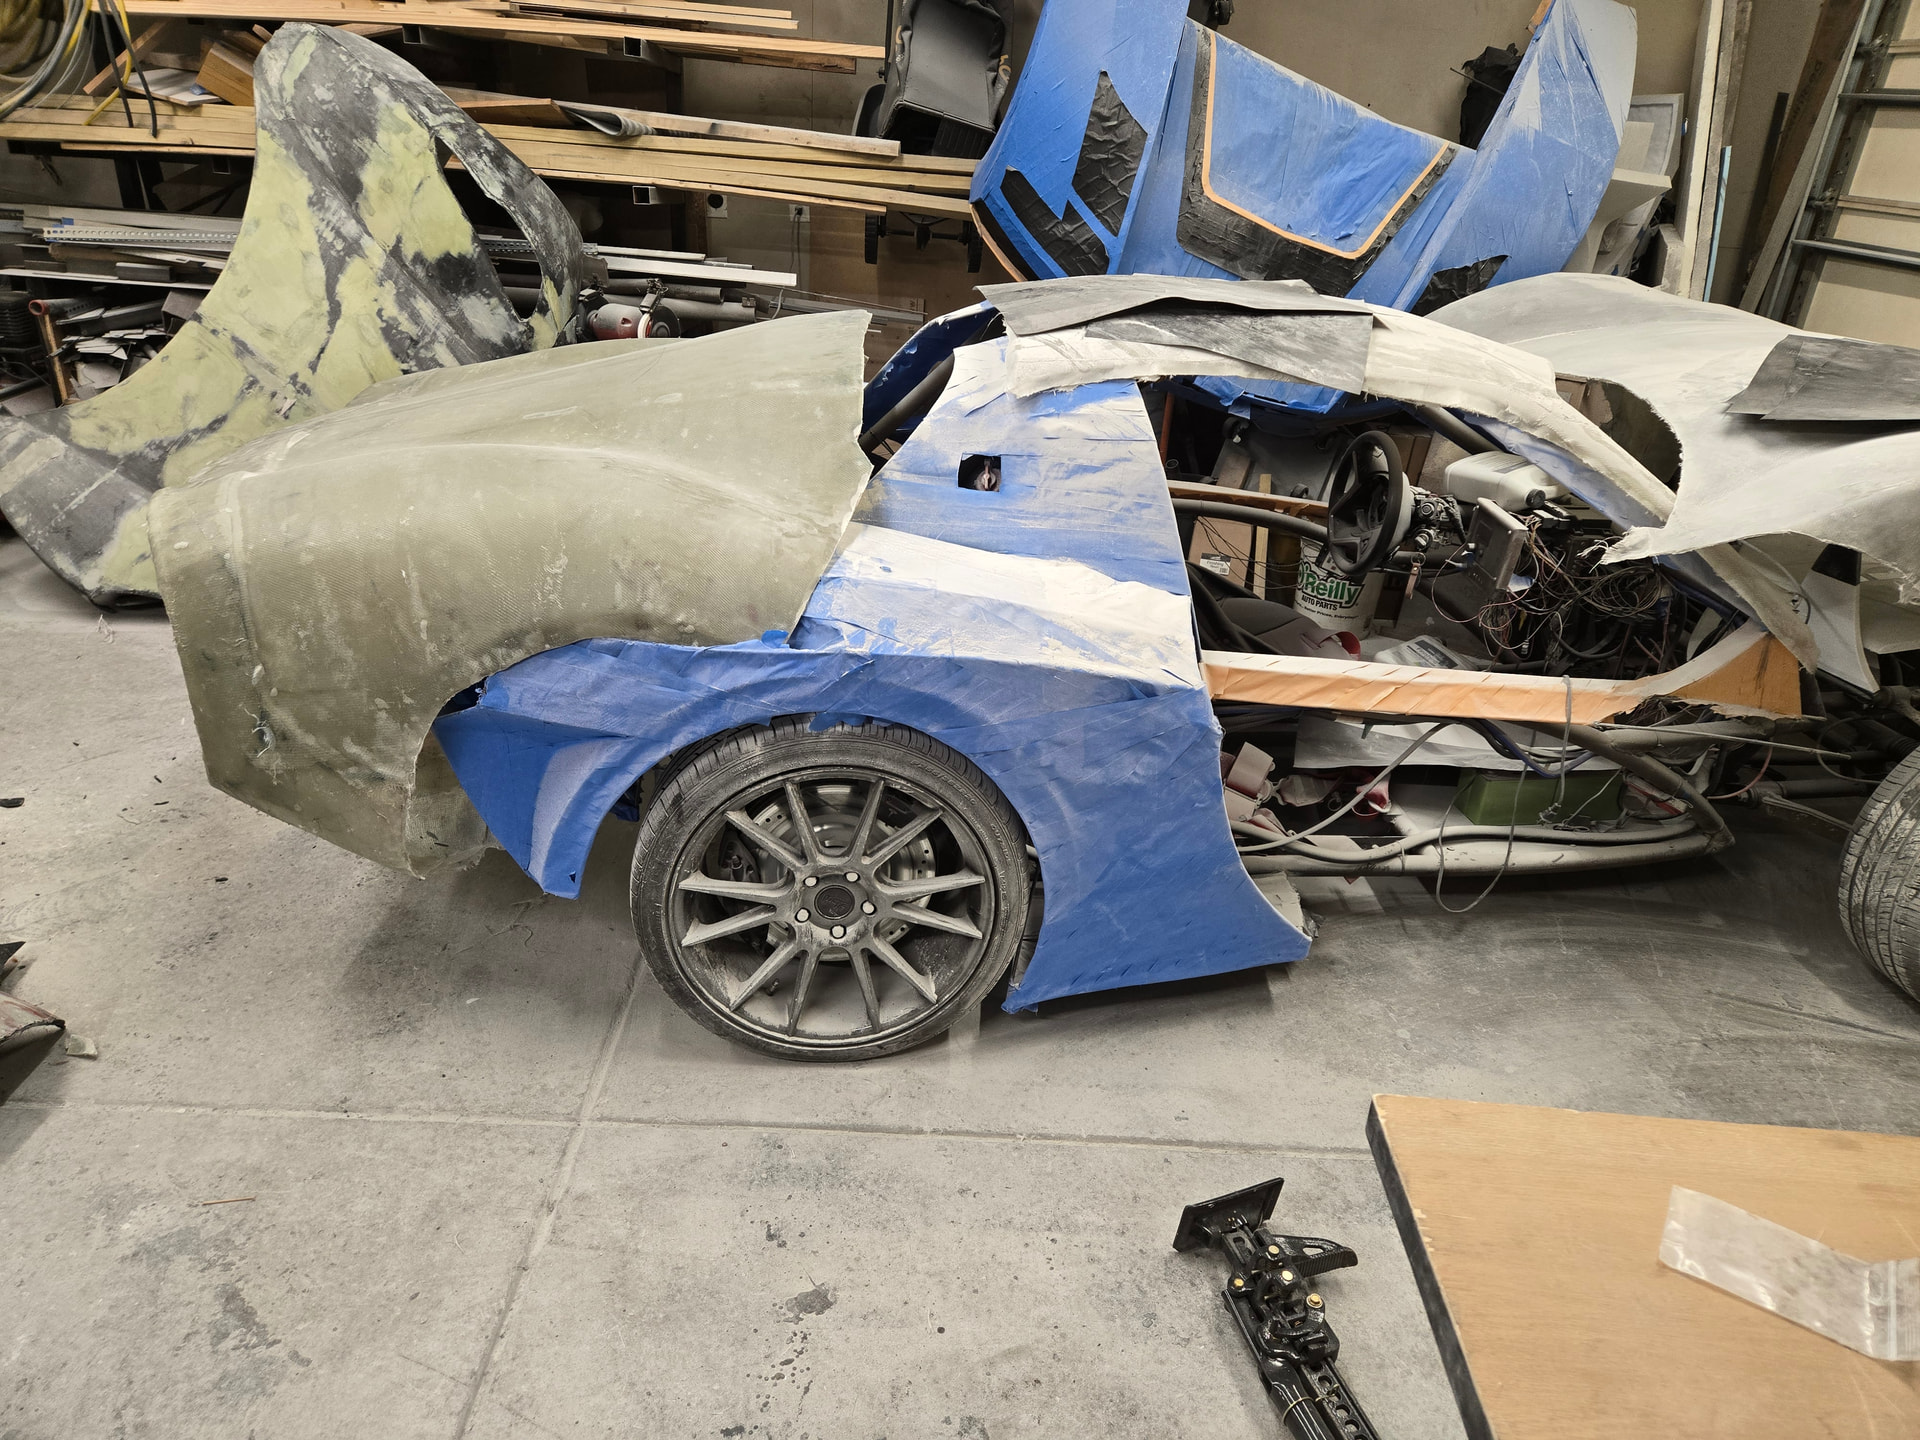
I guess it’s been a while since i’ve last posted. I’ve laid up a few panels and all the panels for the body work are printed. Now i’m getting ready print parts to mount the body panels to the roadster.

I’m thinking about cutting the mounts from aluminum plate after 3d printing some templates to check the fitment of the panels.
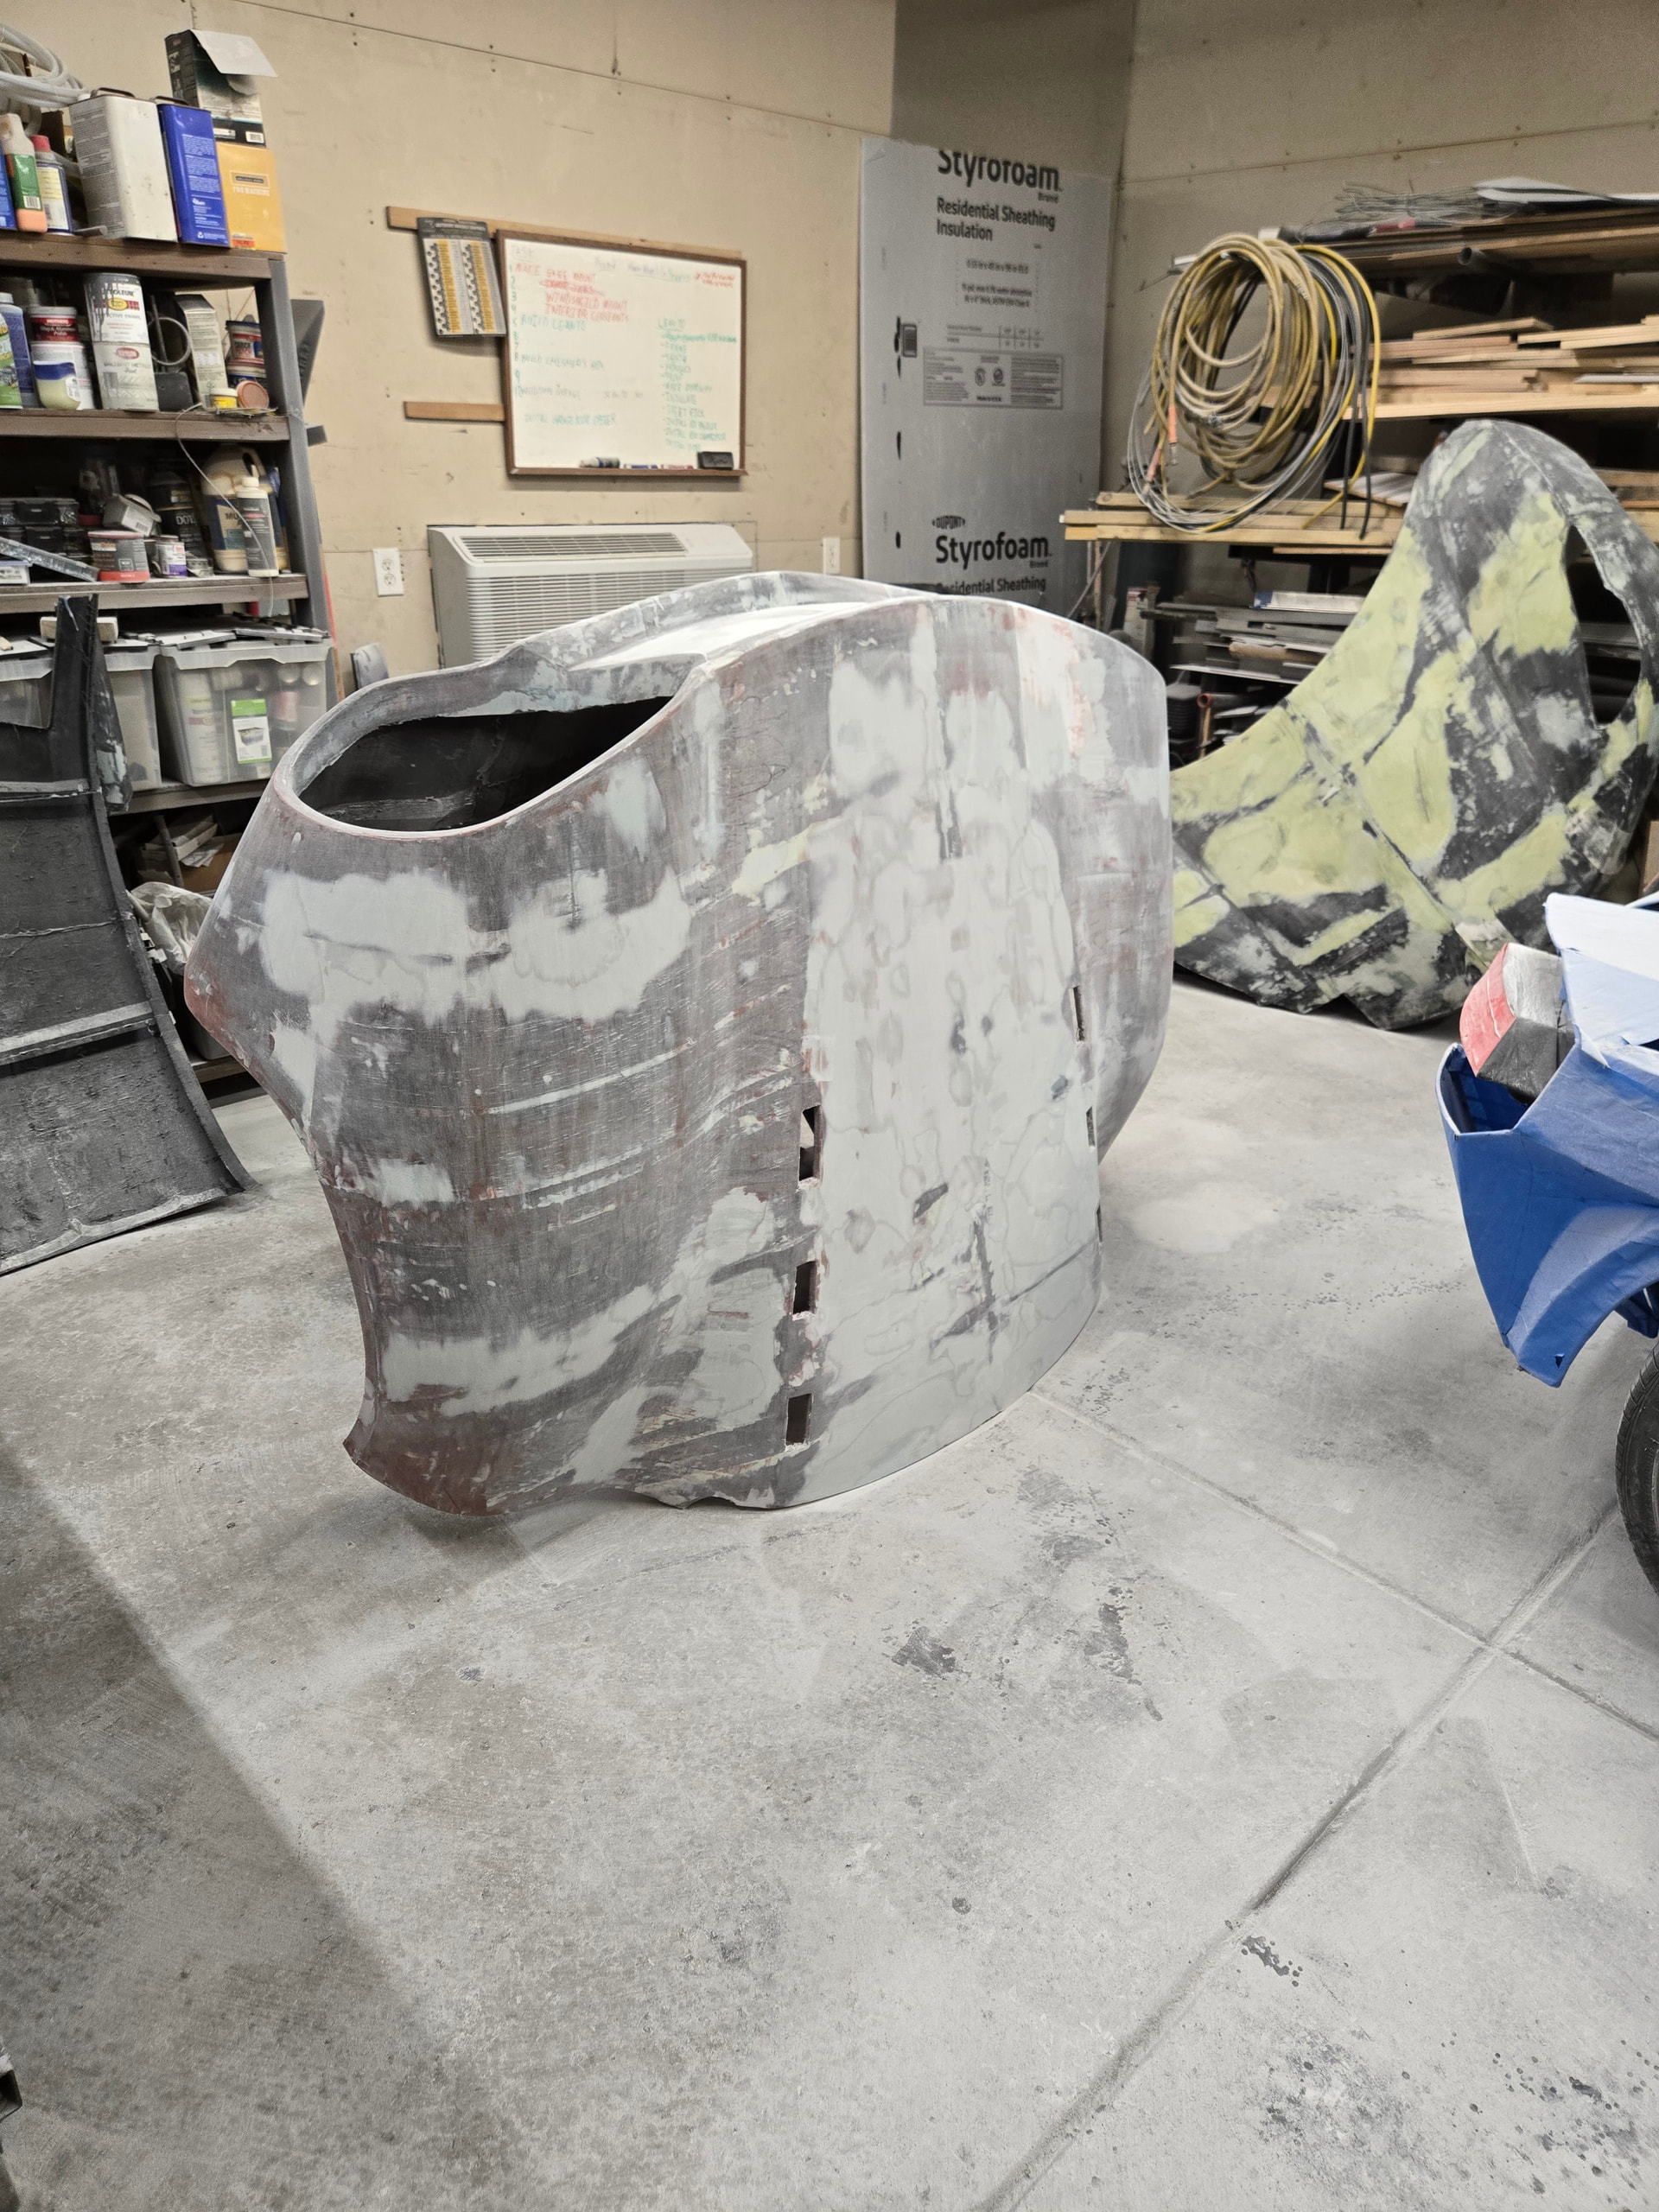
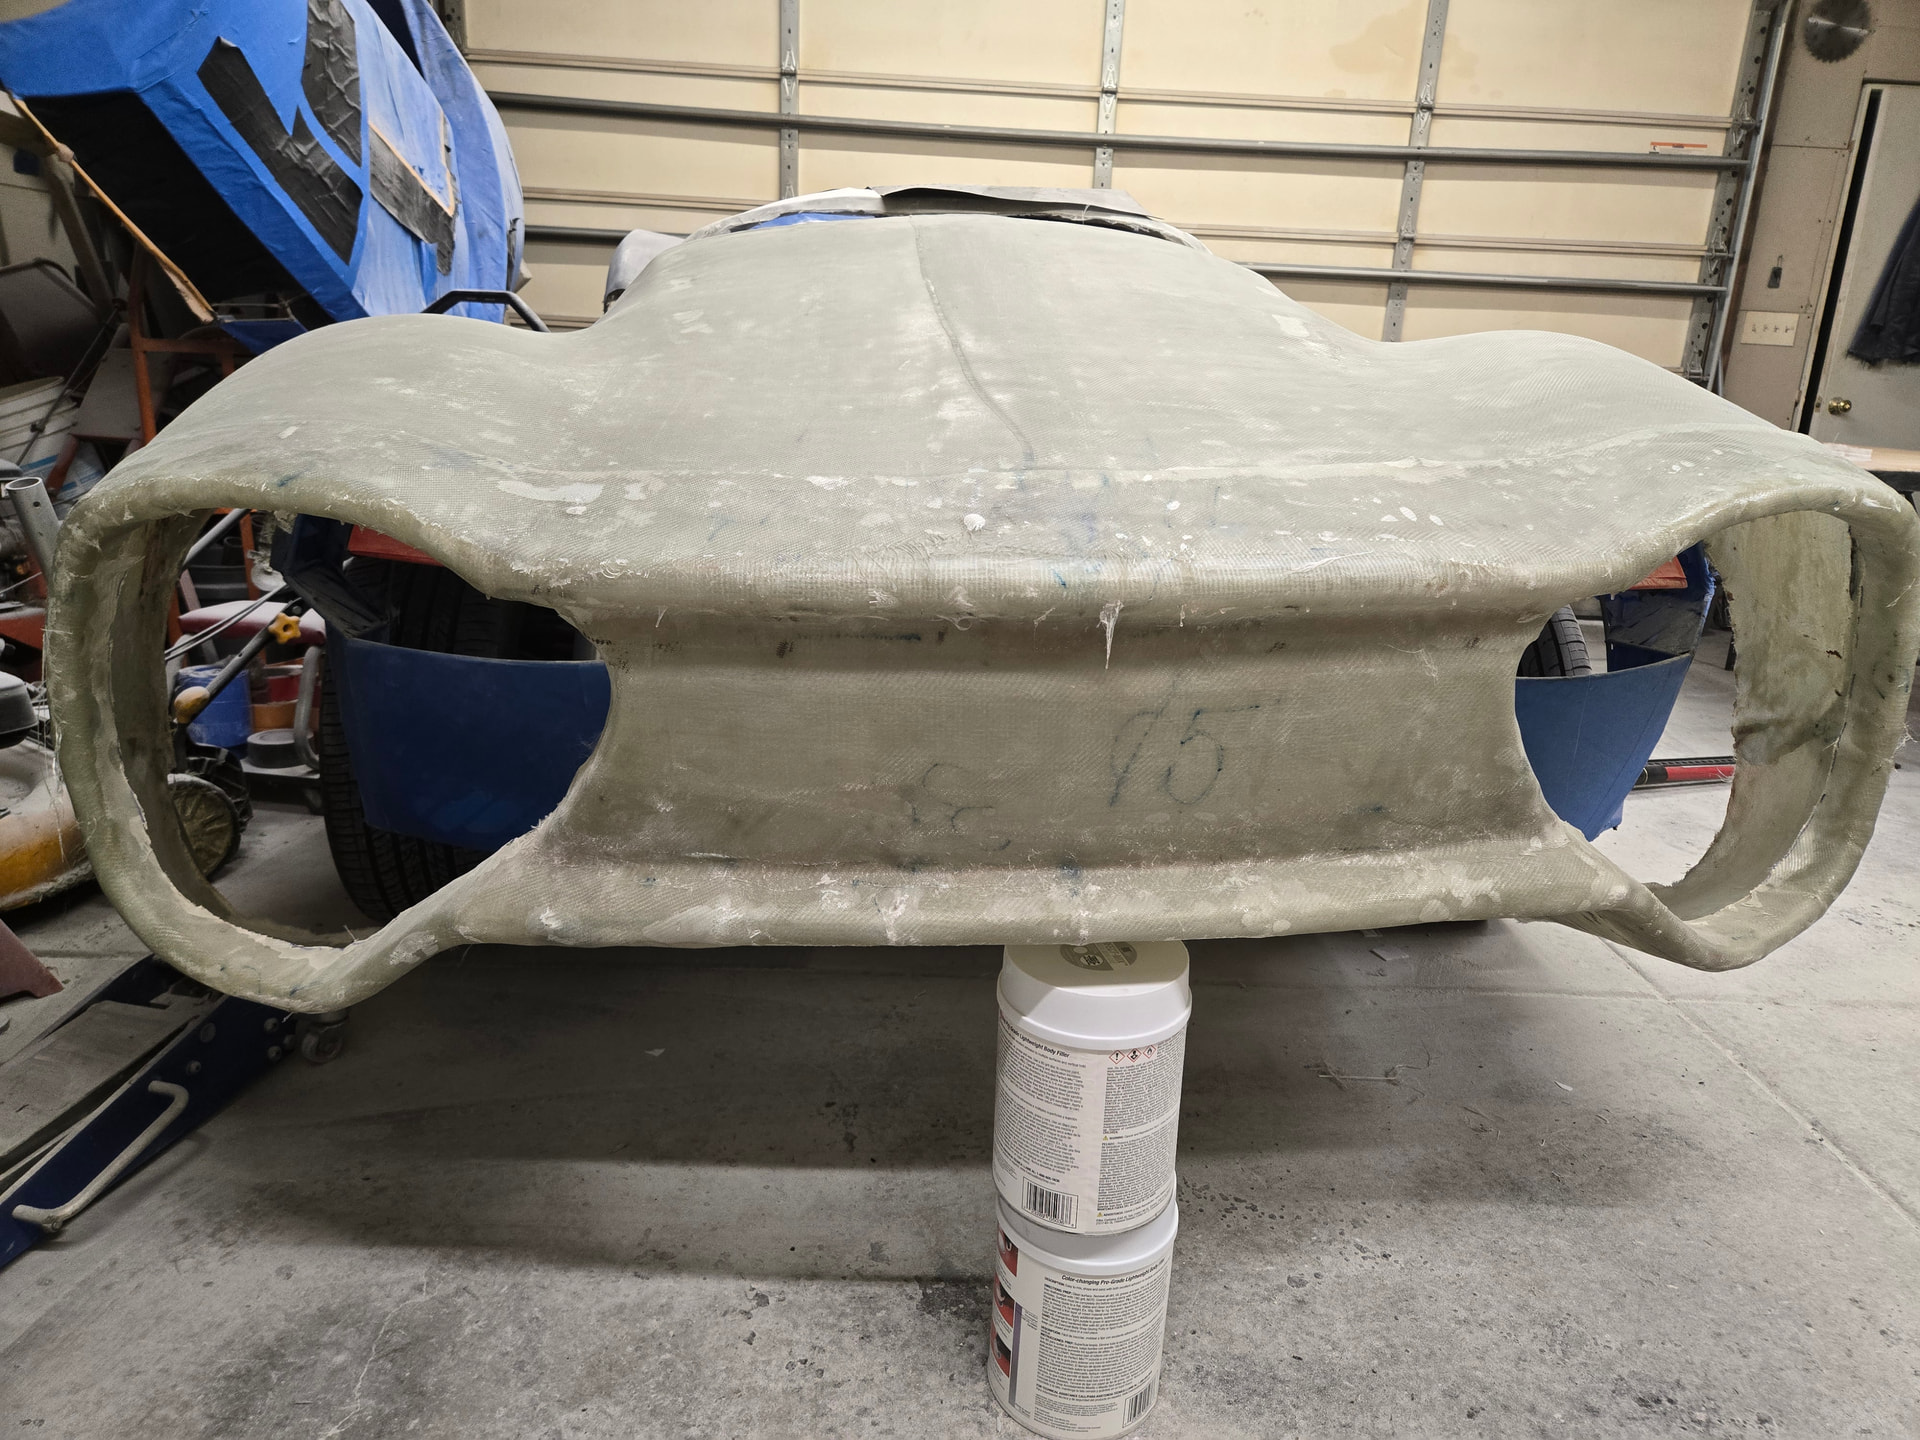
It’s still a bit of a 10ft’er on the panels, but it doesn’t seem like it’d be impossible to sand them to a show car finish.
This project has definitely hit high marks on difficulty for me. I’ve learned a lot, but there’s still a lot I could probably learn from others on top of all the experiences.