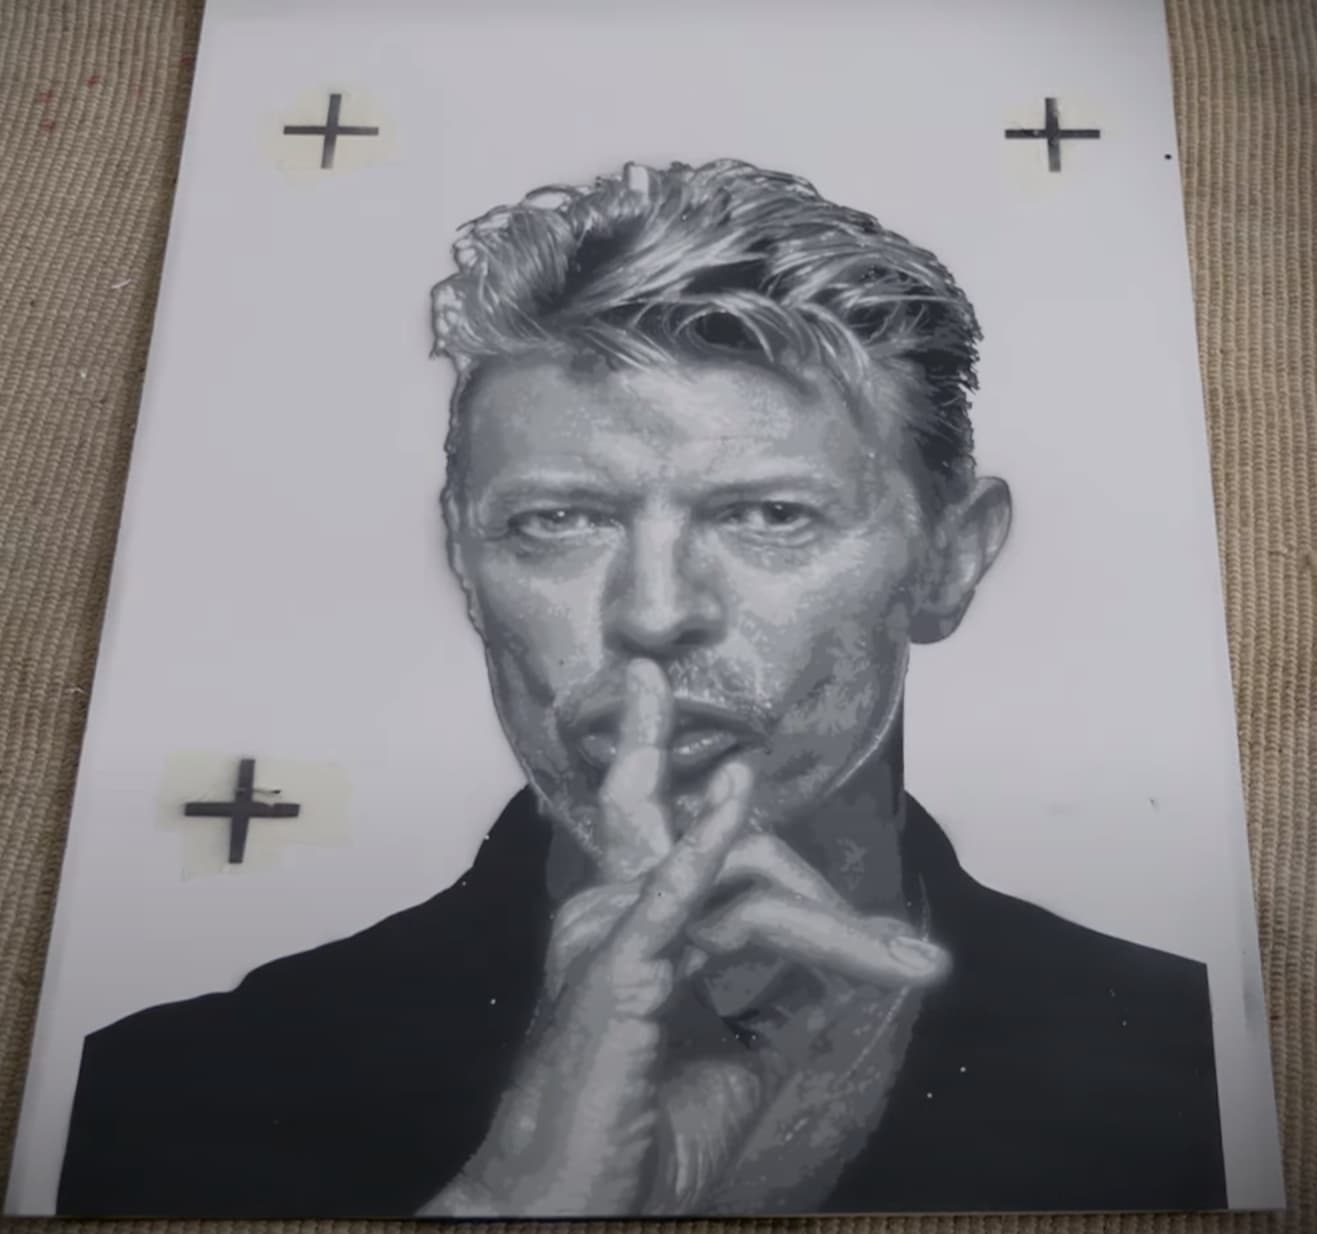
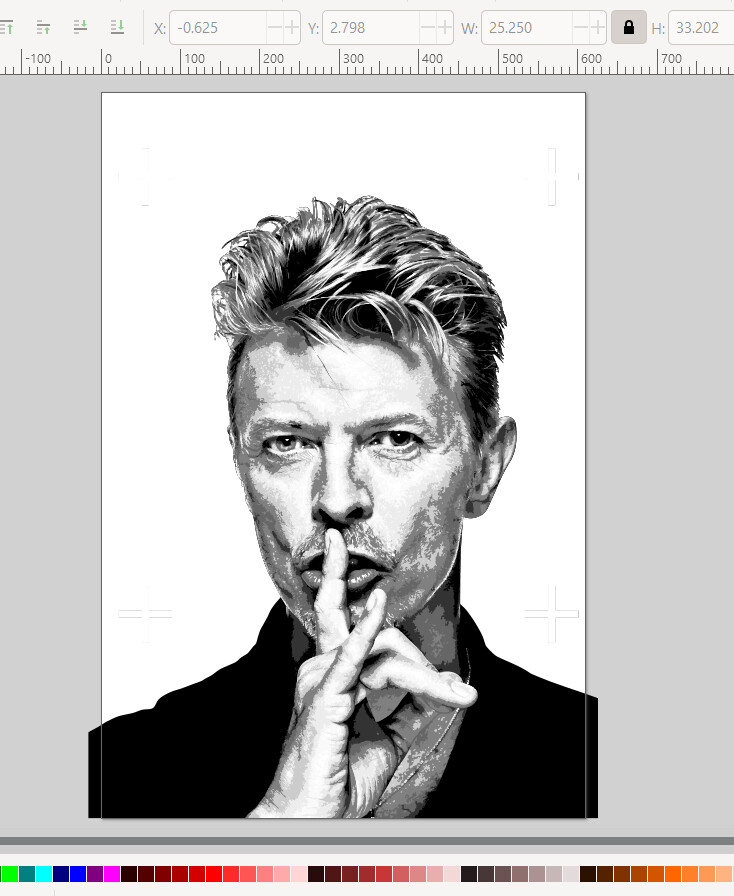
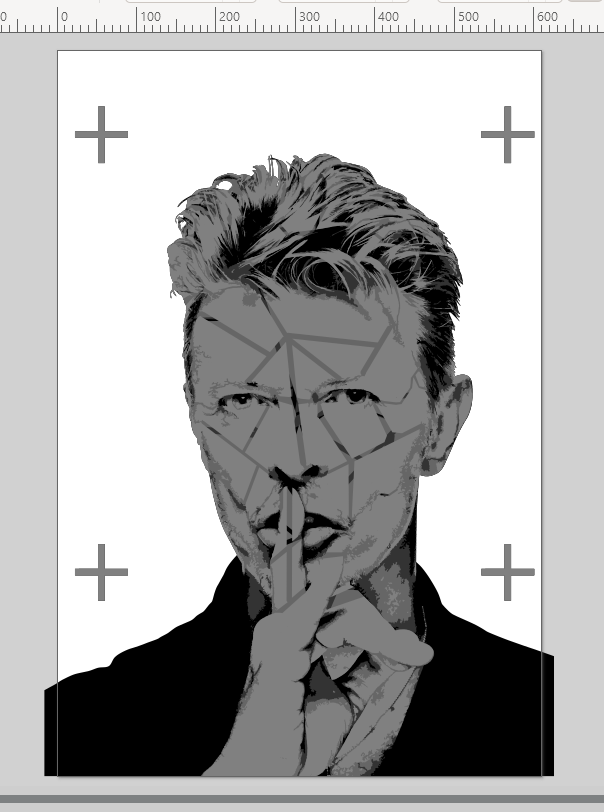
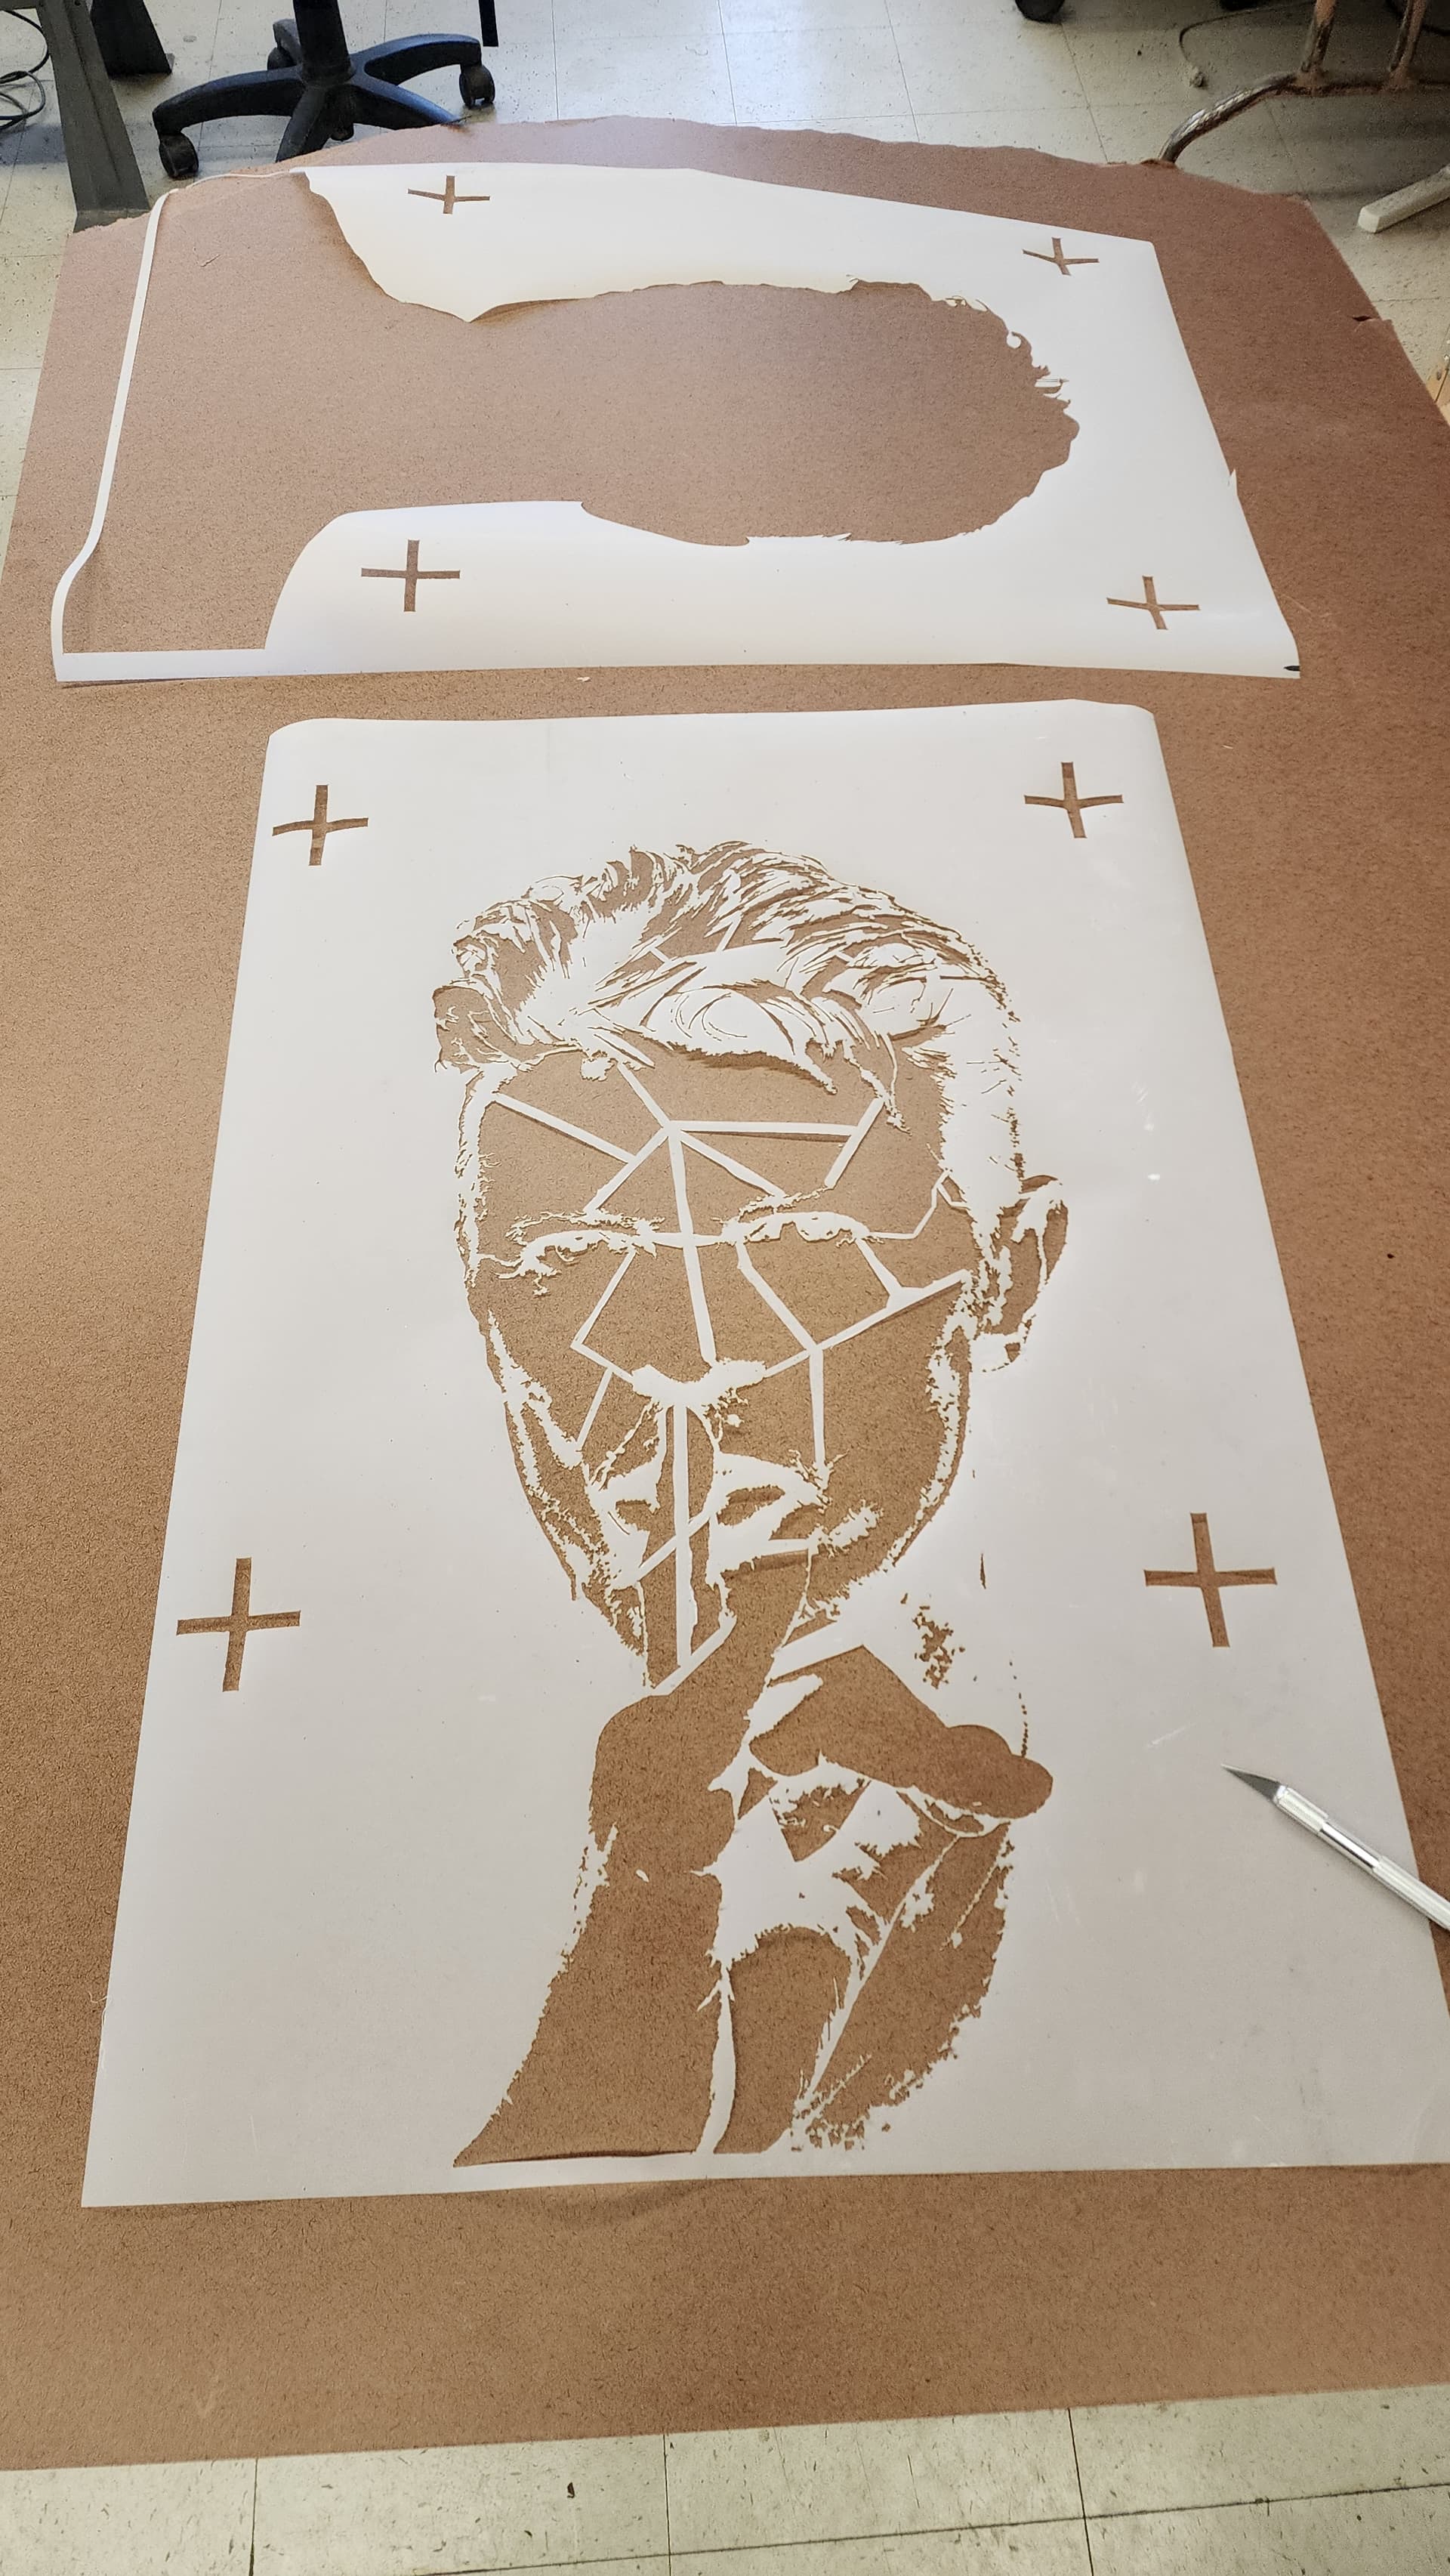
I liked the image so much that I decided to give it a try. Following the video, I used Inkscape to create a digital file with colors separated in to layers for creating paths to cut each.
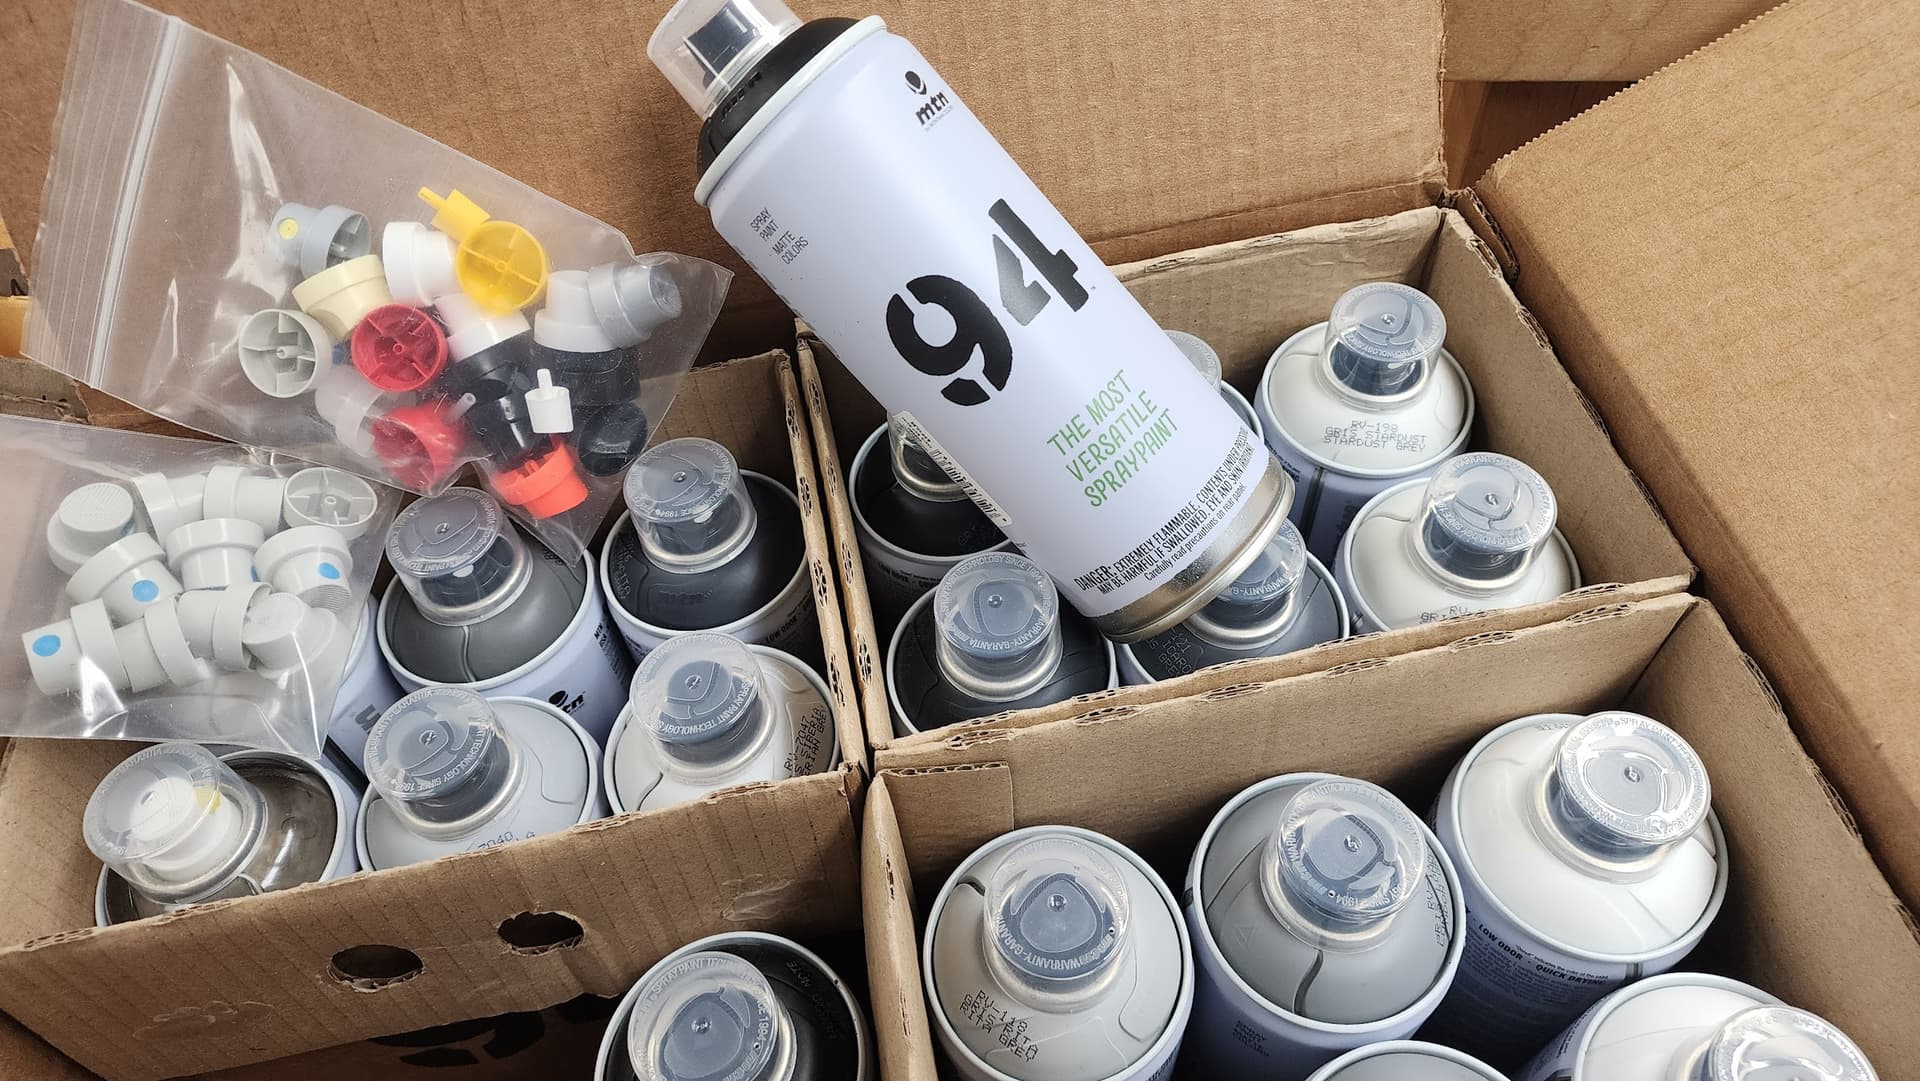
MTN 94 greyscale spray paints just arrived today. They have 217 of colors (https://www.montanacolors.com/en/productos/mtn-94-aerosol-spray-paint/) but that will have to wait for another project! They are awesome and, surprisingly, at $6.50 each they’re cheaper than paints at Home Depot.
I picked up large 13x19 80lb card stock from Amazon. I will have to use masking tape to join 4 into one large sheet to get the stencil large enough to cover the canvas.
Next step is cutting the stencils… I have to experiment as to whether the laser cutter or the vinyl cutter will be the better option for this:
Laser Cutter: Super easy, but the card stock will burn if done too slow around fine detail where it has to perform multiple cuts.
Vinyl Cutter: Large items shift around, so I’ll have to use low tack stencil spray to keep the parts in place. The tape makes an uneven cutting surface.
Are you going to try the cardstock and Mylar to make your stencils, and then compare the two results? In my experience, Mylar holds up better but can be trickier to hold down.
Ideally it would be the mylar… but I want to be frugal with it. The mylar is definitely preferred for stencils I’d want to reuse. In this case though, since it’s my first rodeo, I was going to use cardstock because of the huge size of the canvas time 9 layers… not good for making mistakes. I should do a mini stencil experiment with the mylar. I think the mylar could hold down with the low tack spray. In both cases I have to ensure that the spray doesn’t damage previous layers.
Obviously I’m winging it at this stage and making it up as I go.
I SUPPOSE I could get a 13"x19" canvas or canvas boards… heading to Michael’s to pick up my order anyway. Would help nail down the process… BUT it would artificially create issues with the cutting detail that would be reduced to a smaller scale than it would be with the large version. On the other hand… if the small one DOES succeed in cutting then I can be assured the larger one will be fine. Hm… what to do, what to do?
Oh, I could do a landscape PORTION of the portrait. Then I eliminate the joining of multiple cardstock sheets.
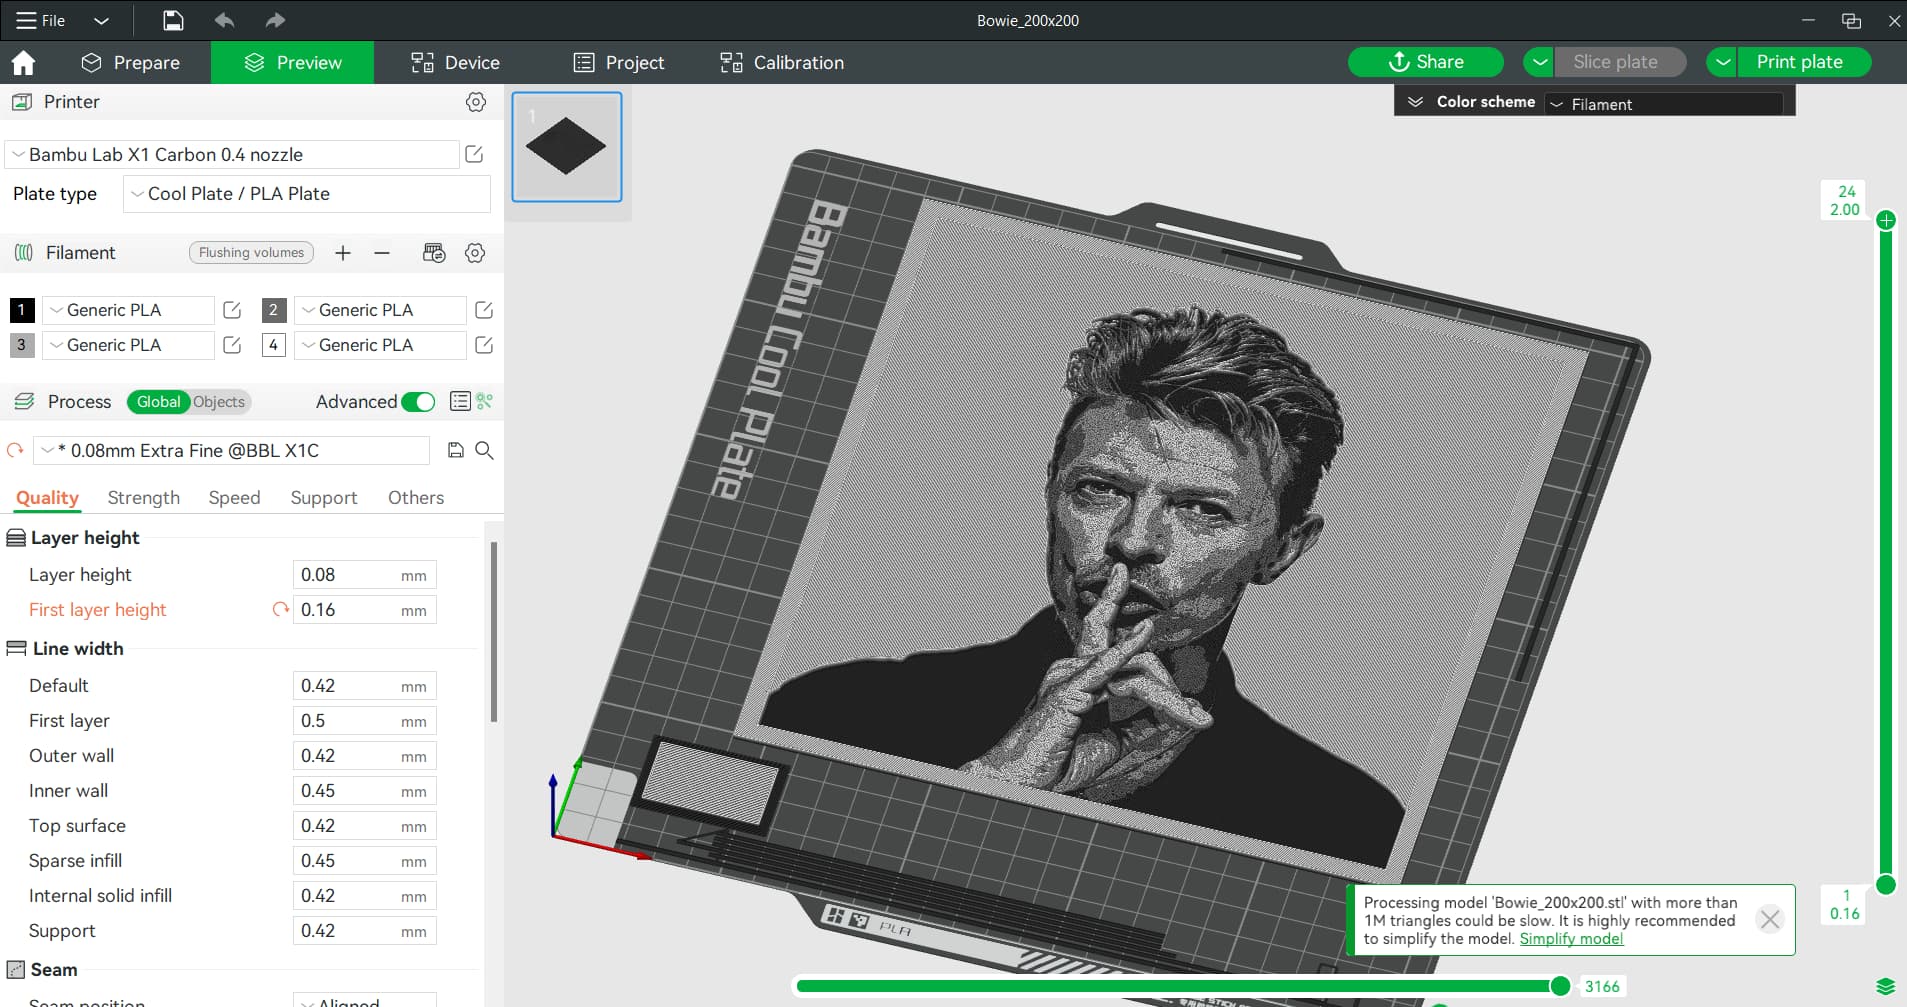
HueForge enables you to create 3D printed colorized versions of photos. And you’re not limited to square prints as it accounts for a pictures transparent background.
You configure your filaments not only by color, but by how much light can pass through that particular filament. Using this information, the app calculates how many layers of a given color should be printed to still allow the previous color to show through… this allows for better blending using less colors.
Fun stuff… people are doing some amazing things with it… no special printer required so it can be done on the MakeICT FabLab Prusa machines.
PERFECT for my artistic interests.
I have a minipassion for backlit [barely illuminated] artpieces. This approach leads tp double takes when properly executed. [ are those cabin windows actually glowing in that painting?].
So while i design in my head [and often DONT follow thru and try to DO] artpieces that have this property… im refining opportunities. And this one really hits the ball out of the park. I will be look8ng into digitizing some of my daughters graphite portraiture… and pursuing supply chain details for very low level backlighting panels.
Thank you sir! I will subscribe to Hugo Forge today.
Btw, there is a very compelling [ minority] art collection on display at Wichita Art Museum right now. Plenty of examples of illuminable artpieces [glass, layered paintings, etc… but for me- the all time mood setting “takes the cake” and demands a [peaceful] response artpiece…is an entire room of illuminated subtle wall art. Rustic papercuts line the walls of a room like a large living room. And its softly backlit. Its worth the $12 if this sort of thing moves you.
I would go again but heard the WSU art museum needs a “go look” also.
Thoughts on a test material for stencils. I have used window cling vinyl and a scan n cut for one time use stencils.
You mentioned cardstock stencils but you could also cut the card stock “innards” to simulate the layers for the first time. That way you get an idea of what it should look like and can tweak the paper as needed and use that to make the stencil once you have it where you want it.
I’ve layered paper in my sewing often before cutting into my vinyl or leather. Thanks for sharing the process. I can’t wait to see how it turns out
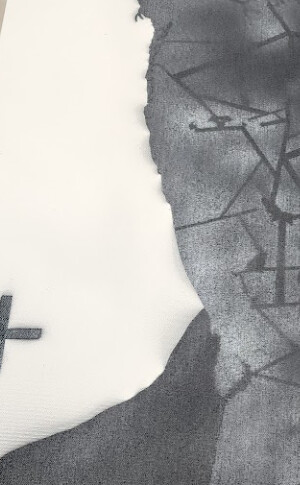
Seems like this is going pretty good, thanks to the suggestion for using mylar over the flimsy cardstock I was attempting. I had to stop myself, however, because I’m lacking what I believe they referr to as “spider weights” to hold down the flimsy bits.
Without sufficient weighing down of the stencil, I’m getting messy edges.
I have a few feet of magnet tape. Not very strong magnet but… it works… Its free if I can remember to rescue it ftom wherever i may be storing it. You can cut thin strips with scissors. Abd then you would need a flat piece of magnetic [sheet] metal. Where did I see an old appliance I can steal a steel side panel from? [Not really wanting to steal anything but i do steel myself when dealing with some folks.]
Im against feeding iridium to spiders to make them heavy. But its not over ethics or anything like that. Their mouths are just way to small and it takes all day to get them to swallow a few dozen 00000000 size shot. And thats just for one spider. Lead snd mercury of course, same, but their use is environmentally unethical. As is polonium tea.