Hi,
Is there a local Blender users group? I have a texture issue I need help with.
Thanks,
Tim
When I need help with Blender, I usually ask member @deanday. He’s really, really good, and doesn’t bite.
Awesome! Thanks. Especially the bite part.
“Texture issue” covers a multitude of sins! Would you be more specific, as there are many means to create textures and apply them. An example would be of help.
Dean
1 Like
@timoinnewton - if you’re comfortable posting publicly, you could share your texture issue here. There are several very talented Blender users within the MakeICT community that may be able to help.
Cool! It’s part of a bigger project. but ya let me make some screen shots.
Ugh I’m not seeing replies in my email
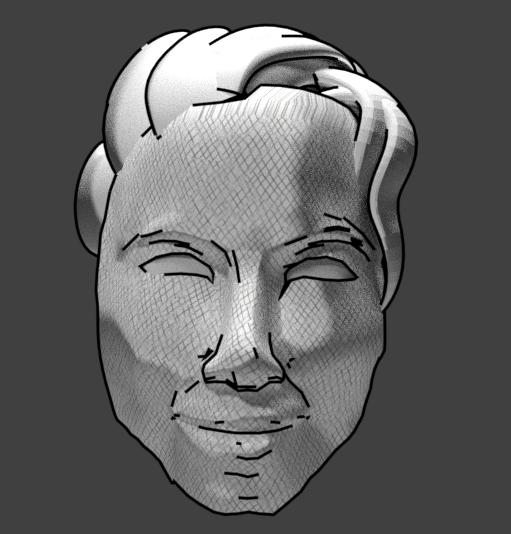
Here’s what I’m trying to do. Hope this makes sense


I originally tried to UV map the cross hatched drawing to my mesh. I didn’t like the results. The cross hatchs in the original drawing didn’t have the same feel when applied to the mesh. If that makes sense. I’m now trying to follow http://srjskam.blogspot.com/2016/01/comic-textures-in-blender.html. I want to be able to rotate the mesh on the x axis and z axis, but not much, bout 40 degrees or so. I don’t mind exporting a movie as a series of png files and then going over each one, but I’d really like to have the feel of the original drawing if at all possible. Is there something else I could try?
I definitely think you’re on the right track using custom shader nodes instead of a simple texture to recreate that style in 3D.
Unfortunately, that’s beyond me, but maybe this is worth checkout out?
That’s exactly what I’m looking for… I can’t find the nodes he used in my version of blender. I think it might be in FreeStyle
What I want to do will be easier in blender 2.8… as far as I can tell.
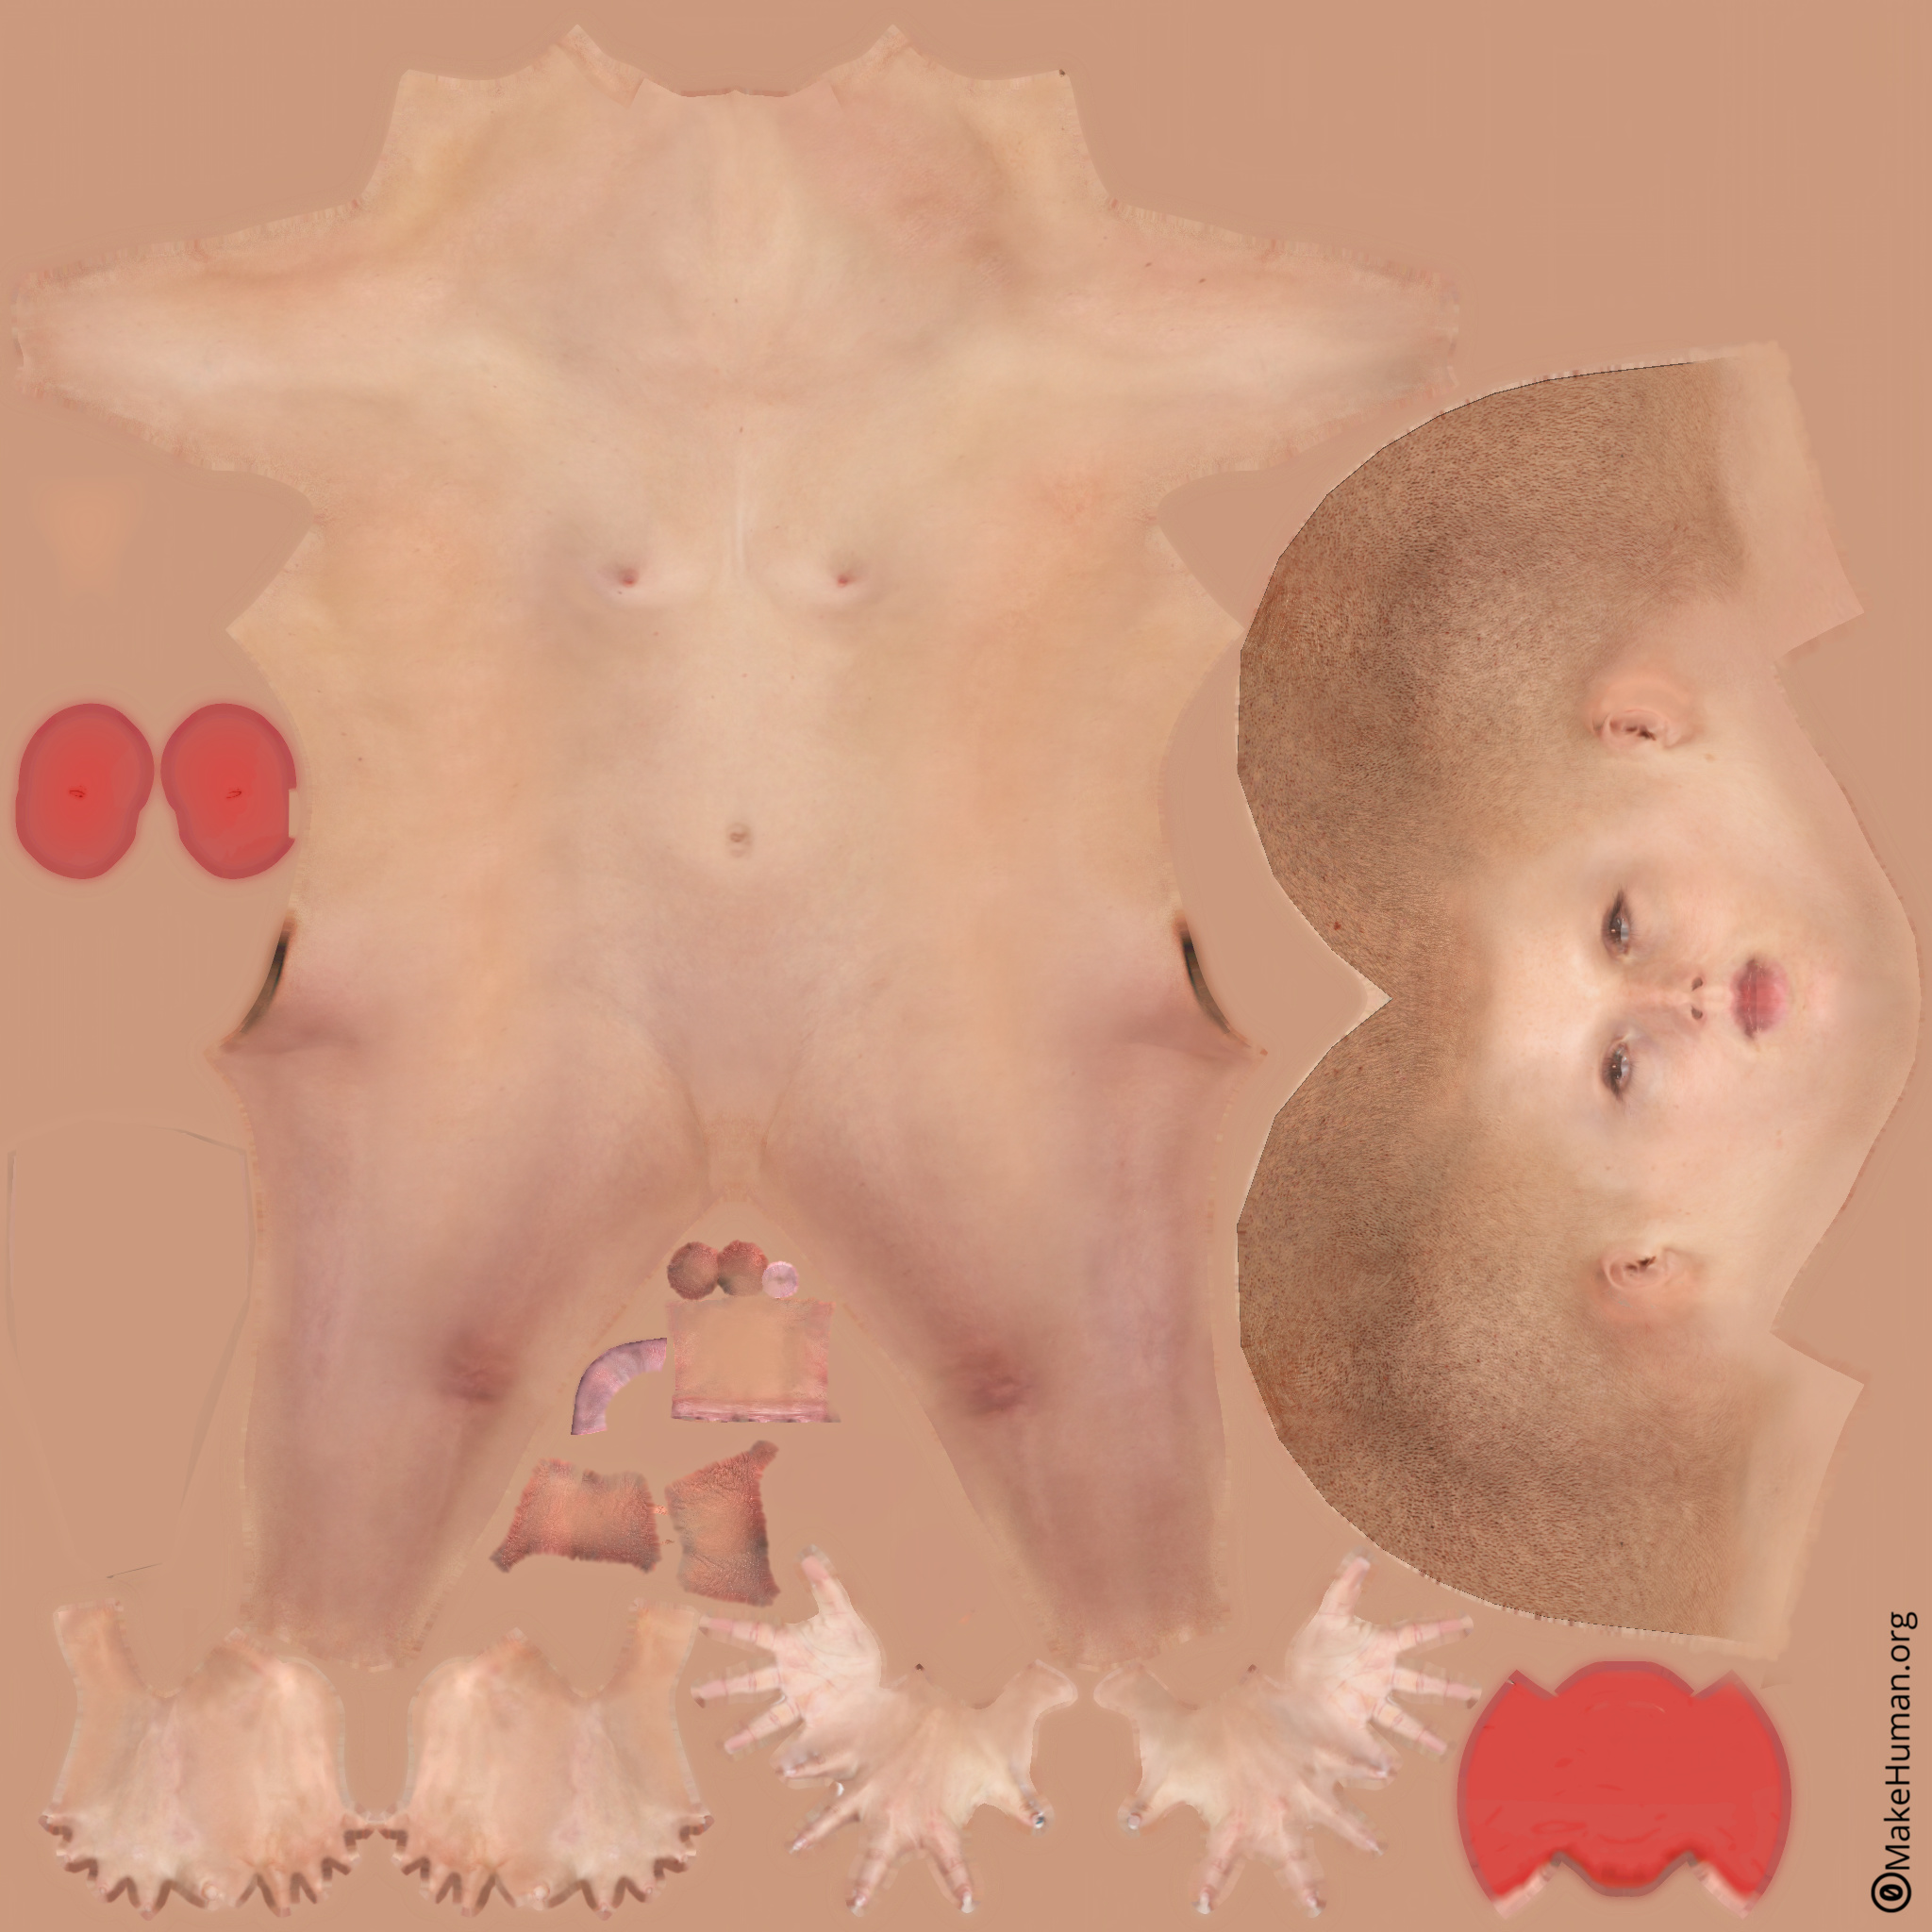
Are you familiar with MakeHuman? From MakeHuman here is their UV map for their body
Note how the UV Map is distorted to fit a 3d body
Here is a link to MakeHuman
Nice. I played a little with it. I tried to distort the UV map before placing it on the model and distorting the UV map editor. I didn’t like either result. I need more tutorials. What I decided to do was to apply a threshold and layer mask in Gimp for each frame. Then I threw each frame back into blender. Going to try and play around with Blender 2.8 The Blender NPR group on facebook is making some cool stuff.
0025-0065.mkv (294.2 KB)
2 Likes