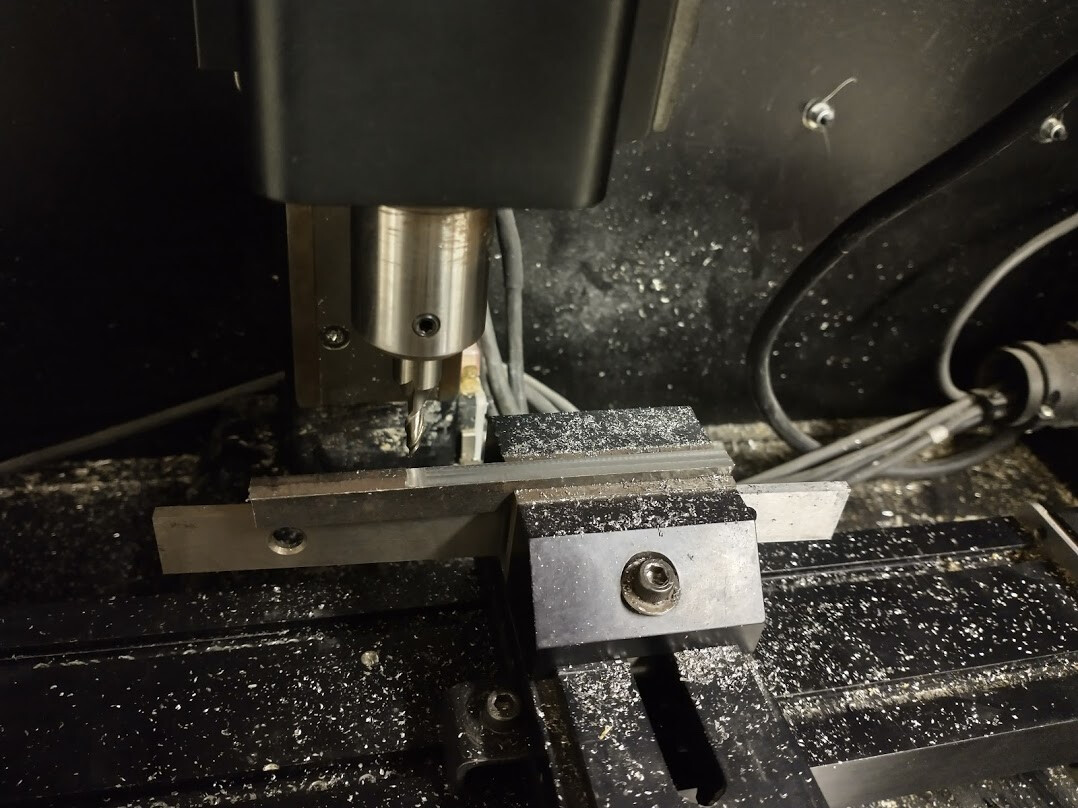
I saw that someone located the box of toolholders and other bits and bobs for the Sherline mills and put it with the black mill, so thanks to whoever did that (if you can also locate the air spindle that would be great). I played around with it a bit yesterday. We only have 2 good T-nuts between the 2 Sherlines, so I figured I’d try my hand and making some out of scrap steel we have laying around the metal shop (also the official ones are pretty wimpy and break easily). Since they are pretty simple I’m planning to do them on the black mill using the hand wheels. While I was testing it out I noticed the bed was a bit wibbly-wobbly, so I tightened up the gibs on the X and Y. I had some trouble with the Y axis gib loosening and thought that the set screw was stripped, so I took it all apart to find out that the hole was just deeper than I thought and was definitely not stripped. Whoops. After getting it back together and tightening things up the bed is now much more stable.
I’m going to keep a list here of things that need to be done to get the machine all set up and ready to use.
Obtain/fabricate 10 T-nuts
Obtain appropriately sized parallels for the vice (example)
Make sure everything is greased/oiled appropriately
Obtain/fabricate dedicated wrenches for the draw bars (1/2 and 7/16)
Obtain a brush for chip cleanup
Make holders for the various bits and bobs needed in normal use of the machine
Move power supply mount up a few inches to relieve strain on cord
Replace damaged 1/8" collet
Mount new power switch
Change display output to work with monitor or swap monitor
I wasn’t really thinking of anything that involved at this point. I was just going to use a portable air compressor or wheel it over to an existing hookup.
Keep in mind, we also have to figure out what we are going to do with the engraver that was donated, which requires air. There was talk of putting that in the FabLab, but we didn’t have air. So not sure if helps or not.
How wide and tall are the jaws on the Sherline vise? I may be ordering some more endmills and cutters soon so I might be able to throw those on my next order with a coupon.
A few things have happened since the last update. @rustin.atkeisson got us some cute little tiny parallels for the vice and dragged in an air compressor, we got the monitor working, and we finally located the air spindle (buried in a cabinet in the woodshop). We also moved both the black and blue mills to a new table. The air spindle has been mounted on the blue mill since the regular spindle was not functioning properly, so hopefully that will prevent it from wandering off again.
I’m planning on using the black mill to work on some mold designs for the injection molder during the Thursday Night CAD group meetings starting in October. I won’t be there tomorrow because I have something else going on.
 I played around with it a bit yesterday. We only have 2 good T-nuts between the 2 Sherlines, so I figured I’d try my hand and making some out of scrap steel we have laying around the metal shop (also the official ones are pretty wimpy and break easily). Since they are pretty simple I’m planning to do them on the black mill using the hand wheels. While I was testing it out I noticed the bed was a bit wibbly-wobbly, so I tightened up the gibs on the X and Y. I had some trouble with the Y axis gib loosening and thought that the set screw was stripped, so I took it all apart to find out that the hole was just deeper than I thought and was definitely not stripped. Whoops. After getting it back together and tightening things up the bed is now much more stable.