My stepson recently bought a 1996 Toyota T-100 and there was a big hole where the radio antenna was supposed to be. I saw wiring for an electrical retractable antenna so that’s what we installed. What I didn’t realize was that Toyota electrical antenna wiring is different than the standard generic antenna wiring:
Toyota wiring:
- When radio is turned on, wire 1 is 12V and wire 2 is GND for some number of seconds, then there is no voltage potential between the two wires.
- When radio is turned off, wire 1 is GND and wire 2 is 12V for some number of seoncds, thenthere is no voltage potential between the two wires.
Generic Wiring:
- Wire 1 always hot (12V)
- wire 2 always GND
- wire 3 is control. When 12V antenna goes and stays up, when floating or GND antenna goes down and stays down.
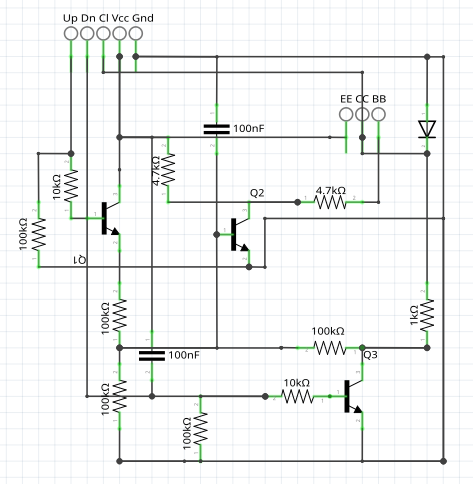
So I built an analog circuit and case to convert from one to the other. The workflow was something like:
- Took somebody else’s broken latch circuit and modified and extended it (sorry I’d give credit to the original creator of the latch circuit but I can’t find it and I’m not sure anymore who it was)
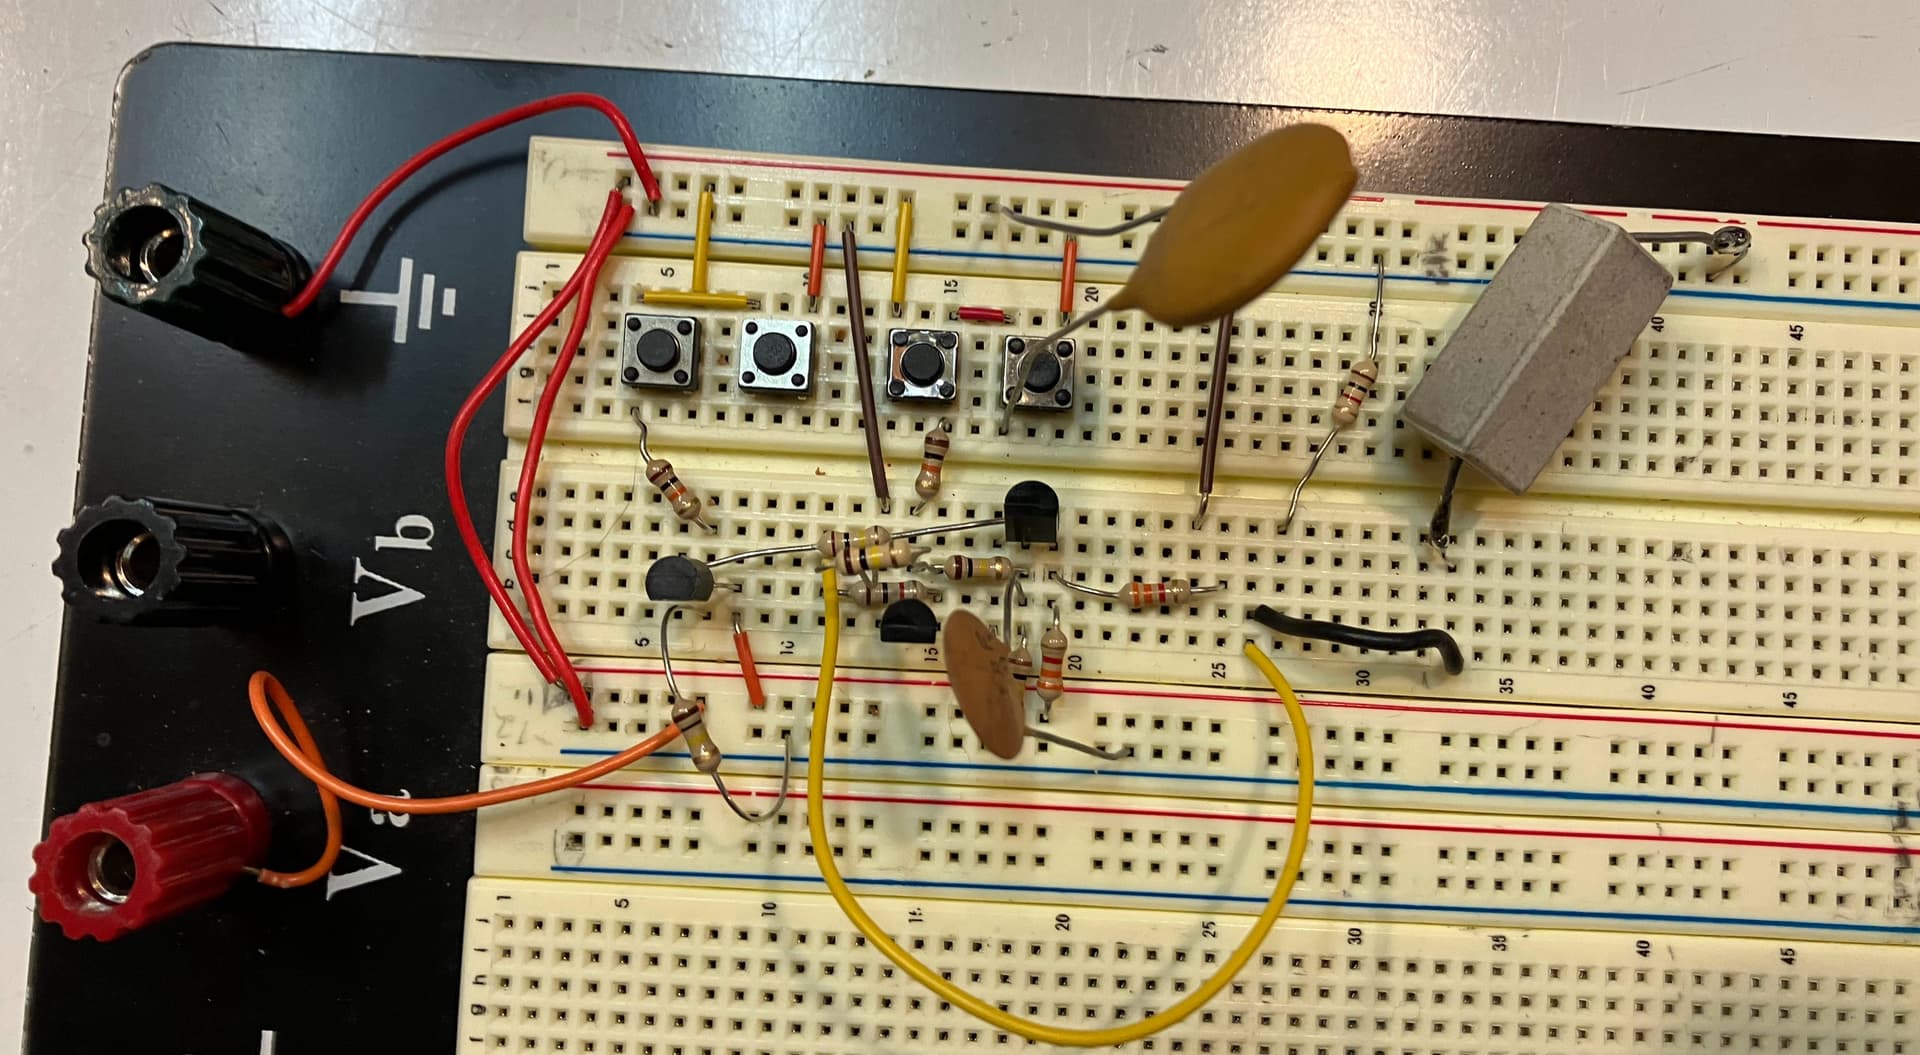
- Built the circuit on a breadboard:
- Showed it to my friend @TomM who helped me understand some potential instability that could be fixed with a few capacitors
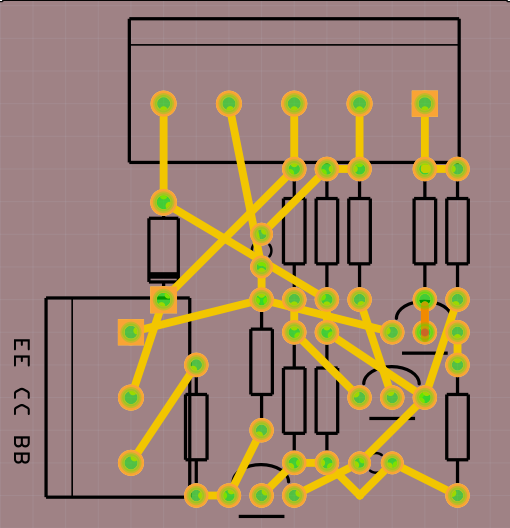
- Re-laid it out in Fritzing:
- The reason to re-lay it out was so I could use Fritzing’s PCB layout:
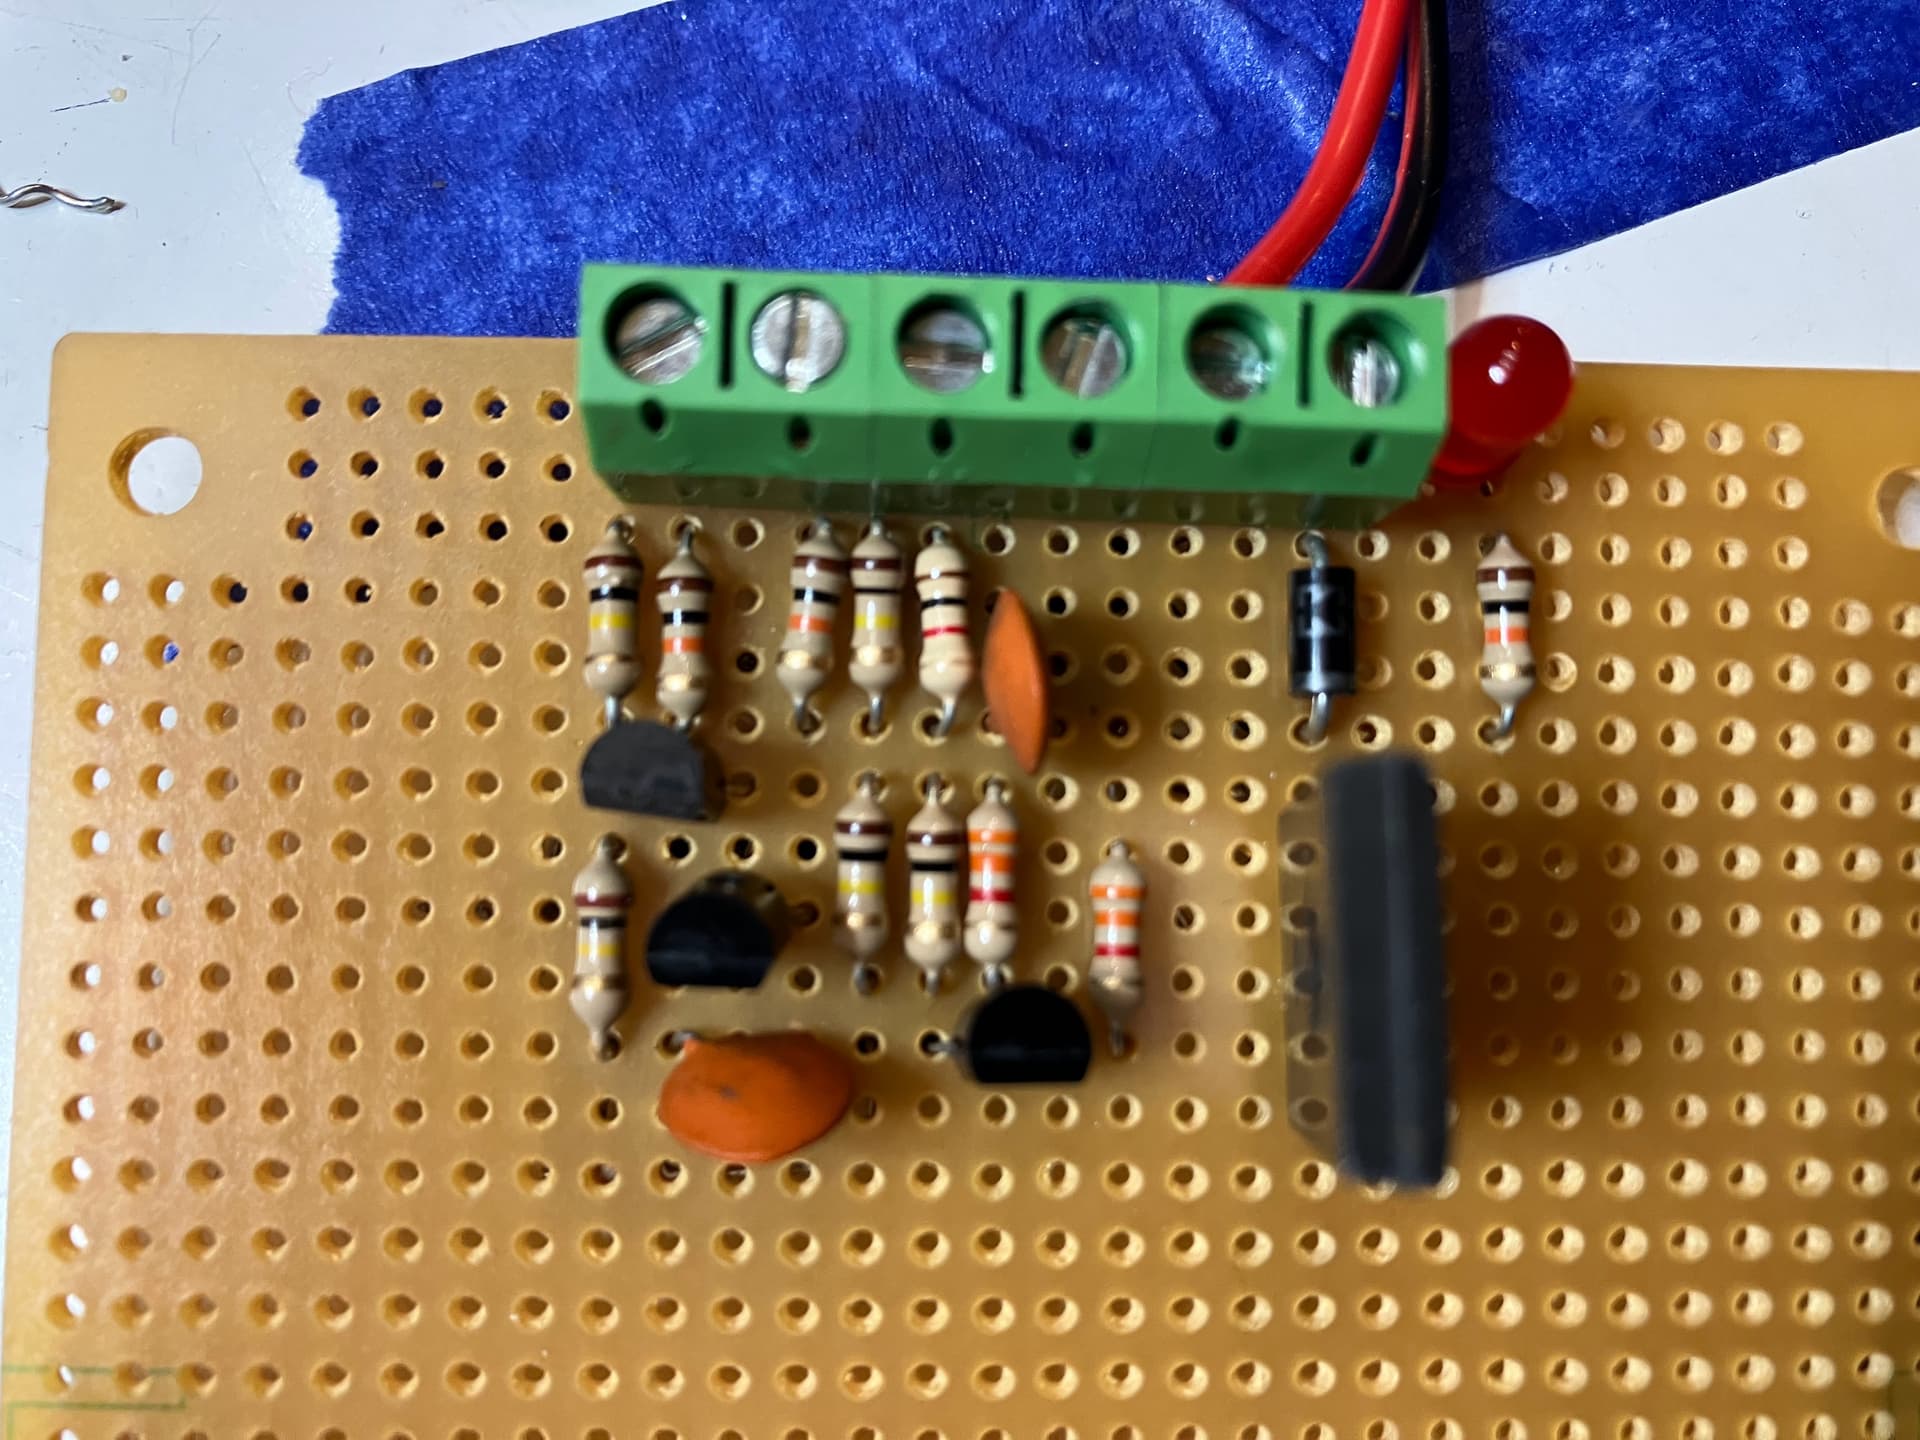
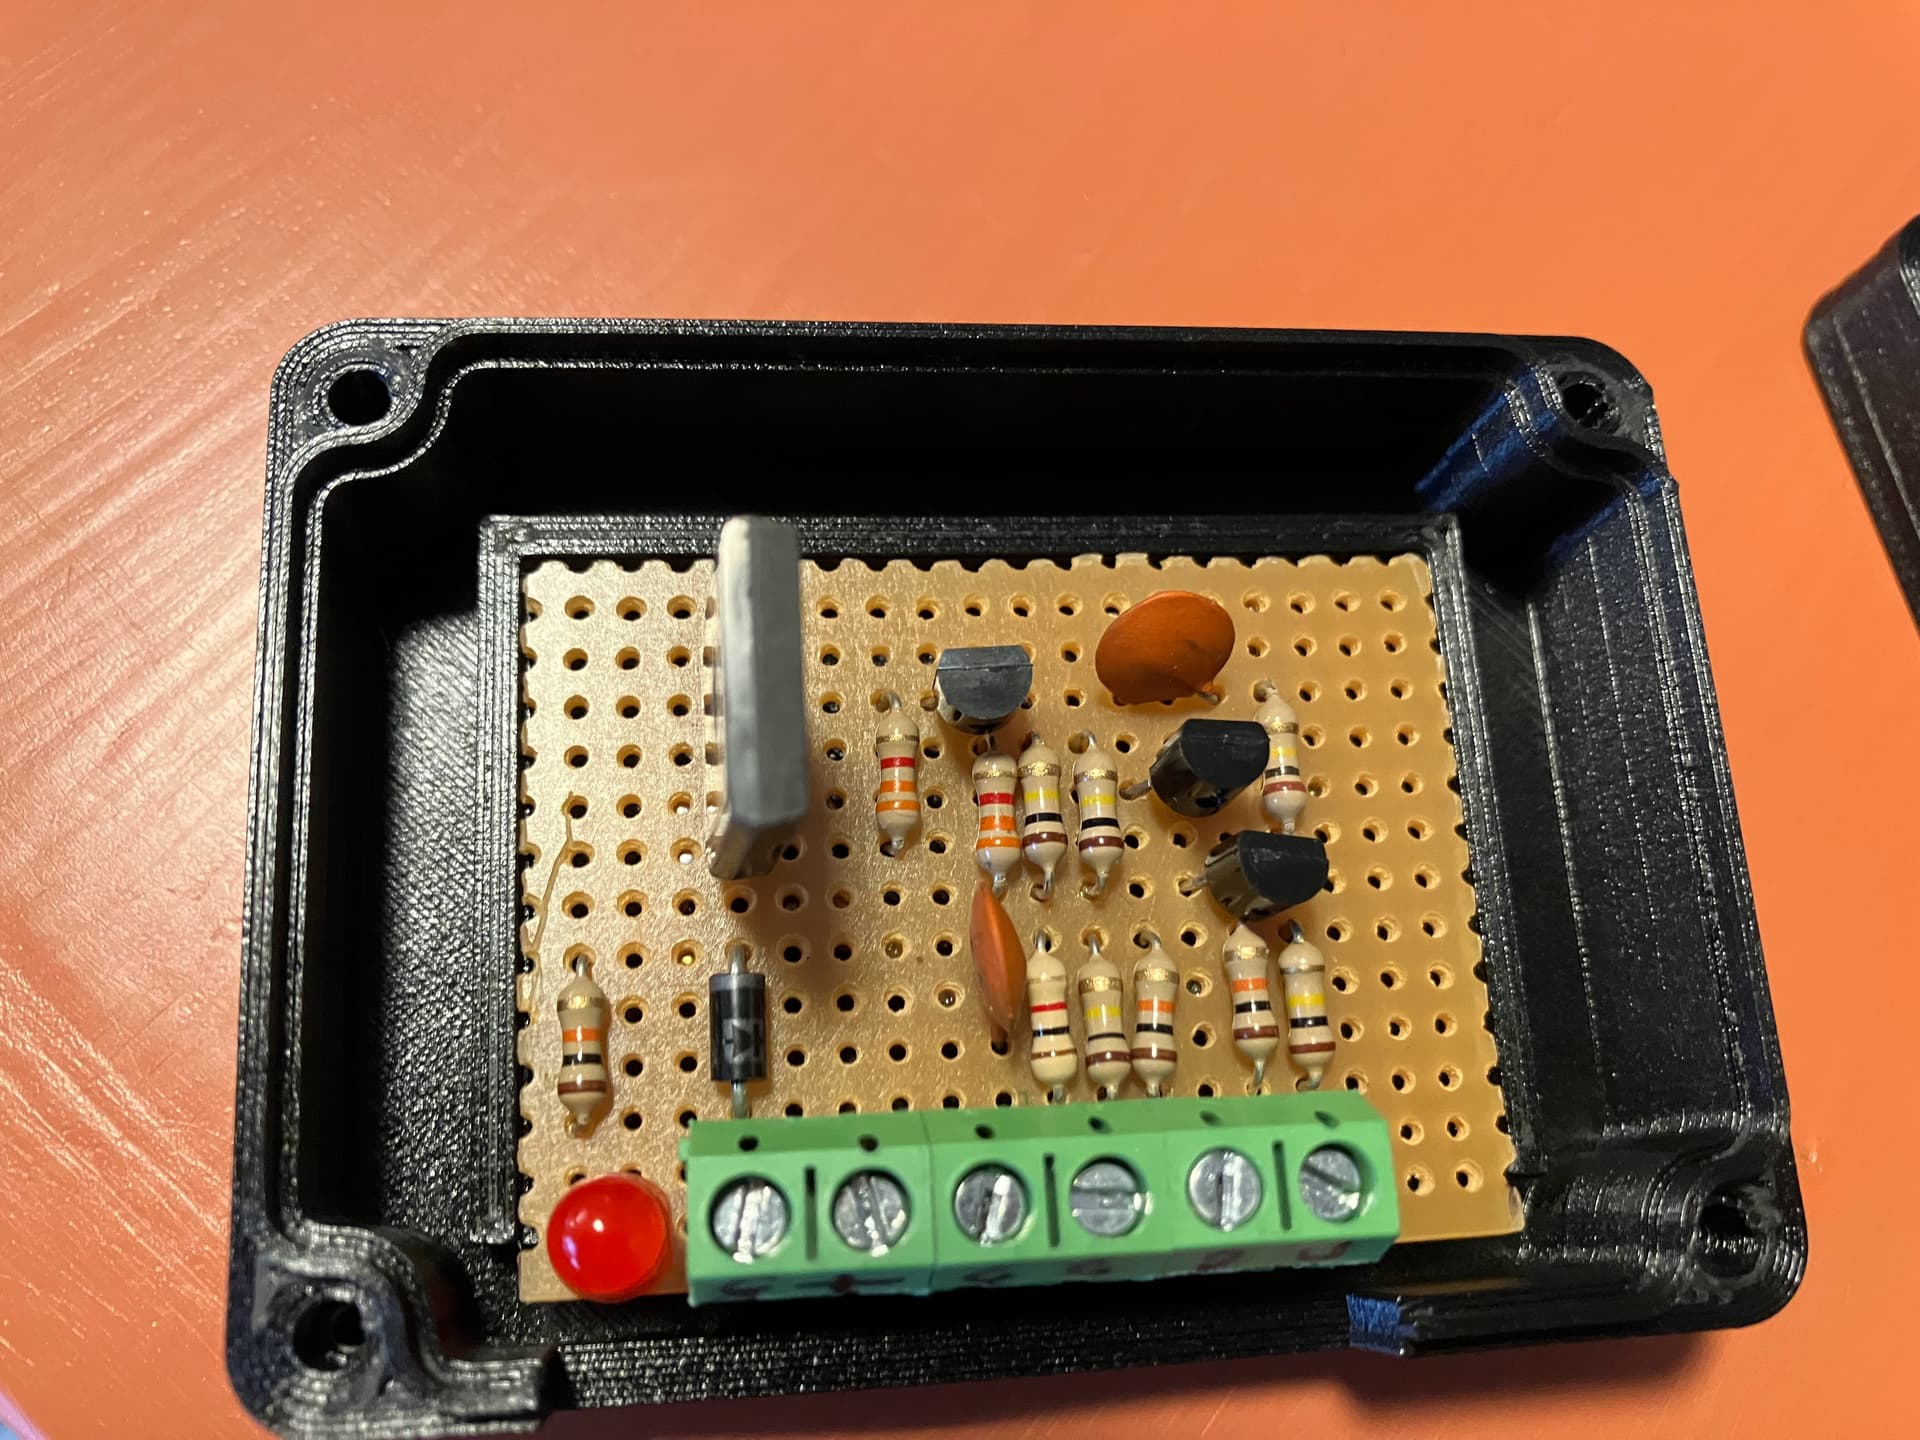
- Soldered it up on perf board
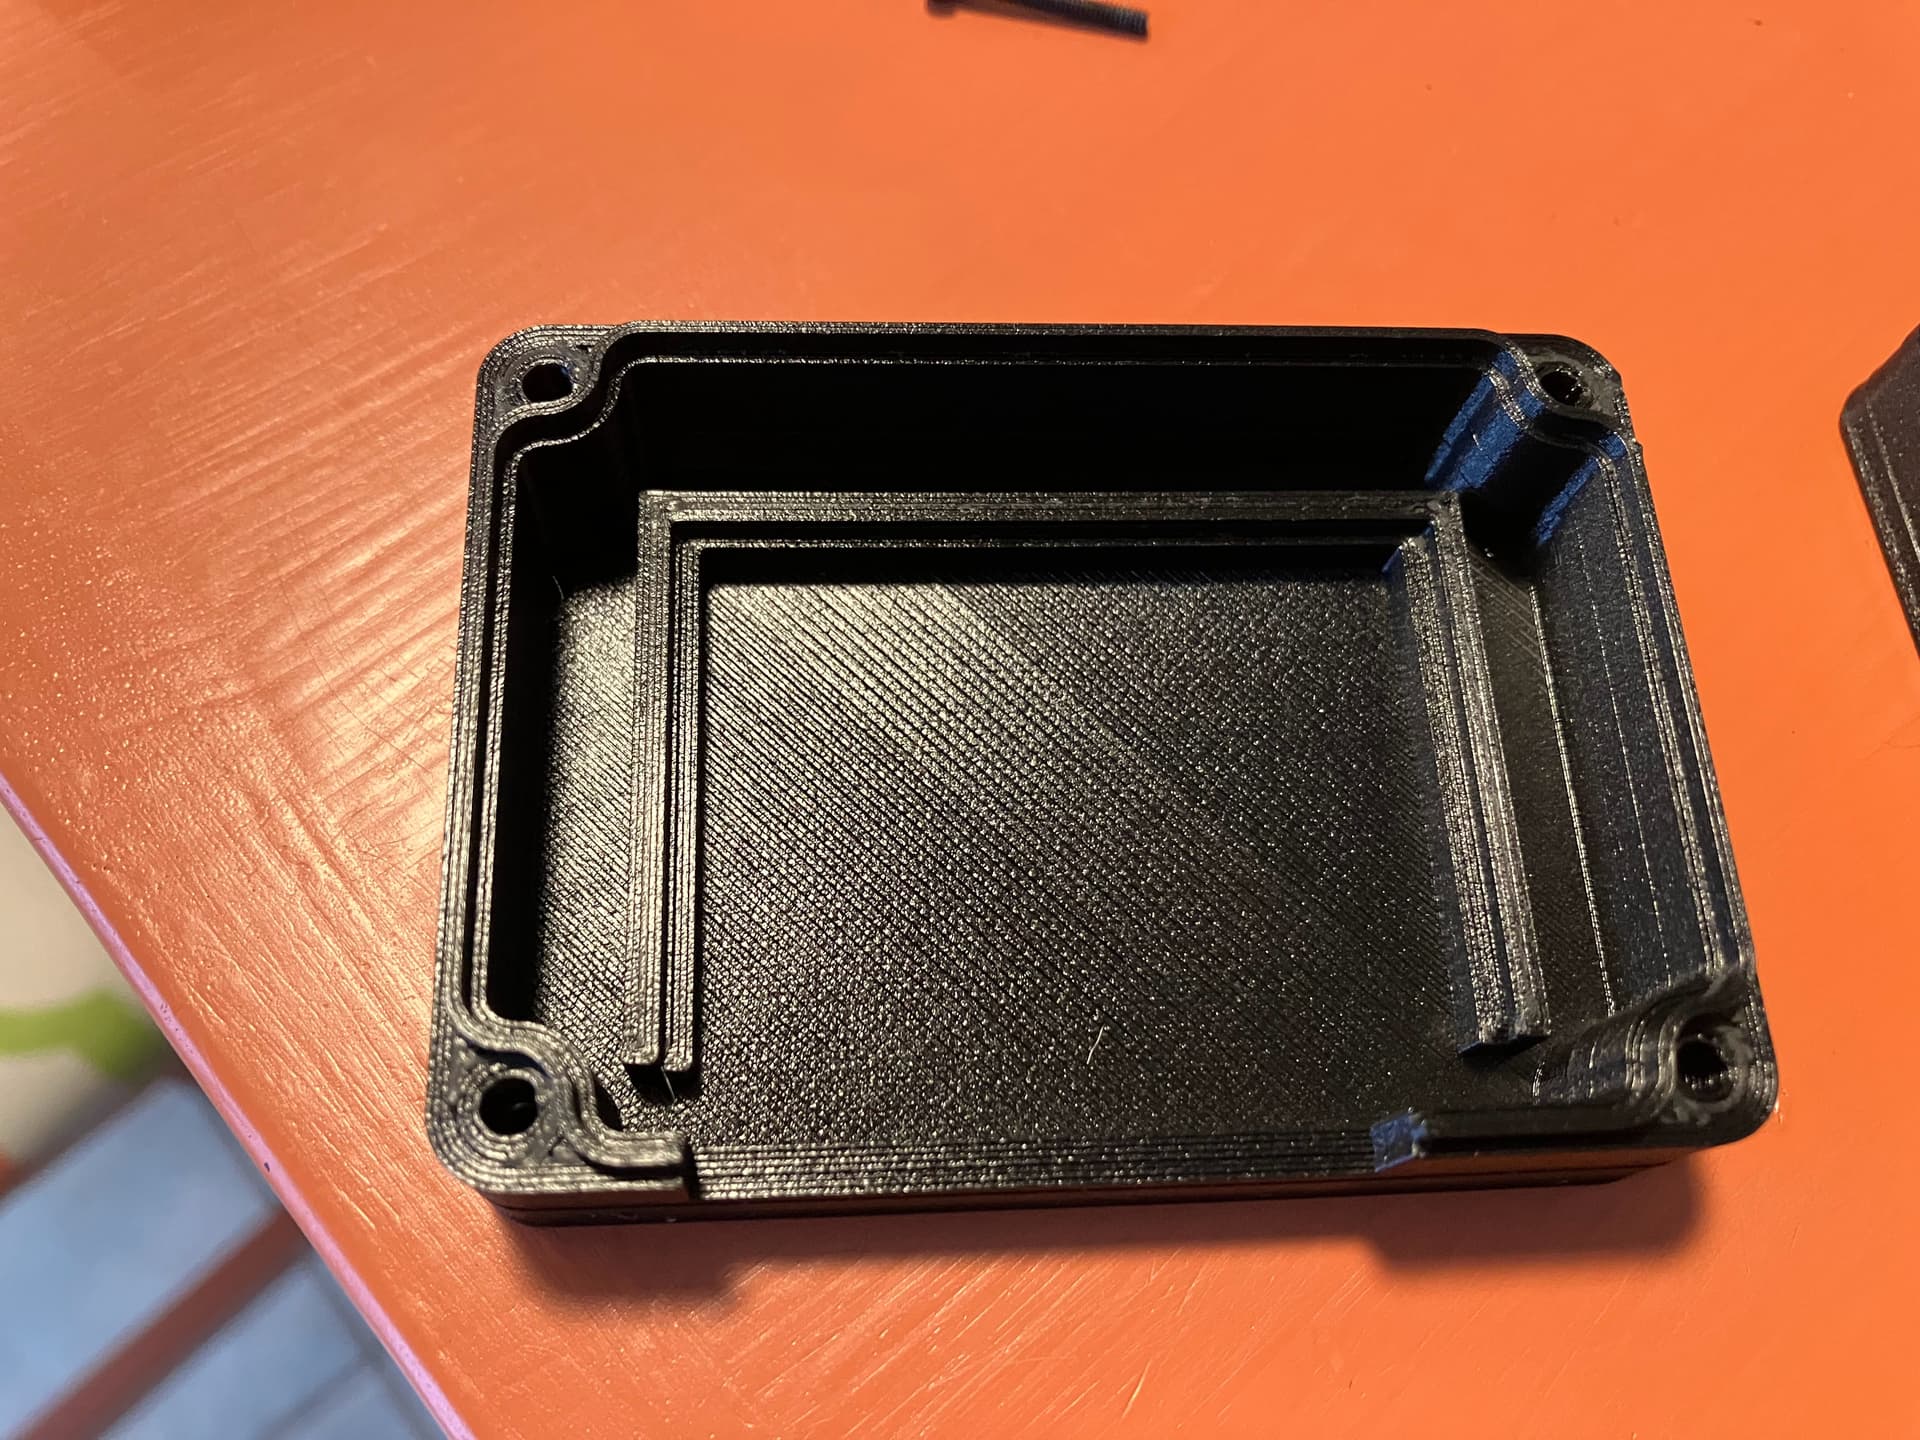
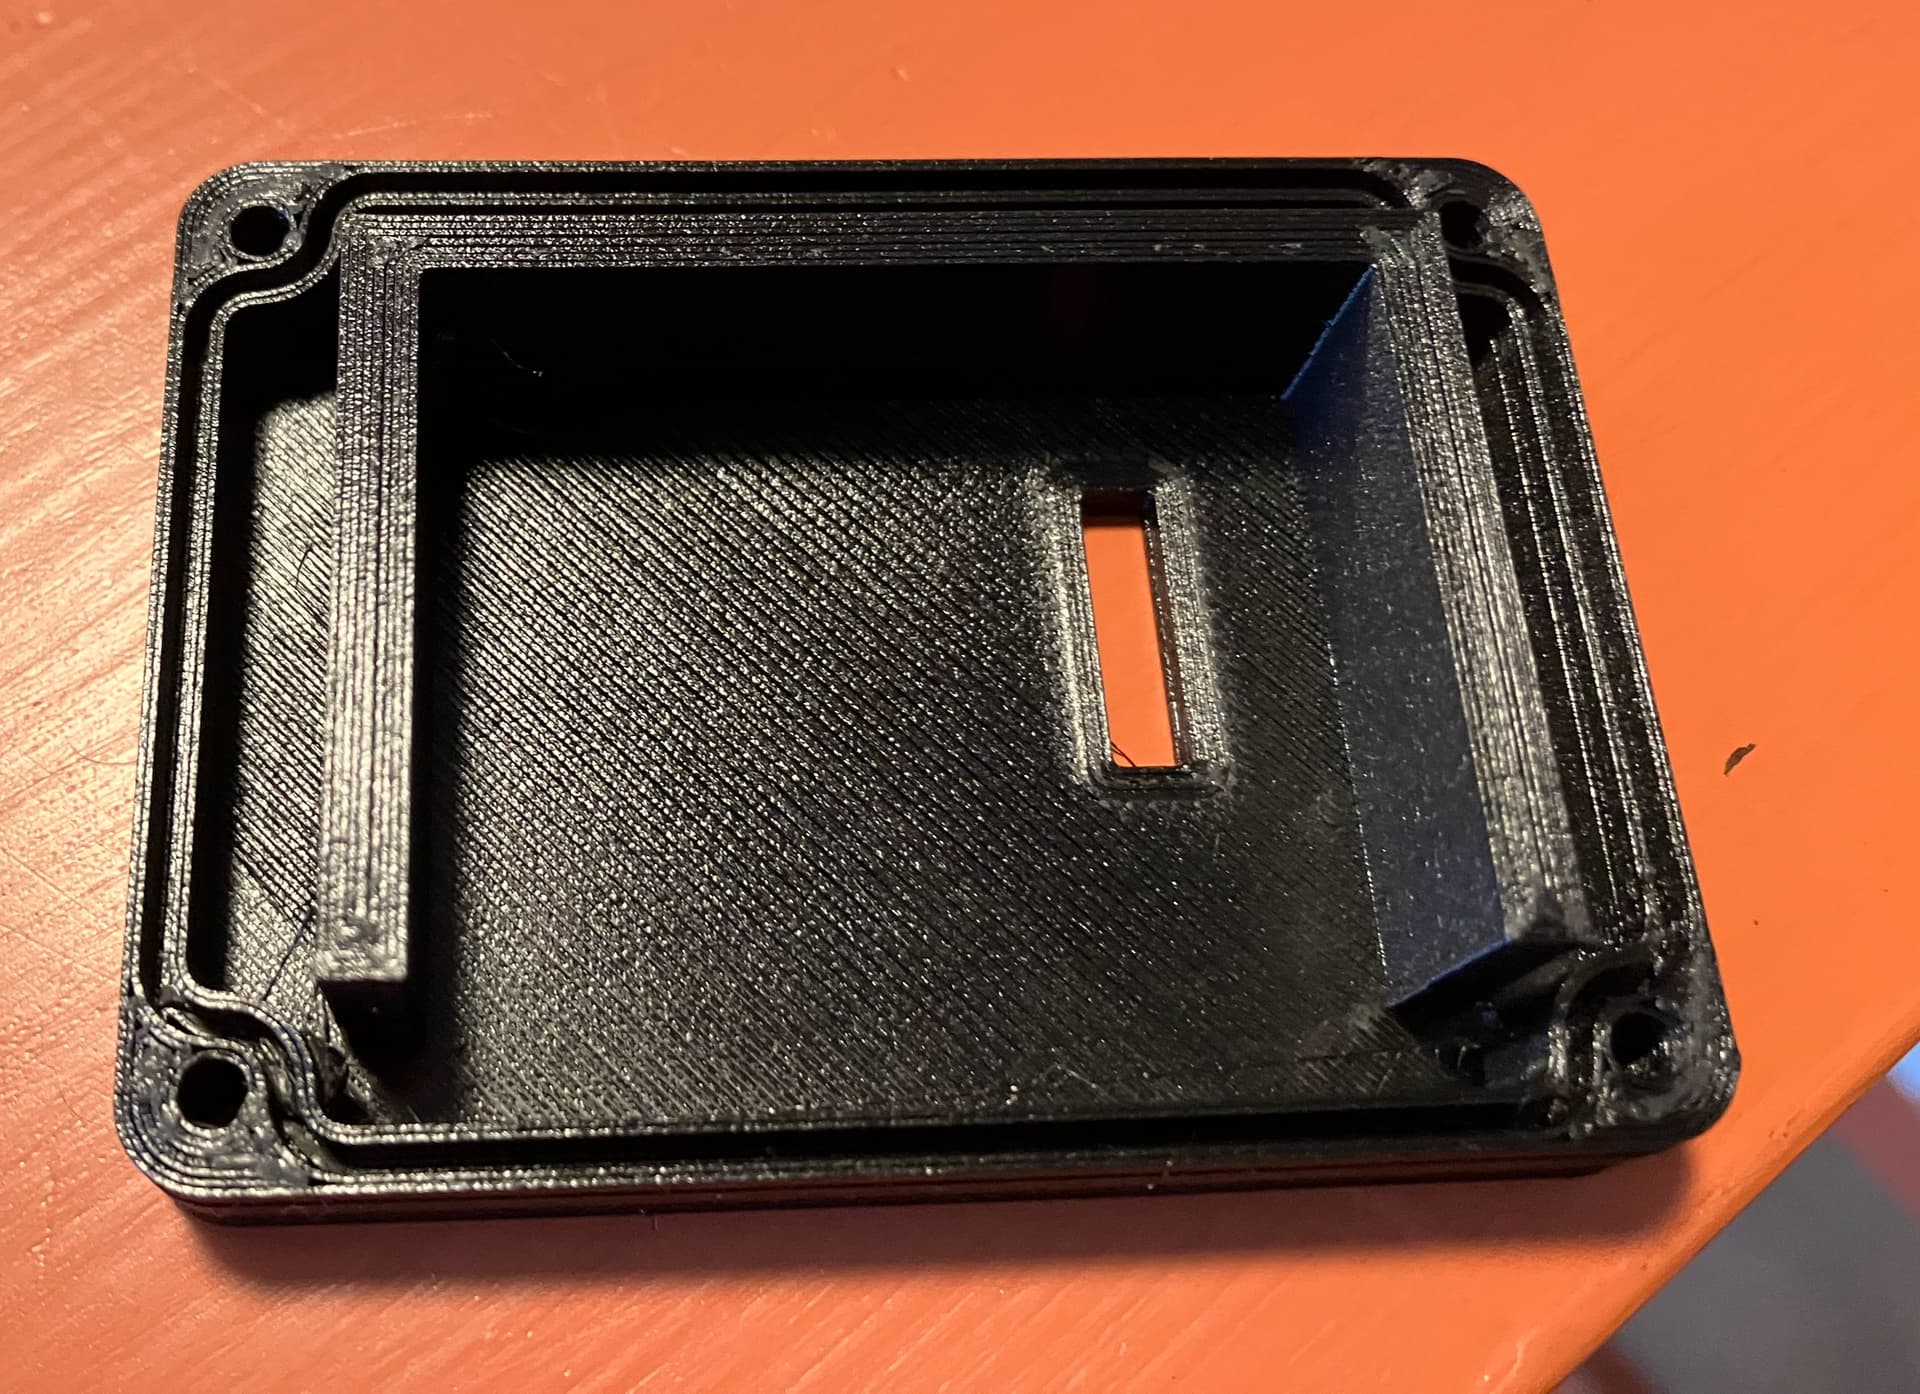
Here I am testing it - Took this amazing case, modified it in openscad, and printed it with PETG (I used PETG because it’s a bit more heat resistant than PLA and this box will be in a hot car in the summer:
My modifications to the case were to a ridge for the circuit board to sit. This keeps all the components of the board from touching anything and holds the board nicely and securely. I also made a little hole for that oversized transistor to peek through and I added a slot for the wire connections and LED.


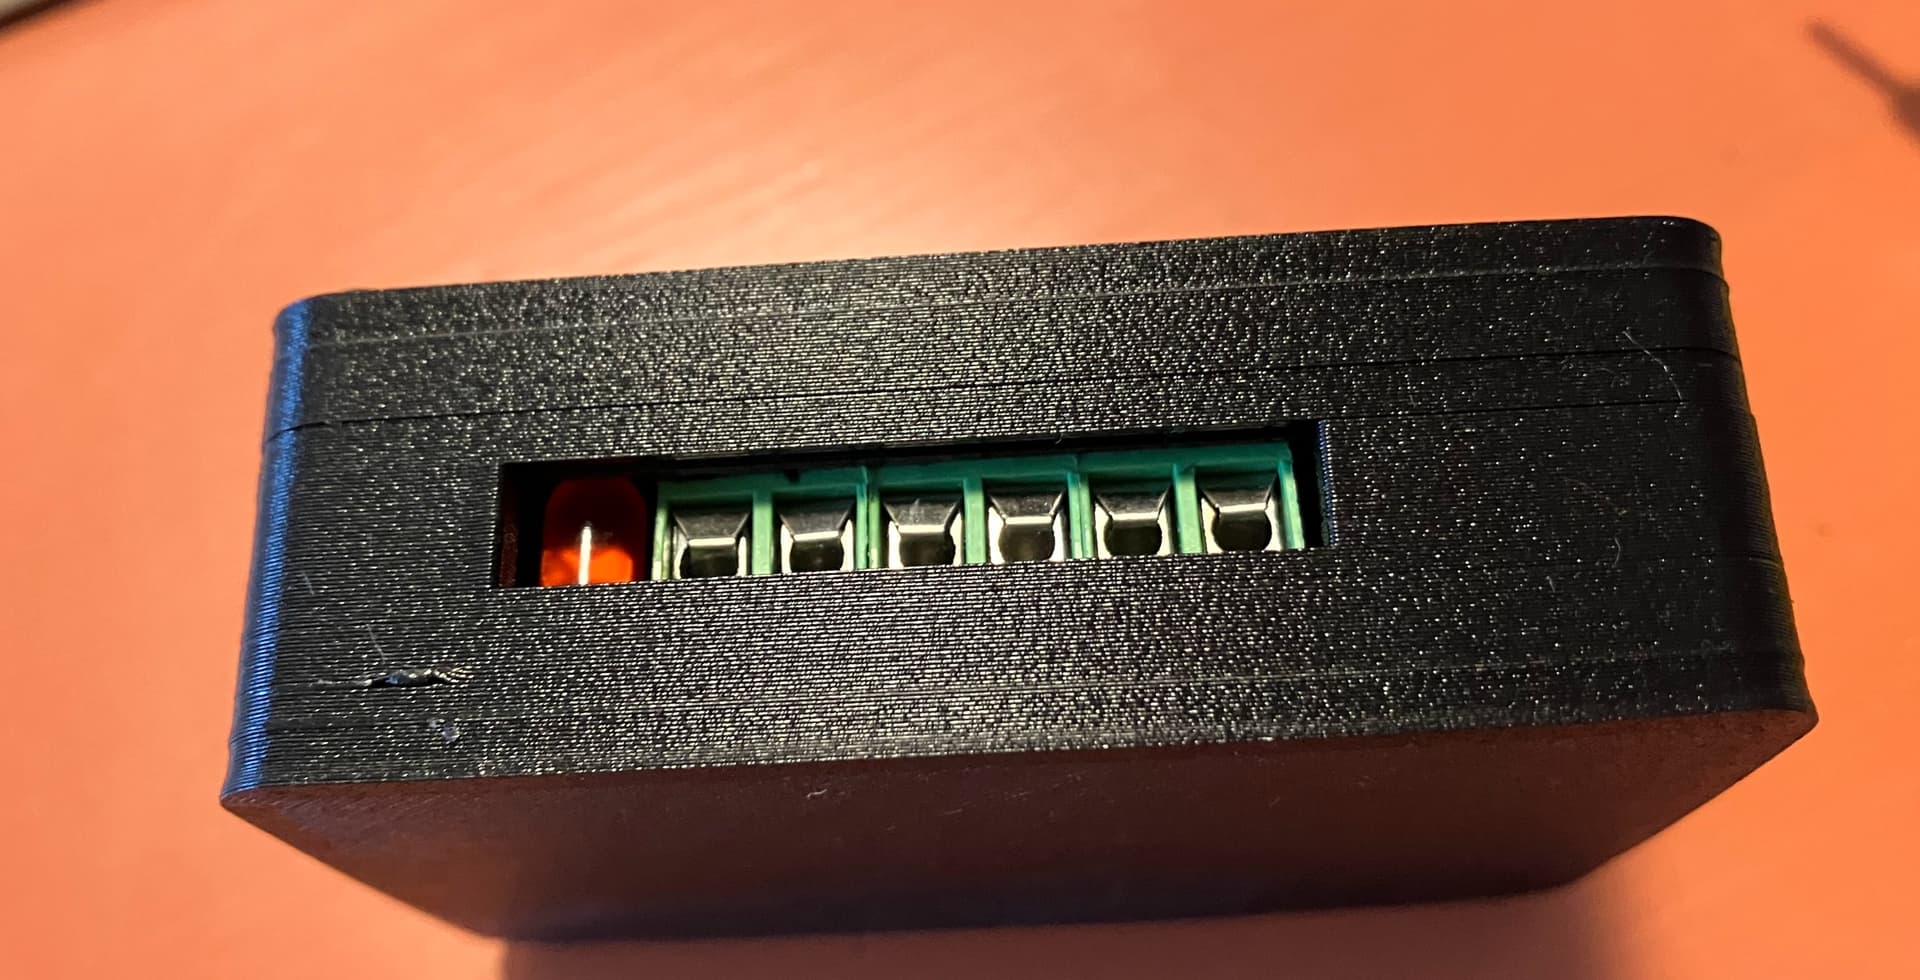
We haven’t gotten a chance to install this in the Toyota yet but that should be fairly easy as all we have to do is pull the radio out and we’ve been down that road already.
Overall it was a really fun project. I haven’t messed with analog stuff in a long time and it still feels like magic. And it’s nice to have the project nearing completion already!