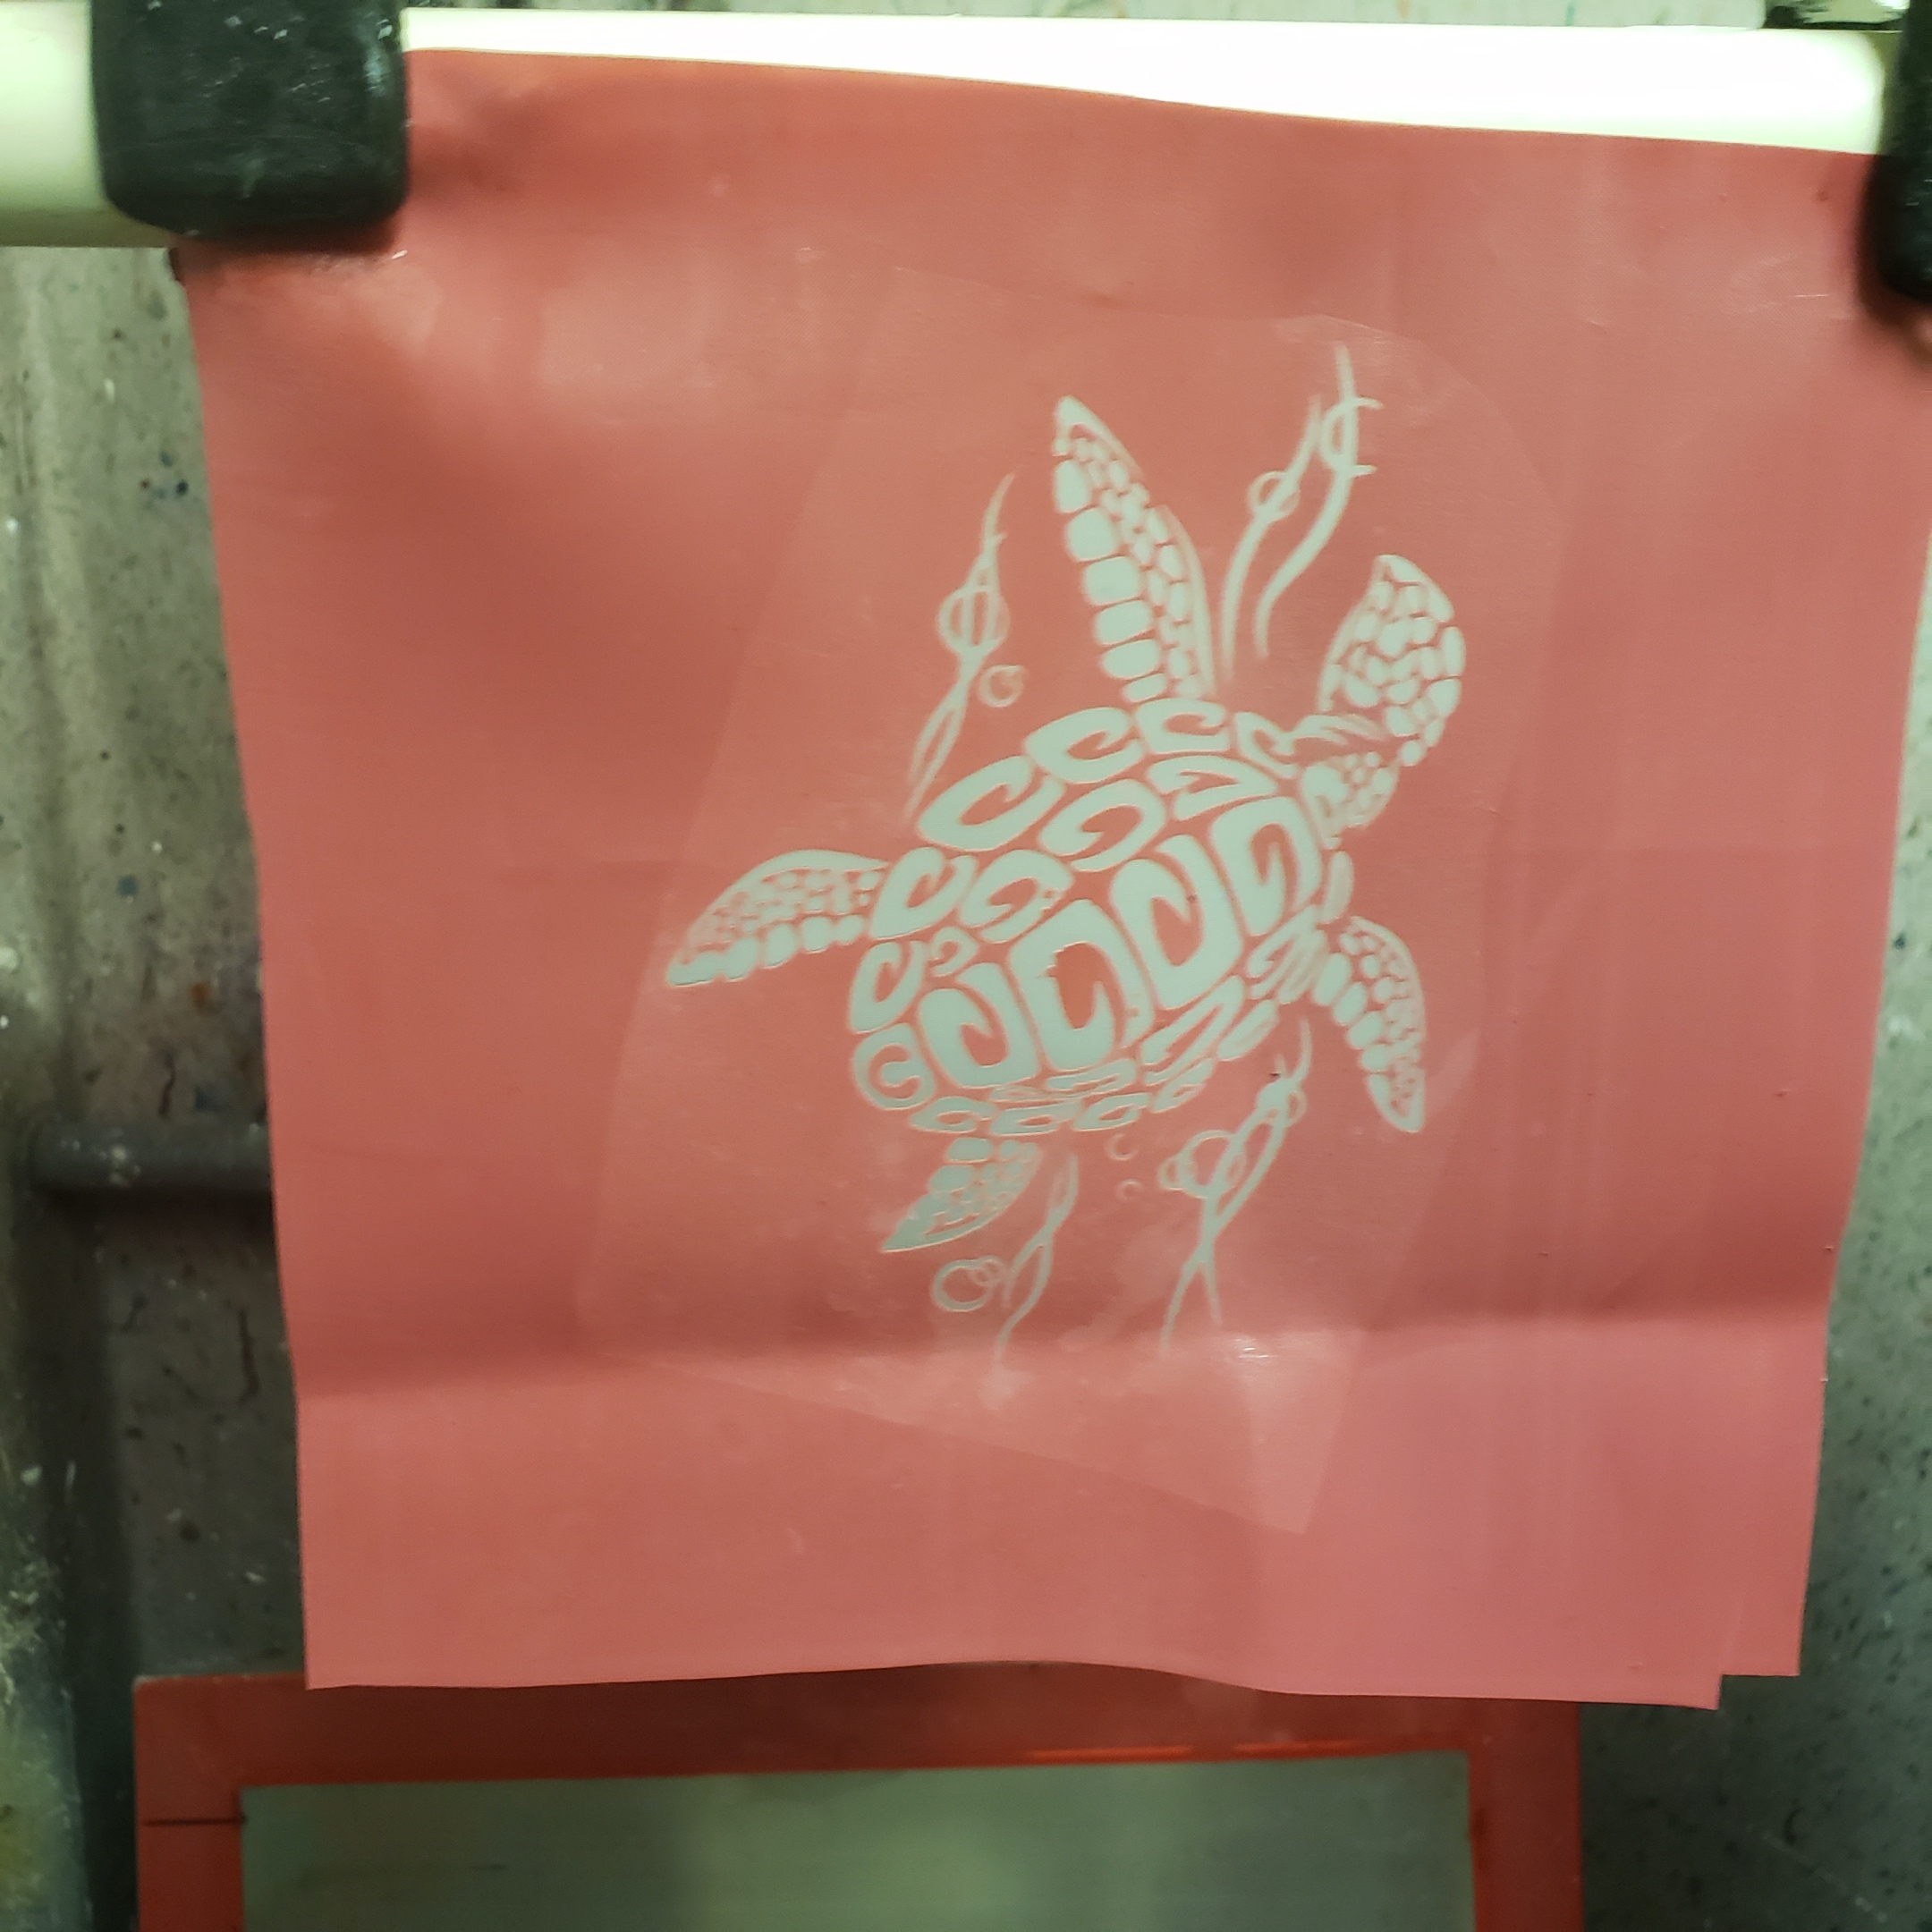
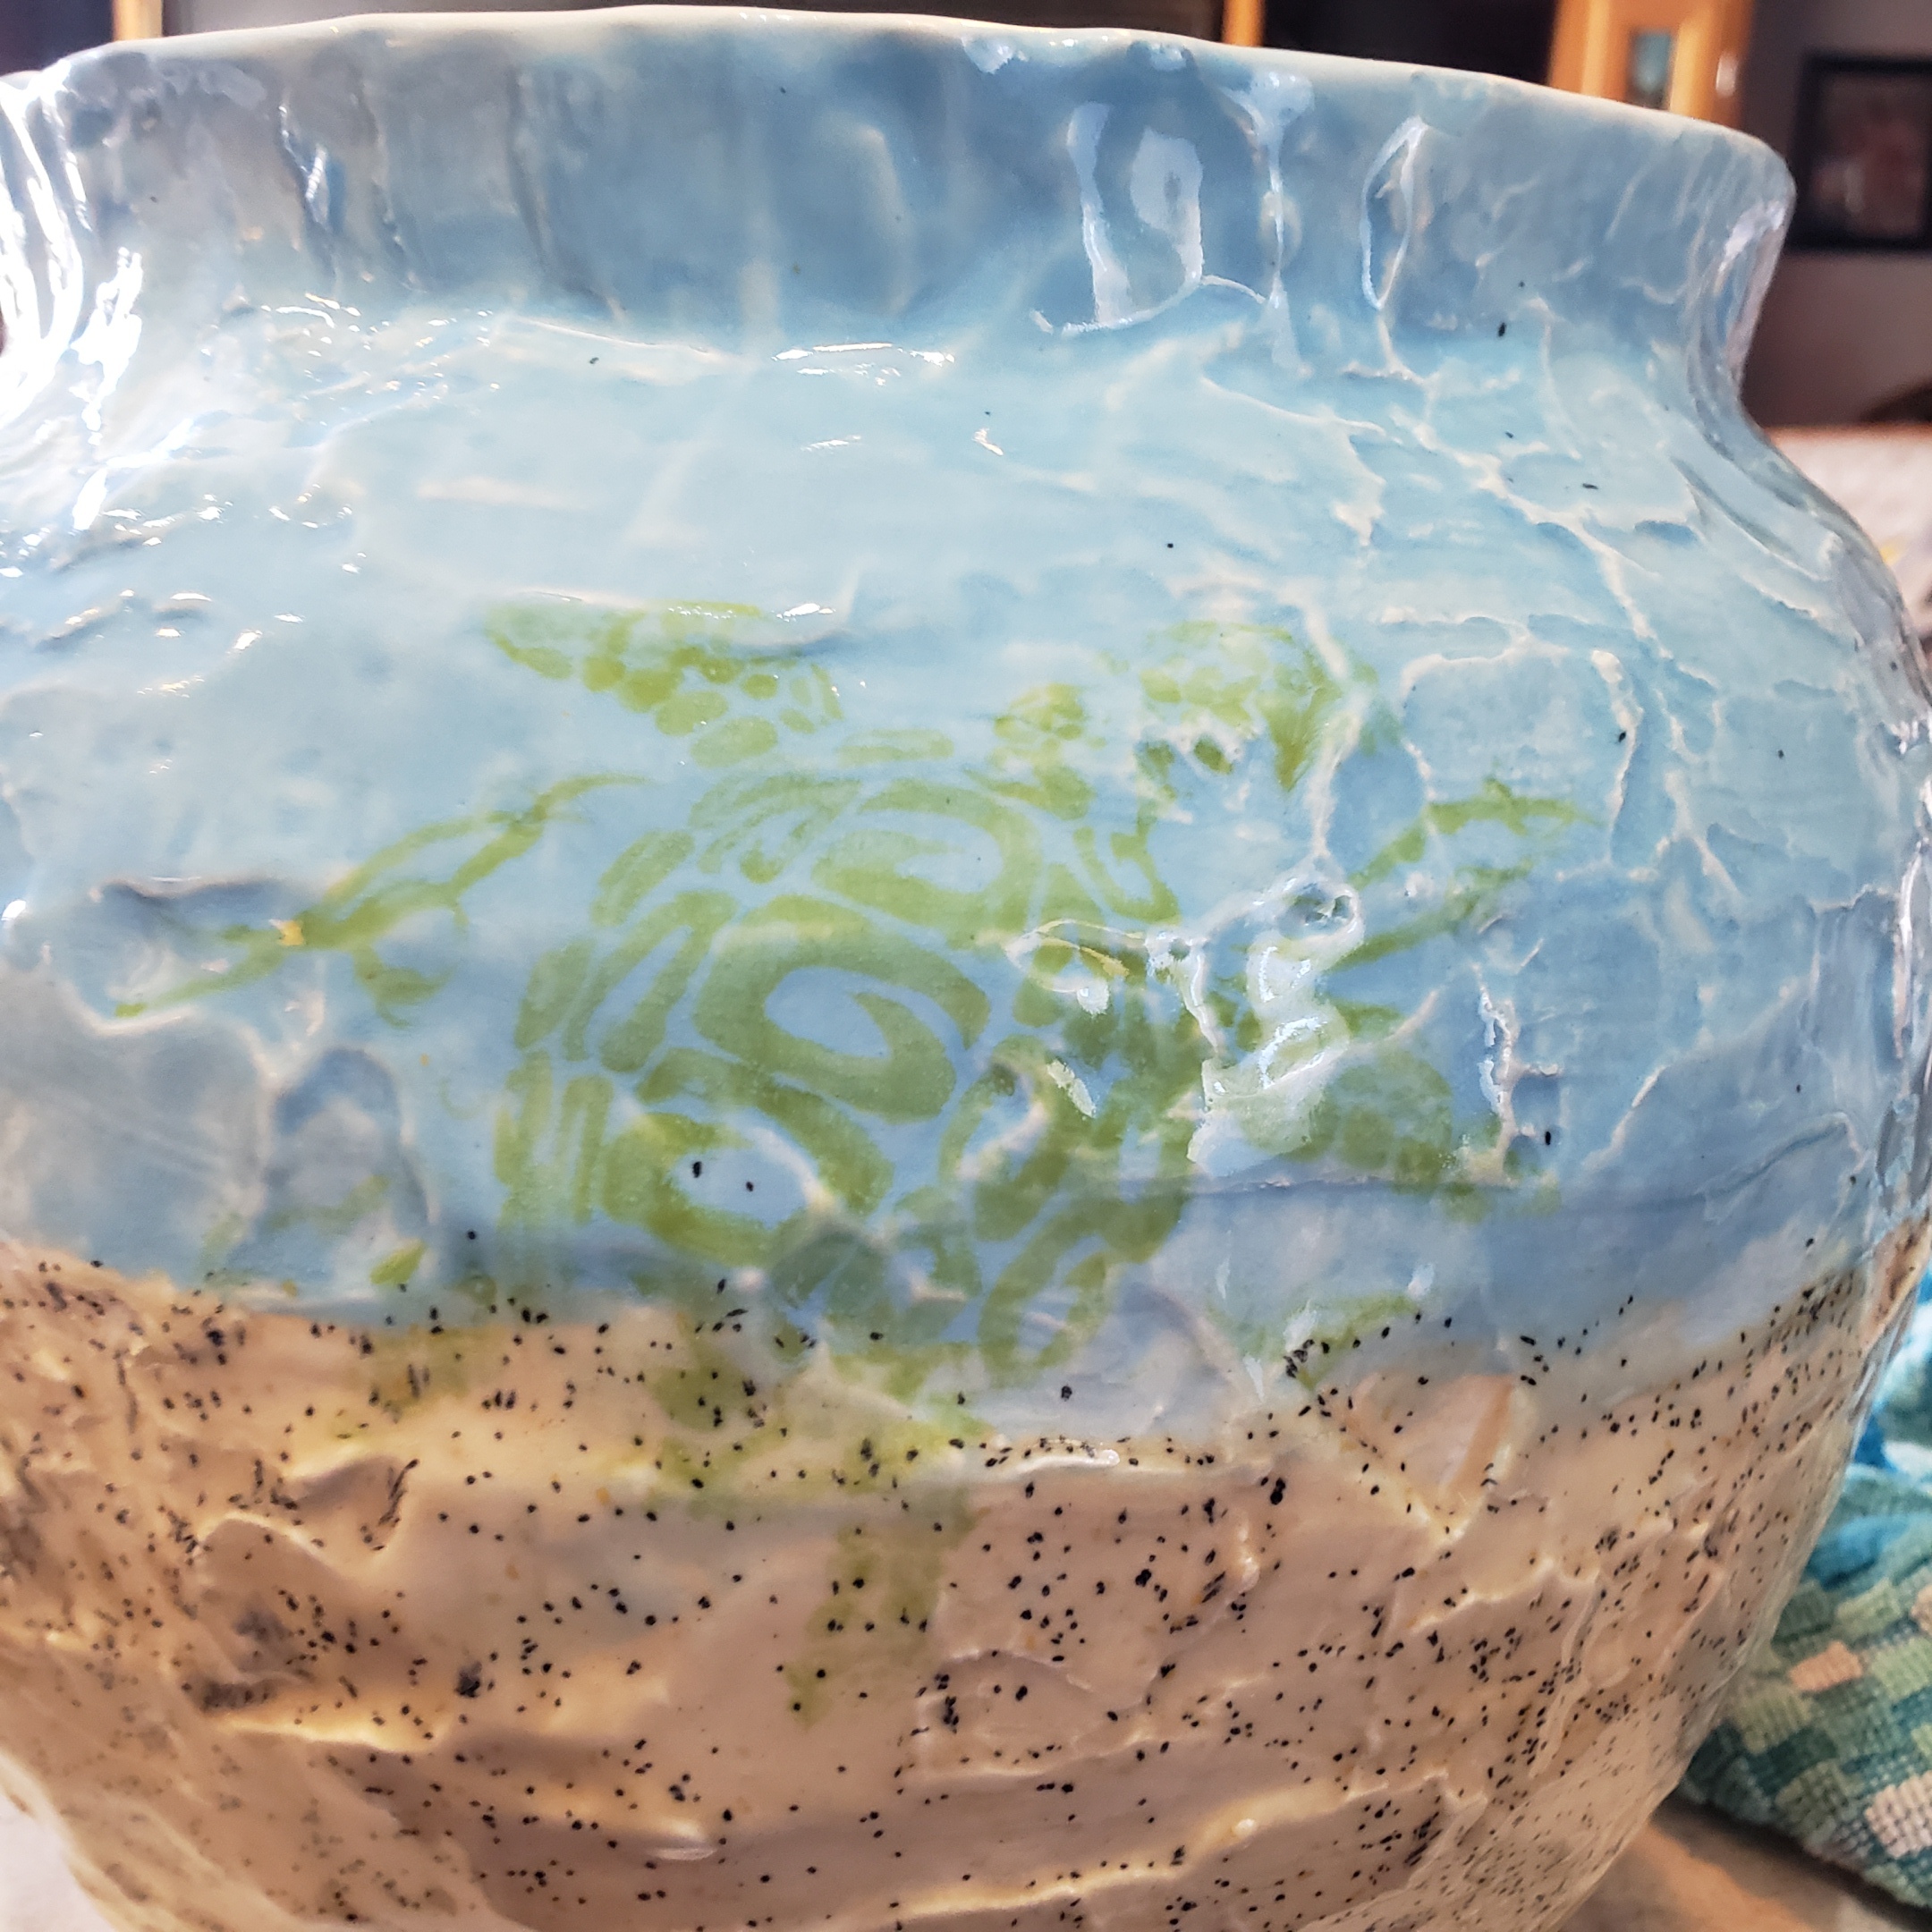
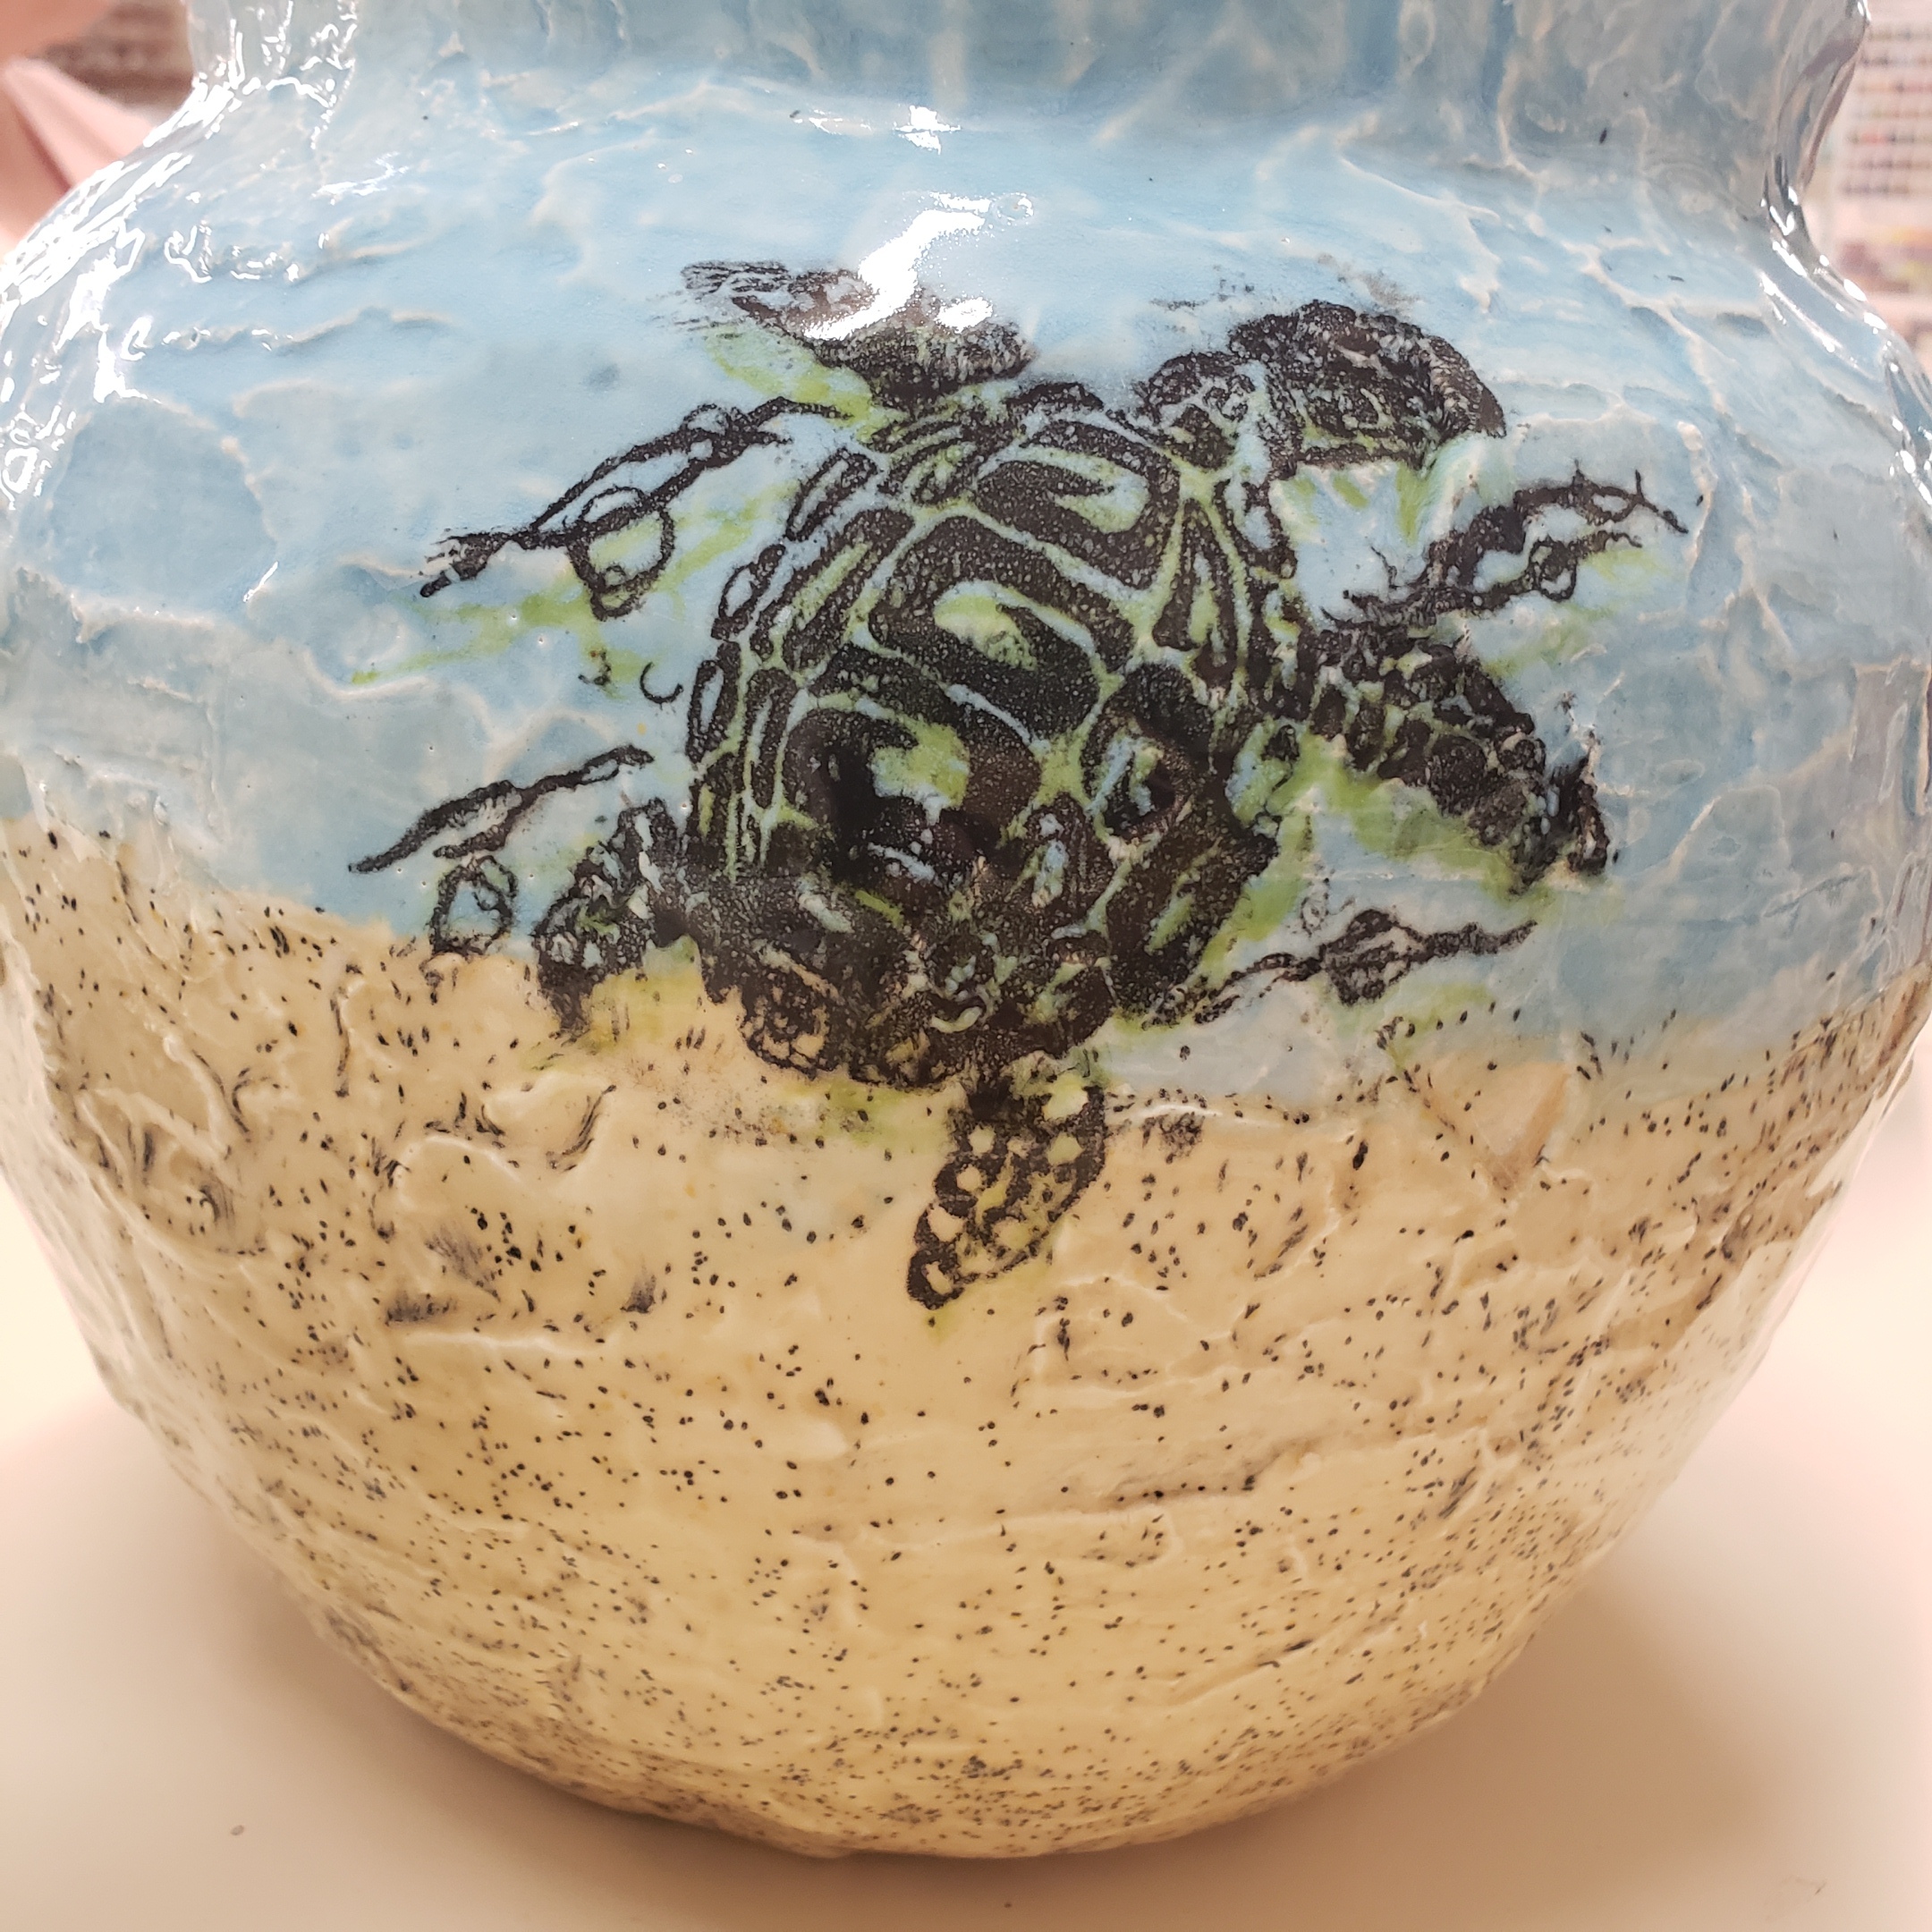
So as I develop as a maker, I love to see areas overlap creative techniques to make a product. I am attempting to create a silk screen for ceramic images.
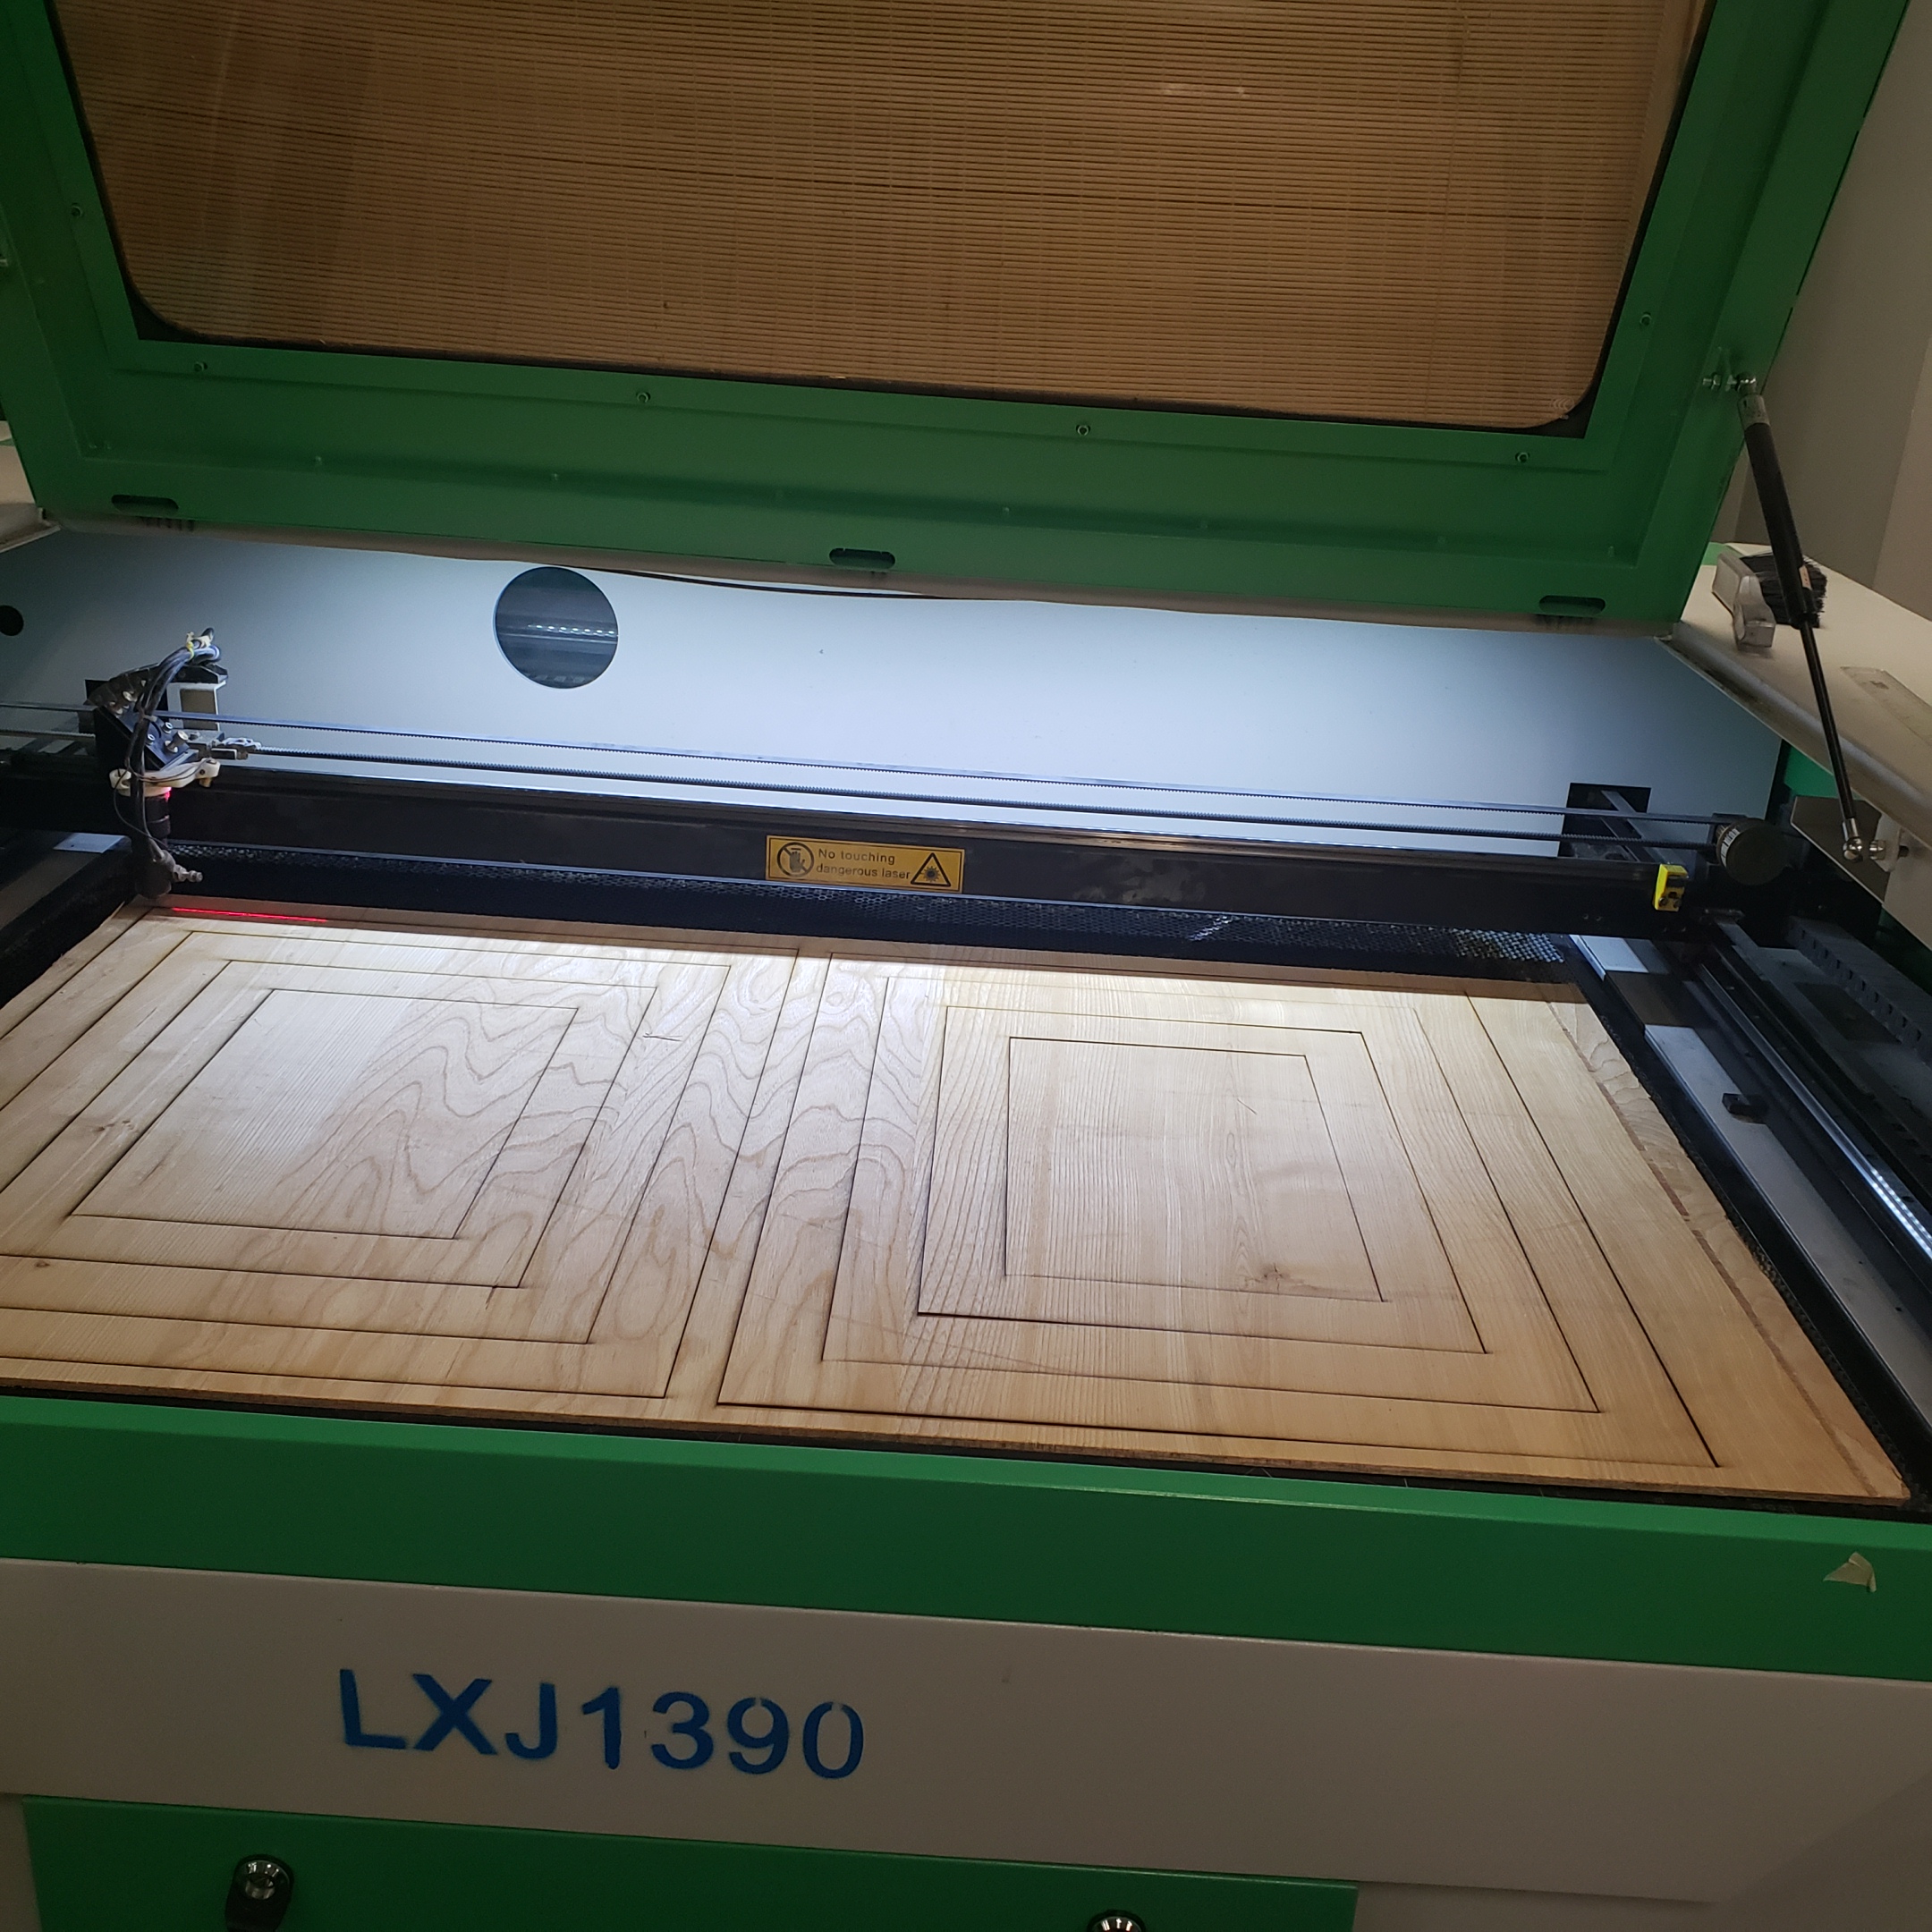
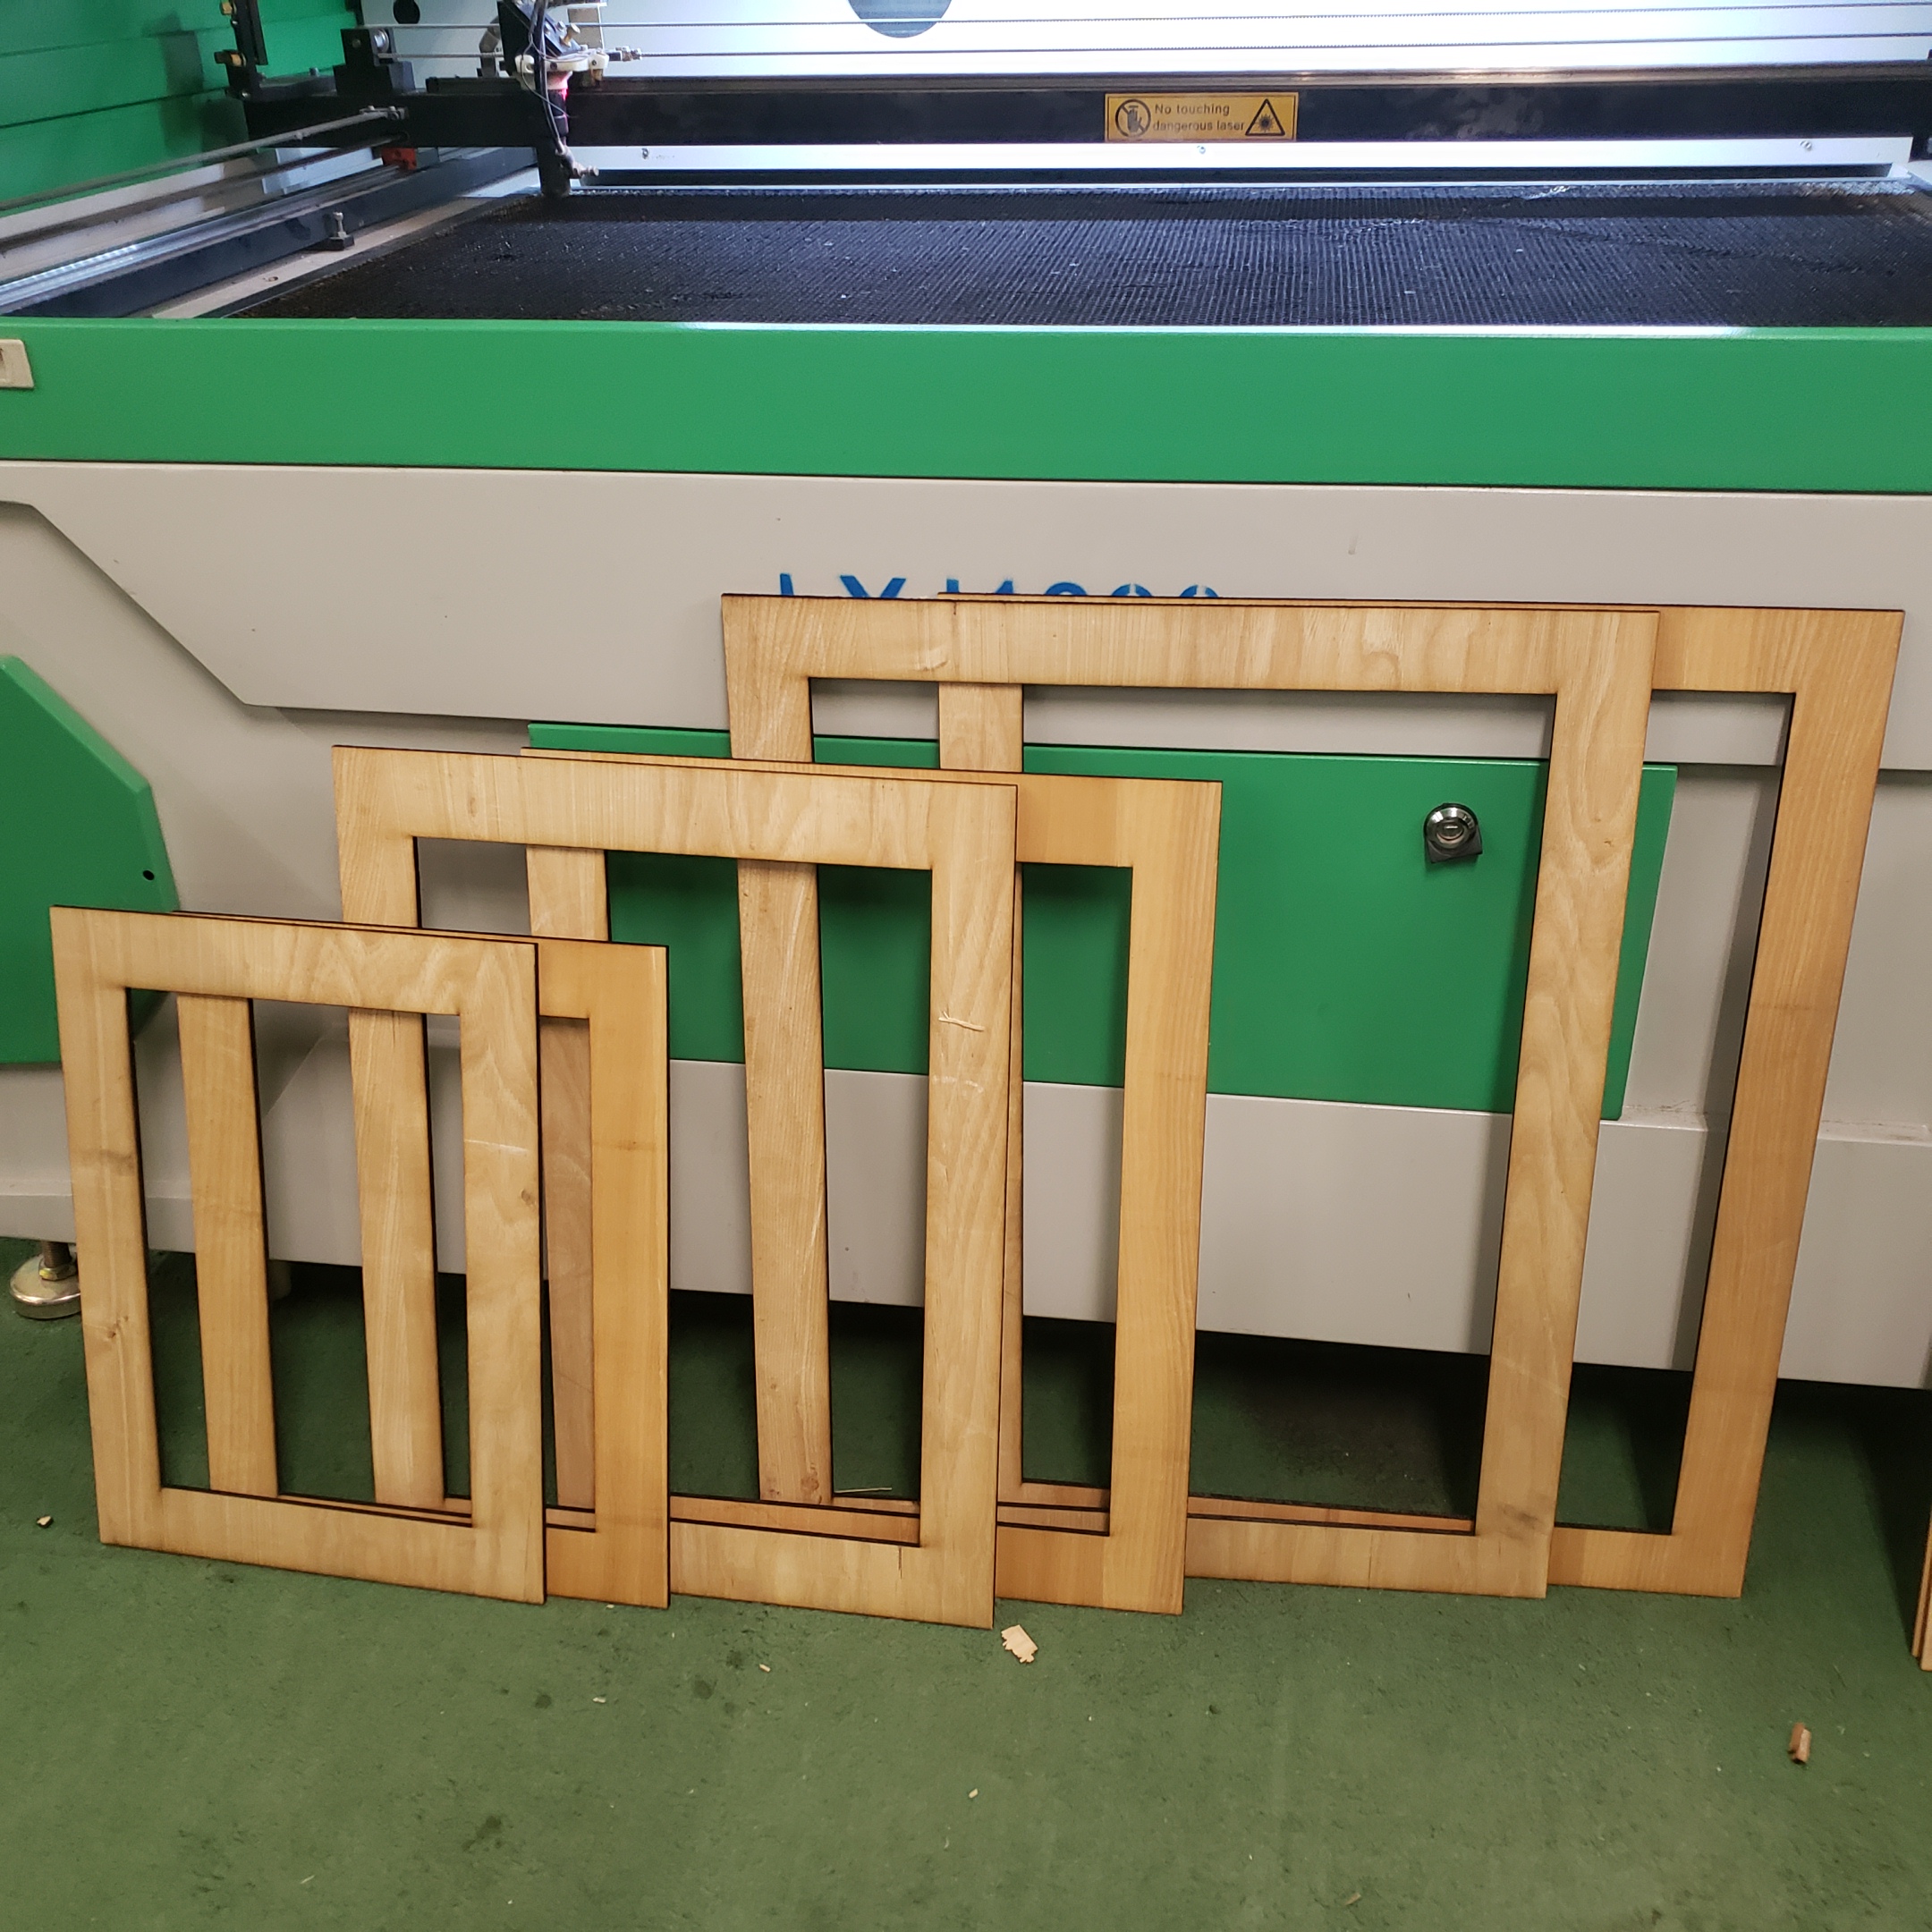
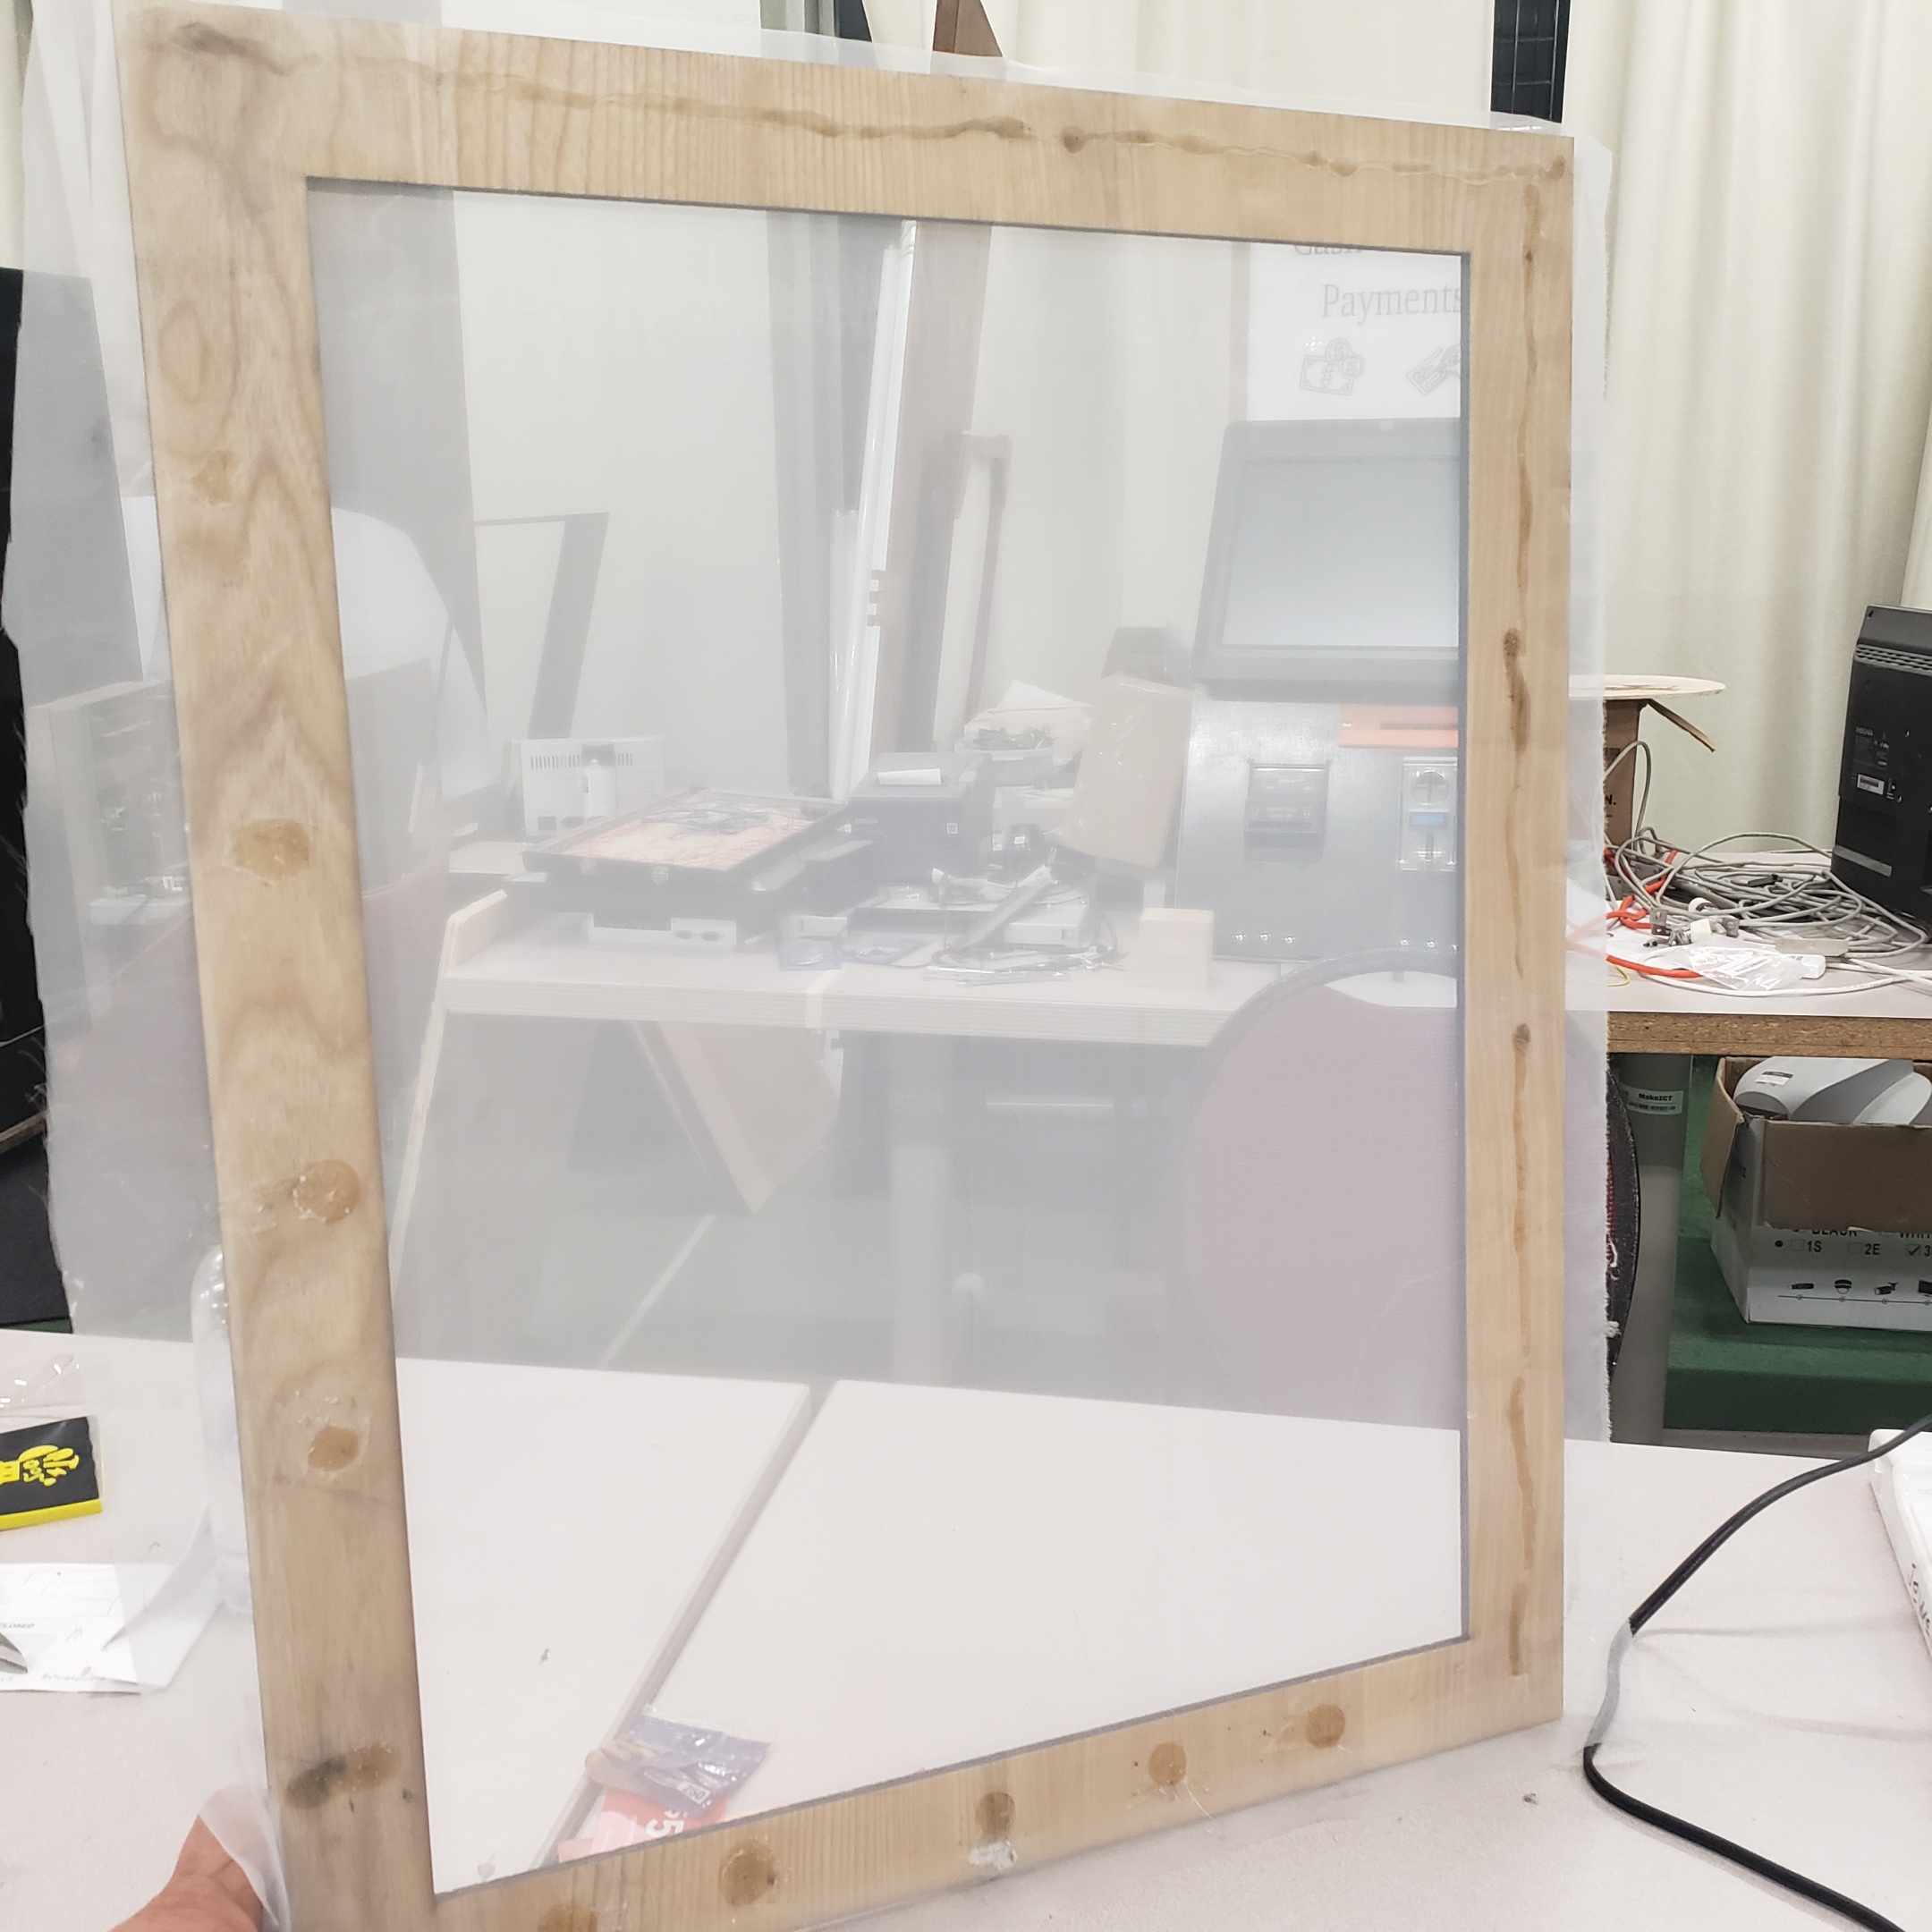
I start off cutting the frames on the laser
Then I stretched 110mesh silk screen over the frame.
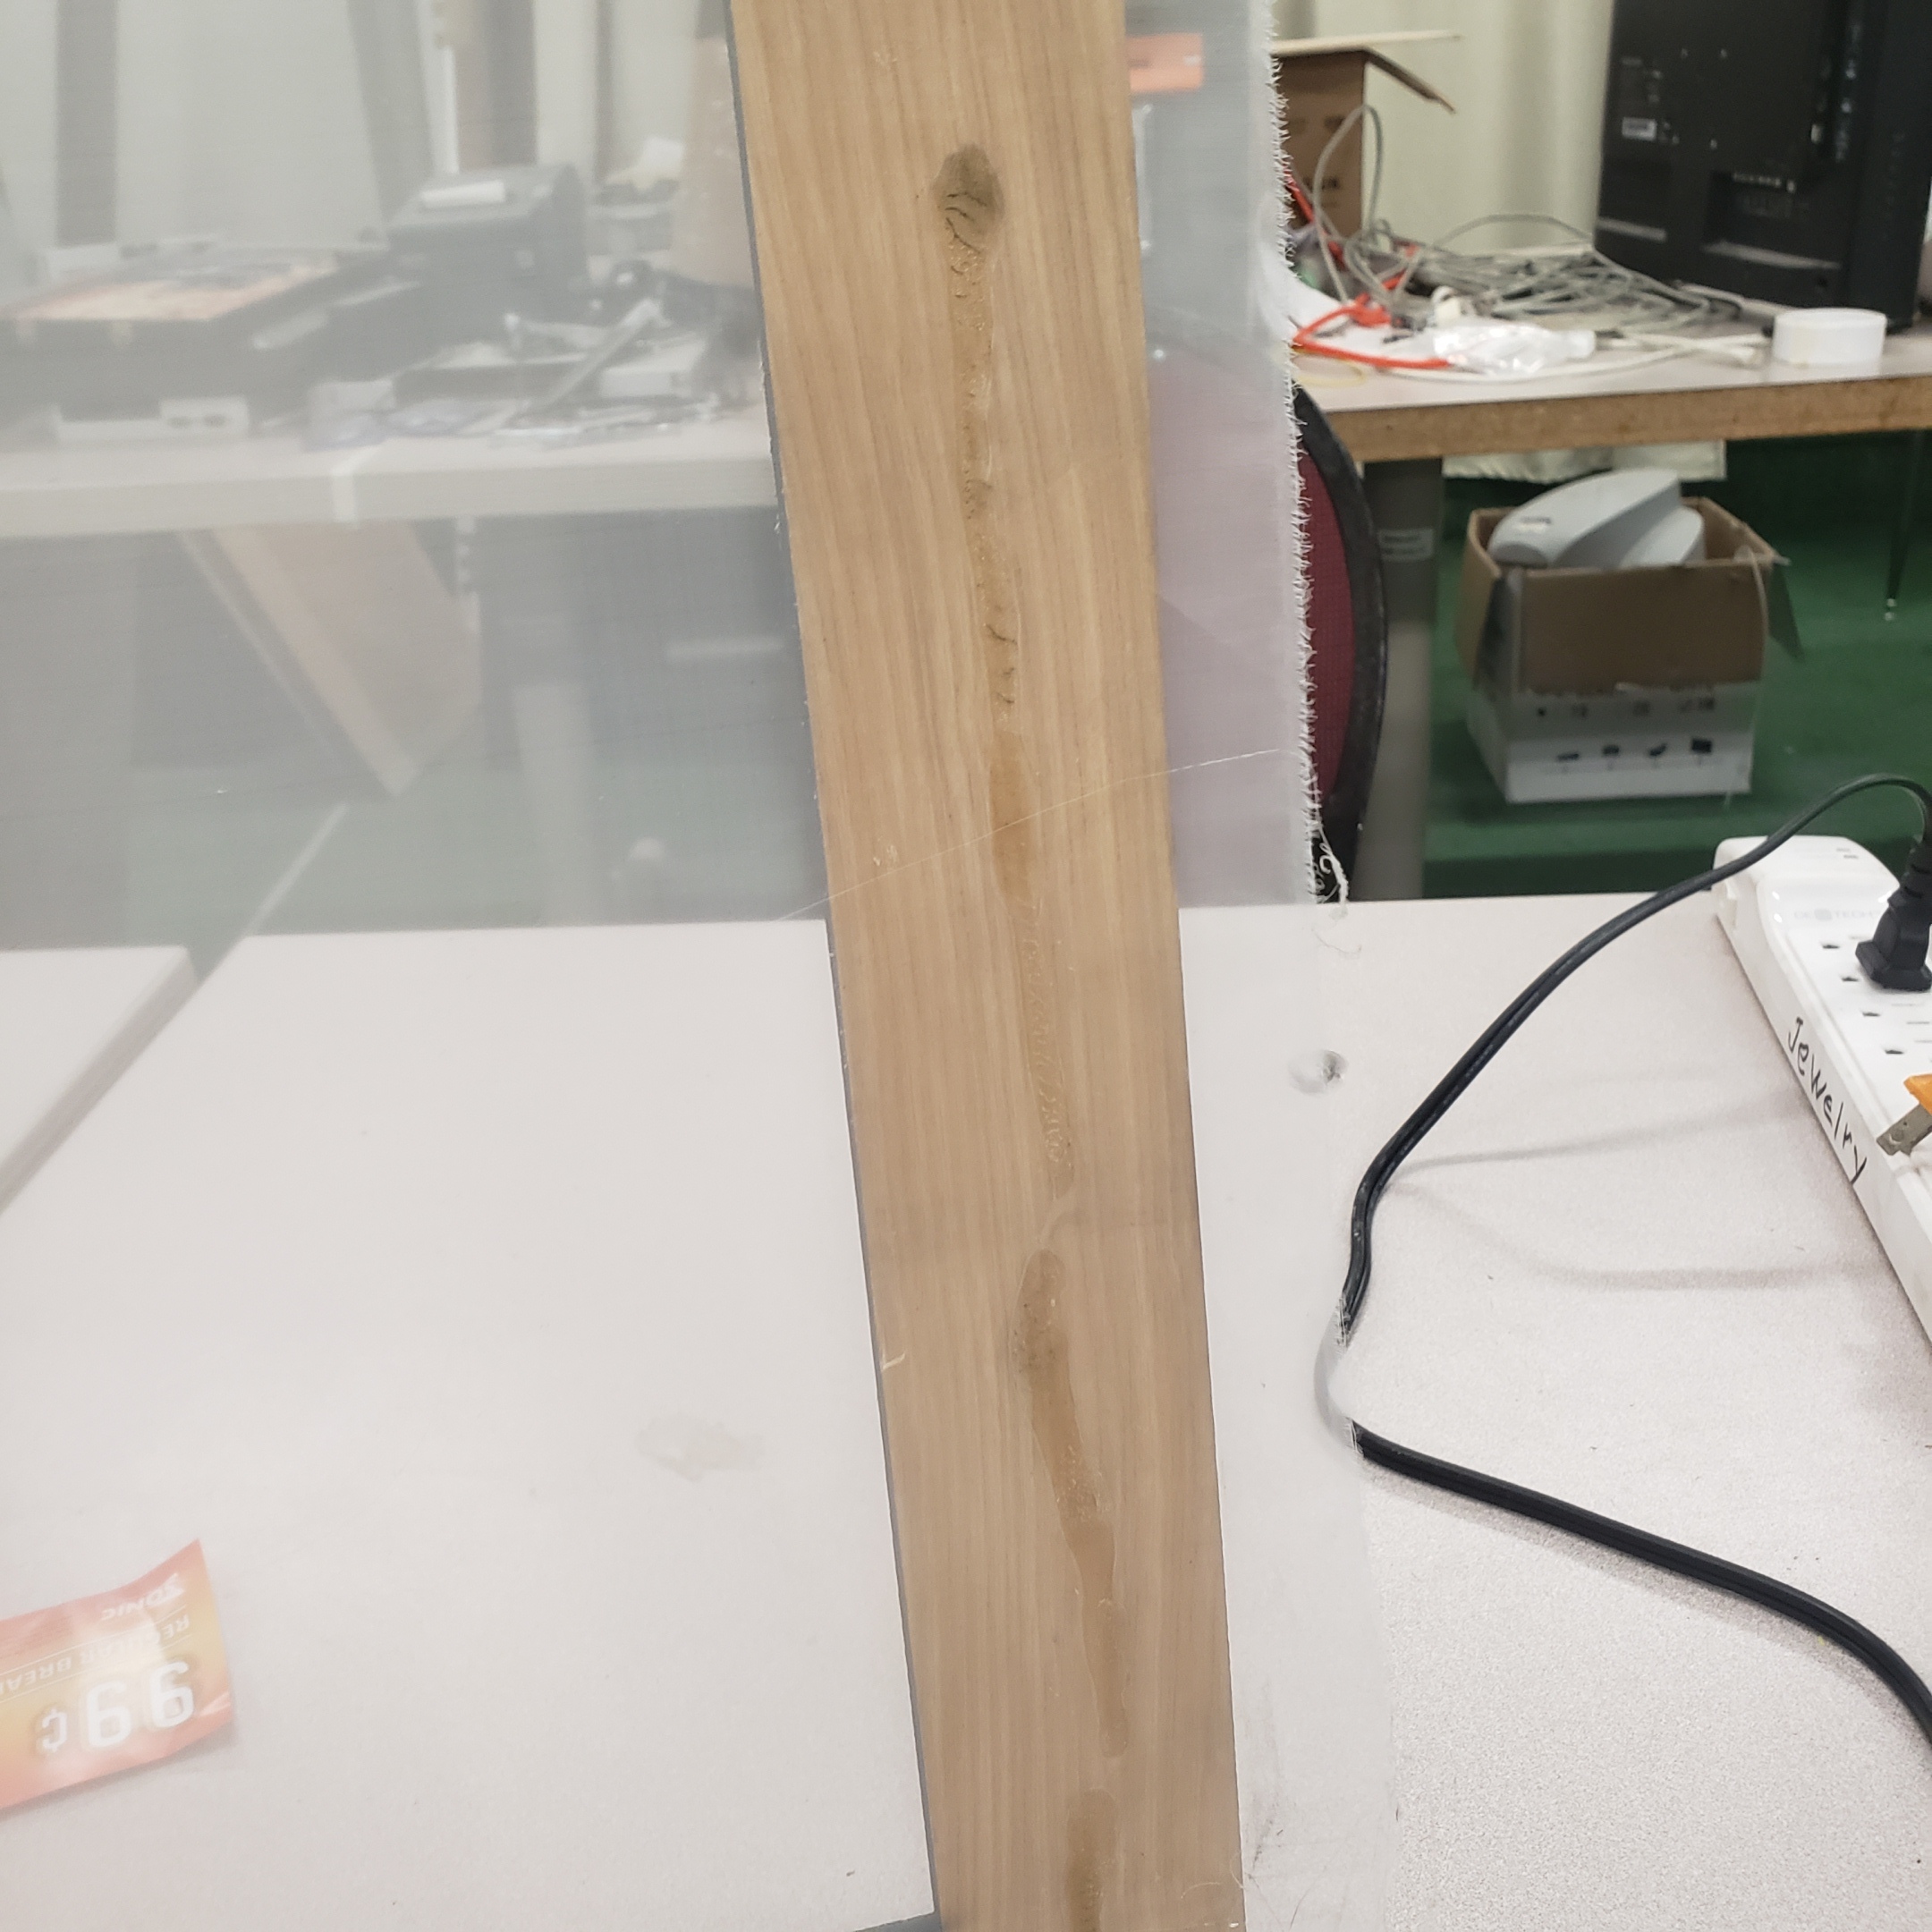
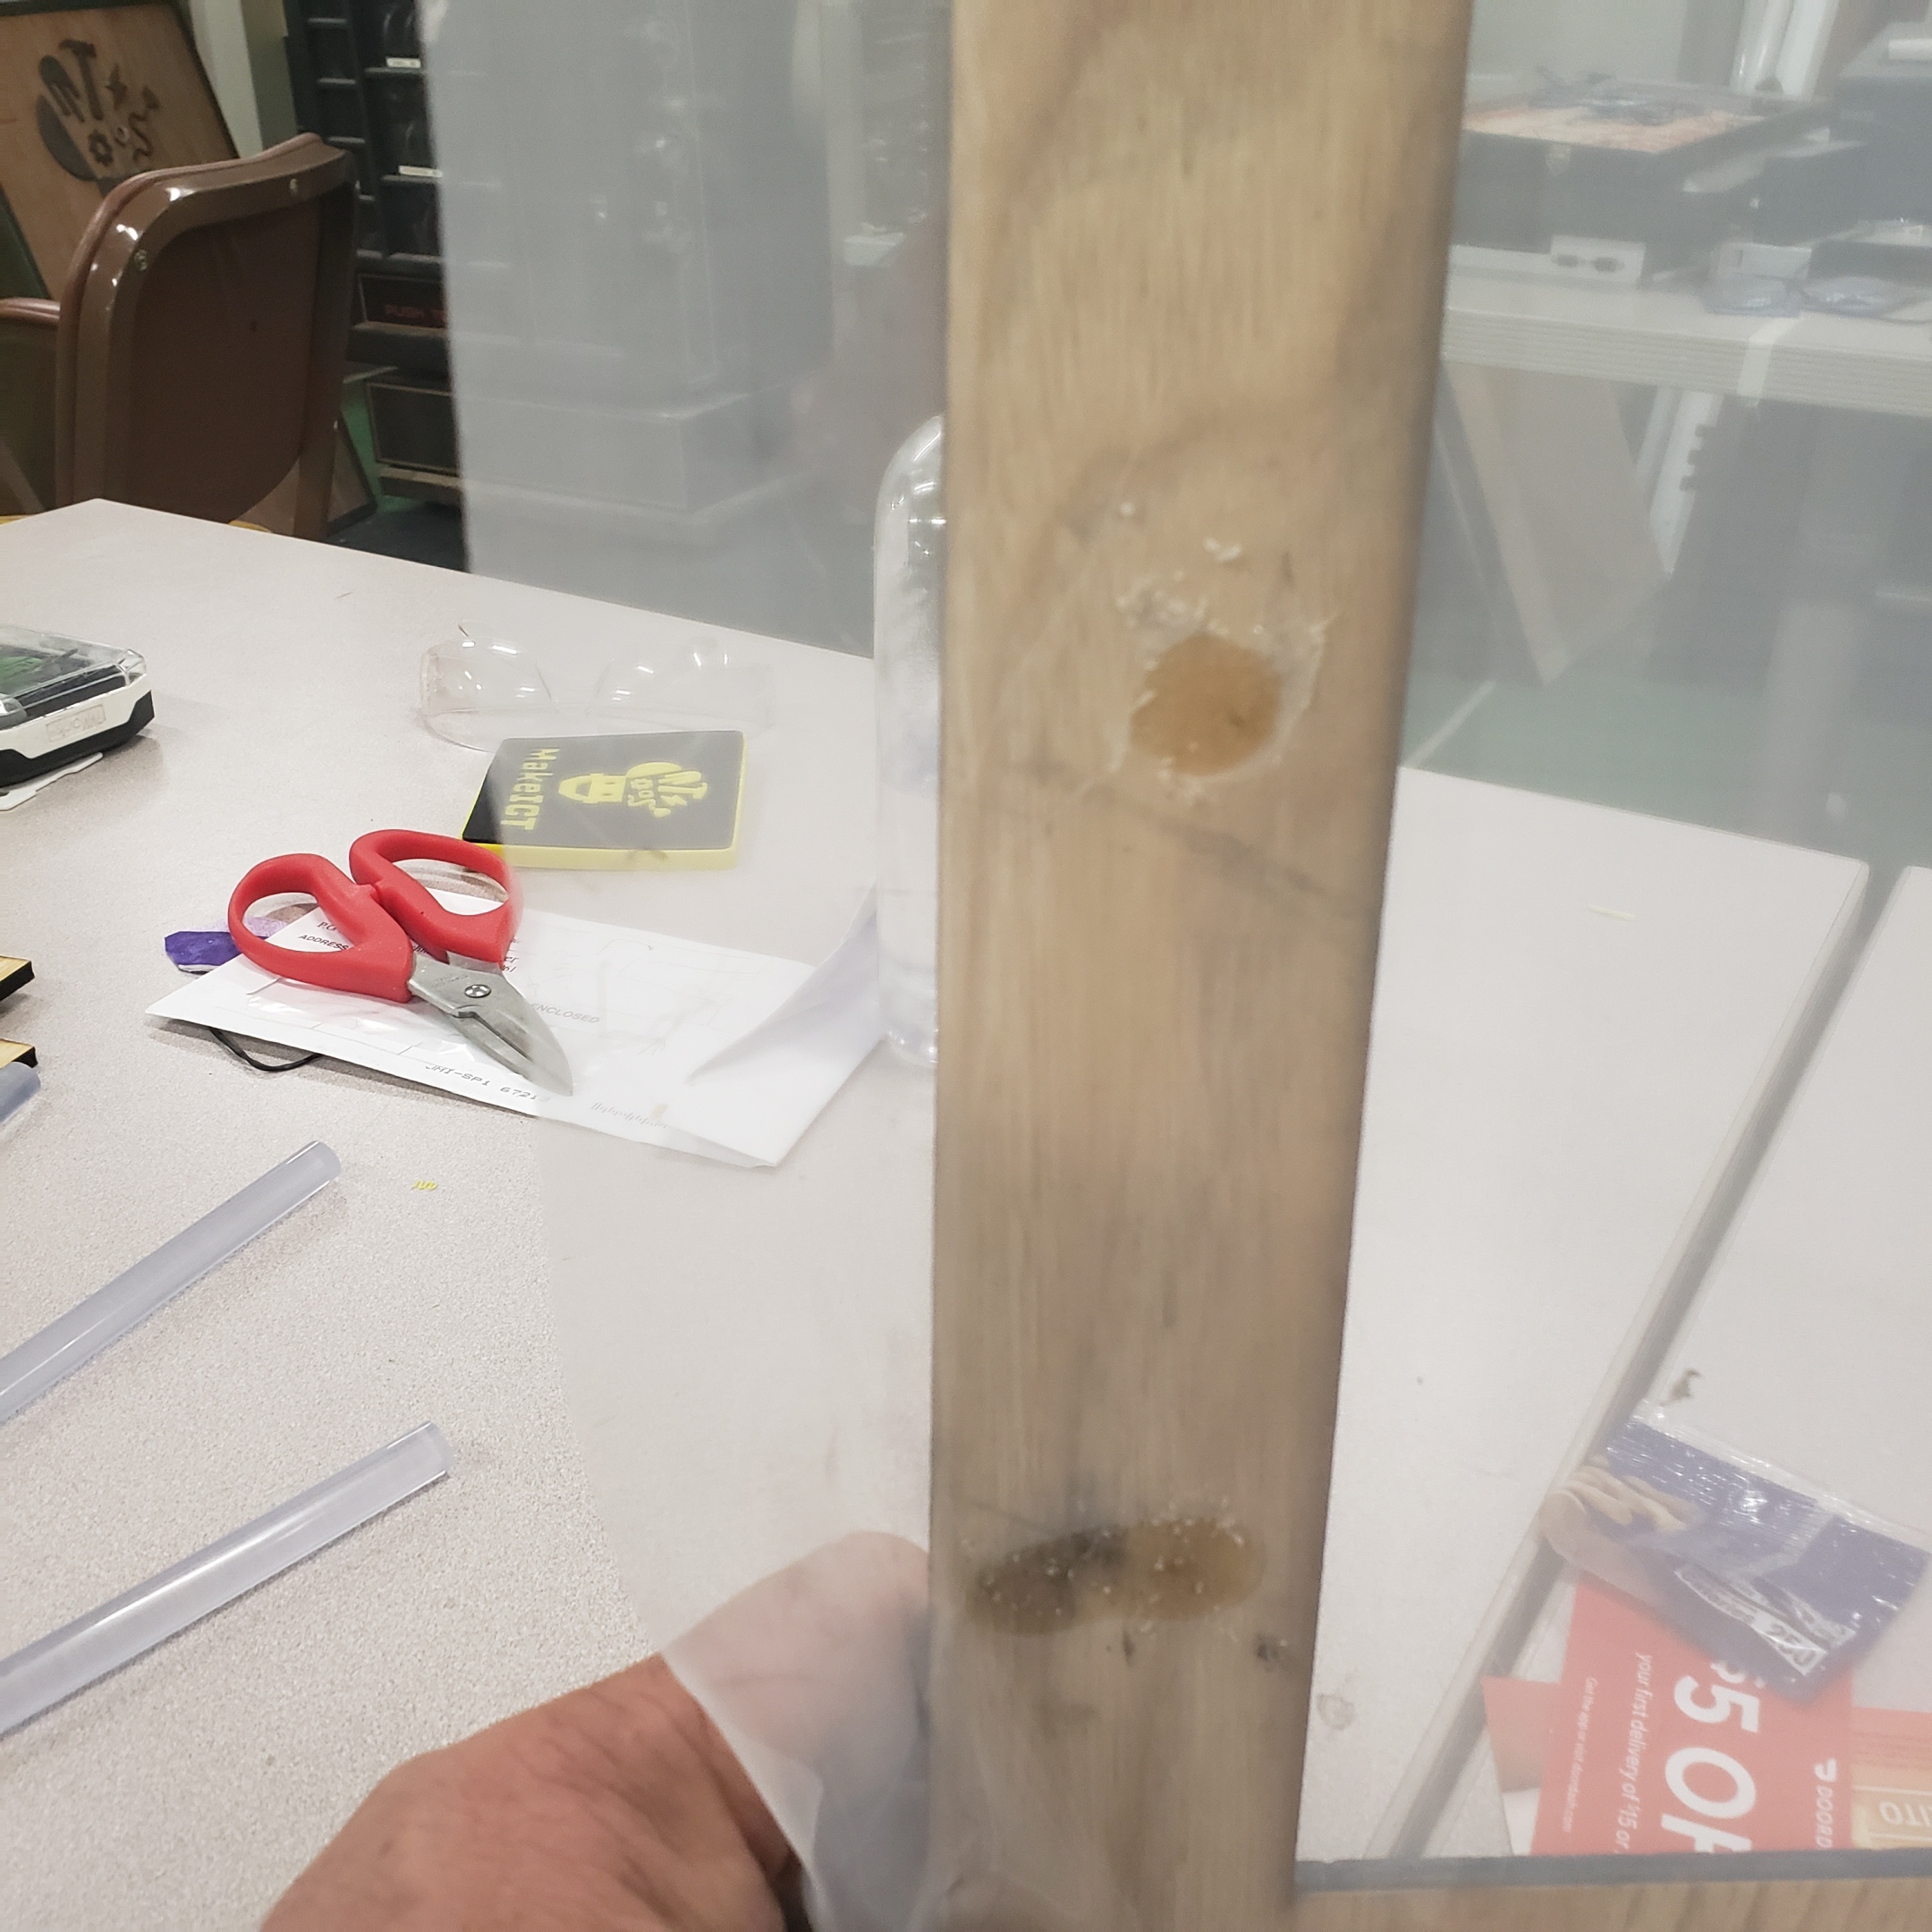
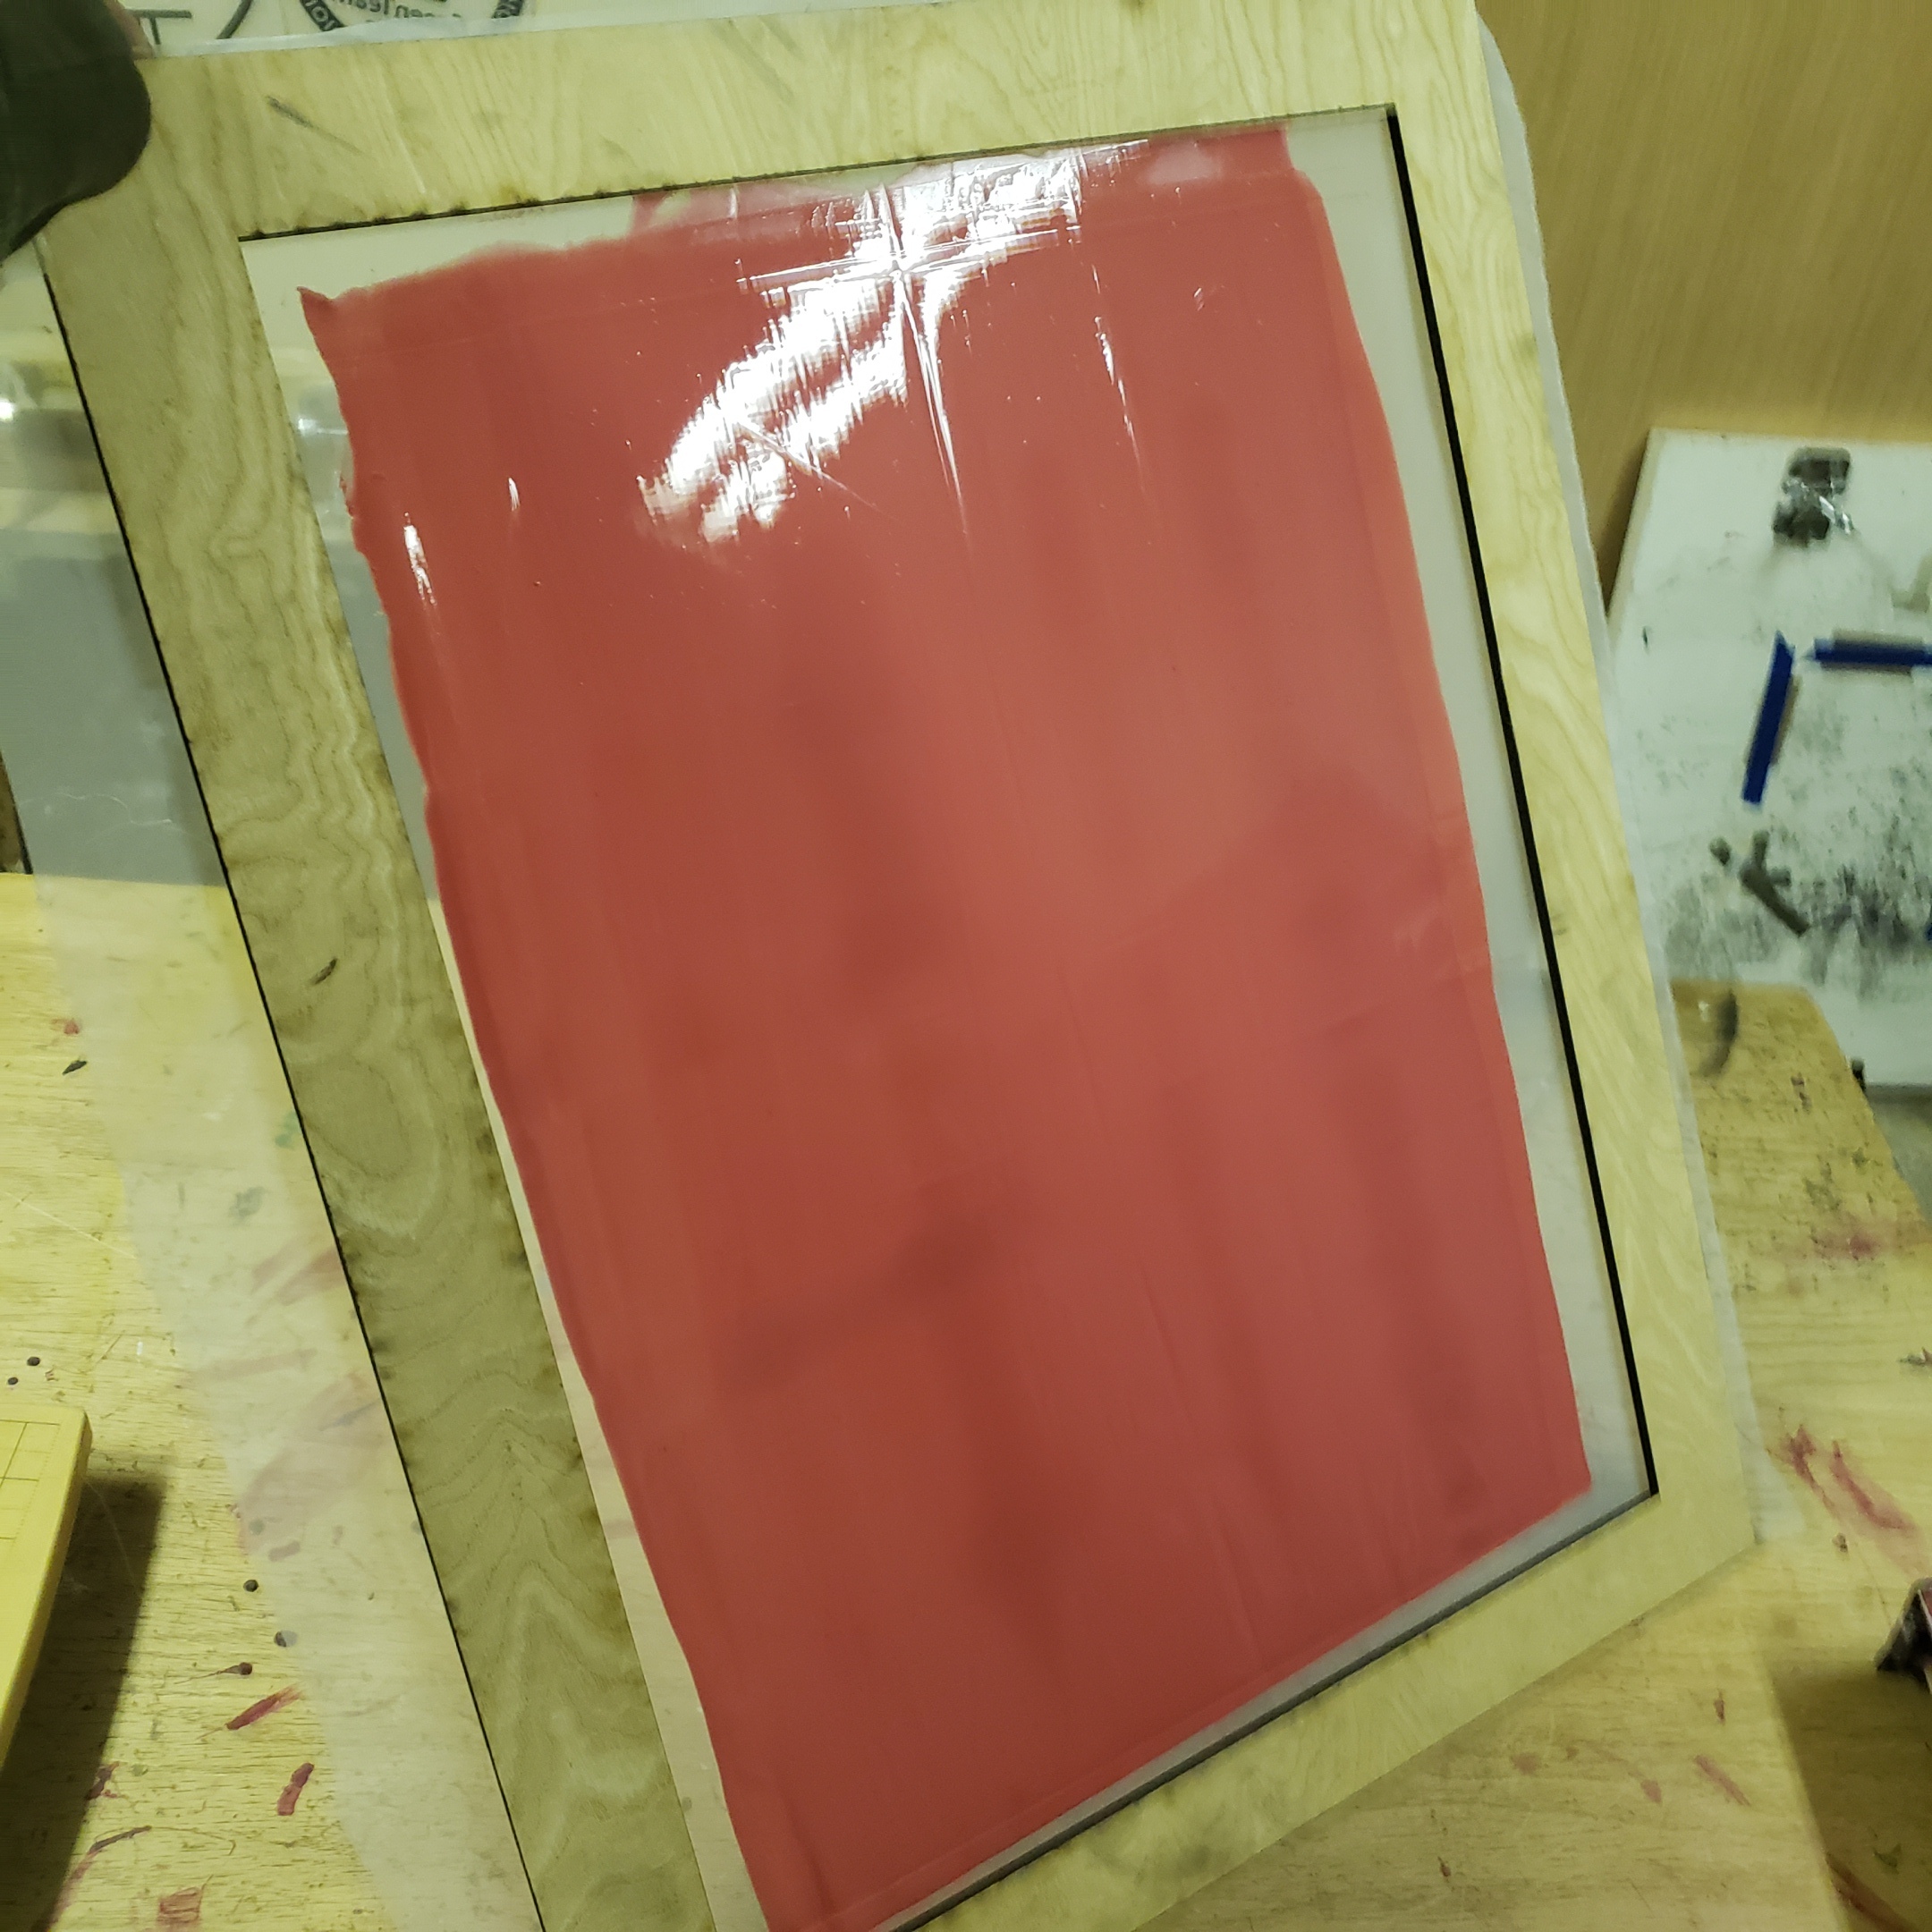
I started on one side of the frame with a line of hot glue then pressed the screen into the glue to embed it then I did the same on one side next to it.
On two opposing sides I stretched screen with a series of dots of glue.
I ran into Malissa and she was a huge help with getting my emulsion applied properly.
Thanks!
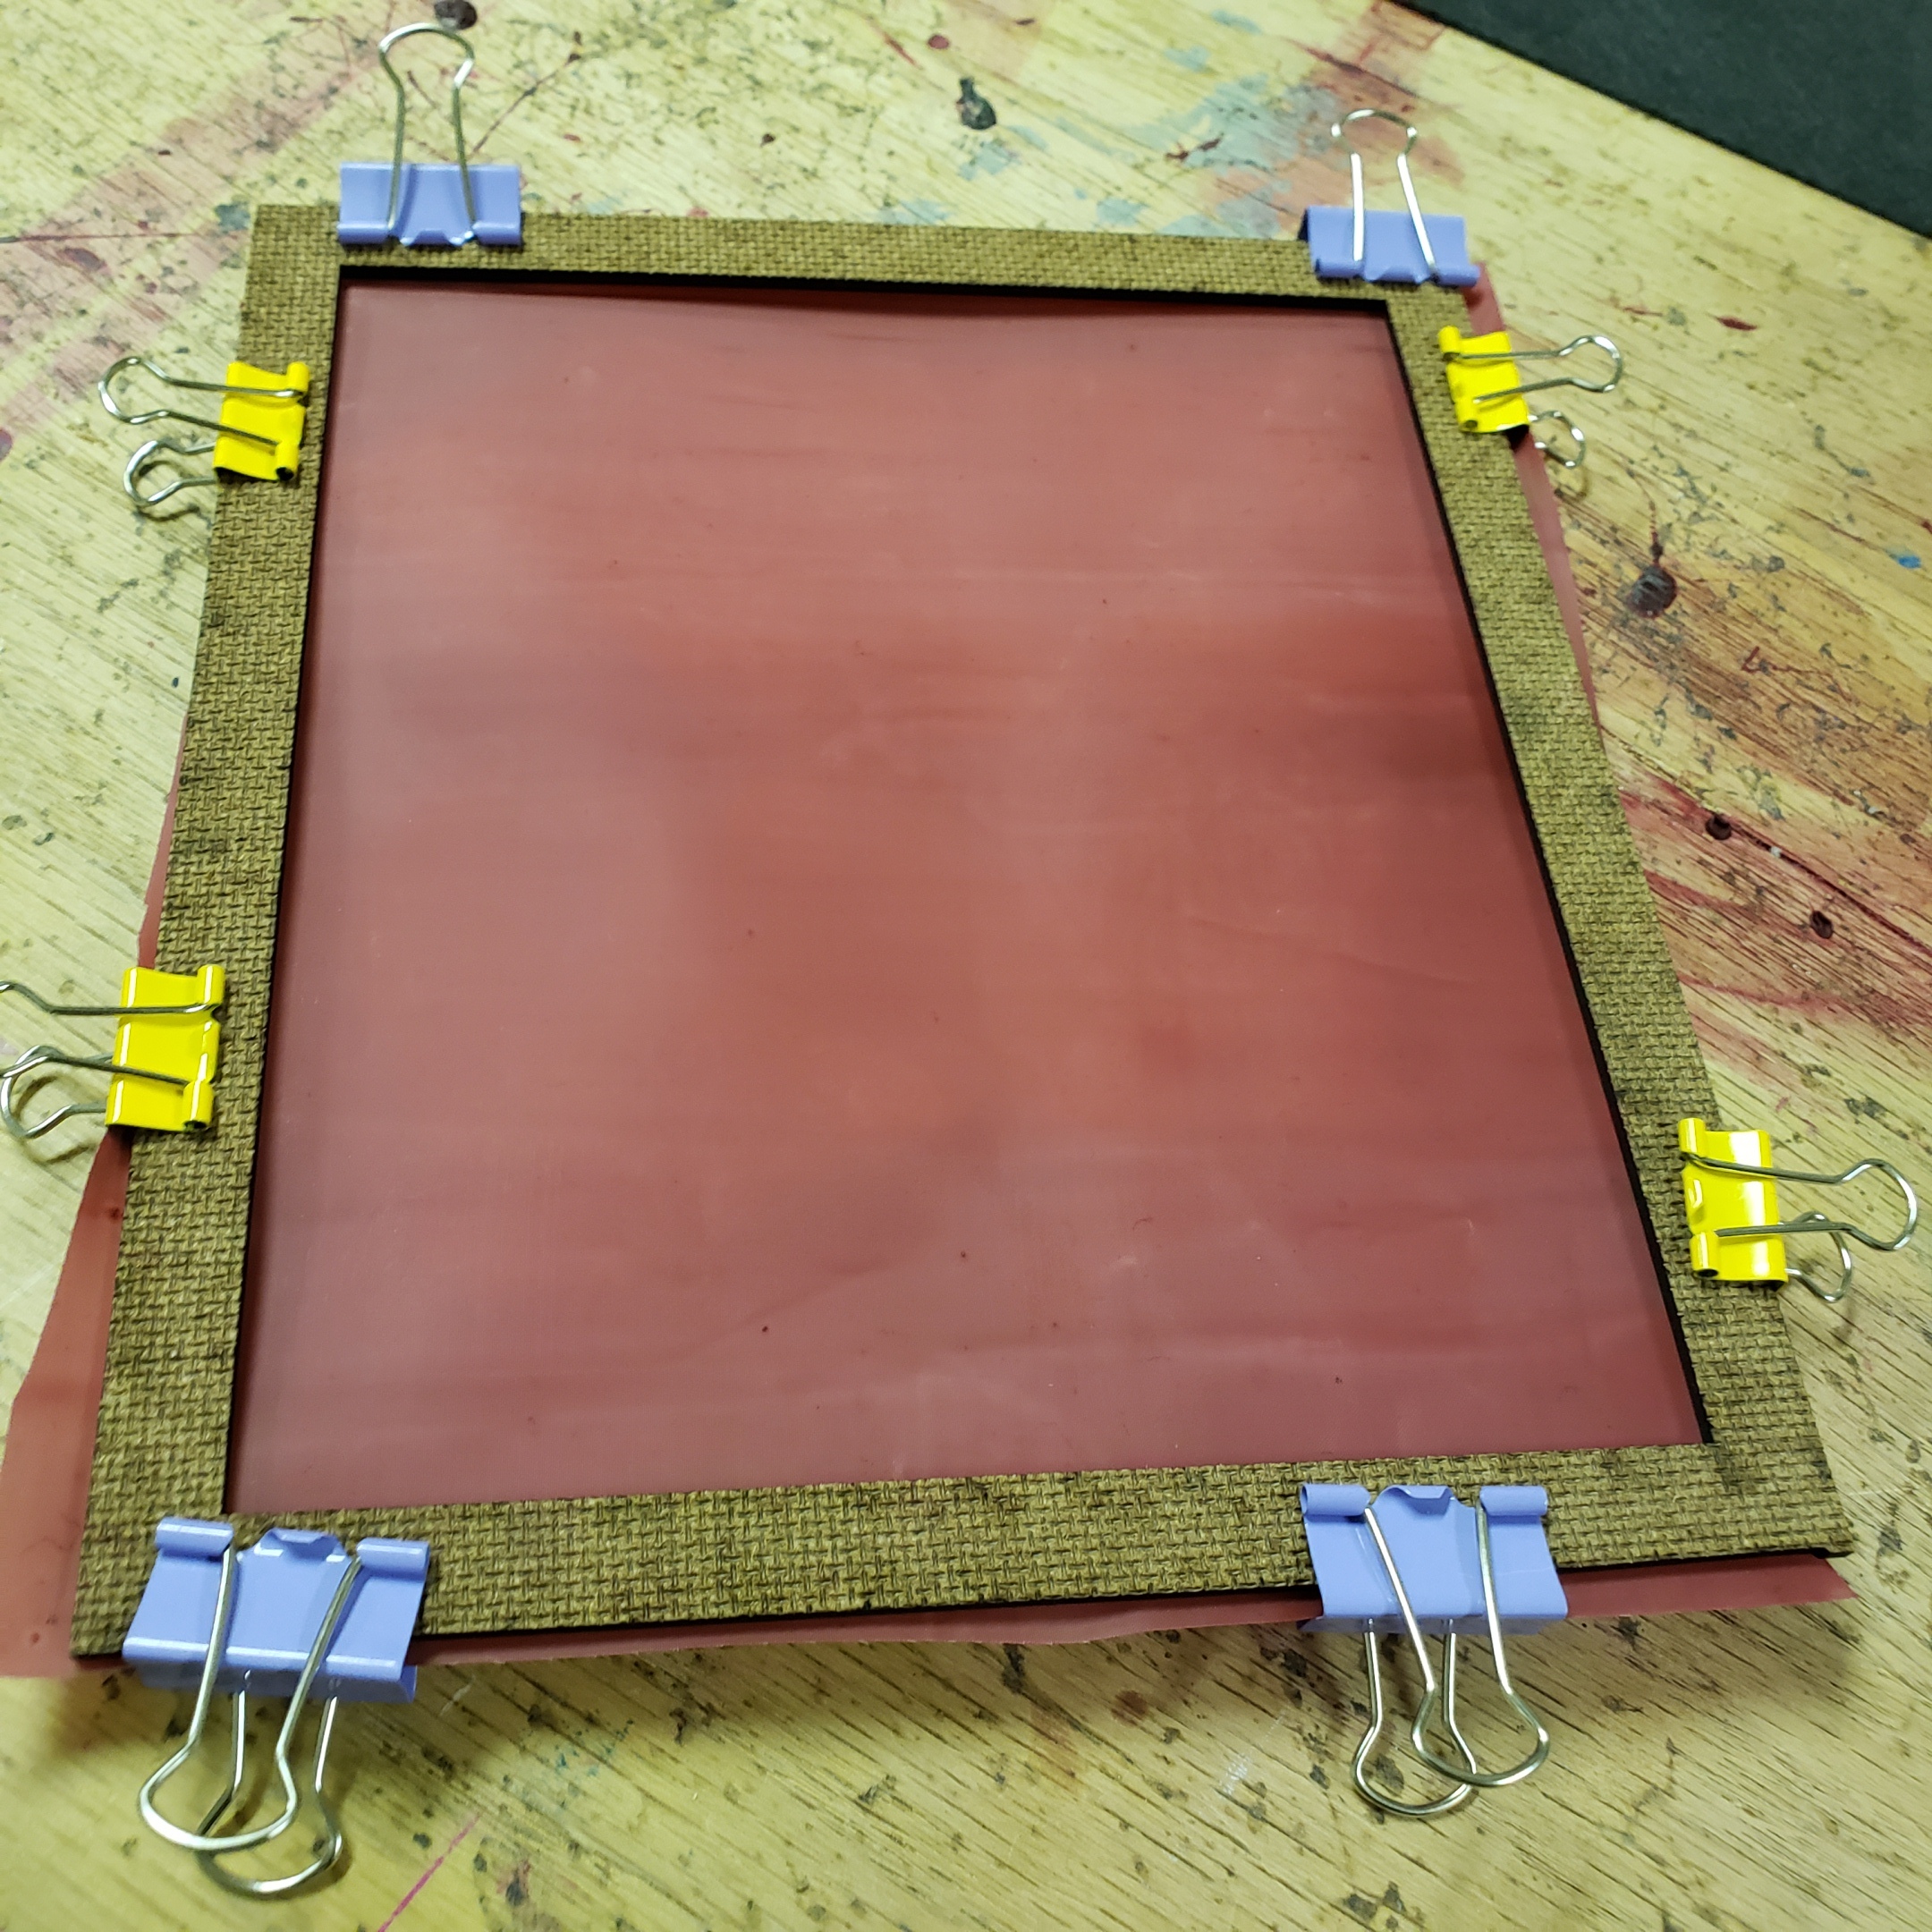
My last steps will be to remove from frame and to make image.
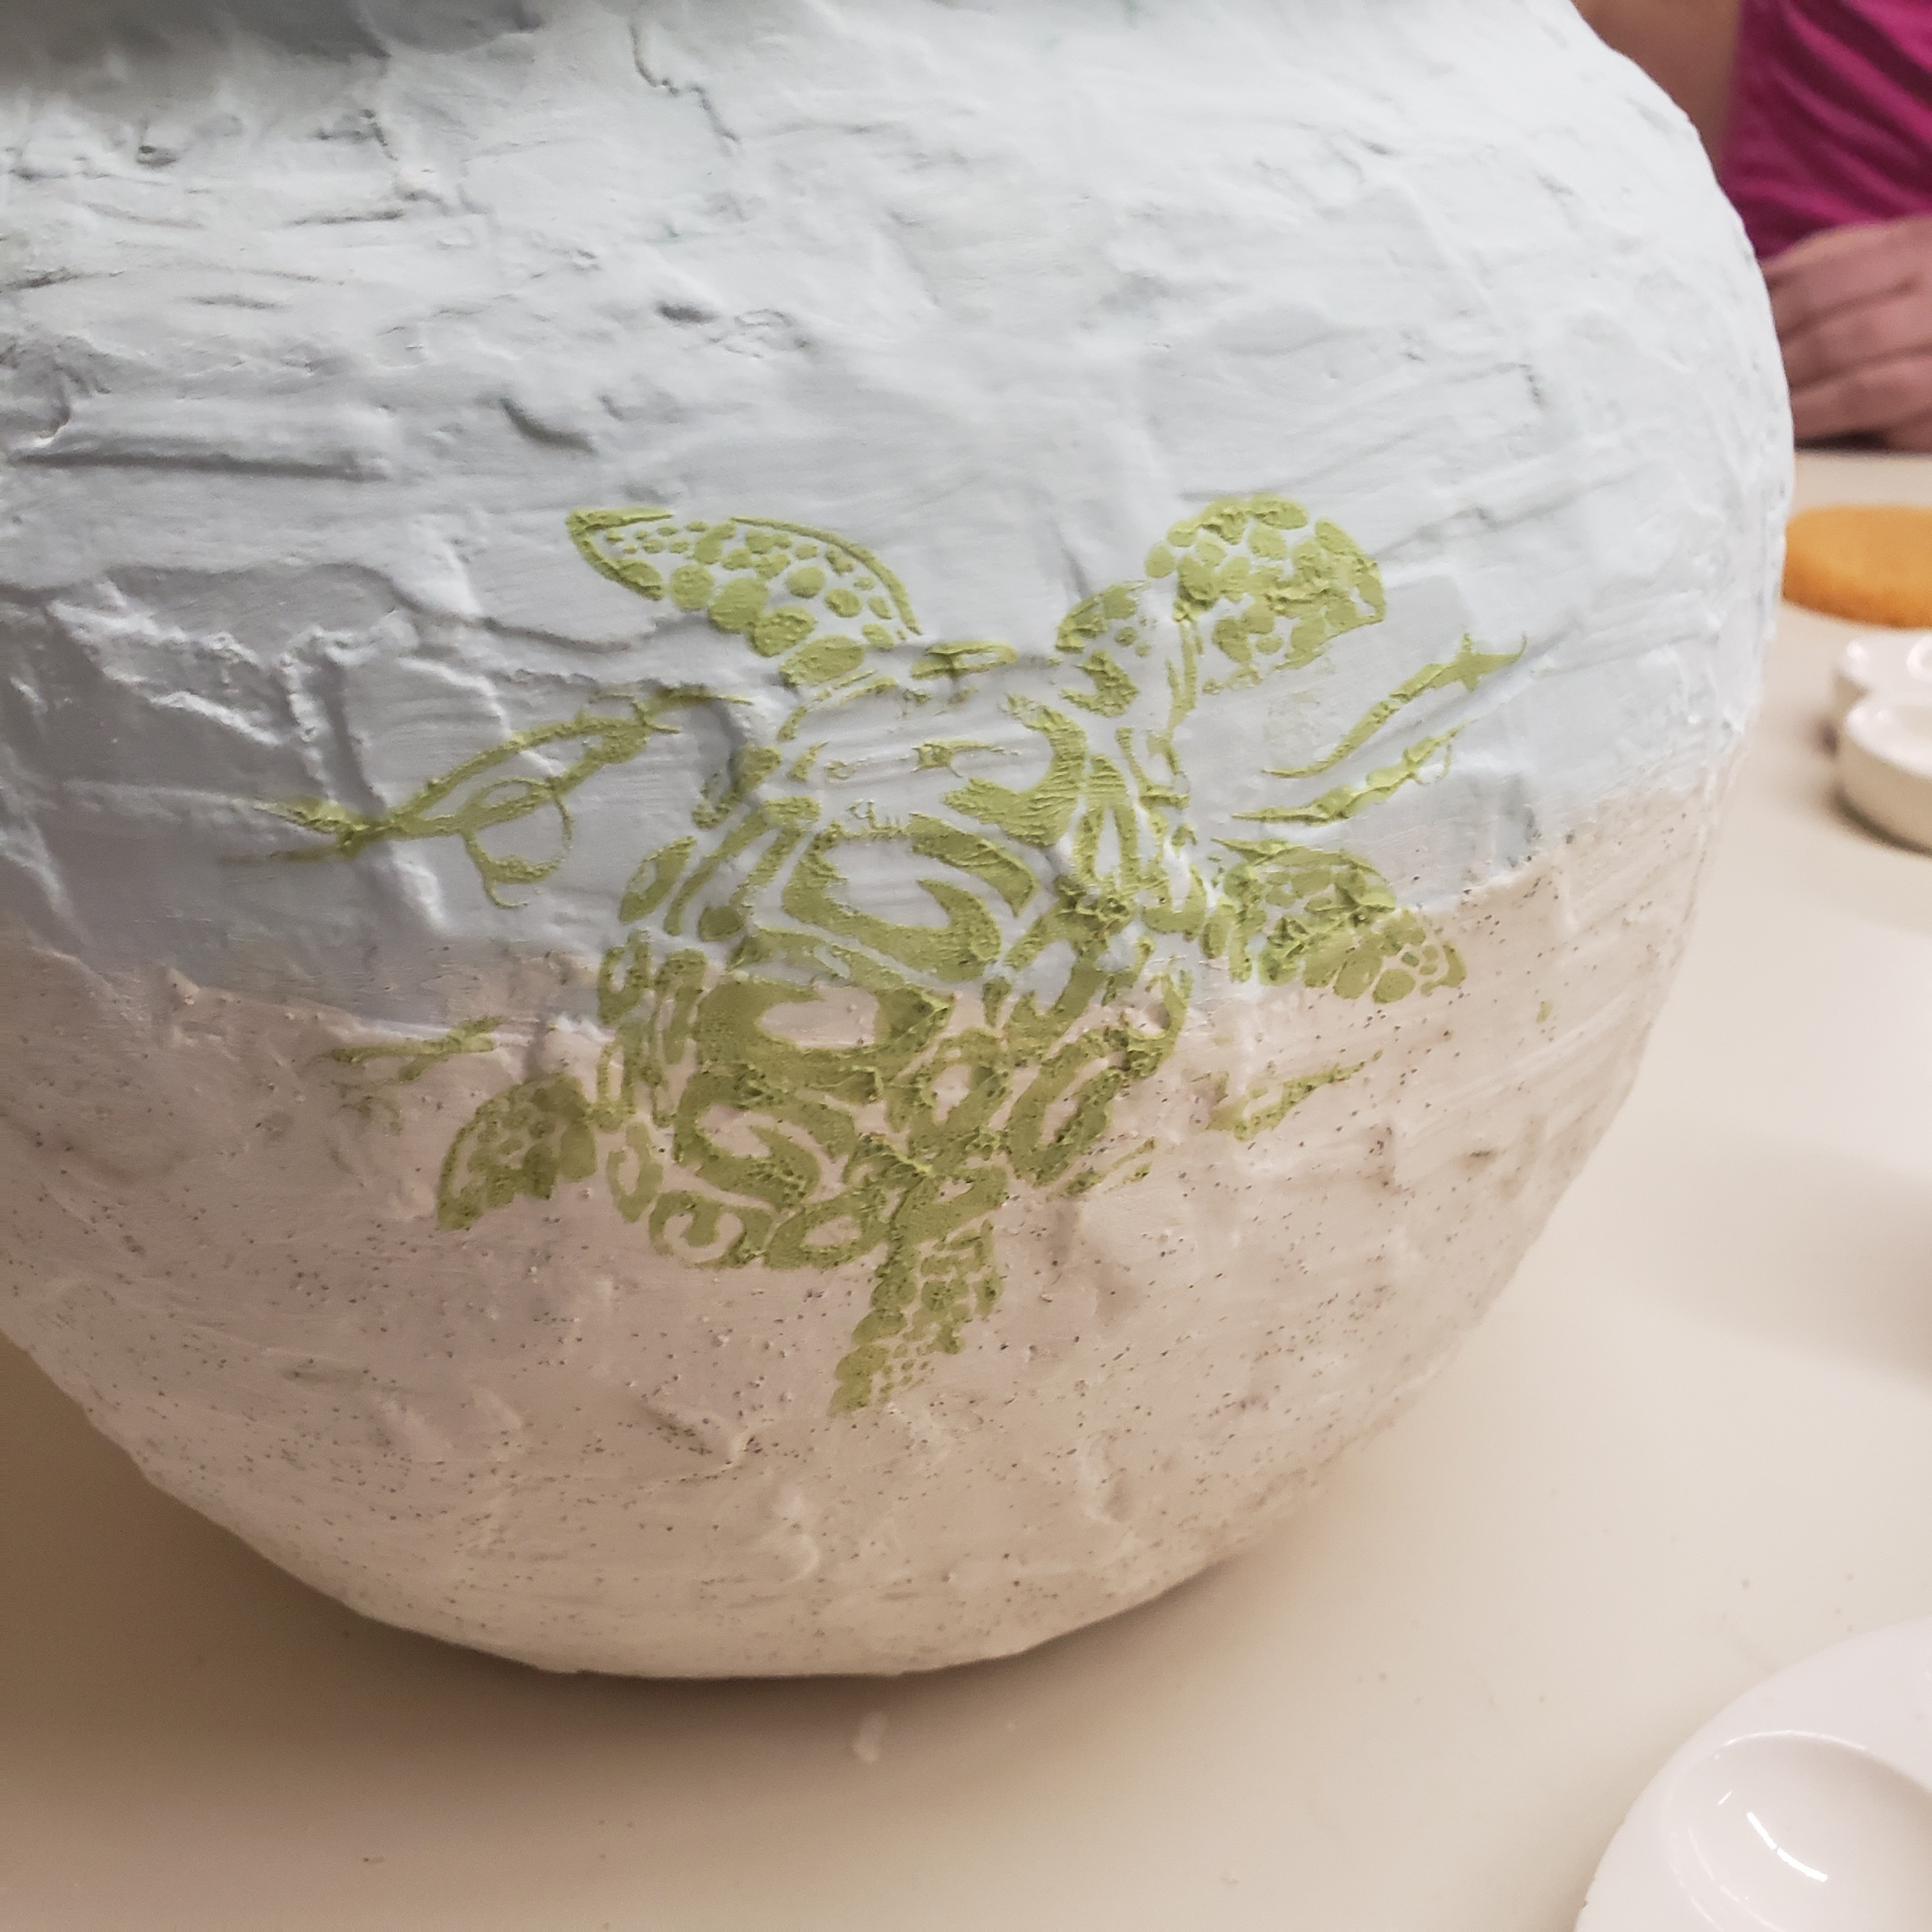
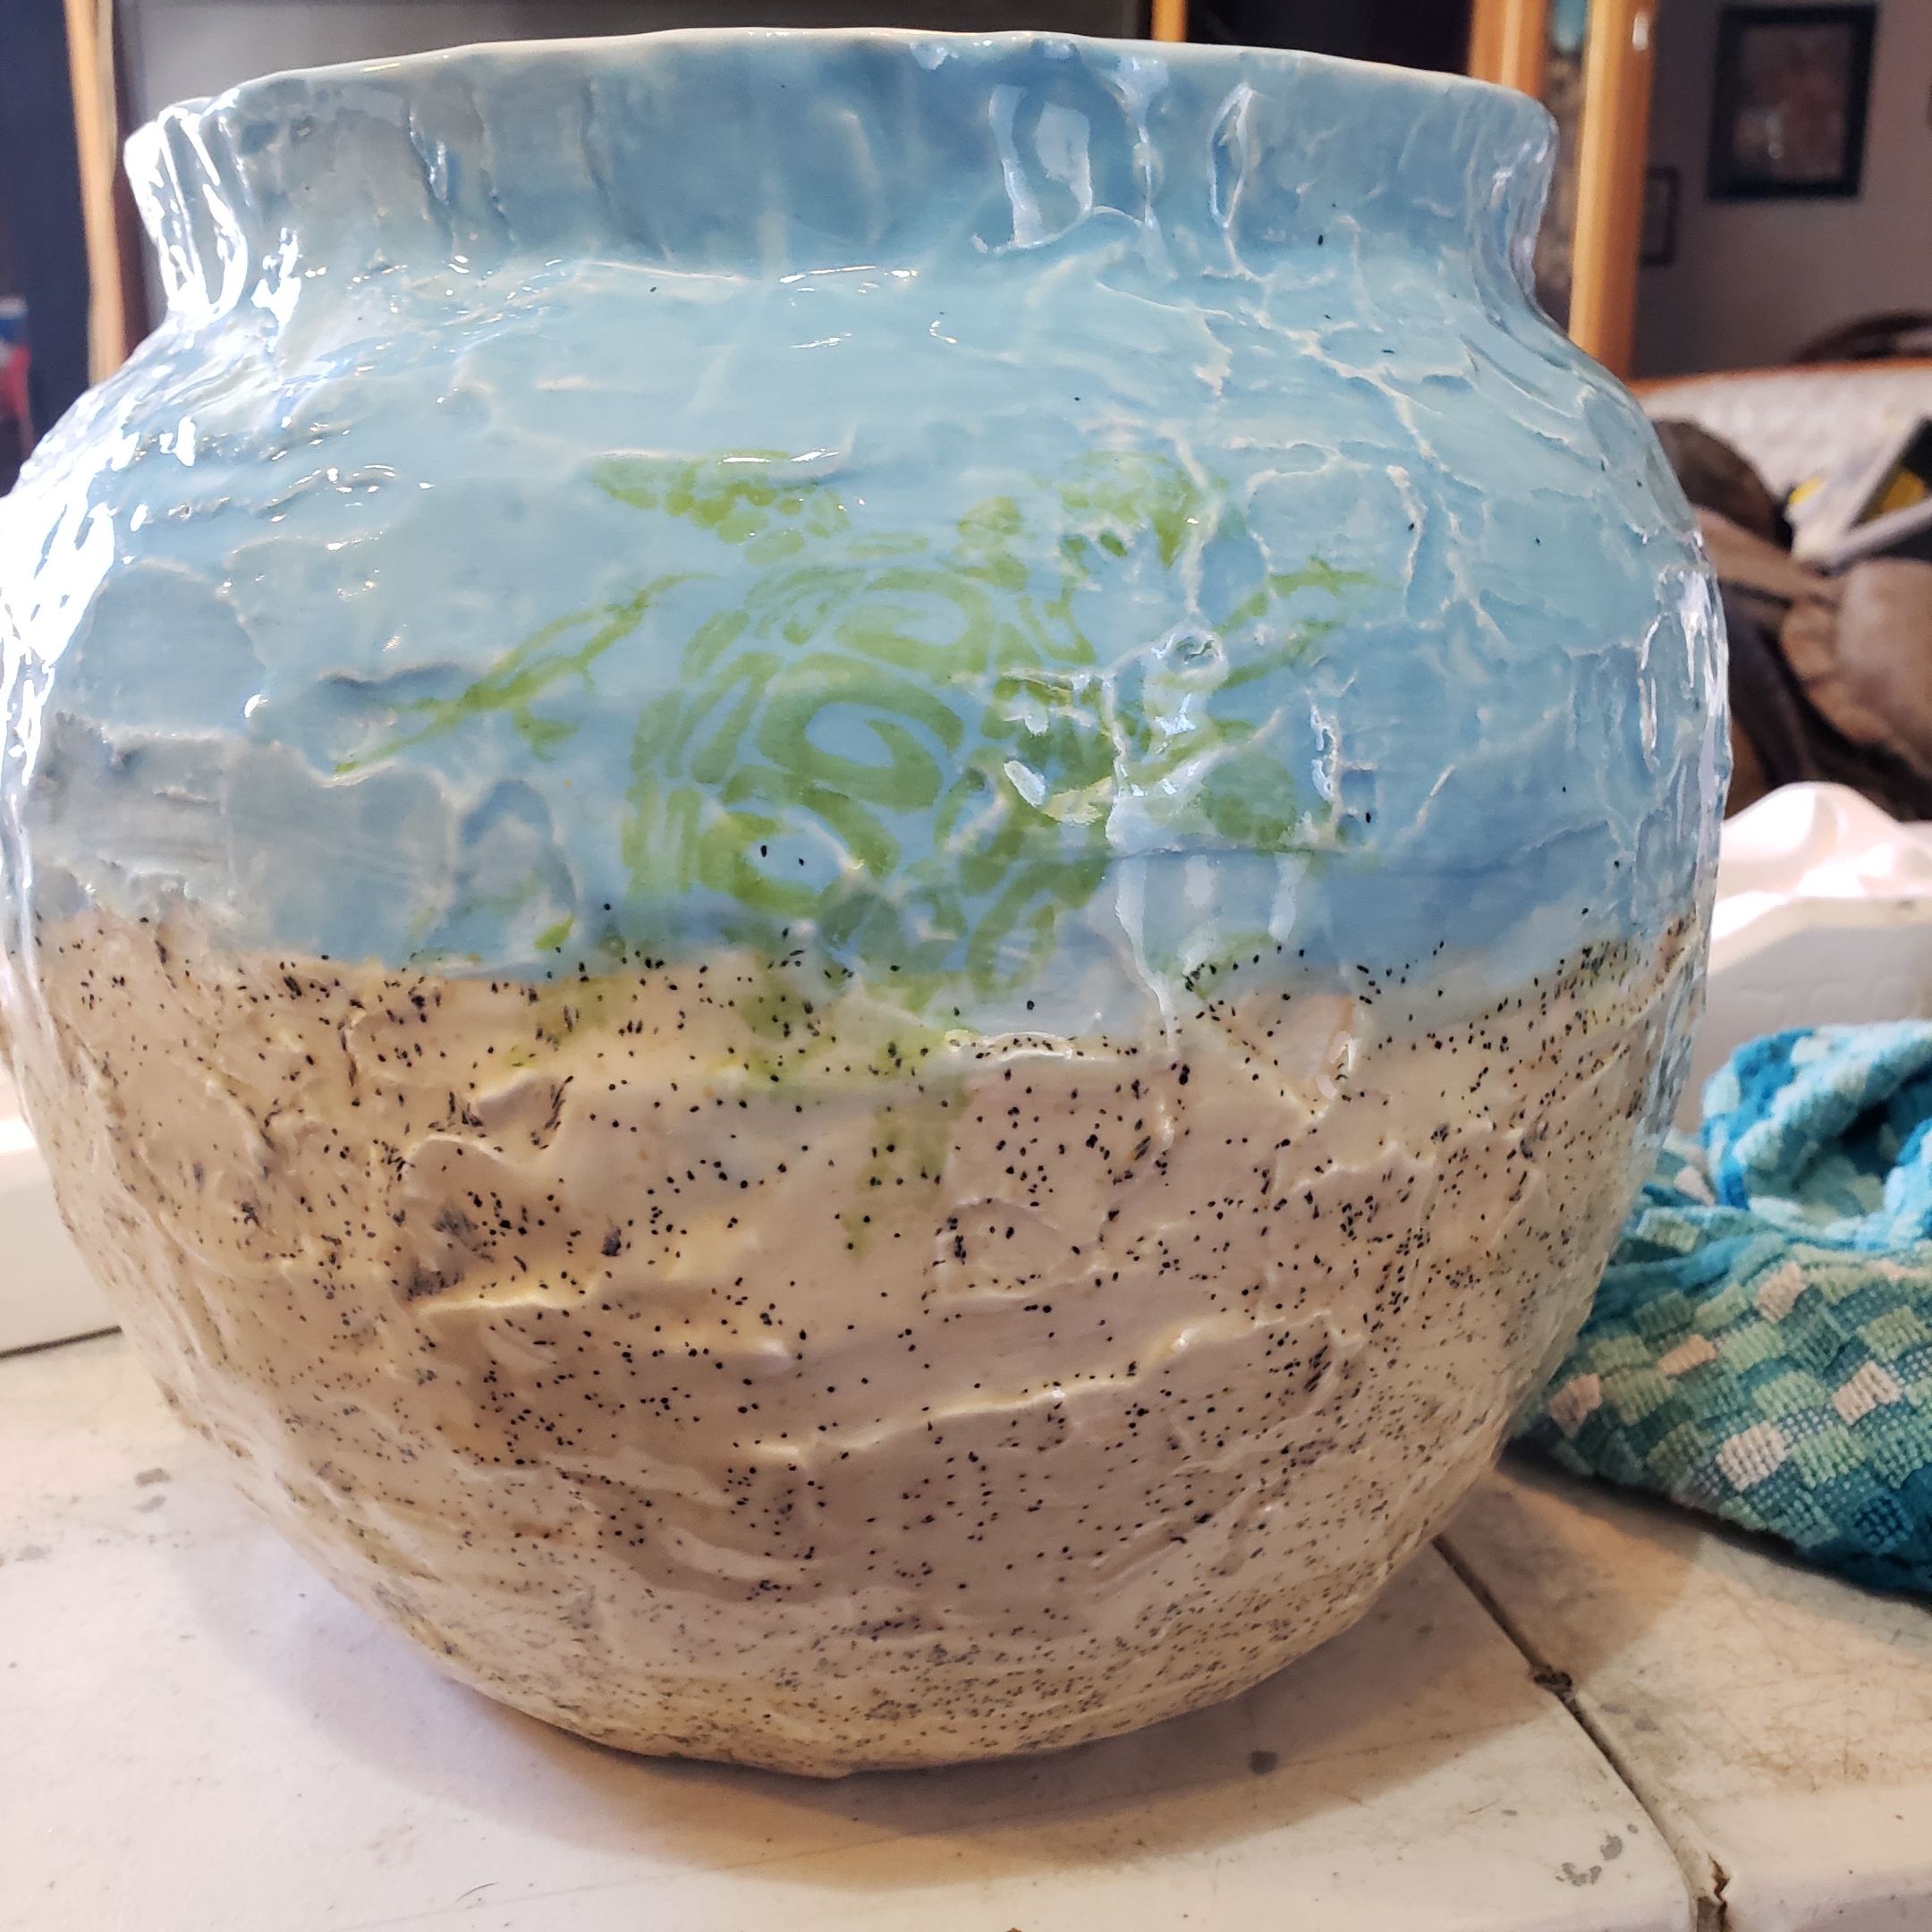
Then onto ceramics for screenprinting onto clay and stoneware
Using 3 different areas makes this a trifecta
Laser
Screenprinting
And ceramics
Stay tuned for updates!!!
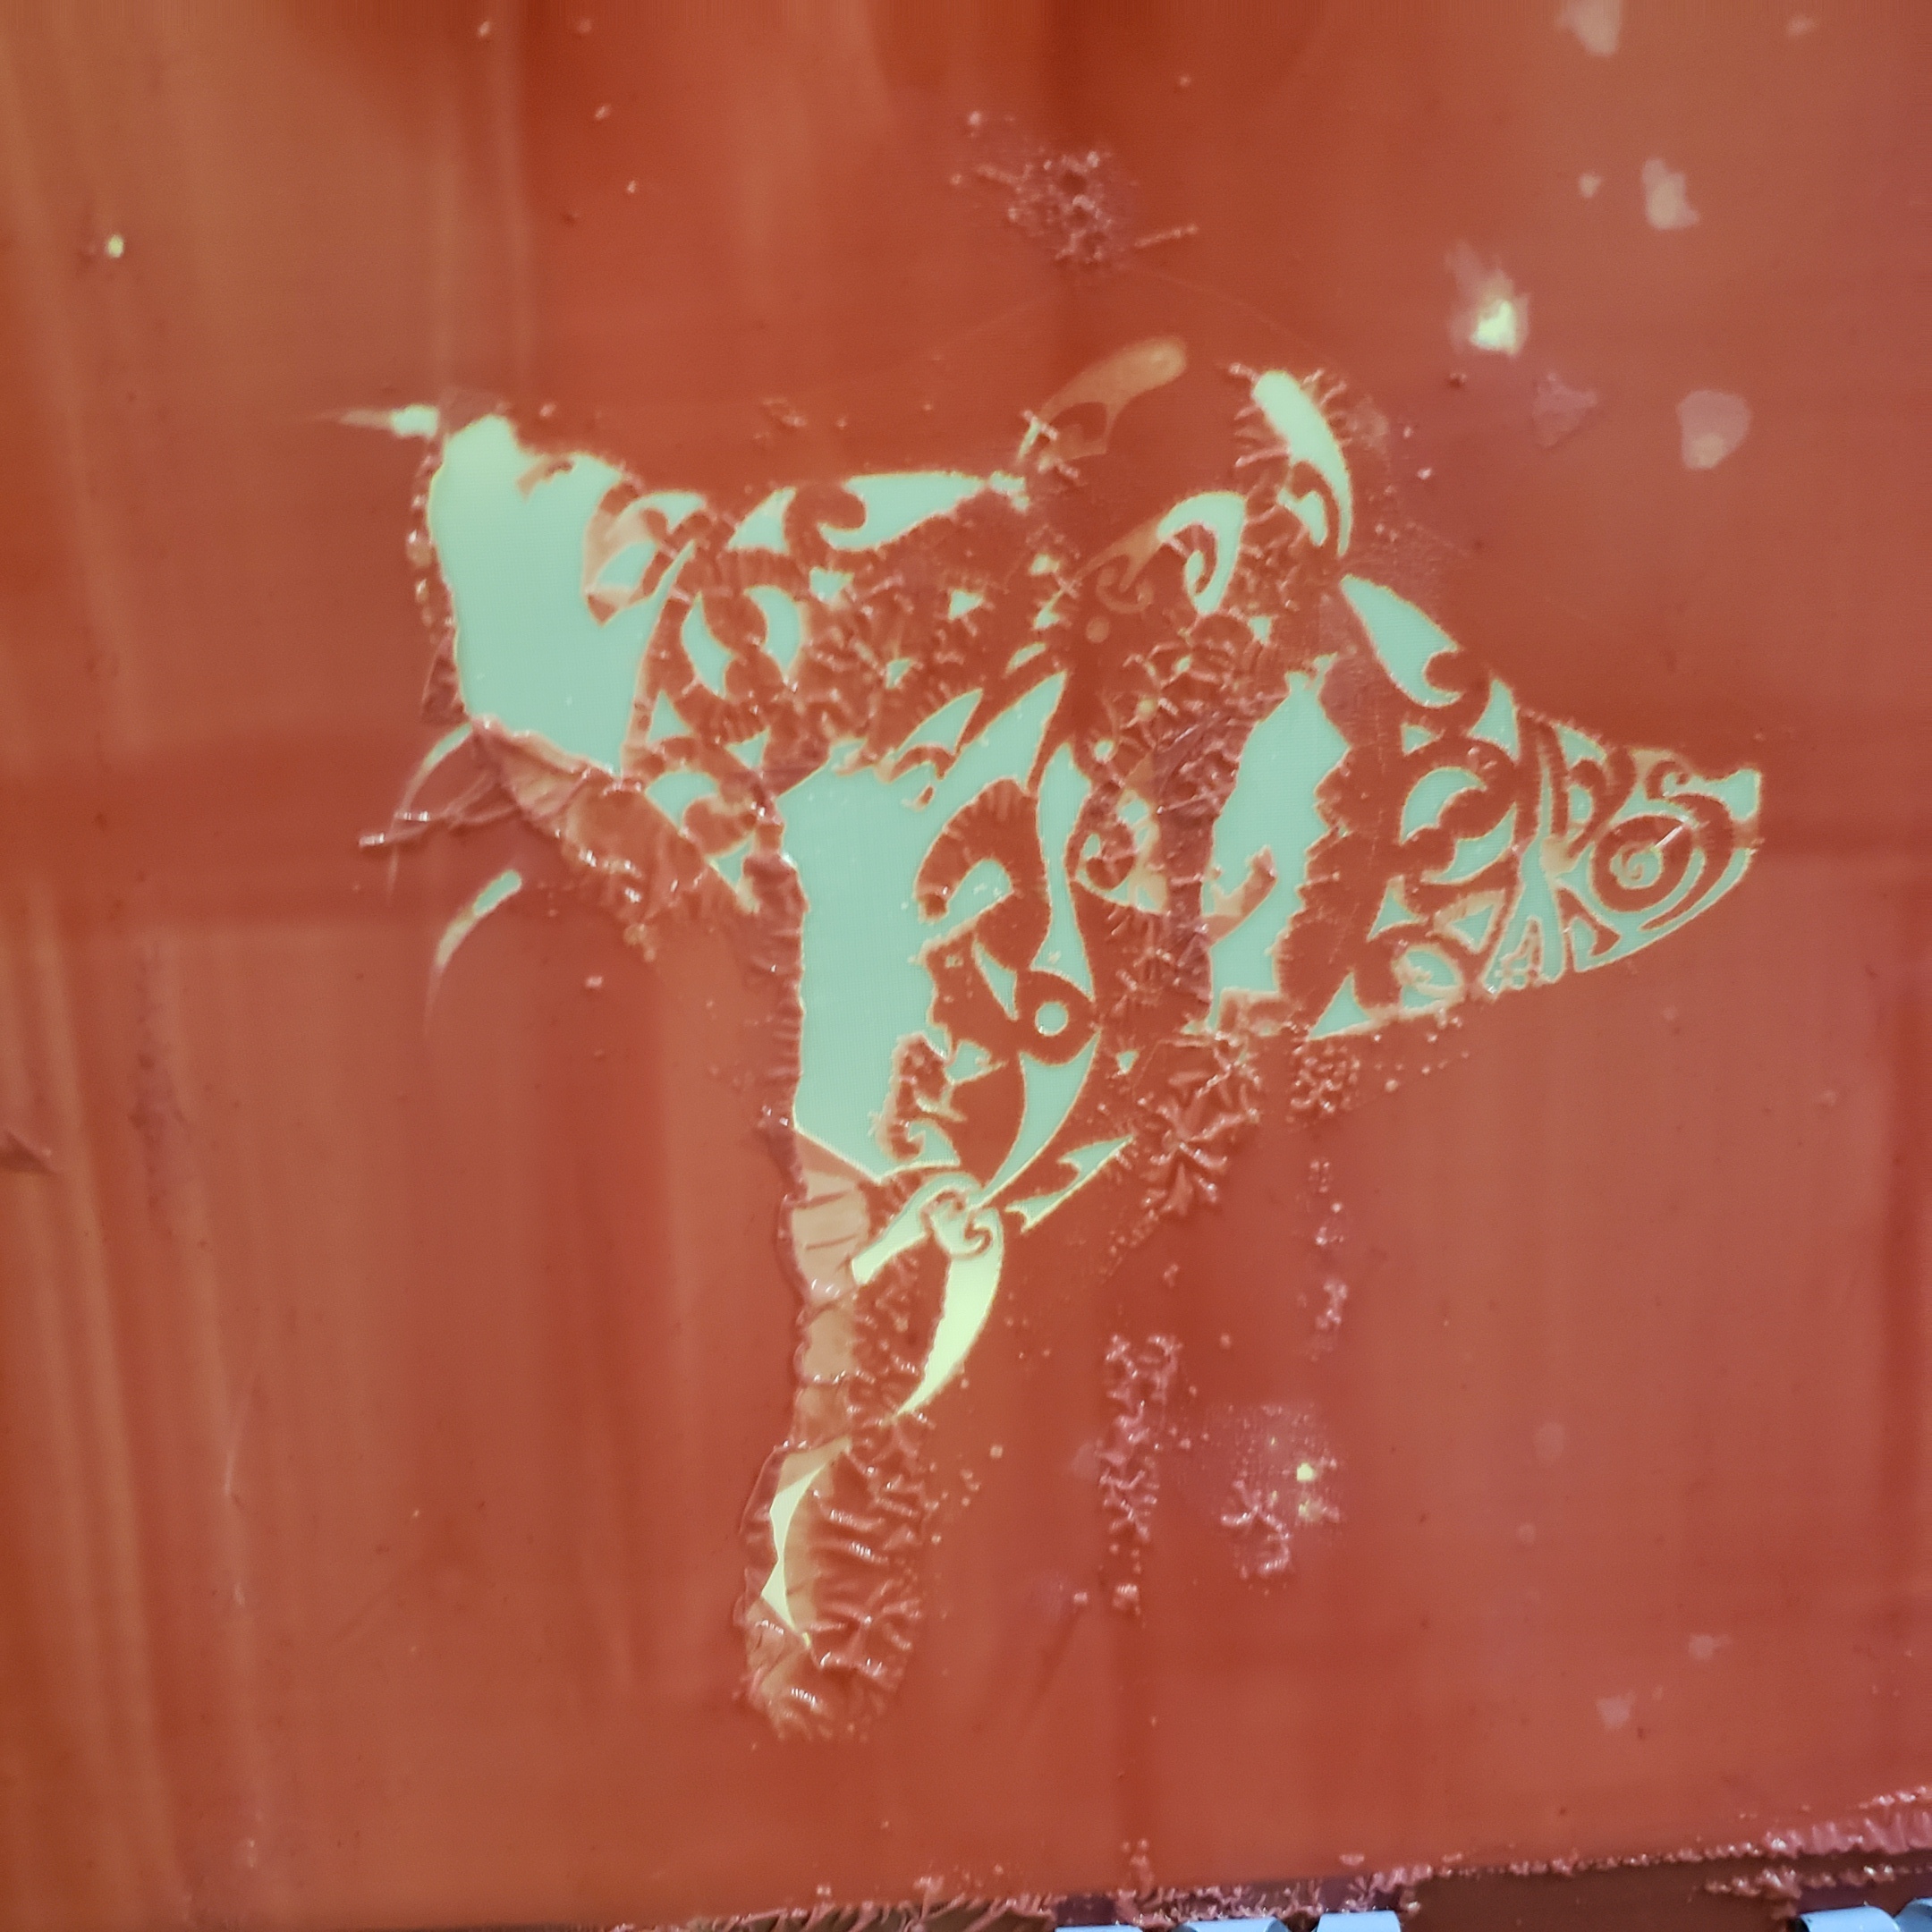
3.25 is good. I normally hit the back side (side away from light) to get it damp then let it set for a minute or so. Then flip it and hit the lighter pink areas. If it starts bubbling, I smooth it out gently and let it dry. If a little emulsion is still in it usually comes out with the first couple of prints. I’m sure someone more experienced might have a better suggestion.
I’m a printshop noob, but does the emulsion require a specific “mesh size” for the screen?
I also think I remember Marc saying something about using as little water pressure as possible to get the emulsion off?
I’m curious to see if you get this figured out, since I’ve got 3-5 screens I need to make. I’m trying to decide if I just make my own and keep them until I need them next year, or just do it “one off” this time & recreate the screens next year when the time comes.
Yea I thought of that too. Silkscreen my work logo on some shirts with some funny sayings like portals “we do what we do because we can” and see who noticed.
Then when I buy new shirts for work brig them and my silkscreen in and print them
I’m still at a stand still with this project I’ve reached out to Marc via. Email still waiting to hear back from the area lead. Starting to wonder if the material is different than what we use. As for water pressure I have tried even running a lite pressure stream still got bad results. Gonna try a different technique for applying emulsion see if I can get better results. I’m using 110 mesh