Thanks Patrick! Now just to figure out how to load that PDF to the wiki… looks like we’re limited to 2mb… I’m not sure how we managed to load the other manuals on there, but the wiki is setup for the file whenever we figure that part out.
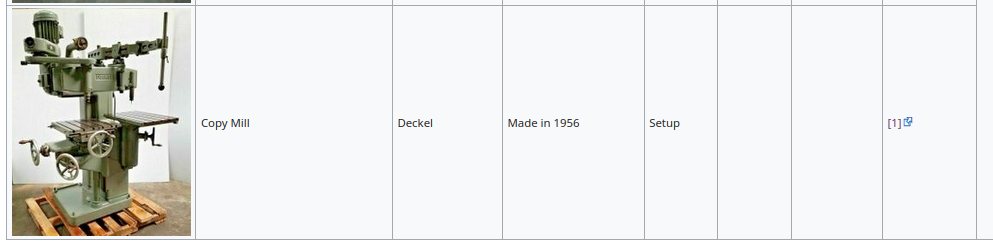
I’ve updated the chart to include the Deckel (when we get the REX spot welder wired up, that will be added as well).
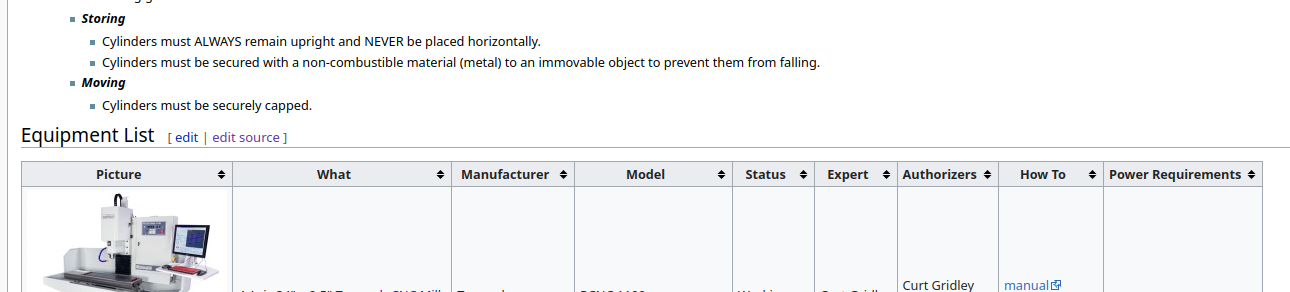
I’d just like to point out that there’s a manual mill/drill and a CNC VMC in the same room that are capable of making t-nuts in whatever size is needed. For the sake of easy-to-find hardware, it might be worth making t-nuts to fit the tables but make them to take SAE hardware so that anybody can easily find the necessary bolt to hold their work or pattern. What size are the t-slots?
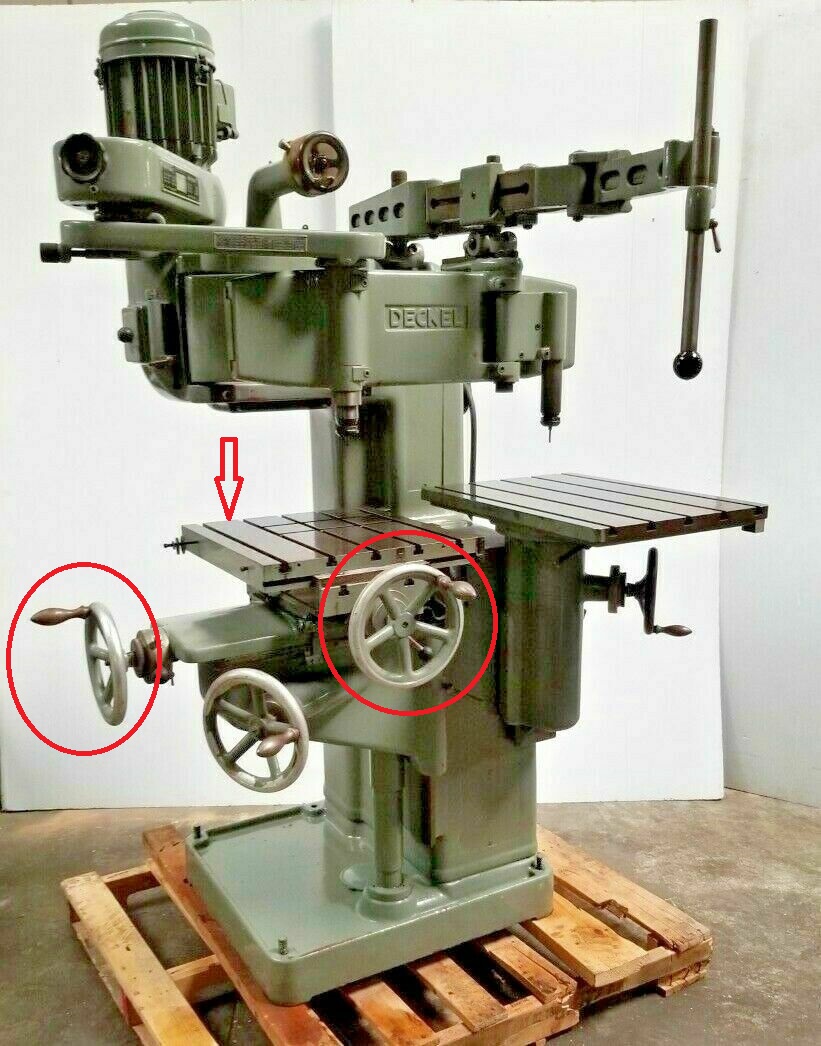
The width of the 8x 12mm dia x 75mm long T-slots bolts that came with the deckel are 12.00mm wide. Both sets of bolts we have for the tormach and enco are 1/2in (12.7mm wide).
We might be able to drill and tap the t-nuts before machining the shoulders from steel bar stock, but I was a little hesitant to bring up the idea of machining out our own T-nuts because I wasn’t sure how much strength those nuts would lose. I did pick up a pair of 1/2in t-nuts from the big tool store that we could play around with.
They won’t be hard, but they will be plenty strong. I have t-nuts I’ve made for even my tiny rotab that takes #10 screws. Sounds like we should be able to use 3/8" or even 7/16" bolts. To make them, I would suggest machining the T-profile, then drill and tap. After that, they can be sliced off on the bandsaw. If desired, they can be squared up on the mill again. For tapping, a cordless impact works well and goes very quickly. Just keep in mind if using hand taps, they need to be backed off to keep long chips from jamming in the flutes. A spiral point tap prevents this and is strong enough for the job. What do we have up there for taps anyway? I’ve never looked.
just a thought, but i have heard that one of the heavy crane companies in wichita has a bunch of old equipment theyve removed for customers that you can get parts from.
If you are thinking of Halls, yes, they have a lot of machinery there. And you don’t go in there to bargain or without deep pockets, from what I’ve heard.
I took Patrick’s PDF and made it searchable. https://drive.google.com/file/d/1GHYw36lpoUAV3wucaZTmpEUF1JERjwnm/view?usp=sharing
Also, after a tanget, how to add it to the wiki, as a link.
It’s frankly pretty amazing how far OCR has come, over the past 25 years that I’ve been interested in it, where sometimes clearly typed letters might not be reliably recognized.
Here’s a section of the scan that’s about as bad as it gets in the scan (not a criticism of Rusty), and the text, which while it’s got errors, is frankly nothing short of remarkable considering the past.

And the Text from that (With unnecessary line breaks removed):
First, it is of course possible to manufacture the second — reverted — pattern separately by repeat-
ing all the operations. But this is rather complicated, the more so since in many cases, merely to
obtain a truly symmetrical pattern, the work mest be done with a much higher degree of exactness
than would be necessary wader mormel conditions. E is true that any templets required for the first
Pattern can usually be inverted and weed in machining the symmetrical pattern, but on the other hand
all those sectioms of the arigiusl pattem which bed to be worked out by hand must also be shaped
by hand on the symmetrical pattern, ani this te weny close tolerances.
Is this weed in machining, what people call lost in the weeds? 
Simply produced with ocrmypdf ((sudo) apt-get install ocrmypdf) on Linux. Uses Tesseract (software) - Wikipedia and while it was one thing that started out as closed source, I can tell you 10-15 years ago it wasn’t nearly as good. (Though it was among the better ones.)
Alright back to the wiki: @rustin.atkeisson @ladeana
If you don’t have a wiki account, email your name and email to it@makeict.org requesting access. (The main reason for that hoop is simply because of bots and vandalism. Yes, it was a problem.)
When you are logged in you’ll see two options, for the section: [edit | edit source]
There is a word processor like editor, via edit, but trying it, it won’t let us paste it as anything not [1]> or the full link.
To add to a section, you can click on the Edit Source. Here it is before editing:
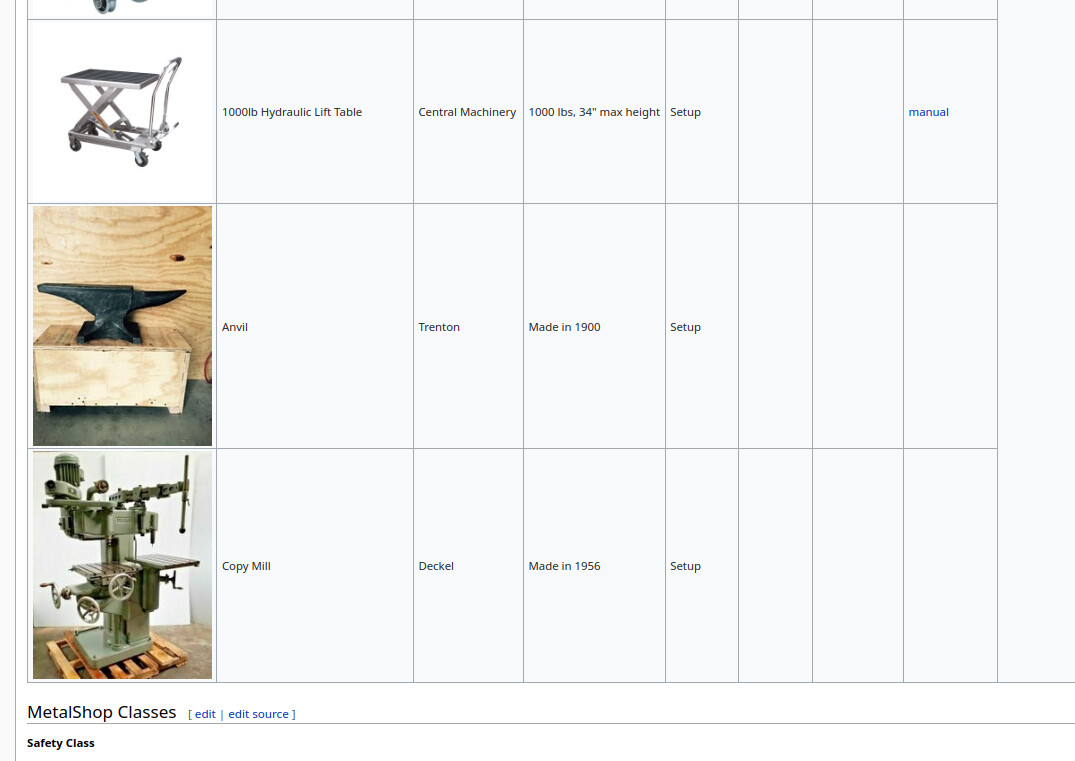
|[[File:Lift Table.jpg|200px]]||1000lb Hydraulic Lift Table||Central Machinery||1000 lbs, 34" max height||Setup|| || ||[[Media:Lift table manual.pdf|manual]]
|-
|[[File:ANVIL.jpg|200px]]||Anvil||Trenton||Made in 1900||Setup|| || ||
|-
|[[File:Deckel KF2.jpg|200px]]||Copy Mill||Deckel||Made in 1956||Setup|| || ||
|-
|}</onlyinclude>
To add links on a wiki, you do it one of two ways: Internal links or external links, Internal use a double [[ ]] and a | as a seprarator for the label, as in the Lift table manual above. External links use a single bracket [ ] and everything after the URL becomes the Label. So in our case just putting it in brackets: [https://drive.google.com/file/d/1GHYw36lpoUAV3wucaZTmpEUF1JERjwnm/view?usp=sharing] would work, but it would appear as such (which is how the word processor like editor can get it):
To add a description I’m going to give it a warning, of size:
[https://drive.google.com/file/d/1GHYw36lpoUAV3wucaZTmpEUF1JERjwnm/view?usp=sharing Manual (75MB)]
If you ever forget this, there’s a help function at the top:

Expanded, and Link selected:

Then At the bottom there’s the description label, save, preview (Use it if you have questions, that is one advantage of the wordprocessor like editor), and show changes buttons
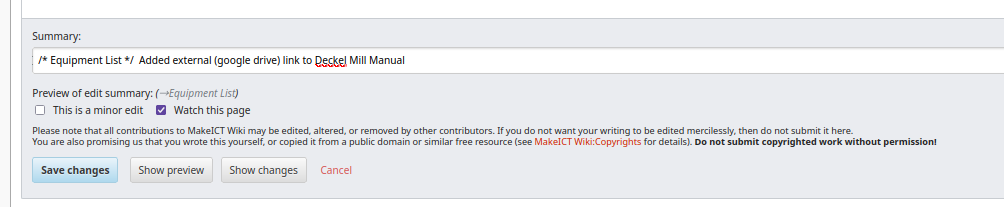
Please put a description in there, it’s good practice, if you edit any wiki. Even if it’s something as stupid as Fixed typo. (In which case mark minor edit.)
https://wiki.makeict.org/wiki/Metalshop#Equipment_List
I have also changed the upload limit to 98MB, so it or other large manuals can be uploaded. (There’s limited, but not that limited storage.) If there are any issues, this may be changed, but please do not upload large files more than once. This is left as an exercise to the reader.
Are the wiki instructions on the wiki?
Follow up question is the instructions to get to the instructions on the wiki…
Or the limit as post-> infinity post instructions to get to post(post-1)
We’ll have to do a post mortem on the posted post postings posters post.
Are the wiki instructions on the wiki?
Follow up question is the instructions to get to the instructions on the wiki…
Yes, did you not see that part of the post about it? Hold on, I’ll write you an email. ![]()
If you can send me details on the attachments missing it is possible I can find them here in Australia. There is a lot of old machinery around here.
Lol I can see you coming through customs with a half dozen leaf springs.
Sir are those knives in your bag?
Not yet.
That would be awesome to find all of the pattern forming attachments!
It looks like a pretty chunky piece of metal to haul through customs, but here are some shots and links of the missing parts I’m hunting for:
Hand Wheels and wide bed:
Pattern forming attachment that does the really cool curvy stuff:
(more photos on practical machinist: https://www.practicalmachinist.com/vb/deckel-maho-aciera-abene-mills/what-deckel-attachment-109263/)
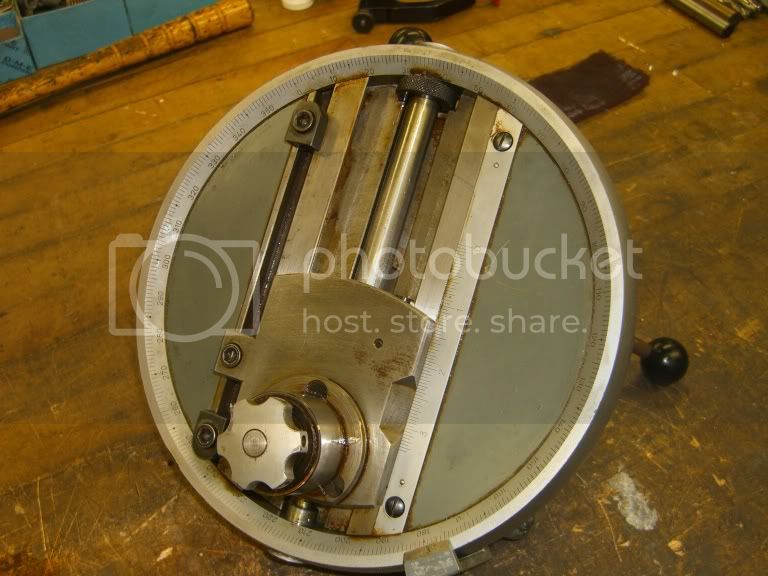

…also, if you see any of the weird and wonky tracing pins for the RH spindle, those would be a huge help too.
I also work for a German multinational I might be able to get parts straight from Germany
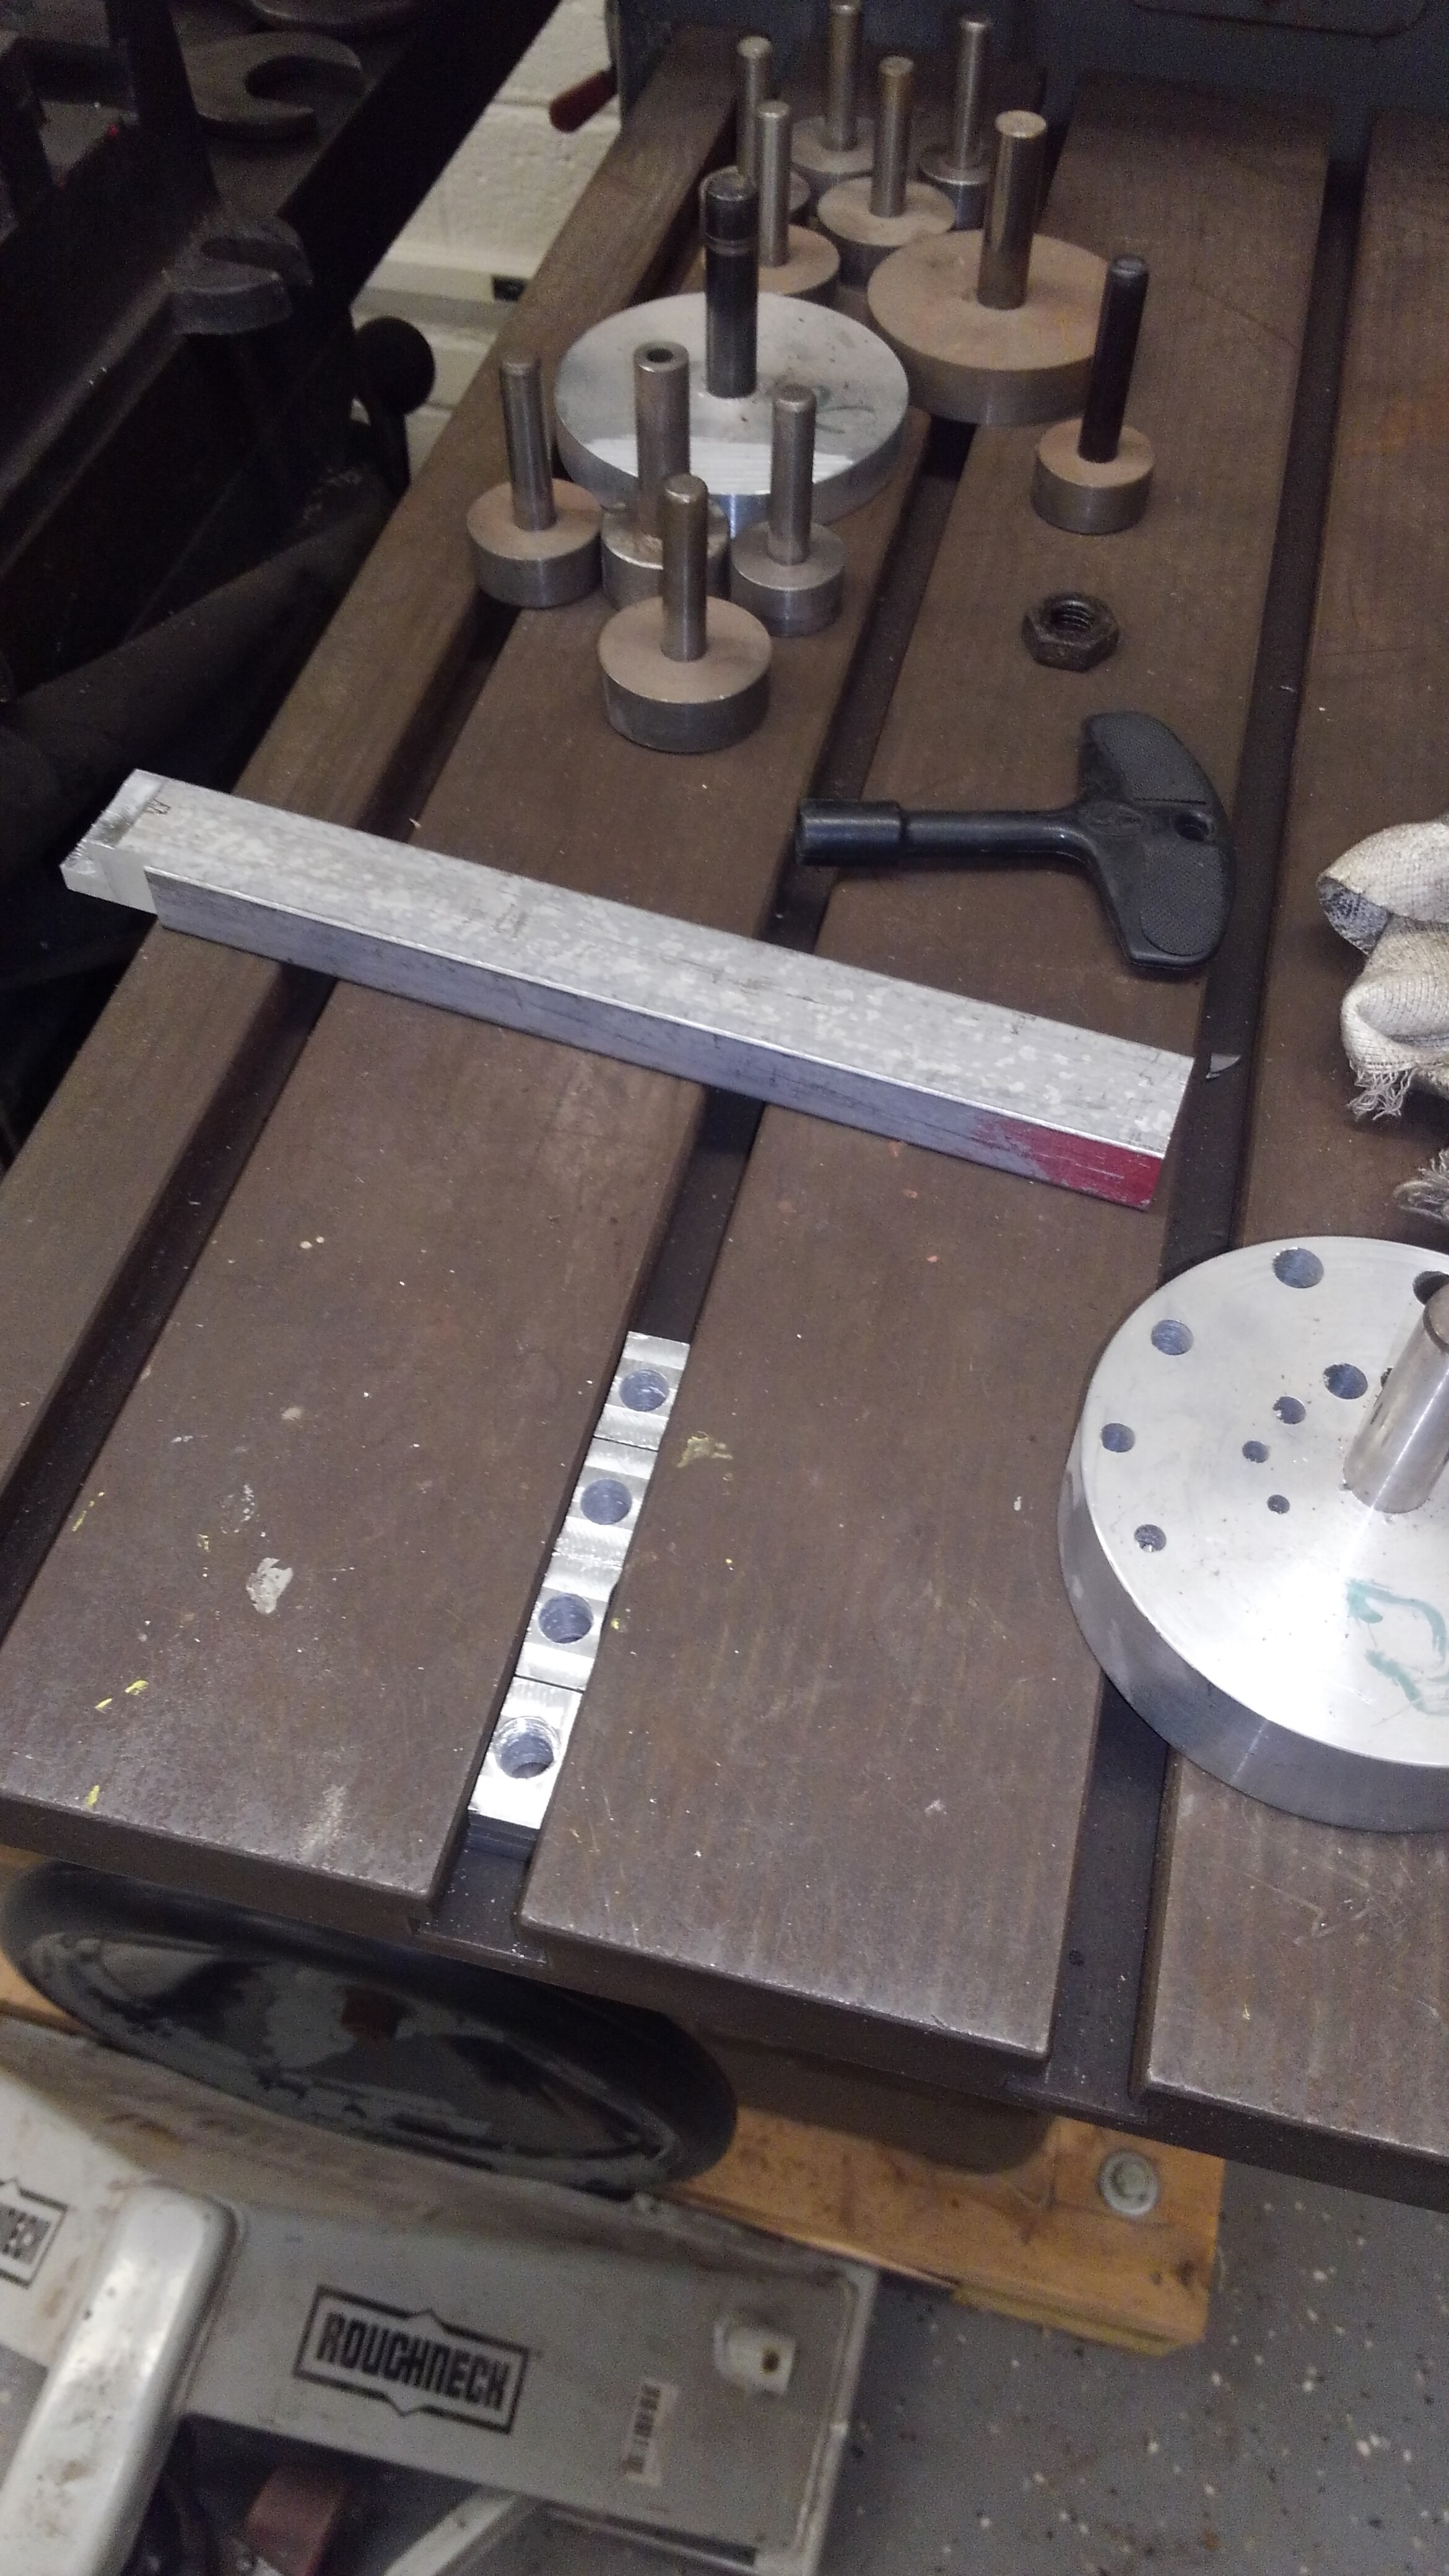
Small update. Started on the t-nuts last night. I made 4 but it would be nice if we had at least 8 of them. I think there is enough material left to crank out an additional 10.
They are drilled, but not tapped for 3/8-16 thread yet. I had thought about picking up a 3/8 machinist hold down set, but realized we have a ton of 3/8in althread sitting in the maintenance bay.
We’ll have to find some cap nuts to go with those, but i think that would be all we needed to lock down a set of vices on the deckel or to be able to use the other machinist sets.
Should they be roasted and salted?
Or blued? Heat treated? Nickle plated? Boiled in the fat of a thousand chipmonks?
Enquiring minds want to know
This aluminum is a bit different from what I’ve been using during the classes. I don’t think a heat treat will improve the strength of these t-nuts that much.
Though, it might help to take a burr whip to the edges to make it easier to slide them along the slots.
I guess I assumed steel and didn’t think about it being Al-you-in-ee-um (read in Chris O’Dowd’s voice)
Aluminum and steel will probably start to get fun corrosion after some time. Happens quite a bit to these overly complex pickle jars I work with during the day.