We’re really on hold as far as spending any money that isn’t absolutely necessary. COVID-19, being closed for months, and lots of ADA requirements have really taxed our resources, and we need to be really thrifty while we regain members and put some dues in the bank for a few months. Fortunately, we’re now able to be open and allow new members to join, so I don’t think it will be too many months before things are closer to back to normal and we can absorb the cost of things like this.
3 Likes
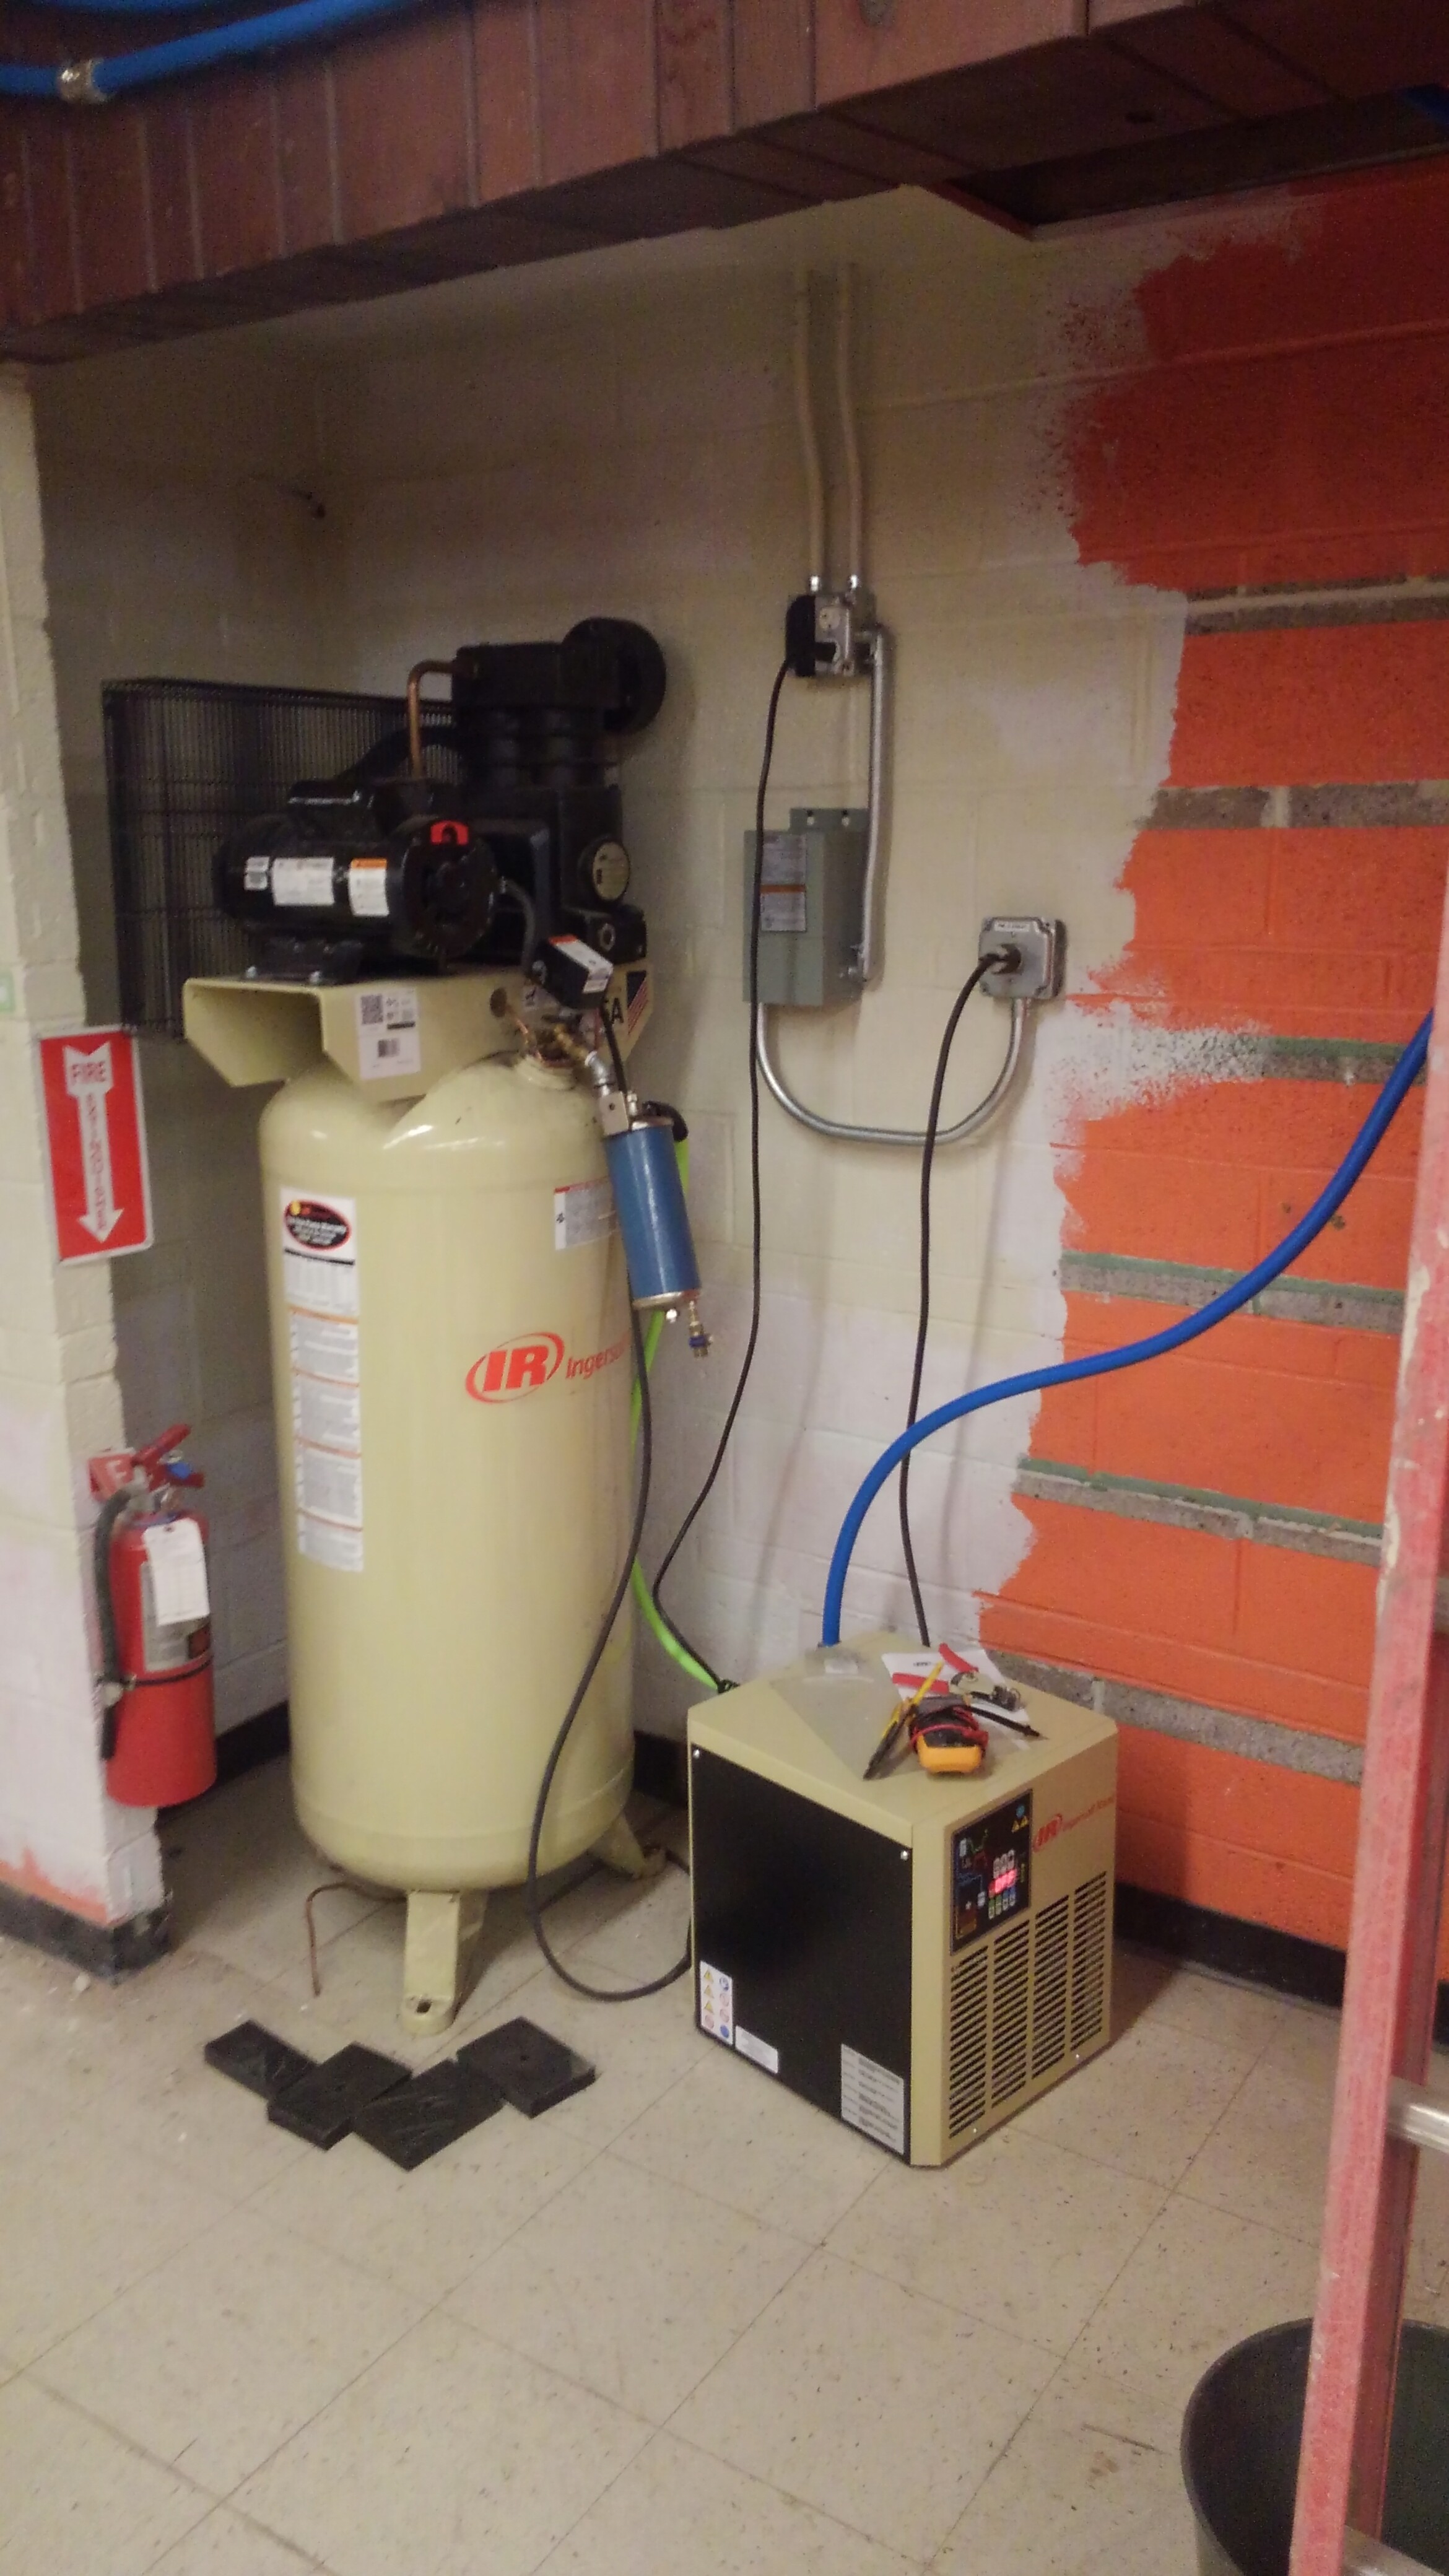
Heads up, the air conditioner and air dryer are now functional!
…but I still have the lockout/tagout box on the air compressor until we finish chasing down the leaks. …and finish reading through the instructions on the dryer. Most of the leaks have been taken care of, but there’s still one between the manifold and dryer that I’m fighting.
Big thanks to Dave Hanson and Christian Kindel for their help on wiring up the buck converter!
5 Likes
Great job guys!!!
Thanks for getting this where it is!
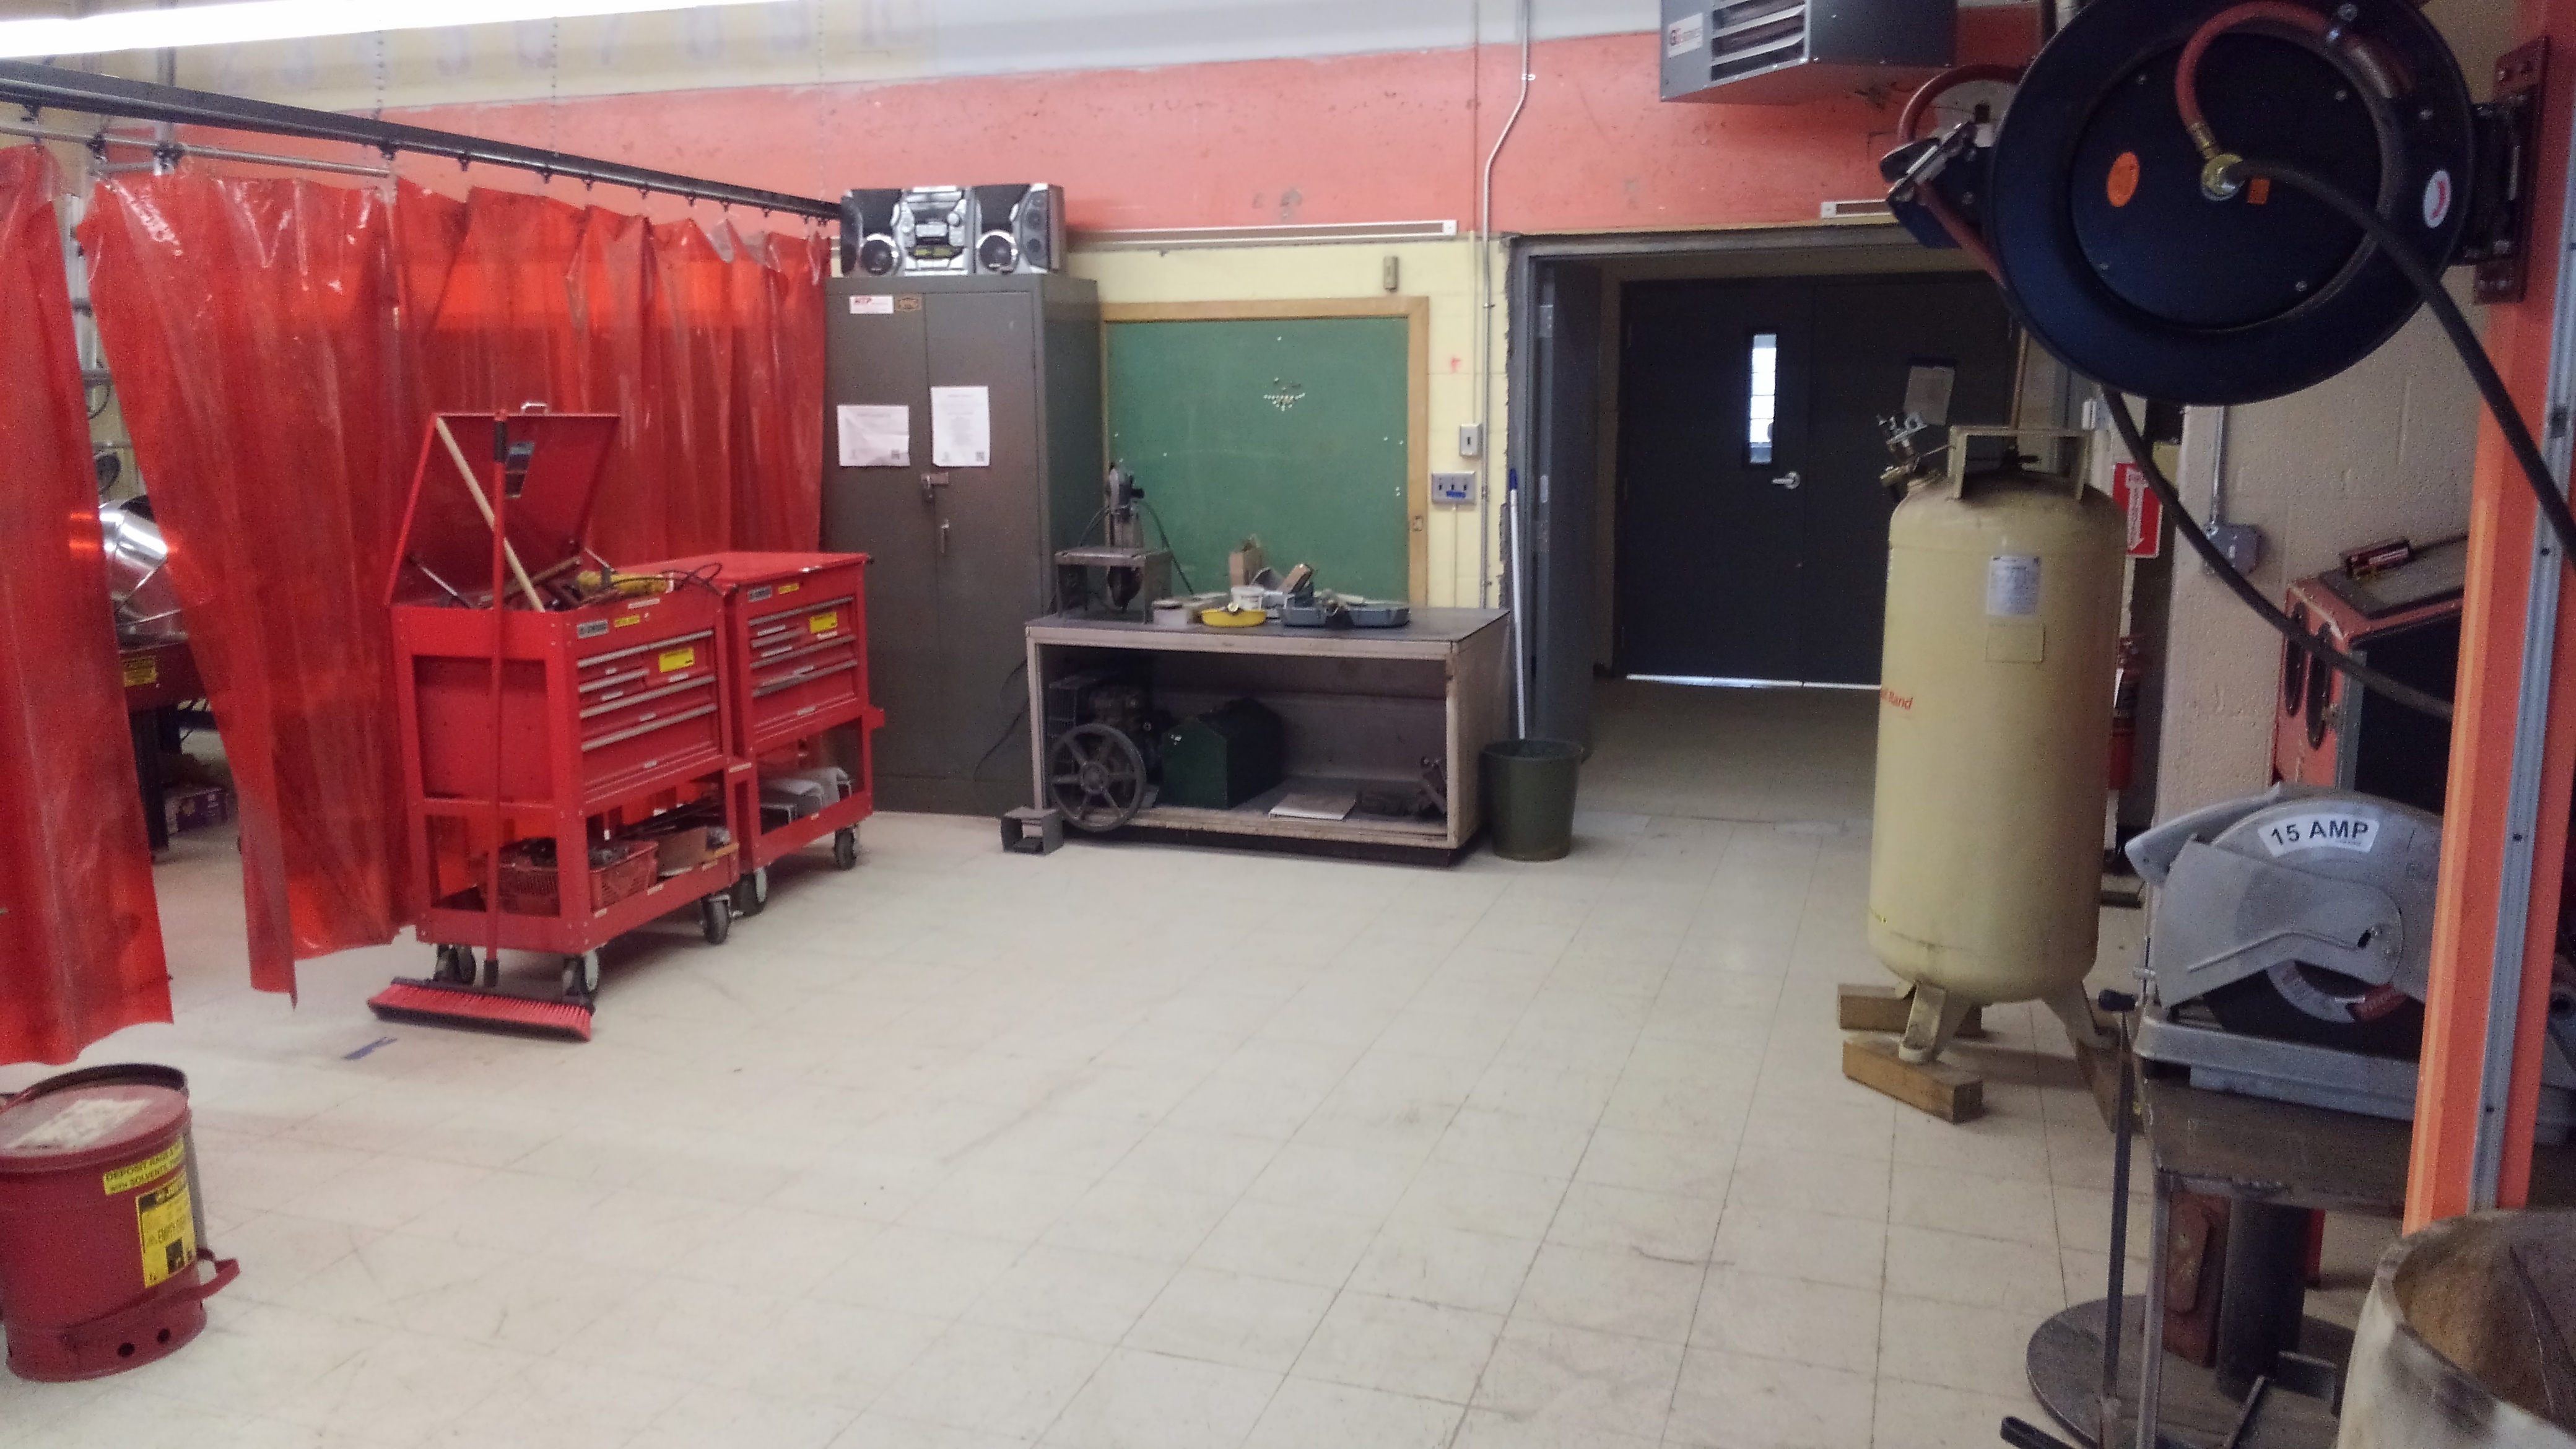
A little off topic but, took some time today to reorganize the metalshop a bit with the help of Joshua and his dad.
Kinda wish we had done this before digging into the air compressor system, but at least now it should be a lot easier to move equipment around to use without having an avalanche of sheet metal fall on you…
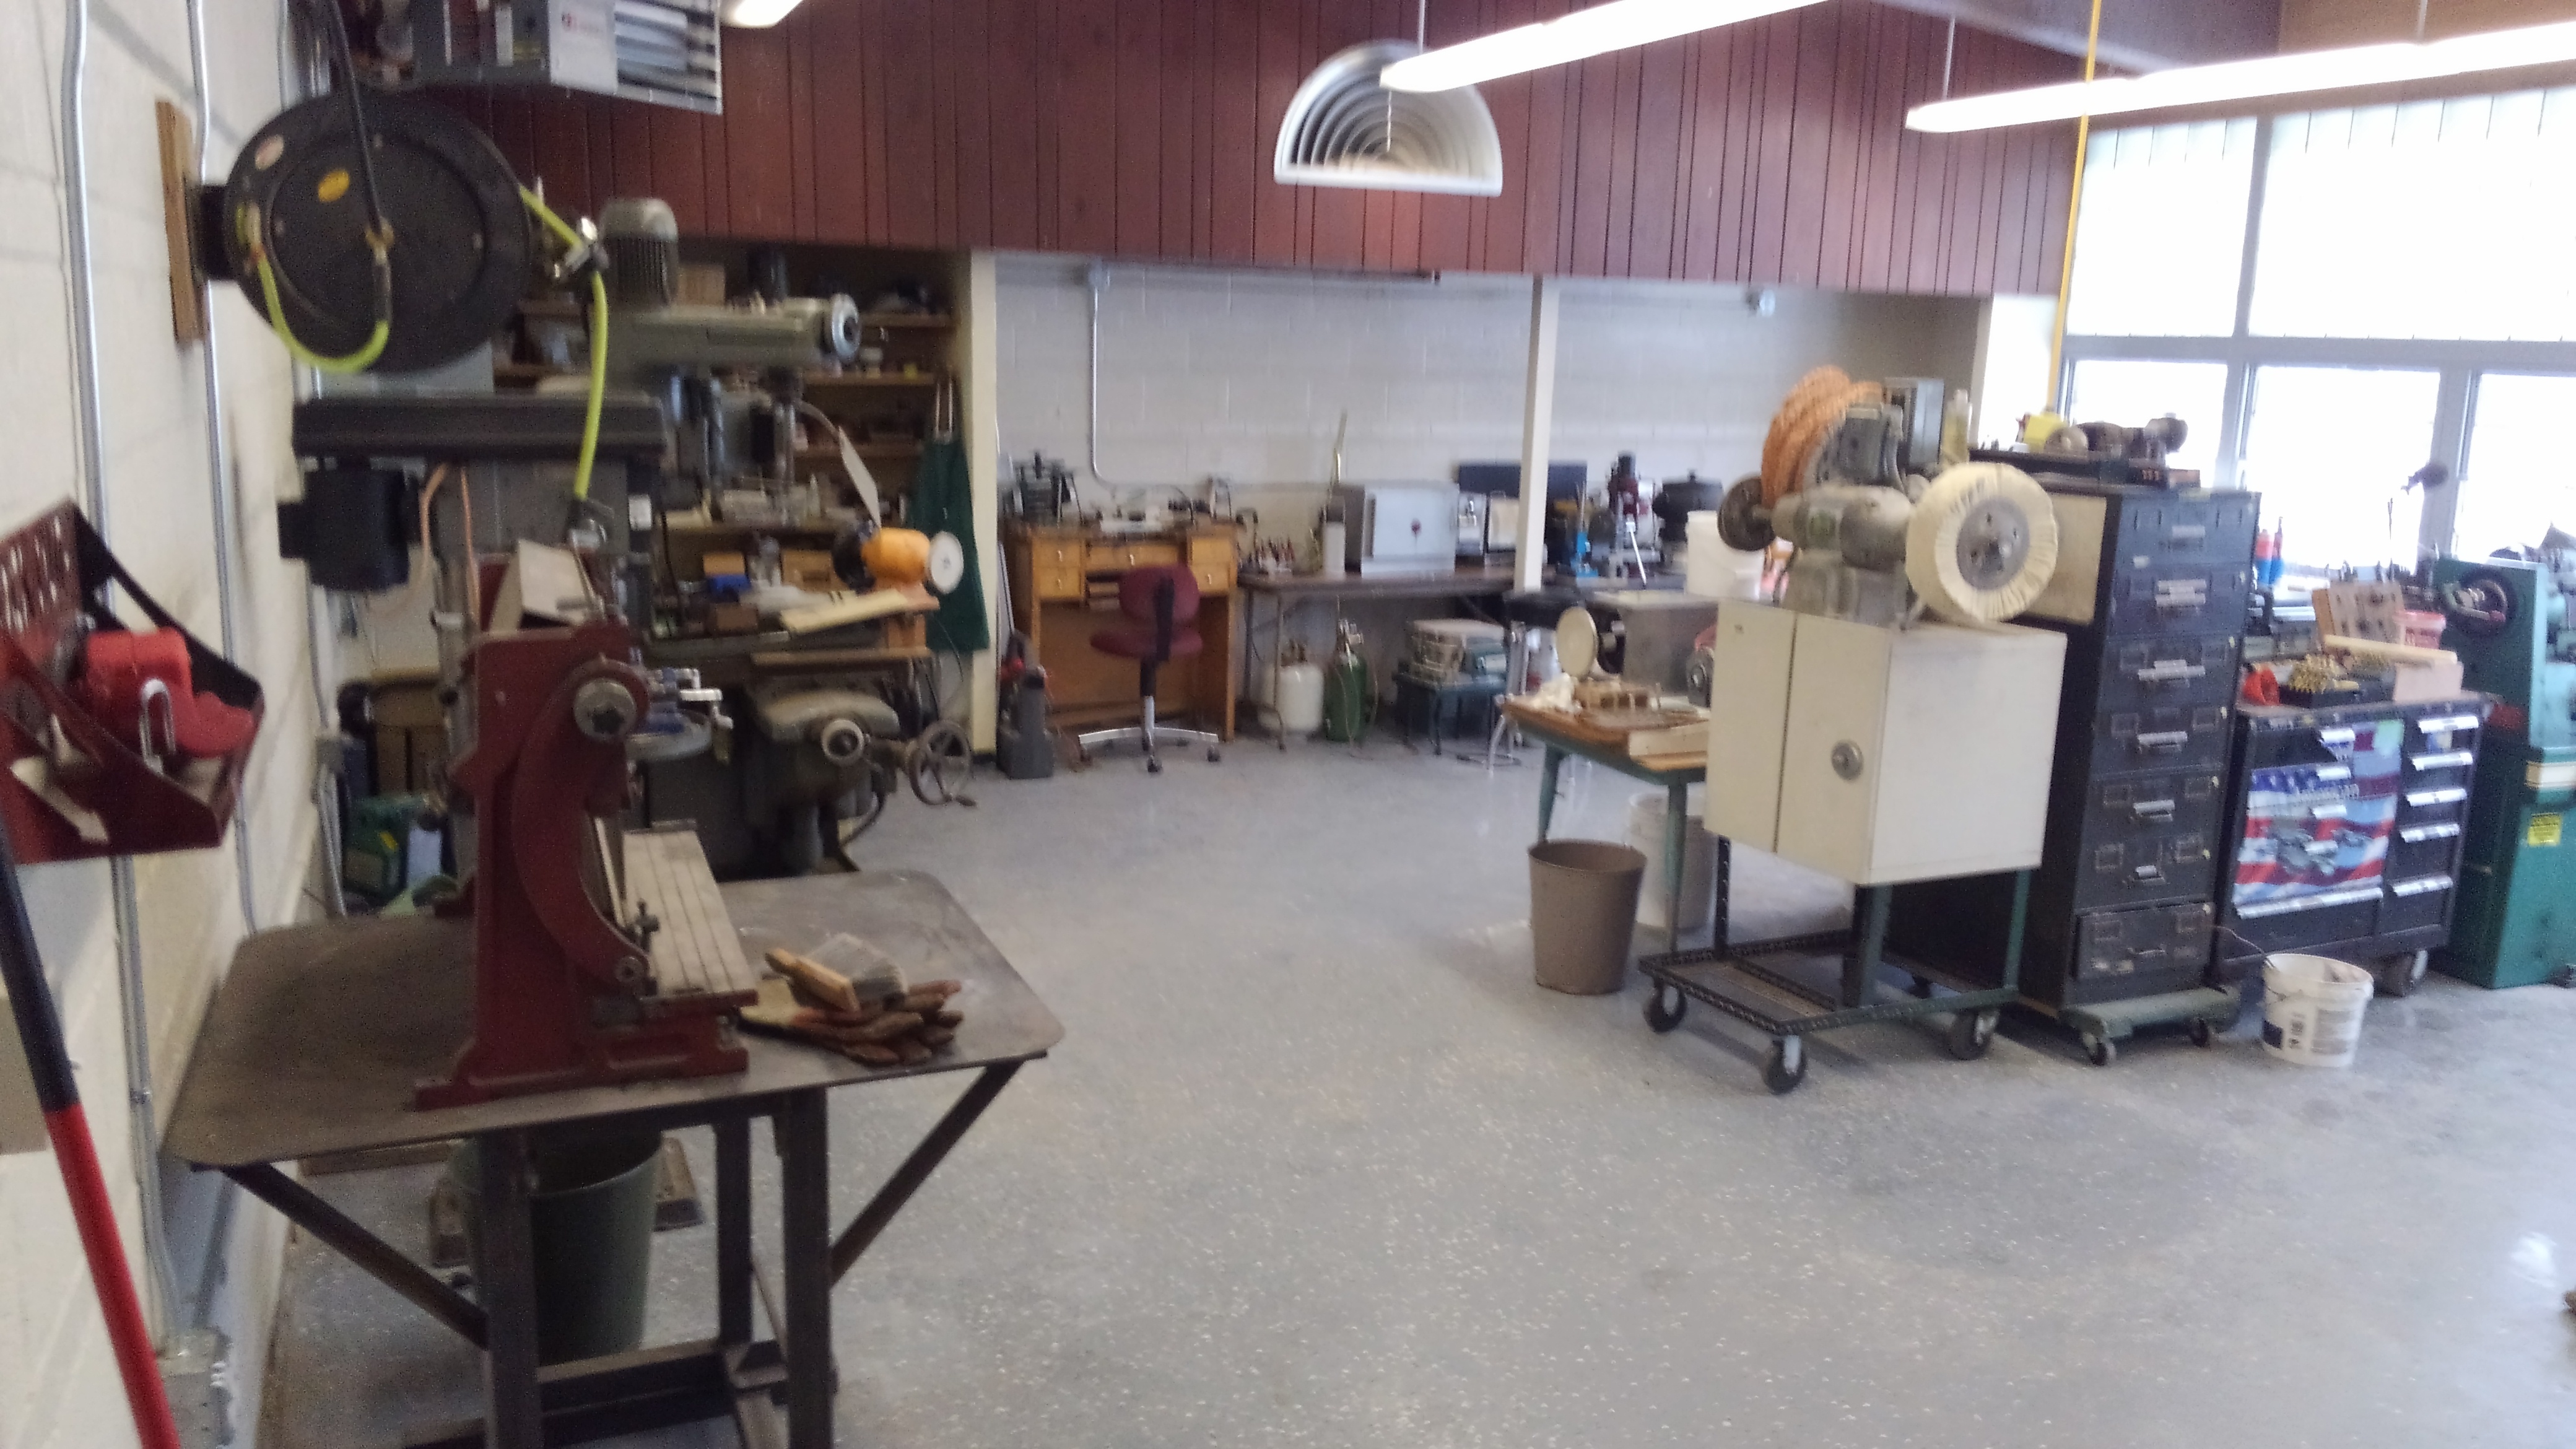
Hot shop:
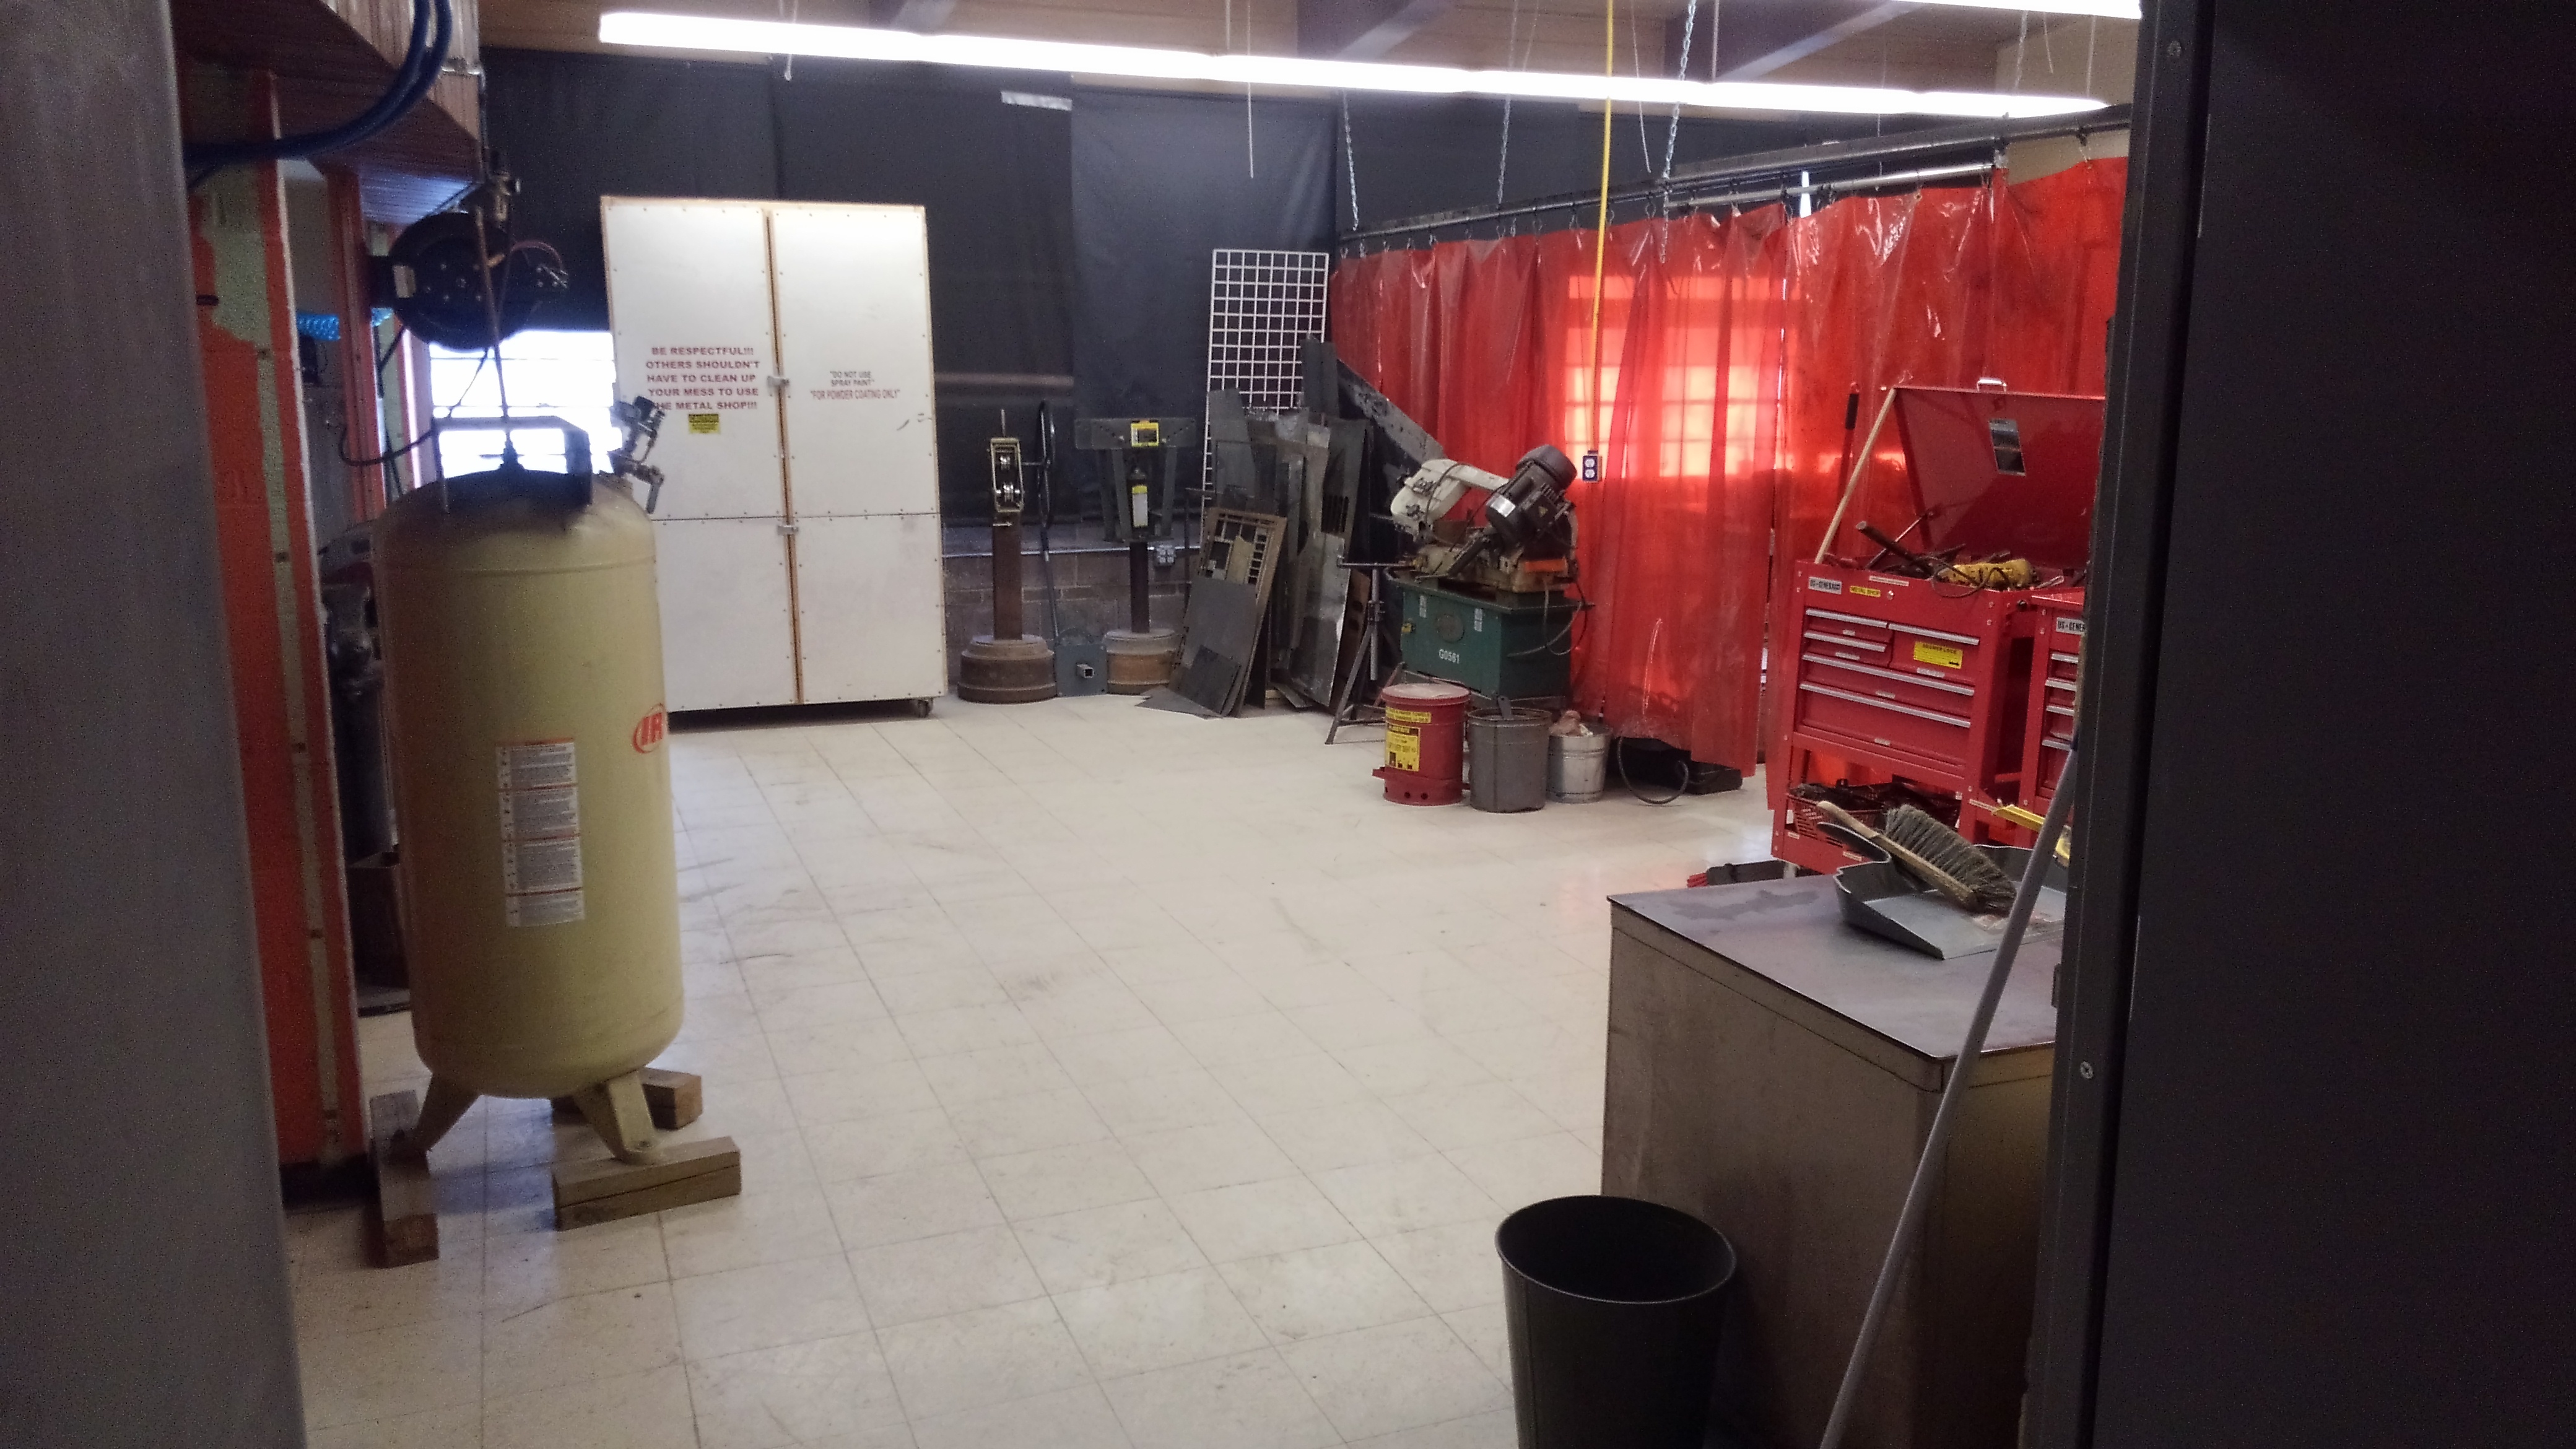
Cold shop:
2 Likes
Not off topic at all thanks for sharing. Looks great
I think I have the leaks worked out of the air system, but we still have some small things to do like change the oil in the air compressor and mount it on the rubber isolator pads.
Does anyone have a label maker handy to label each of the lines on the manifold? We need a label on each of the five valves at the manifold (or on the lines at the manifold). Though, I couldn’t tell you the order off the top of my head.
The labels should be:
- Sandblaster
- Plasma cutters
- Wood Assembly Shop (or whatever Doug wants that room called)
- Powder Coating
- Tormach
I’m still trying to figure out the guide lines on how to use the air system, but for now, I only recommend opening the valve you need. It doesn’t seem like the system is leaking, but is a lot of volume in those lines compared to the old setup at Douglas.
Also, there is a piece of electronics in the air system now called an air dryer. From what I’ve read, it looks like it operates like a refrigerator. You plug it in and it does it’s thing… But it also has a status indicator that lets you know how hard it’s having to work to dry the air. (If it’s working hard, that means there’s a lot of moisture in the system, and potentially a lot of leaks, or we just need to drain the air tank). So… This may be something I have to add to safety classes and come up with a printed procedure for.
I’ll hopefully be up there Tuesday to finish off those last few tasks if anyone has more questions about the system.
Personal opinion/rant time:
This has definitely been the most complex plumbing system I’ve had to deal with that involved both rapid air (both their large and small diameter systems) and black pipe. It has been a learning experience.
Personally, I would not use the large diameter rapid air system in my own shop if all I had were straight runs in a big room. The large diameter system does not use shark bite fittings like the small tube system (which make setting really easy), instead they use a barbed fitting with a pair of the smallest o-rings possible to seal the pipe. I think I ended up replacing 5 of those rings after accidentally pinching them and splitting the o-rings in half. For extra displeasure, we still had to go out and pick up adapters and couplers to go from their 1/2in pipe system down to the 1/4in for NPT connectors or to 3/8in for the air fryers.

The other problem, is that it’s difficult to straighten out all of that pipe that comes in a 2ft square box and magically turns into 100ft of plumbing, especially when you get to the inner portion of that roll… And if you link the line, that section of pipe goes in the trash and you end up dropping $30 for a splice.
One thing I am surprised by is how much quieter that air compressor is just by taking it off the pallet. Supposedly, once we get it lightly tightened down on the isolator pads, it should be even quieter. I don’t know how much quieter, but as it is right now, I’m not having to raise my voice much over the compressor.
1 Like
My personal label maker is in my cubby, far bottom left, in the ceramics studio if you need to print a few labels.
2 Likes
There should also be one in the office
2 Likes
FYI, there is a small air leak on the back of the air dryer that I will try to fix over the weekend. The air system still works, it’s just that the air compressor runs a bit more often now.
Also, thank you Dan and Jai for helping to modify the sand blasting cabinet! One of the members suggested running a vacuum in the chamber to reduce the fog. It does help reduce the fog, but we may look into finding a venturi separator and slightly more powerful vacuum to decrease the maintenance on the system. For now, the operation is pretty simple - turn on the switch for the light and that also turns on the vacuum.
Be aware that the gloves will now inflate and the door will seal shut when the vacuum is running.

1 Like
Is certification required for the sand blaster? If not, is there someone available to help show me the ropes? Thanks.
I usually go over how to use the sand blaster during the metalshop safety class.
It’s pretty straight forward to use but if you want instruction, just shoot me a message of when you want to learn it.
1 Like
Cool, thanks! I’ve got some metal sconces that could use a trip through the sandblaster. I’ll shoot you a message when I’m ready to tackle that project.
1 Like